You must be logged in to rate content!
13 minute read
What's baking? My headlights,..uh-oh trouble!
Compliments of brokenarrow @ ferrarichat.com
12-18-2007
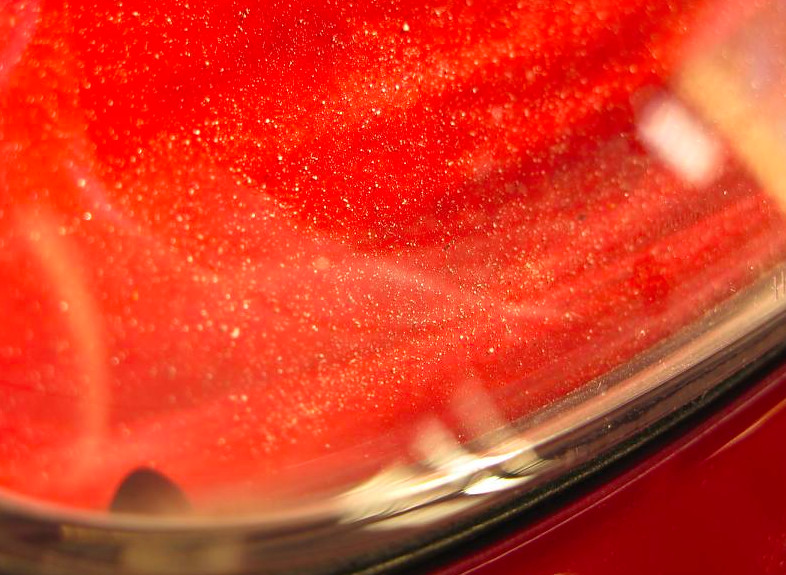
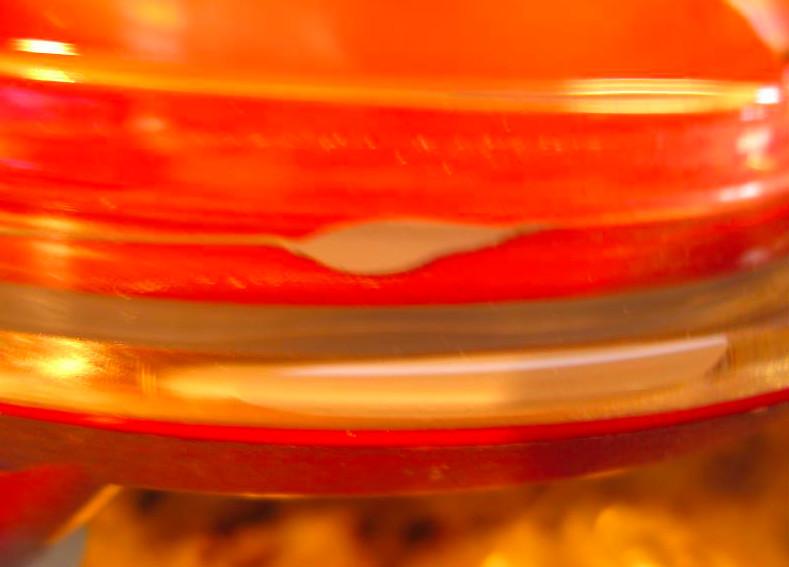
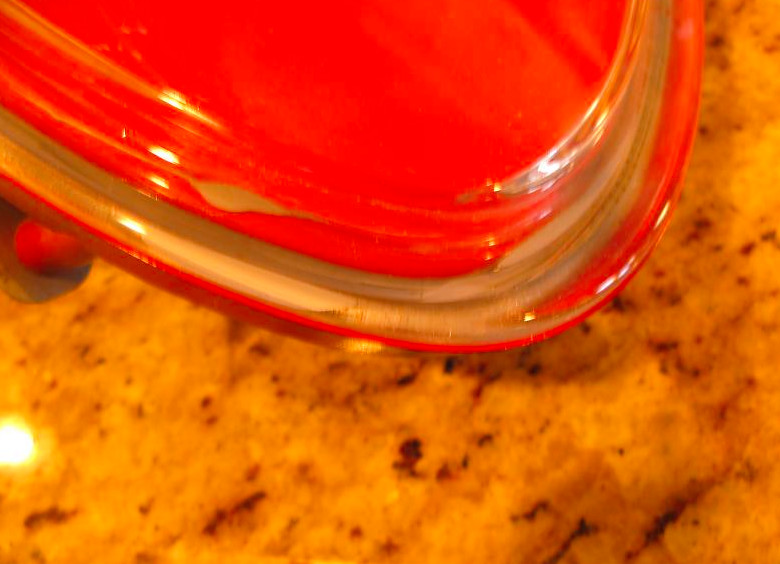
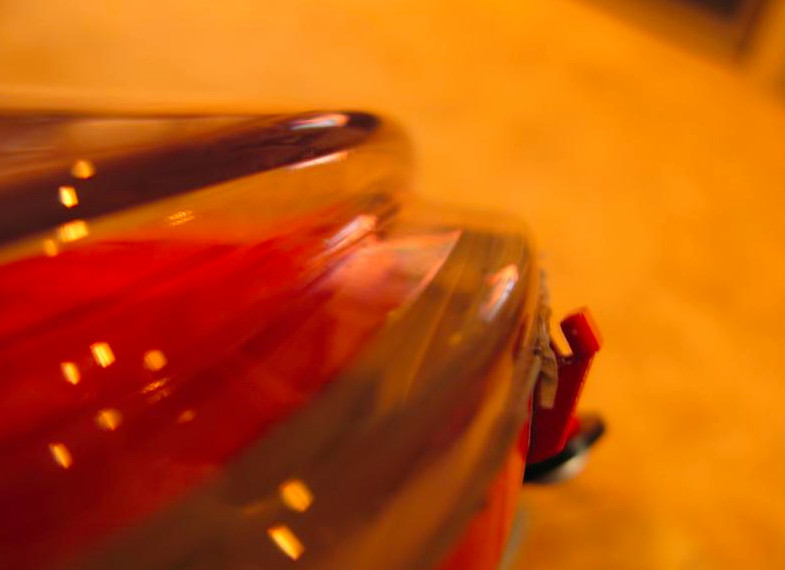
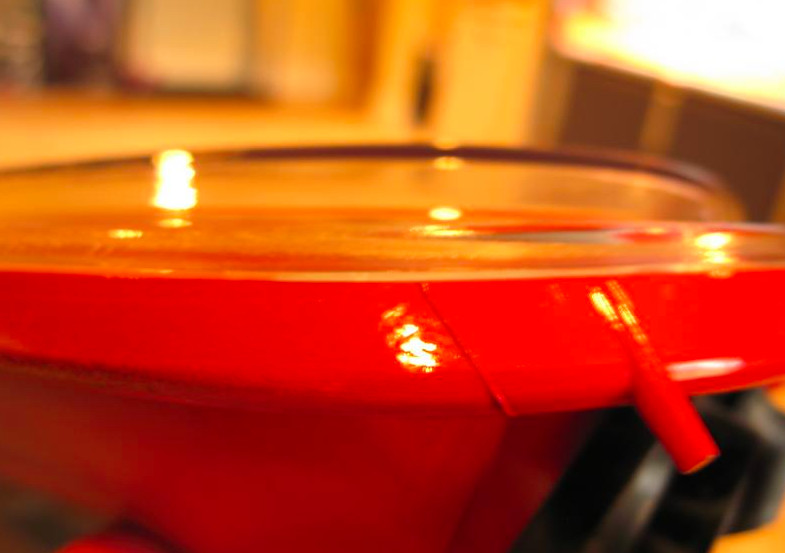
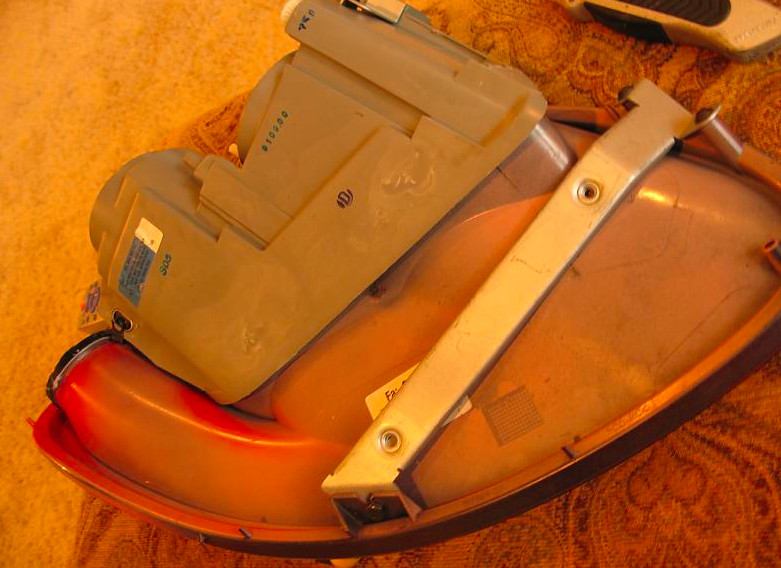
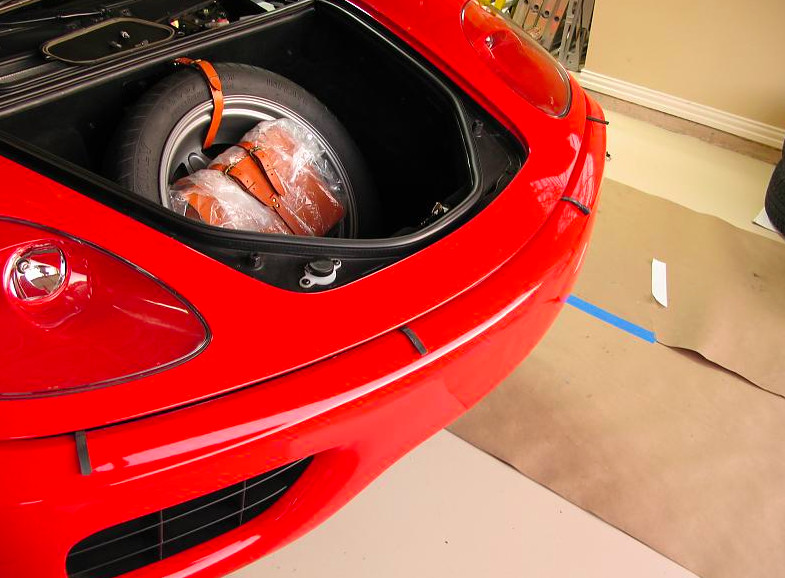
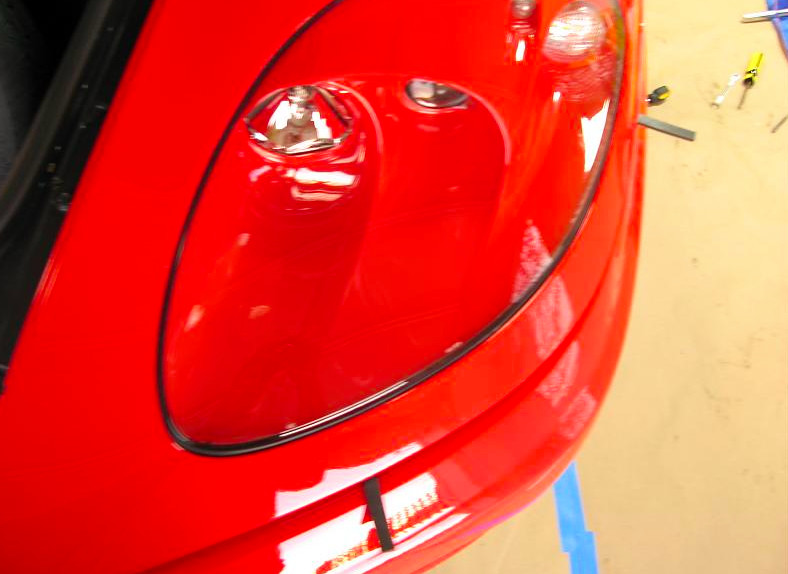
Okay, I got the headlight out. Pulling the bumper off is half the work as getting the light out. It is a major undertaking as you have to remove so many screws and bolts it's unbelievable. I may not remember where they all go. You even have to remove the ignitor and the front brackets, on and on. I have pics shown. Also, after getting it out and baking it, it didn't give a centimeter. The adhesive they use is rather cheesie too--see pic. You really can't leave it in the oven too long as there are other small pieces made of rubber that may be compromised. Mine was in the over for over 30 minutes at 200F and it got hot as hell, but the adhesive just didn't even soften. I may use some chemical to melt it. That may work.
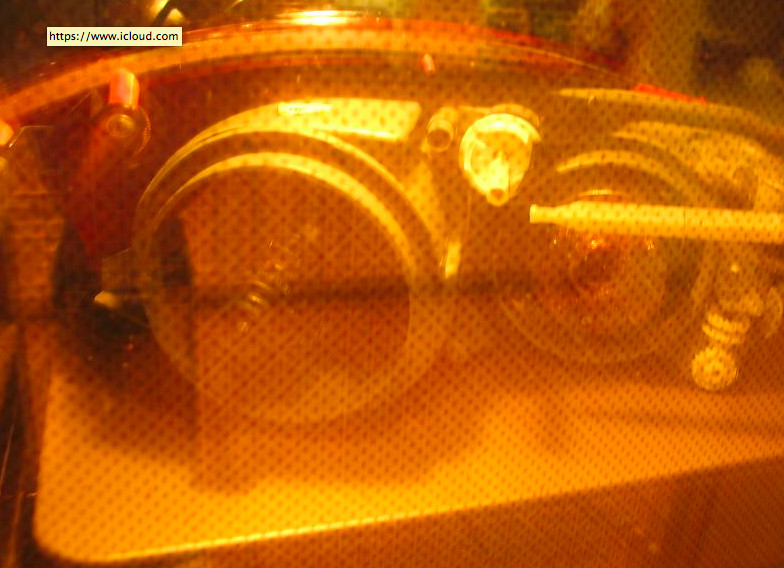
I placed the light on the counter after it had heated and noticed a small piece of plastic that was cracked. It appeared to be the controller for leveling the lights--actually the cogs. As I moved the cover, little pieces fell out on the counter. There was some dirt in there too--no surprise. At first I thought it was the cat since she's so damn fat, but she couldn't have gotten to it. That said, it may have already been cracked and not functioning and I just didn't know it. I have a new light on the way for delivery tomorrow morning, hopefully. I just can't bring myself to put this one back in after all the work.
Will I attempt the other light? No. Here's why; it's to damn hard to get them out, and the oven WILL NOT work on these things. I may try to use a heat gun but that can warp or stain the plastic. I'm going to have to think about it and welcome any suggestions. If I come up with nothing, I'll buy another light for the other side too.
Have a lot at all the pictures. I don't know if I can put it back together again. As long as I have no screws left, right?
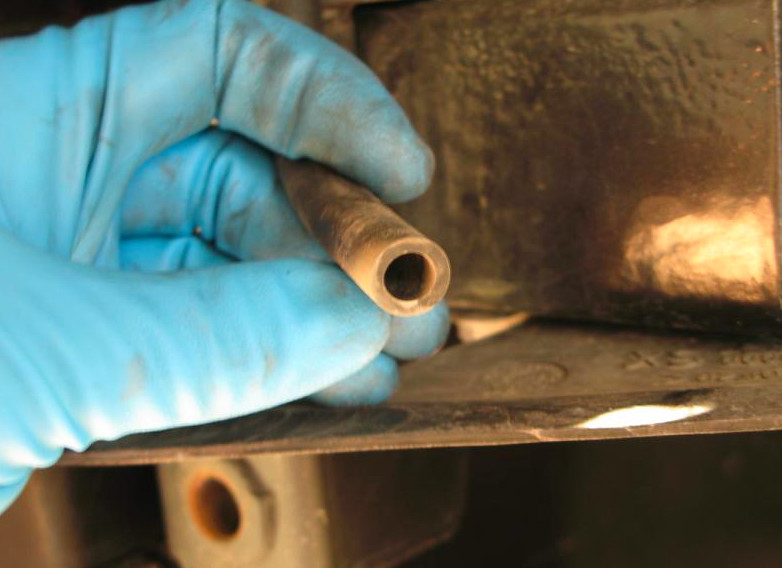
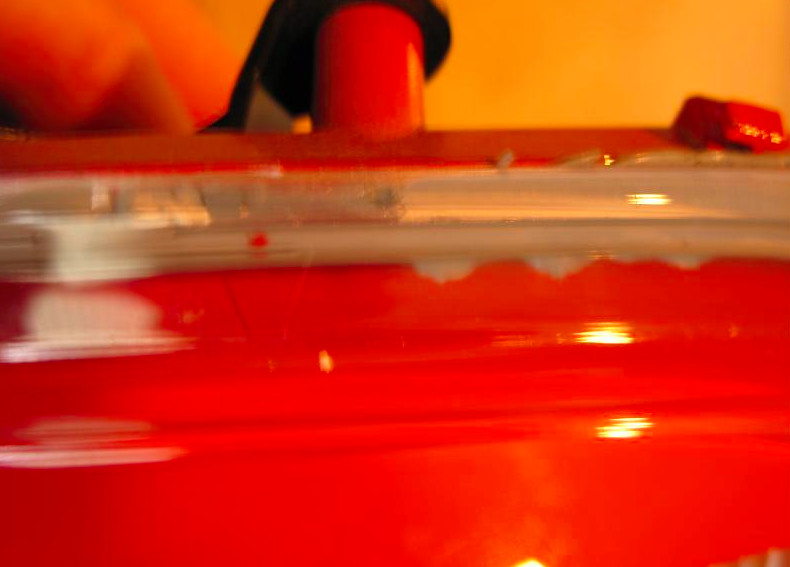
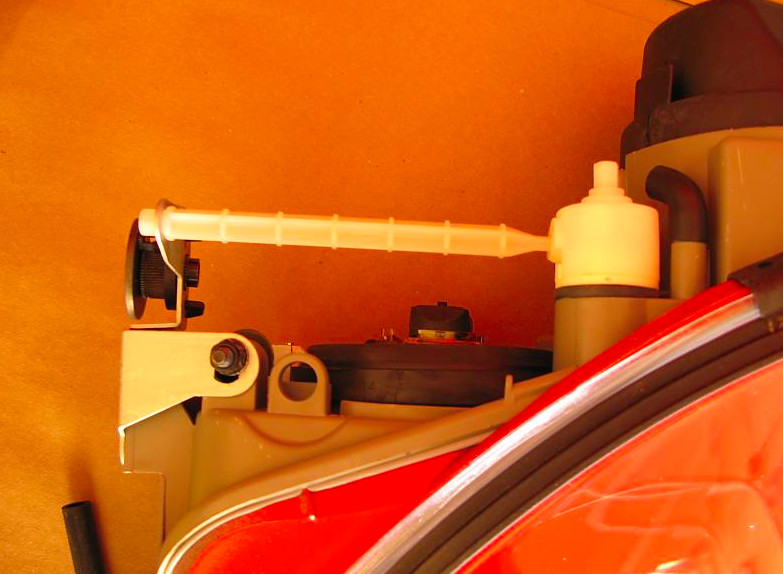
Oh, check out the size of that breather tube. Man, a roach could get in there. I'll be plugging it with some breathable insulation to reduce the amount of sht that gets in there.

12-19-2007
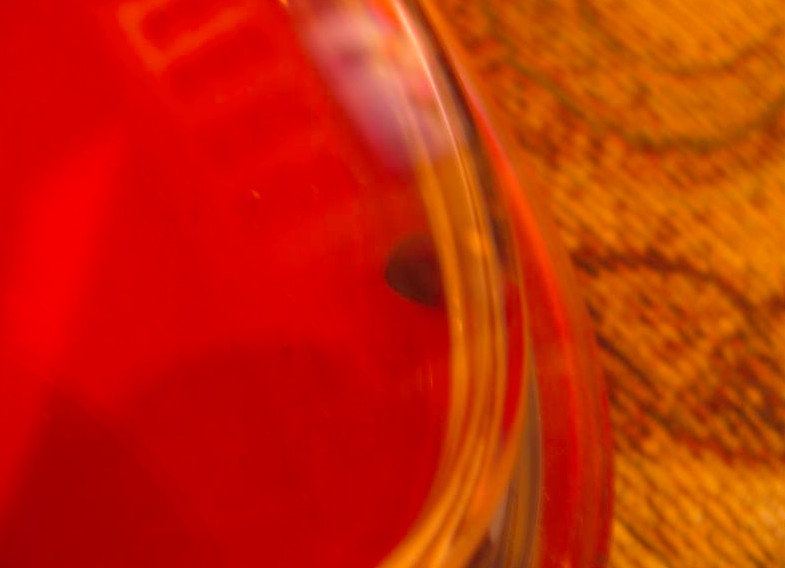
I tried using an exacto knife and box cutter but it is completely hopeless as you cannot cut beneath the bevel. You see the lens has a lip that protrudes approximately 1/4 inch into the red housing. So when you insert your knife you bump into the lip. You can't go under the lip where the adhesive puddles and grabs the lens. Unless you can make a knife that is extremely strong, razor thin, and semi-U shaped, there is no way you can cut around it. You may be able to cut the lens housing out that just contains the light fixtures but you will not have 100% access to the rest of the lens--so why even bother.
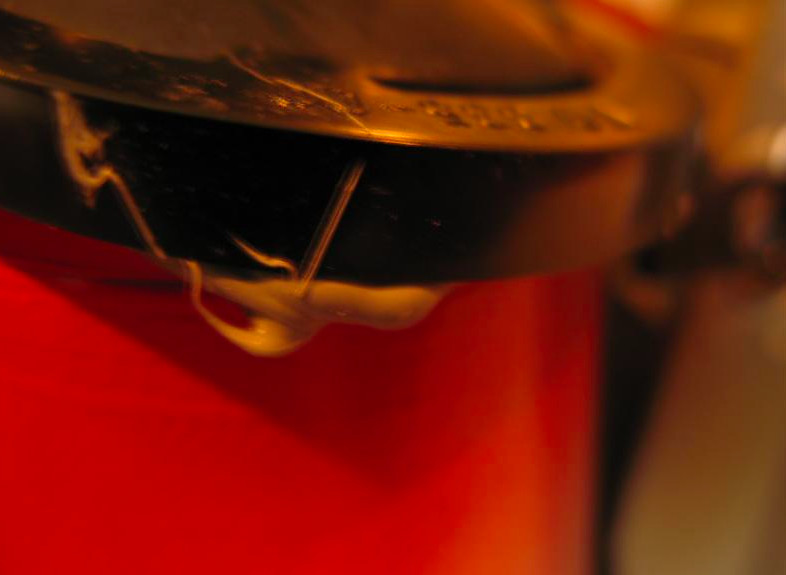
The heat gun is an option but you'd have to figure out a way to heat the entire circumfrence of the lens at the same time--no way folks. Besides, you will certainly stain the plastic with heat prints. Chemicals appear to be the only option left that I can see may have an affect. The rubberized material they use was applied in a very sloppy manner, not to mention way too much.
I have some goo off I may test a small area to see if it will loosen the material. Any thoughts appreciated, of course.
Also, that piece that was broken is used for adjusting the headlight's beam. You see, it is exactly where you insert your hex to change the beams direction. I played with it and saw if move other wheels that controlled the lights projection. So, the previous poster was right; you don't need it, as long as you never need to adjust you lights. If my light were in great shape, I too would put it back in as the beam was already in great position. My advice, if your lights are pointed in a happy place, and yours breaks, F-it. Put it back in and enjoy.
Pics attached...
THE LAST PIC SHOWS THE BLADE DEAD-ENDING INTO THE PLASTIC LIP--YOU CAN GO NO FURTHER WITH THE BLADE.
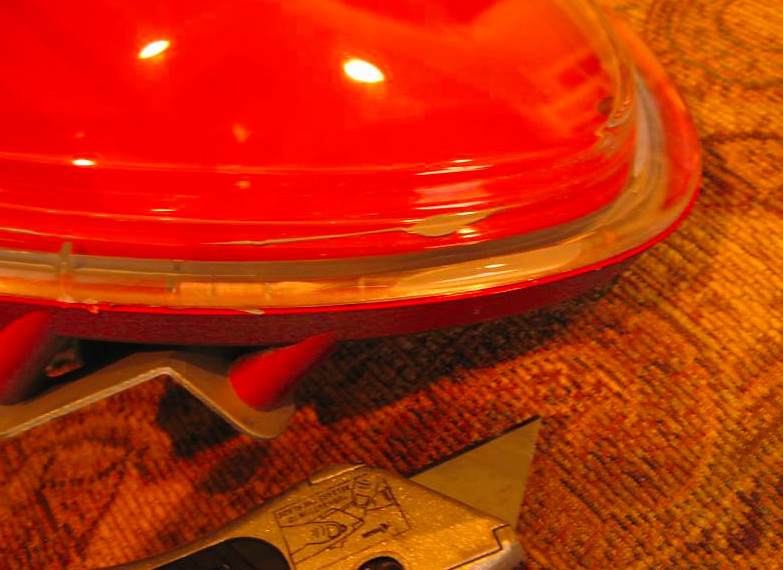

I thought of that, and attempted to push a stainless steel piece of wire through but it just bumps into that lip. I can't even pry the lens a centimeter off the housing. I did make an attempt to cut away the silicone internal housing and that failed too. My new headlight just arrived at Boardwalk Ferarri and it should be here within the hour.
I planned to conquer this headlight and extract the other with the solution to clean the lens. No luck. I'm not one to give up on anything, but I just can't get into it unless I do some cutting or cracking. I'm going to shelve this unit and think about it as sometimes things come to me later that may be the solution. I agree, the adhesive is not some glue, it's an epoxy that is VERY strong and most likely resistant to chemicals. I've managed to peel some off that I will subject to everything from alcohol to nuclear waste to see if I can get it to break down. If I find something that will work, I'll proceed to the unit.
I will be putting the car together as soon as the light gets here without attempting to do the other. I'm pretty bummed about the whole thing to be honest. I don't mind buying a light if I was able to figure out how to fix the second one. If I am unable to figure it out, the old one will be on ebay shortly. While it is completely functional, the adjuster will not operate from the trunk. You'd have to get in behind the light assembly and turn the dial. I'll be replacing the silicone as well so it remains a sealed unit. You better take my advice and never force that adjuster at anytime or you'll be looking at a busted headlight adjustment screw. That may very well have happened to me--I just didn't know it until I got it out. The parts are all plastic and very brittle and cheap. I imagine they are so brittle because they have been so close to the light and heat. I don't know for sure.
Okay, I've got it all together and let me tell you, that's some tricky ****. If you even bump that adjustment knob, you're toast. Have you ever played the game operation? If you're good at operation then you have a chance at being a good light installer. The tolerances of the light bracket screws and the holes is absolutely incredibly small. The margin for error is just damn scarey. One mistake, and you will bust your screw, literally. It is twice as hard to put these in as it is to get them out--true for a few things in life I suppose.
Pictures of the finished job. I'm very happy, and no screws, nuts or washers left over!!! I'm so pleased I'll be buying another light for the other side. You can see why too. Oh, I won't be installing it unless they want some obscene number to do it of course. Have a looksie and let me know if you have any q's. It is just too much time with your hands in very difficult areas for too long. If I had a lift, it would have been a lot easier.
Cheers~
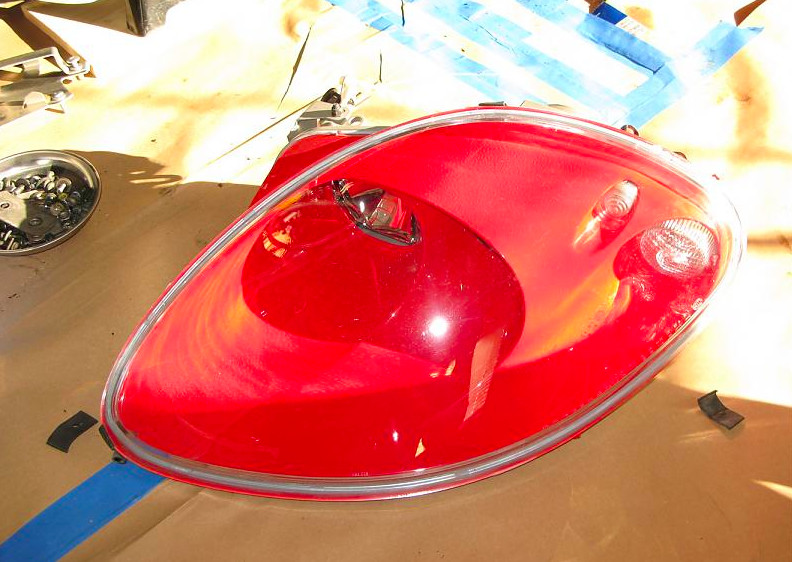
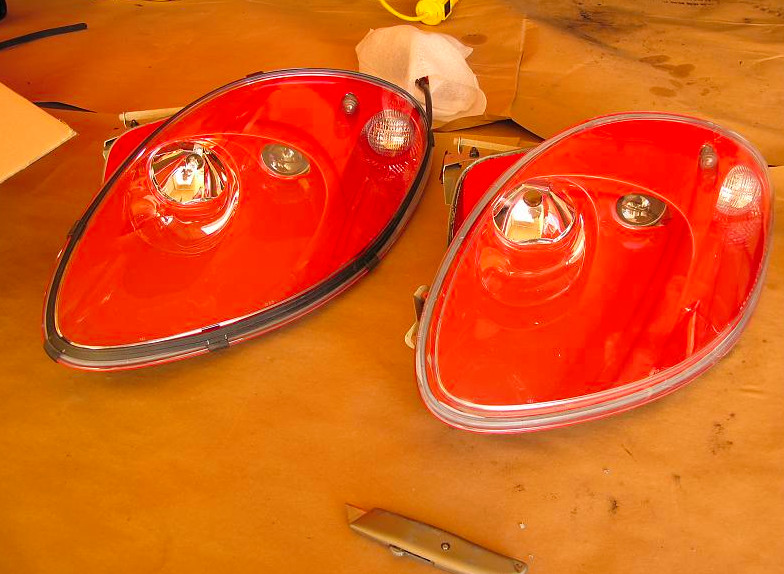
Pic 1 & 2: New on the left, old on the right (old has no black insulator on it), also the new one came with everything including bulbs and an ignitor.
Pic 3: The dreaded adjustment screw (f-in piece of x#%&*).
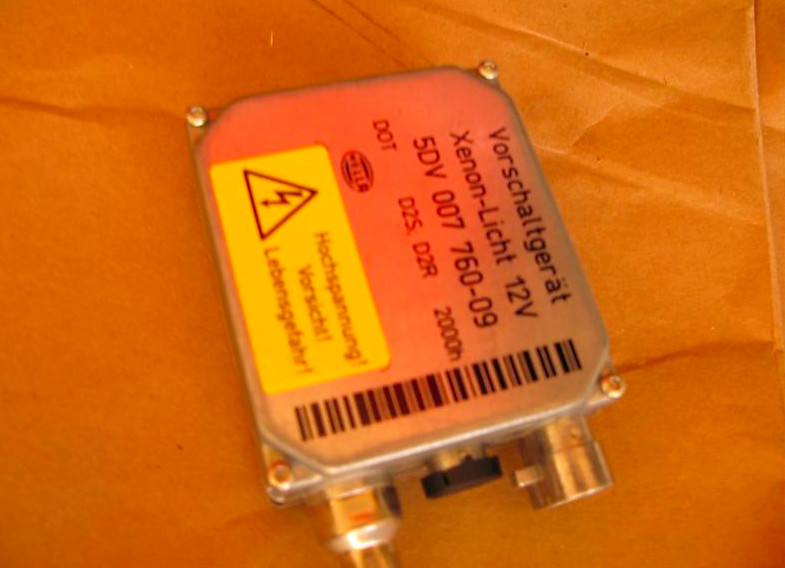
Pic 4:The new ignitor--don't mess with this thing when things are running or you could be toast!
Pic 5: Bumper with spacers to maintain the correct spacing between bumper and body
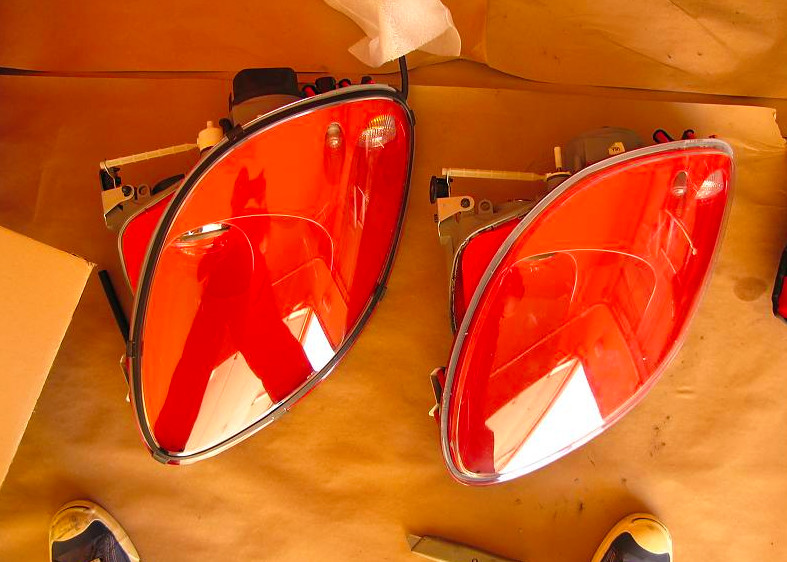
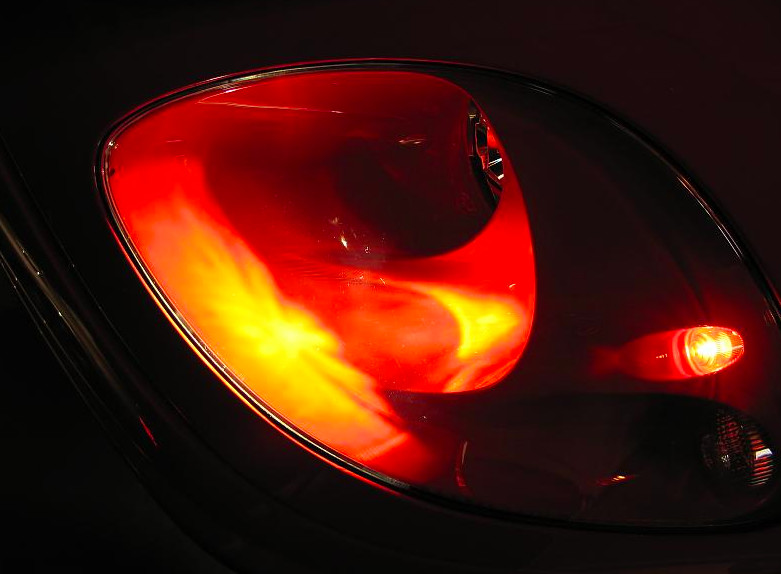
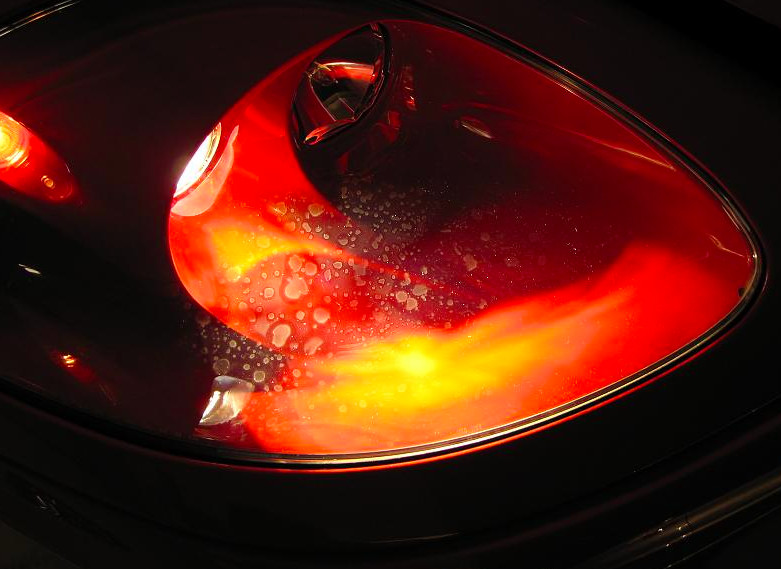
Pic 6 & 7: The new light (lights off and lights on)
Pic 8: The old...
Man am I happy with the new one.
12-28-2007
I went to pick up the new right headlight from Boardwalk Ferrari in Plano, what a great place. Danny is a great guy to deal with there in the parts department. If you're reading this, thanks buddy. I also received my challenge grills which I also installed (see challenge grill post).
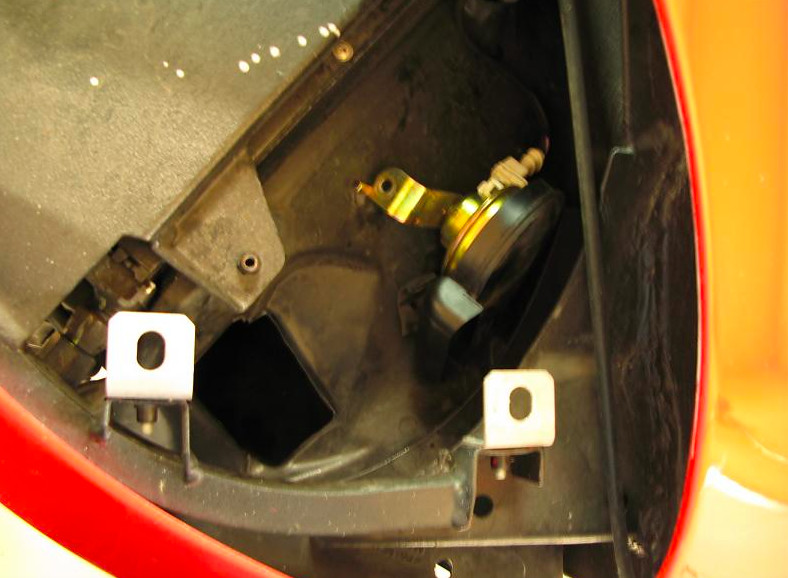
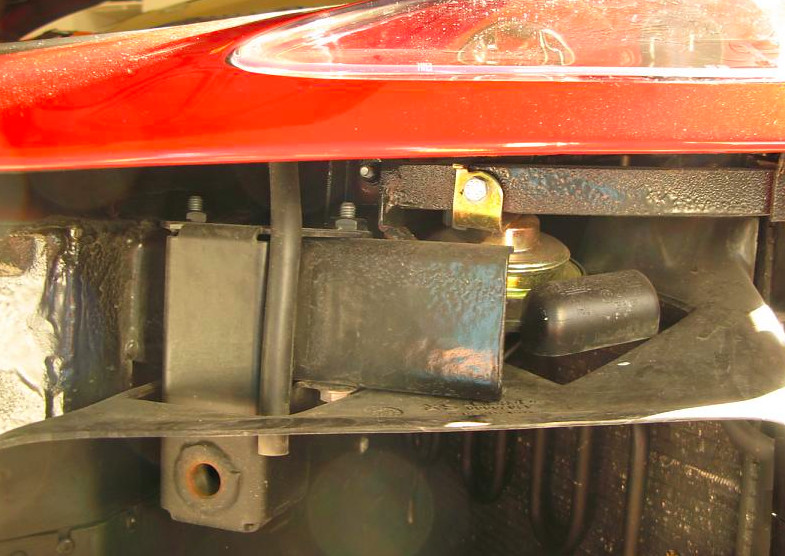
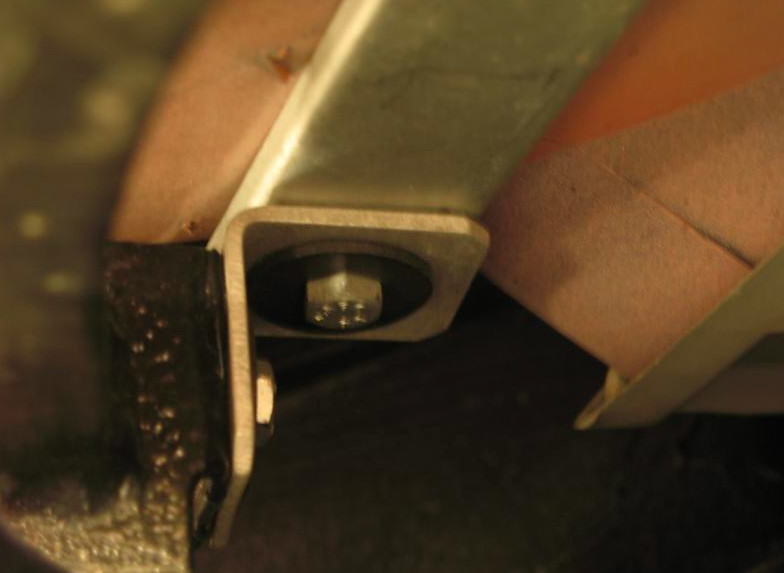
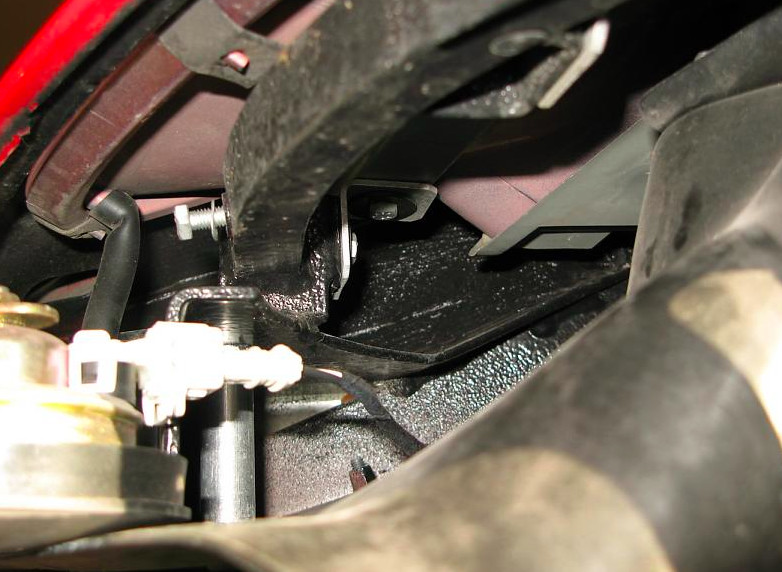
Pic 1: I came across some problems on the install of the right light. It was harder to install, no doubt, than the left. I don't know why, but there was less room to move around. I actually had to remove the screws from the front right cowl to move it enough for me to gain access to some additional bolts that were very hard to get to. In addition, I thought I'd try not to remove the front support "L brackets" but ended up having to remove them as the insulation around the new headlight rolled when I pushed the light into place. Removing the L's allowed me to push the light in without distorting the insulator. But g'dang it, it was a hell of a job getting at the bolts. I used a 1/4 inch pneumatic as there is no room to really move your hand. This photo is from the top of the car looking down into the hole of the right Headlight. The two shiney things are the L brackets (m-f'ers). It took me 45 minutes to get the bumper off and the headlight out--great time, really. It took me another 3.5 hours to get the challenge grills in (see post, pia) and the new light in. Oh, I had to remove the horn too as I needed the space for my wrench.
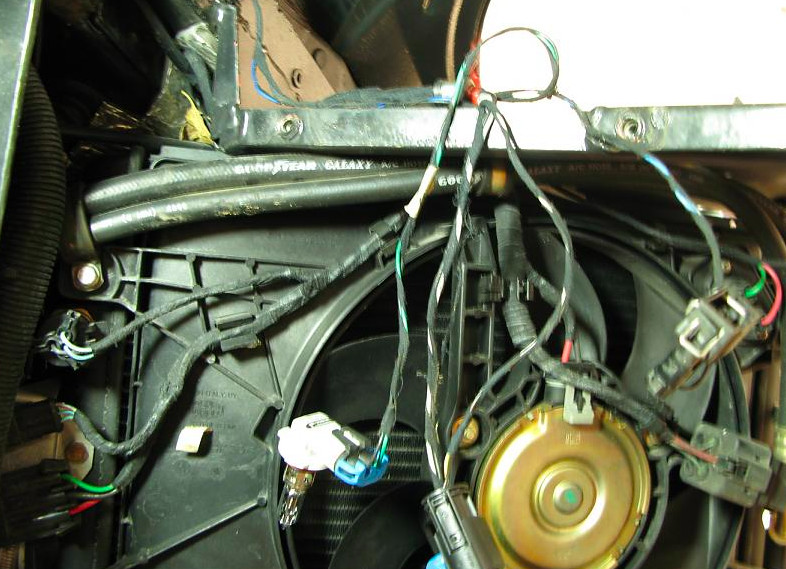
Pic 2: All the damn wires and connections. Be careful as two of the female ends match--the ignitor and high beam are the same connectors. The brown/black wire connector goes to the ignitor. Mess that up and you may have serious problems!
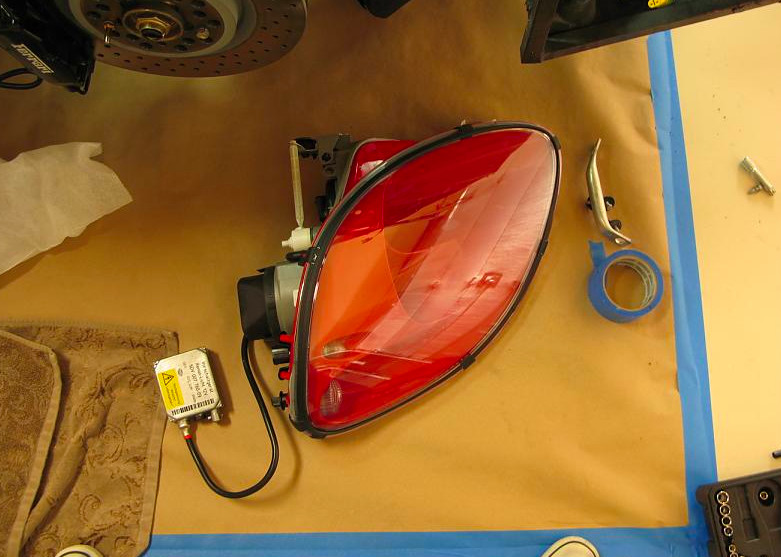
Pic 3:The new light and igniter--this is how it comes folks. It includes all the bulbs, insulator and connector.
Pic 4: All done, and it looks great. Let's not discuss the price or I may throw-up on my computer.