- 7 mm socket,
- ratchet wrench,
- flathead screwdriver,
- butter knife or putty knife, ü needle nose pliers
- T30 torx bit screwdriver
You must be logged in to rate content!
8 minute read

2010-2014 Ford Mustang Door Panel Insert Installation
To begin installation of the door inserts, we recommend that you first remove the door panels from the car doors themselves. It helps maneuver everything into position eventually and gives you more room to work.
It can be done with the panels still on the doors, but it’s a good investment of your time to remove them. This is covered in steps 1-9. If you are sure about doing this inside the car, start with step 10.
Required tools:
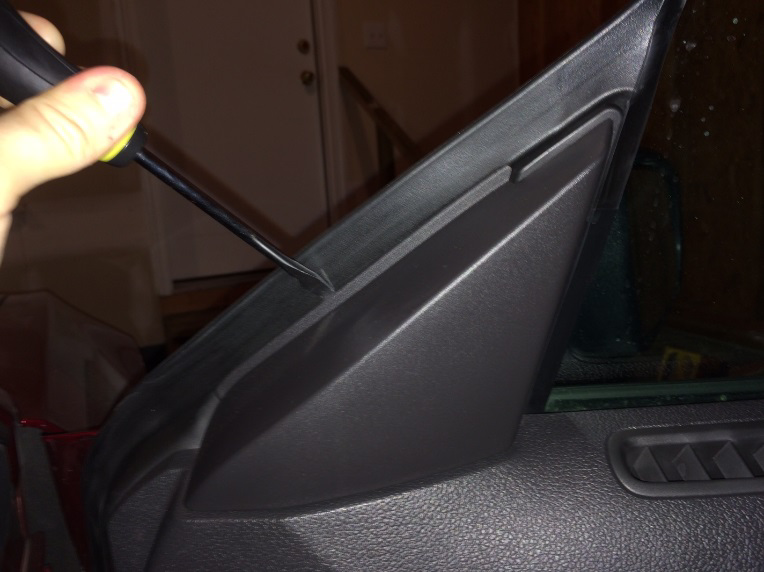
1. First, begin by removing the sail panel on the leading edge of the door by prying it off carefully with a flathead screwdriver. Unplug it and set it carefully aside.
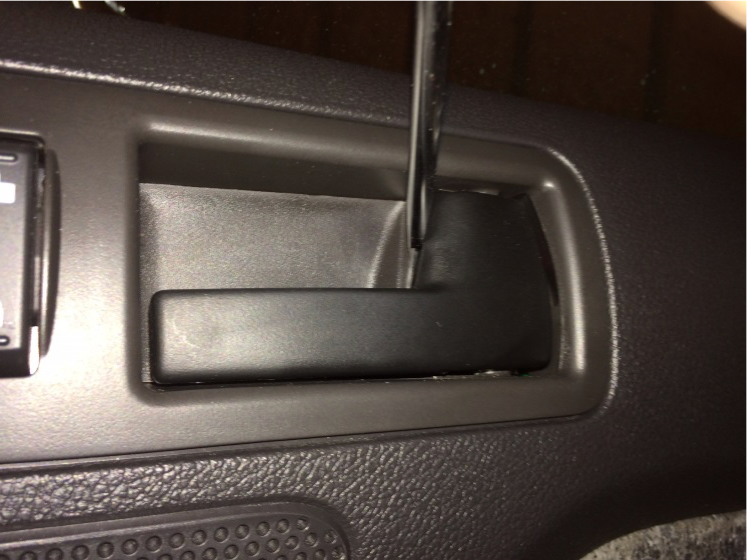
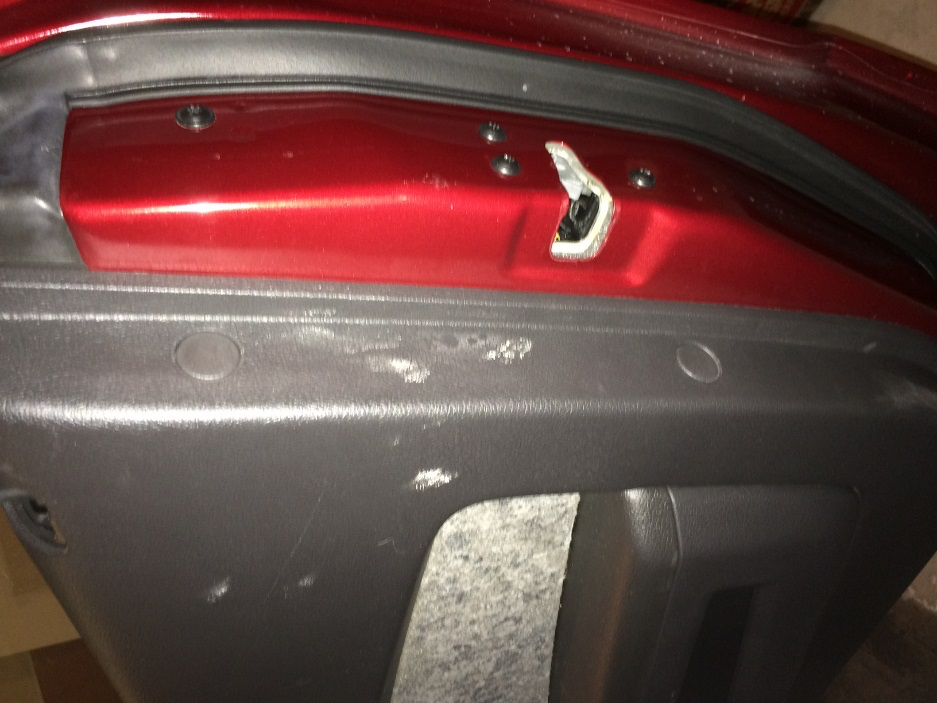
2. Remove the small panel behind the door handle by carefully prying it out as well. Remove the screw behind it using the T30 torx bit.
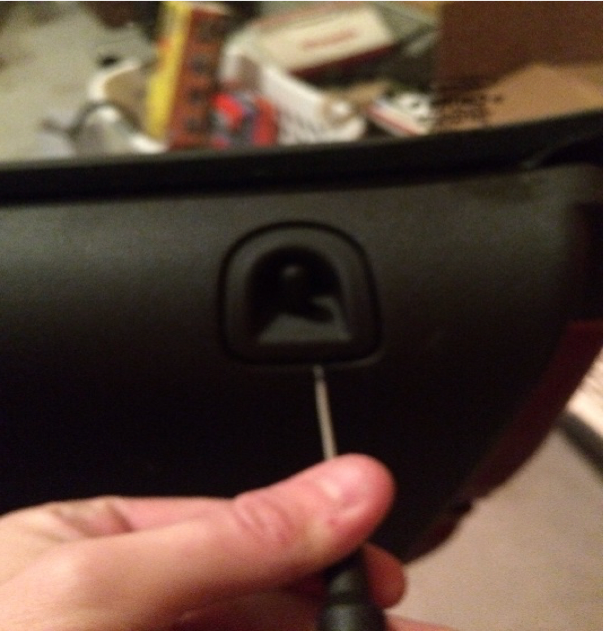
3. Remove the lock pin cover at the far end of the door by prying it carefully upwards from the bottom using a small phillips flathead screwdriver.
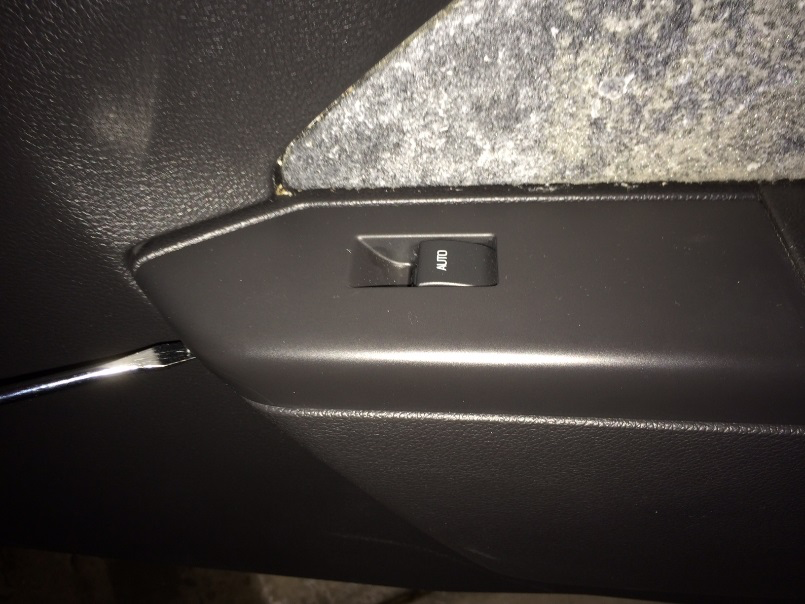
4. Remove the window control panel at the front end of the armrest. It’s basically hinged at the back end, so pry it up from the front as shown.
5. The last piece of removable plastic is the square-shaped piece of plastic in the middle of the armrest behind the handle. Pry it up from the top, this may require some forceful pulling, make sure you don’t scratch it. Remove the T30 screw below this panel.
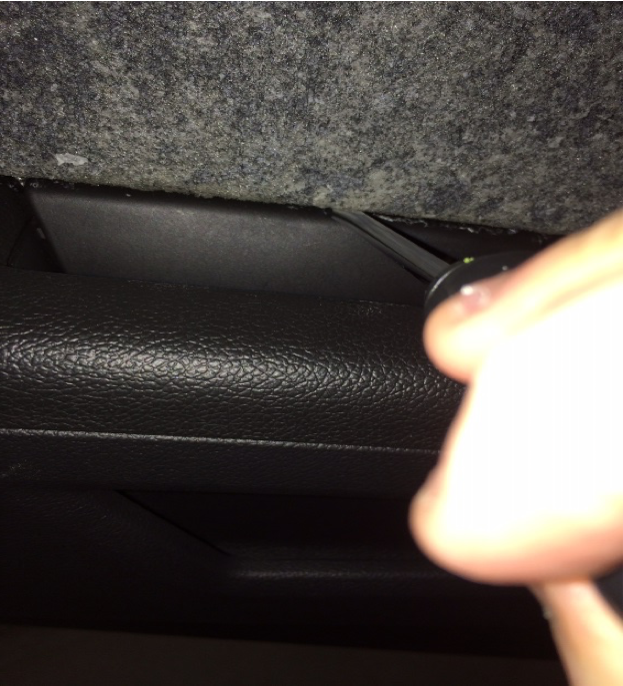
6. Next, remove the screw from inside the armrest under the window control panel you just removed. It is located right below the door panel inserts inside the small hole where there is an indentation.
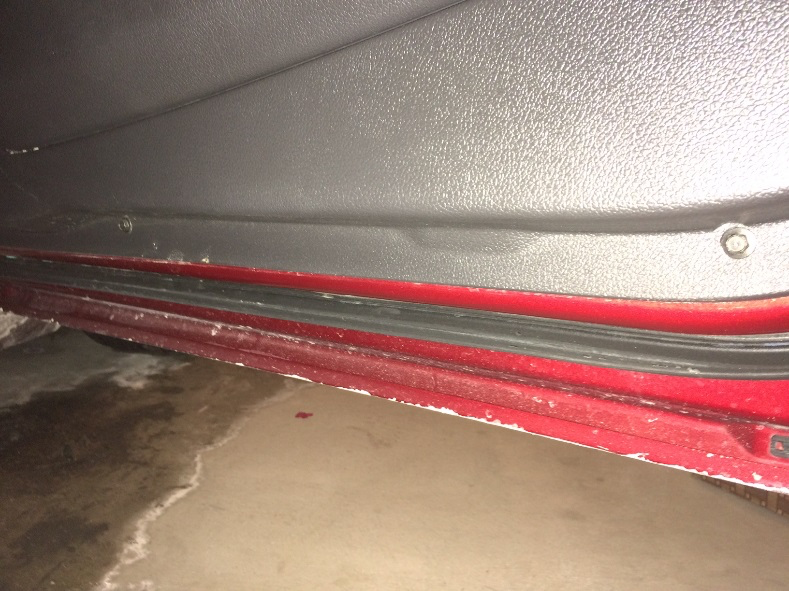
7. Remove the 2 screws using the 7mm socket from the inside edge of the door hinge, then the 3 screws on the bottom of the door.
8. Lastly, pry open the small circular covers on the edge of the door and remove the screws there with the 7mm socket.
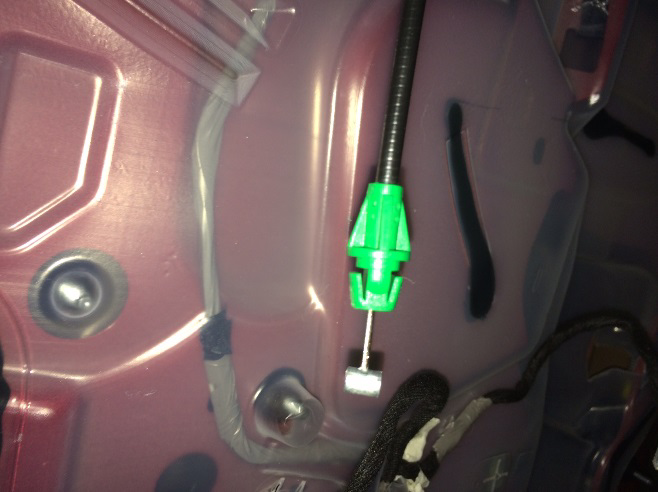
9. Now, once you’re sure all the screws are off, you should be able to lift the door off the frame. There is one additional electrical plug you must disconnect from the lock button on the door handle. The door handle is also held in place by, basically, a bicycle-brake-style assembly. Use a pair of needle-nose pliers to squeeze
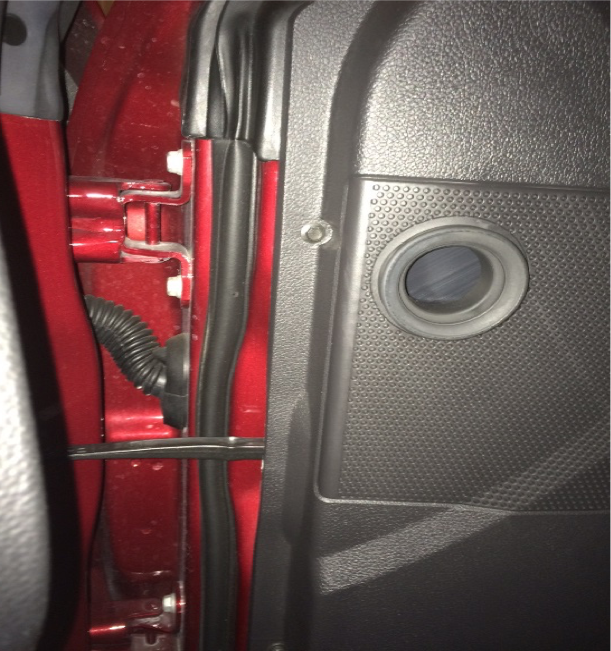
together the green prongs, then force it through the back edge and remove the circular metal piece from the hole. There is a small line-shaped hole that you can pull the metal piece out from. Pull the door up and out and you should be ready to go. Take it somewhere carefully to work on it comfortably.
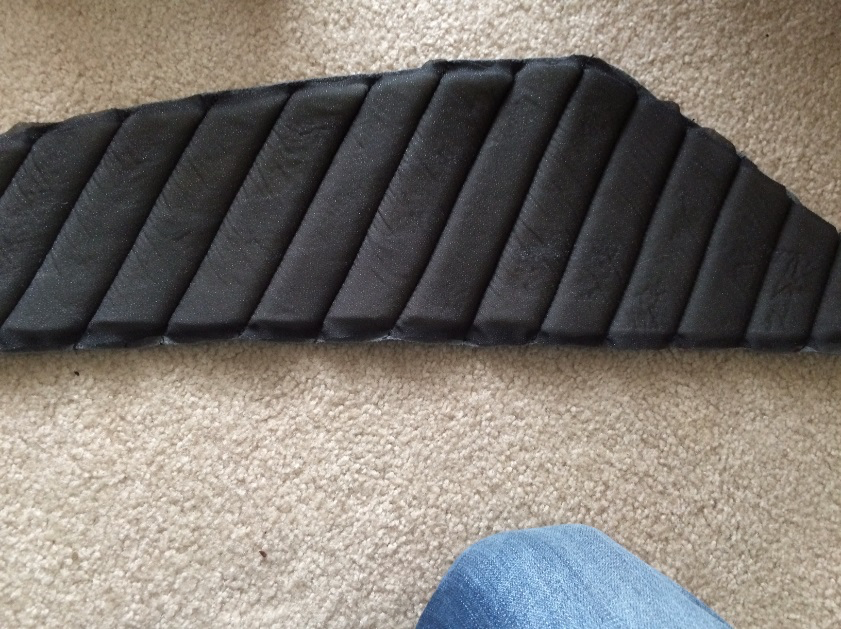
10. Next comes the removal of the actual fabric on the door. This consists of a vinyl surface with a foam backing. These parts lay on top of the actual door plastic bevel. We will be removing all of this in order to get at the plastic.
11. Use a flathead screwdriver or other blunt instrument to lift the vinyl off the foam. You can attempt to preserve this, although you won’t need it.
12. Use that same screwdriver to lift the foam backing. As it used high-strength adhesive to stay on, this will require some force. Start at the back edge and slowly but carefully rip it off from the plastic.
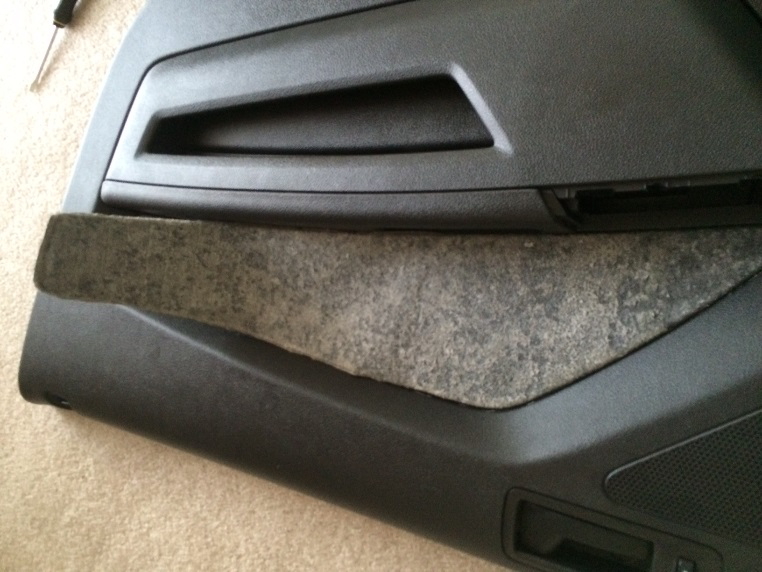
13. Trim up the foam remnants, especially on the edges, so that once the leather is pushed into the creases it does not deform against this. It’s not necessary to trim or sand the panel, as the foam will just bond to the new insert.
14. Prepare the insert and panel for installation. Mask off the edges of the door a little ways so the glue you use doesn’t mess up the doors. I used painter’s tape. Make sure it’s a couple inches from the recesses.
15. The RedlineGoods inserts came with a bit of excess fabric. That is on purpose, it’s better to cut a tad too wide, than too narrow.JTrim small strips off if necessary, so that the glue would be able to stick to the leather properly.
16. We’re finally ready to go.
Used DAP Weldwood or similar spray adhesive in order to attach the inserts to the door. It is a high-quality, high strength long hang time adhesive that is commonly used for automotive upholstery. It can be found at many stores such as Menard’s or Home Depot. Spray the back side of the door panel insert, making especially sure to get the edges.
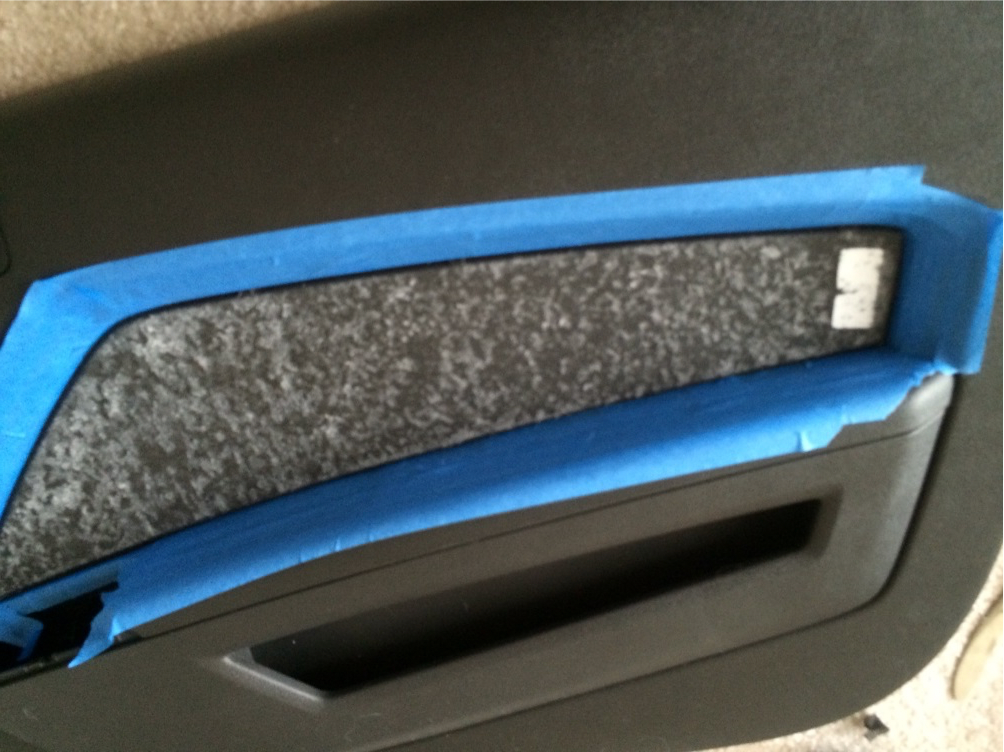
17. Spray the now-masked door panel. Make sure to get the glue on the edges.
18. Apply the foam backing on the insert directly to the panel. It may need to be stretched in order to fit all the way across. The foam should fit comfortably on top of the panel.
19. Now, working quickly but carefully, use the butter knife (or putty knife, if you have one) and carefully knead the leather into the recesses. It’s pretty straight forward. You may need to use your hands to flip the leather around as it will be very sticky. This is what the masking tape is for. Stretching the leather to fit works well if you need a little more room. Try to keep the leather “fluffed up” so that it doesn’t crease or wrinkle. Stretching may remove wrinkles while you’re installing. The leather should be thick enough that it will press against the door plastic and hide any spray adhesive that may be left.
20. Eventually, you may need to remove the painter’s tape in order to get the leather inside the recesses properly. After a few minutes this is no problem and the glue shouldn’t stick to the door anymore. Consult the spray adhesive instructions for necessary setting time.
21. Finally, let the door panel dry. You may need to use a bit of acetone on the end of a cotton swab, some leather cleaner and leather conditioner in order to remove any spray adhesive you may have gotten on the leather. Make sure what you use is safe to use on leather and use as little as humanly possible.
22. Reinstall the door panel back onto the car doors in reverse order of steps 1-9.
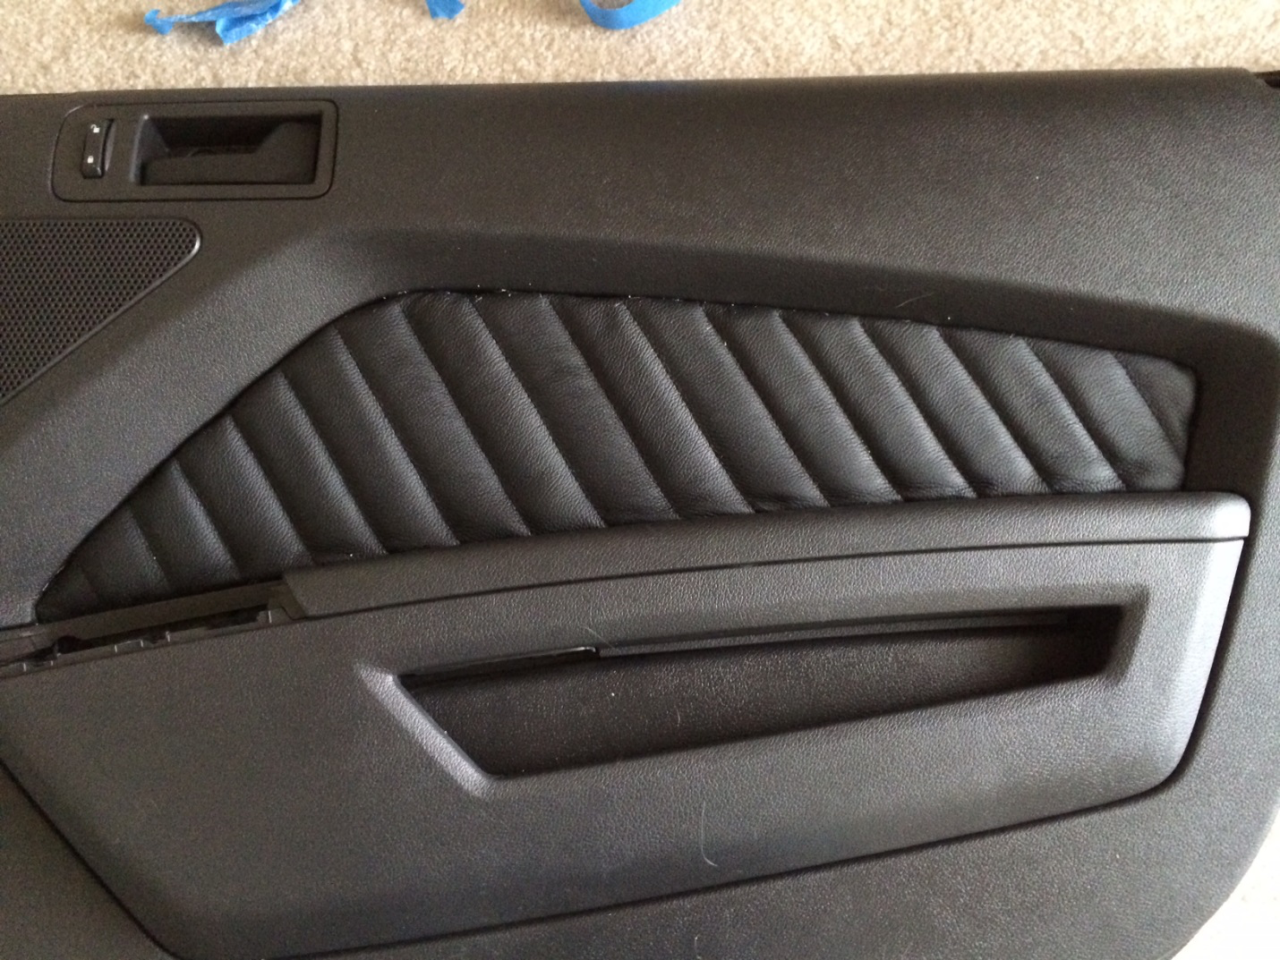
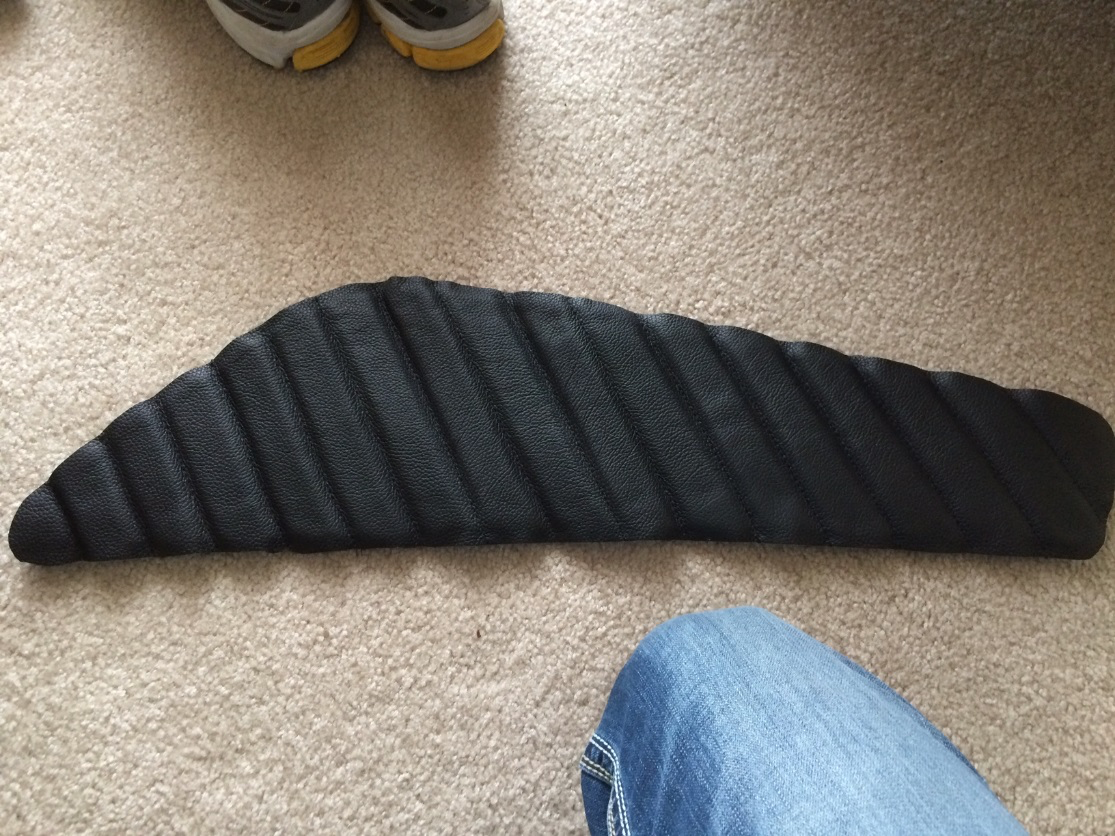
23. Below is a picture of the finished product before cleaning. Results may vary depending on how creased your leather came in the mail. The nice thing is the leather is strong enough that you could easily pry it back up using a screwdriver and try to start over if you mess things up a bit.