You must be logged in to rate content!
4 minute read
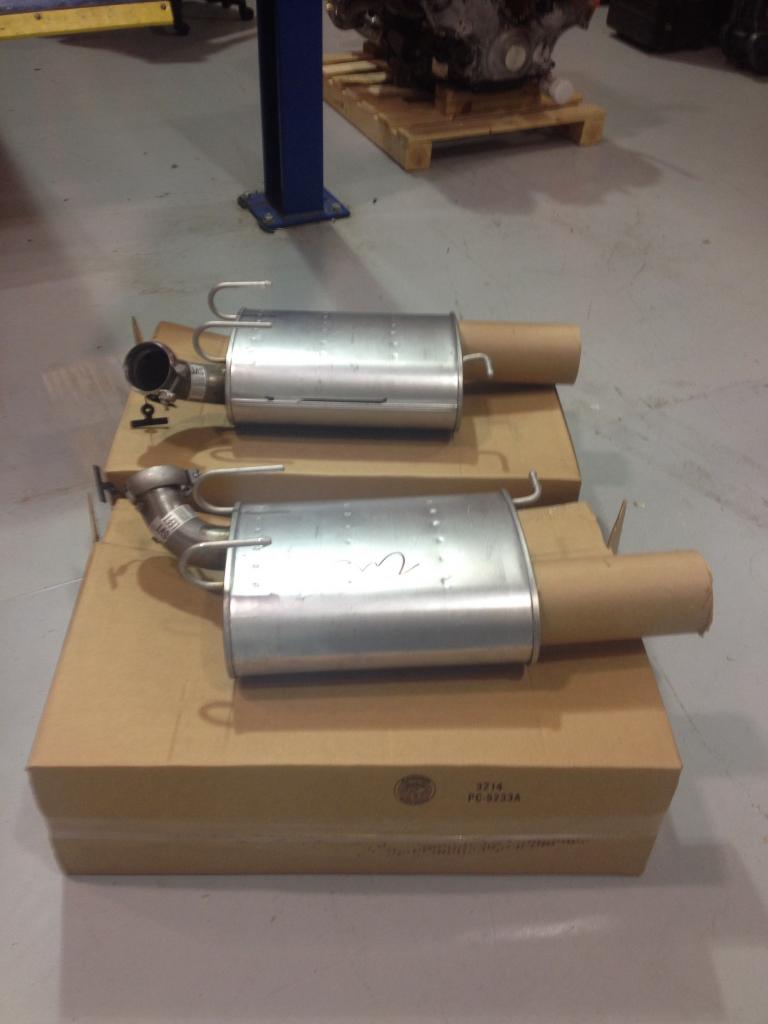
GT500 Axle Back Exhaust Install on a 2013 Mustang GT
Tools needed:
1/2" socket
Ratchet
Extension
1/2" wrench
WD40
Jack/Stands or Lift
Time needed: 30-60 minutes
I removed the SLP straight pipes to put GT500 mufflers on. It took slightly longer than I thought but it wasn't more than an hour. I had it on a lift which made it easier. The mufflers are fairly heavy to hold up while wrenching so it may be handy to have someone else around just in case but I was able to do it by myself.
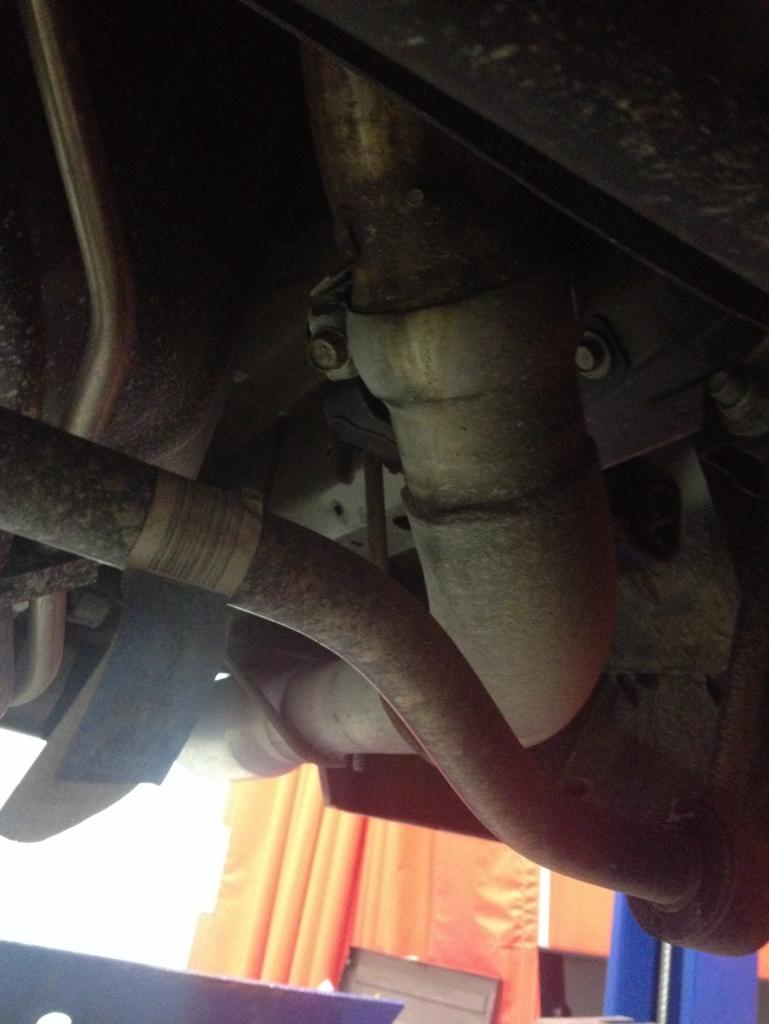
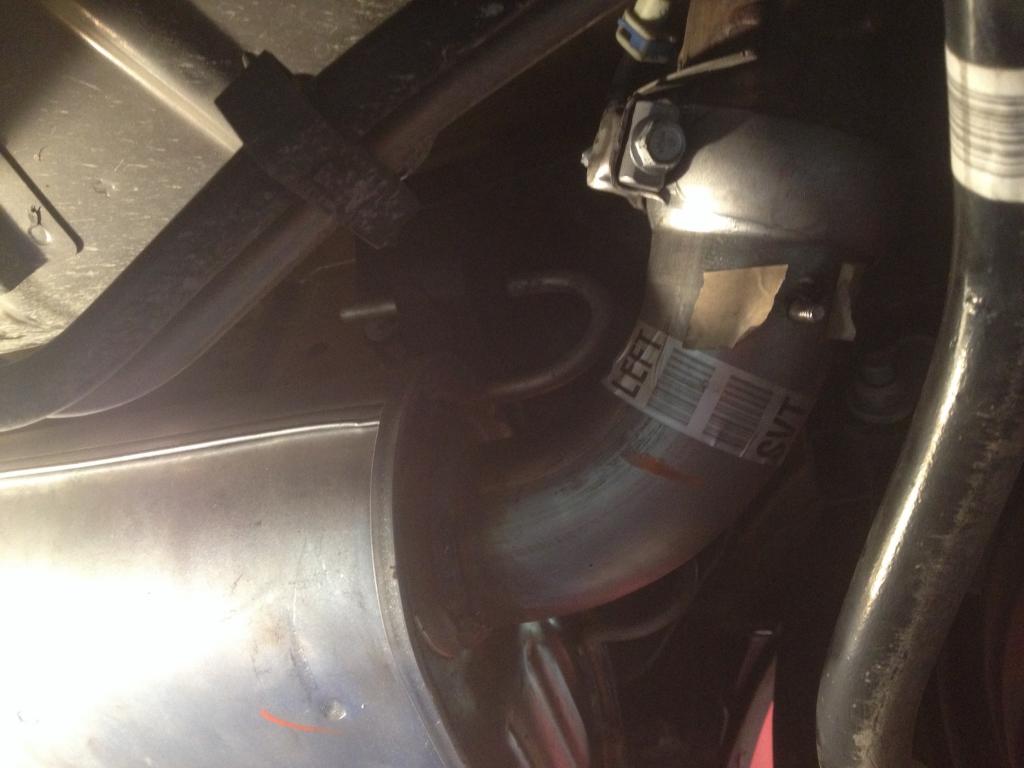
1. Lift the car in a safe manner. Pick a side, I chose the drivers side. You will see the clamp holding the end portion of the exhaust on. Loosen it with the ratchet. The clamp may be attached to a tab that is welded on if this is the first time it has been removed. You can bend it several times until it breaks or use a shears of some sort. Once the clamp is loosened enough give it a few shakes or whacks and it will come loose from the rest of the exhaust.
2. Slide the exhaust holders from their hangers. Spraying some WD40 into them makes it easier.
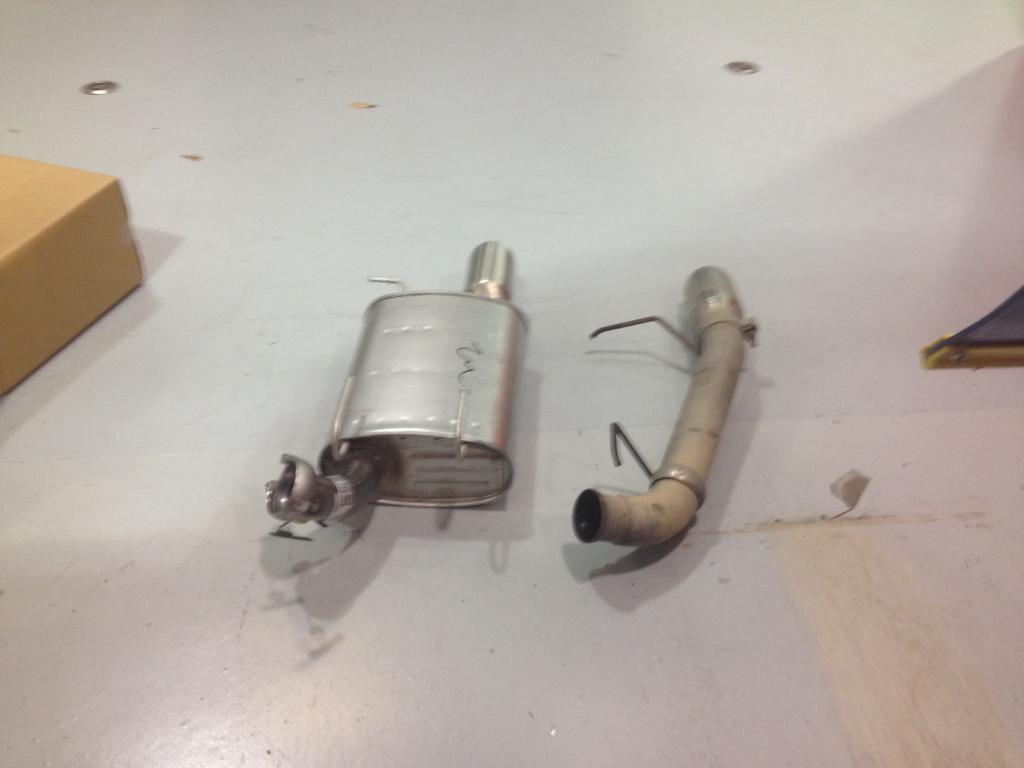
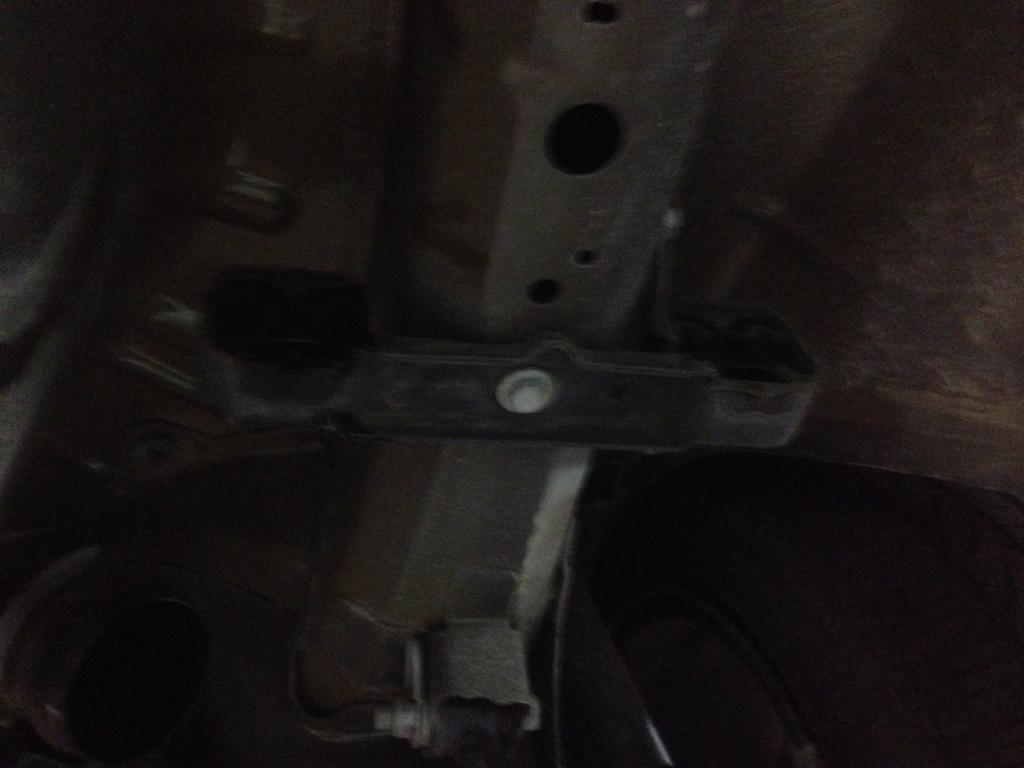
3. Some places say you can slide the new muffler section into the hangers. I wasn't able to find an angle where this would work. So I removed the front hanger bracket which is held on by 3 1/2" bolts.
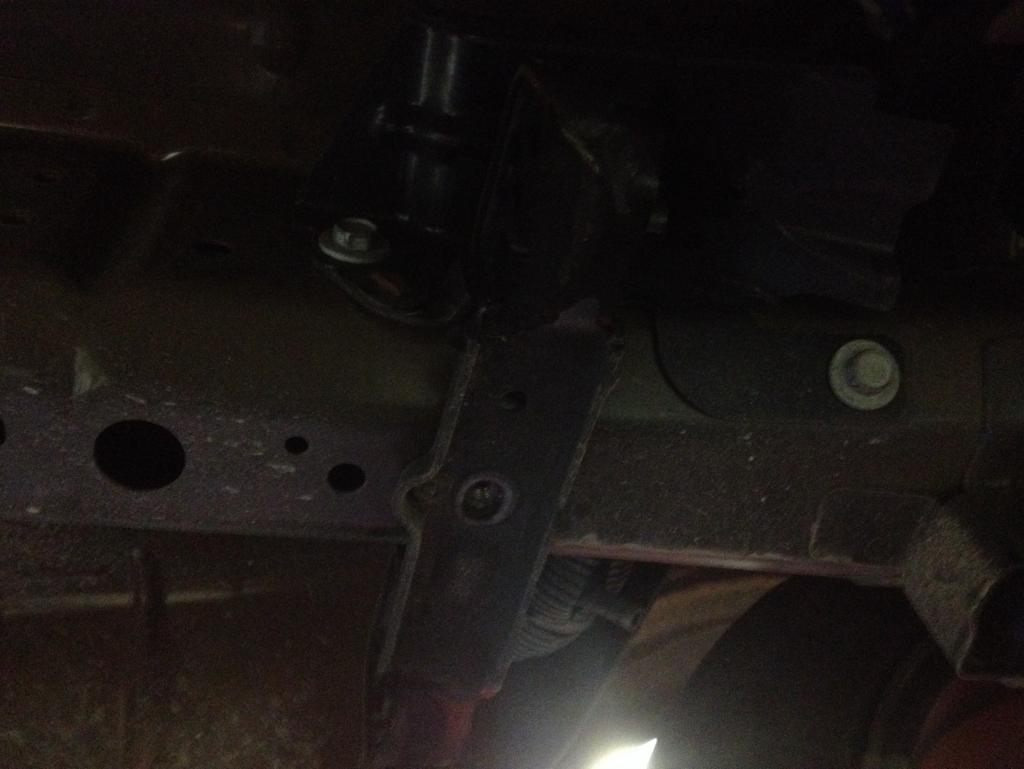
Doing it this way is kindof a pain as you have to hold up the muffler while trying to re-insert the bolts without a lot of room to do it with. If you can find a way to attach the muffler to the hangars without doing this more power to you.
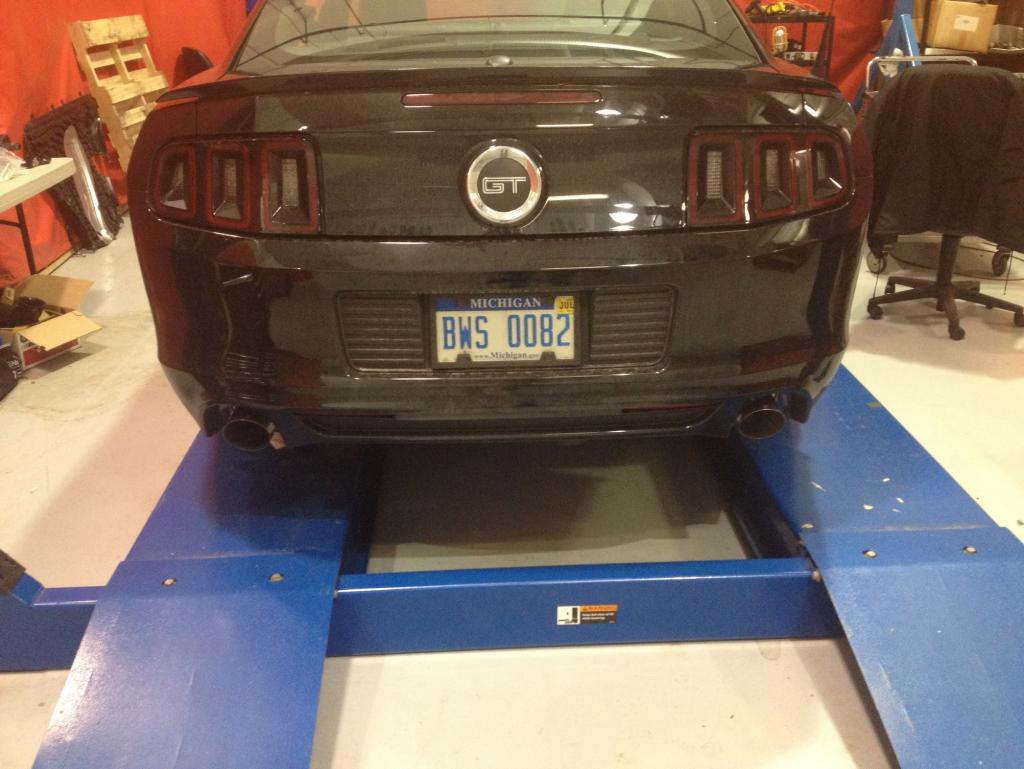
4. Once the muffler is hanging, re-attach it to the rest of the exhaust system and start tightening the clamp. Before you finish tightening shake and smack the exhaust around some to make sure it is settled, then check the alignment in the exhaust port in the rear bumper. If it has to be re-centered you may need to loosen the clamp, adjust, and tighten.
5. Repeat with the Passenger side. This side only has 2 1/2" bolts holding the exhaust hangar bracket but was just as much of a pain as the other side.
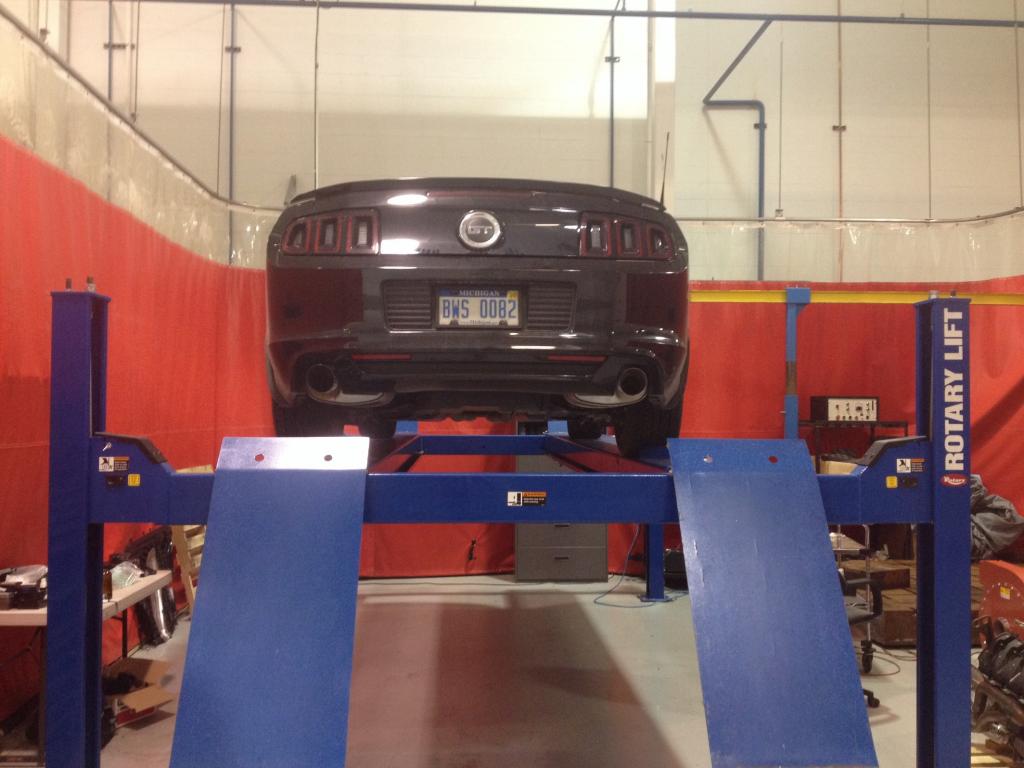
6. Check the final alignment. If it is looking good you are all done! Enjoy the new sounds!

Comments

Woah!
Posted by bdub on 4/11/16 @ 2:14:03 PM

NAZ!
Posted by diyauto on 4/11/16 @ 2:09:10 PM
Nice DIY Bro!
Posted by stevegolf on 6/20/16 @ 11:39:36 PM