You must be logged in to rate content!
5 minute read

2011+ FOCUS SHIFT BOOT INSTALLATION INSTRUCTIONS
MANUAL SHIFT BOOT
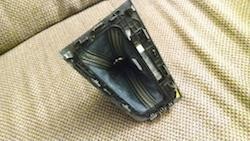
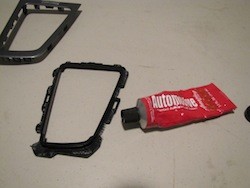
1. Remove shift knob by turning counter clockwise. Pop out the entire trim ring that contains the shift boot. Disassemble the boot base ring from the trim plate
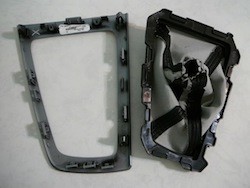
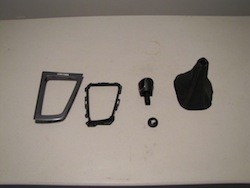
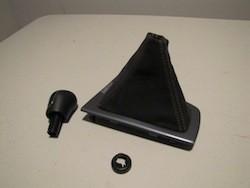
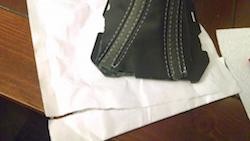
2. Separate the boot from the base ring it is adhered to. The adhesive Ford uses is not overly strong, but patience is required to separate the leather from the plastic w/o ripping the leather. You will end up with a trim ring, a base ring, the shift knob, and the shift knob clip.(this picture shows the new Redline boot).
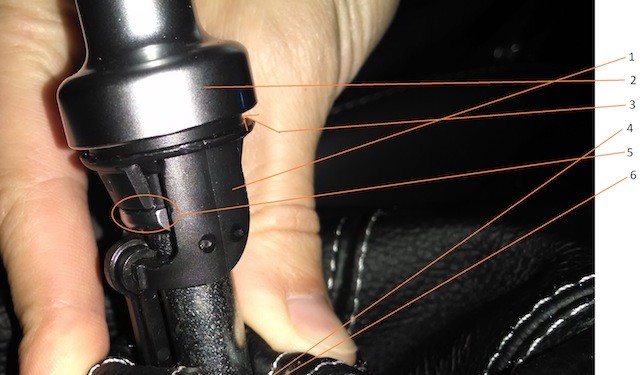
ADDITIONAL REMARKS FOR FOCUS ST CARS. The black piece (1) connects into the silver piece above it (2). The original leather goes up under that silver piece (arrow marked as 3) and is pinched between the silver piece and the black piece. Our leather is too thick to fit between the two therefore the boot needs to be flipped inside-out and ziptied right below the silver piece. Alcantara boots can be installed as the stock boot was since Alcantara is much thinner than leather.
3. Apply adhesive to the shift boot base ring(You can use contact cement or pieces of thin double sided tape). This will keep the boot on the base ring for re-installation into the trim ring.
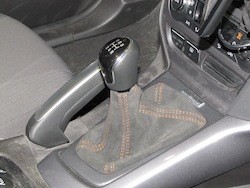
4. Stretch new Redline boot over base ring, and clip back into trim ring. The trim ring will clamp down on the boot, sandwiching it between the two plastic rings.
5. Insert the shift knob clip into the neck of the Redline boot, and push knob into top of boot. Reinstall in car.
AUTOMATIC SHIFT BOOT
1. You are going to want to pry up on the shifter surround to pop it up. Use a pry tool and start at rear left.
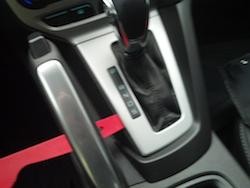
2. One you get that popped up, it's easier for the next steps to put the tranny in D or lower. Go ahead and lift the trim with the shift boot up over the gearshift knob. Be carefull because there is a wire clipped into the gearshift selector for illumination. You are going to have to unclip that before you can raise the piece over the knob. The stock shift boot will be zip tied to the shift knob as well.
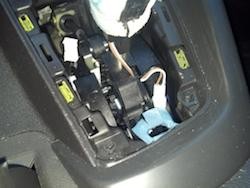
3. One you get the boot and trim piece up, you are going to have to unclip the white clip on the right side of the gear shifter. This is for the select shift buttons to work, so you may not have this connector if you don't have select shift. Now look on the front of the knob, you will see two screws holding it on the shaft.
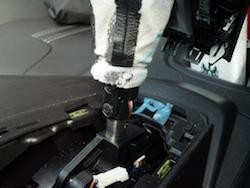
4. BE VERY CAREFUL when unscrewing these, as you do not want to drop them into the center console. You also need to cut the zip tie. Then pull up on the knob and it will come off. Separate the knob from the boot, and flip over the console trim and you will see a black plastic frame that is snapped in. The boot is actually attached to this. Unsnap the frame from the trim piece.
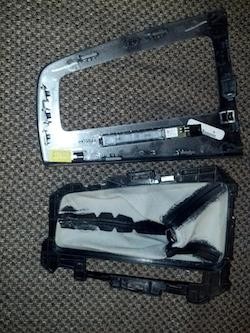
5. The stock boot is just glued to the black plastic frame. You can carefully peel it off. Don't rip the stock boot if you plan on re using it.
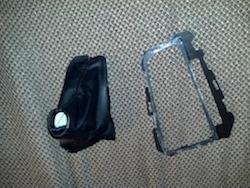
6. Install it basically the same in reverse. I used super glue to glue the new boot to the black frame. Obviously be careful with the glue, you do not want it on the new boot or your fingers. I would wear nitrile or latex gloves.
7. There is a little notch on the new boot that matches up with the black frame. Once it's glued, reverse the removal steps to pop it back in!