You must be logged in to rate content!
5 minute(s) of a 78 minute read
12-1-2012
Merry Christmas to the Mustang and I! 
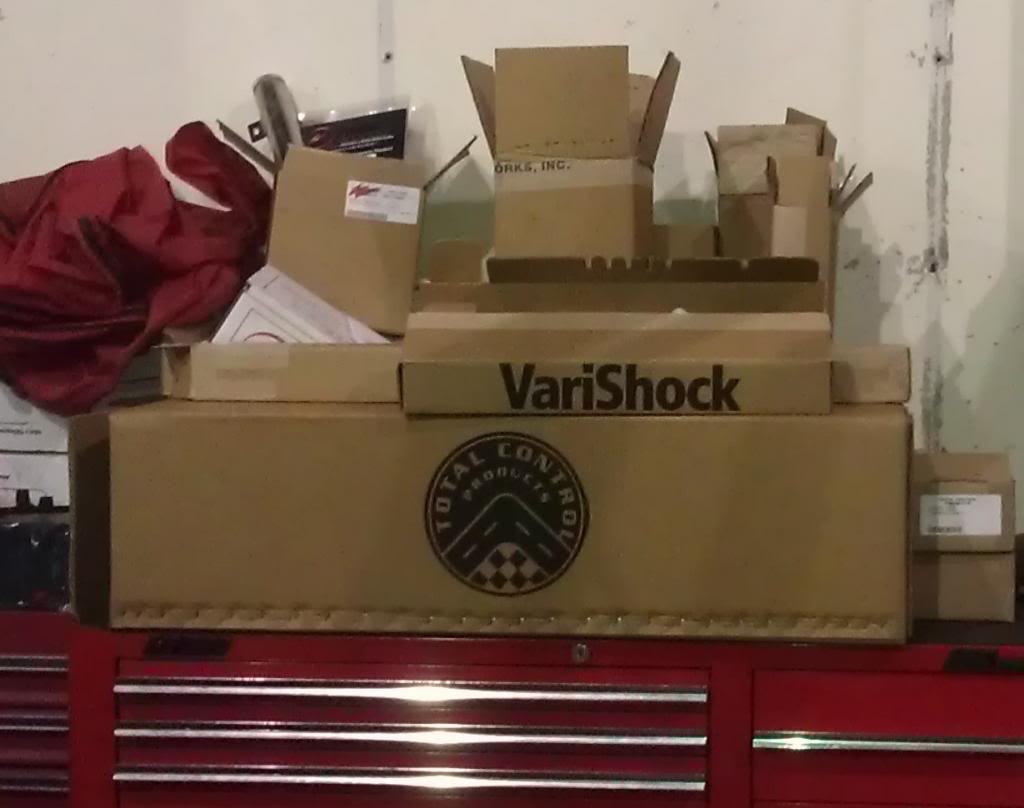
TCP FRONT-END, RACK & PINION, and WILWOOD BRAKE INSTALL
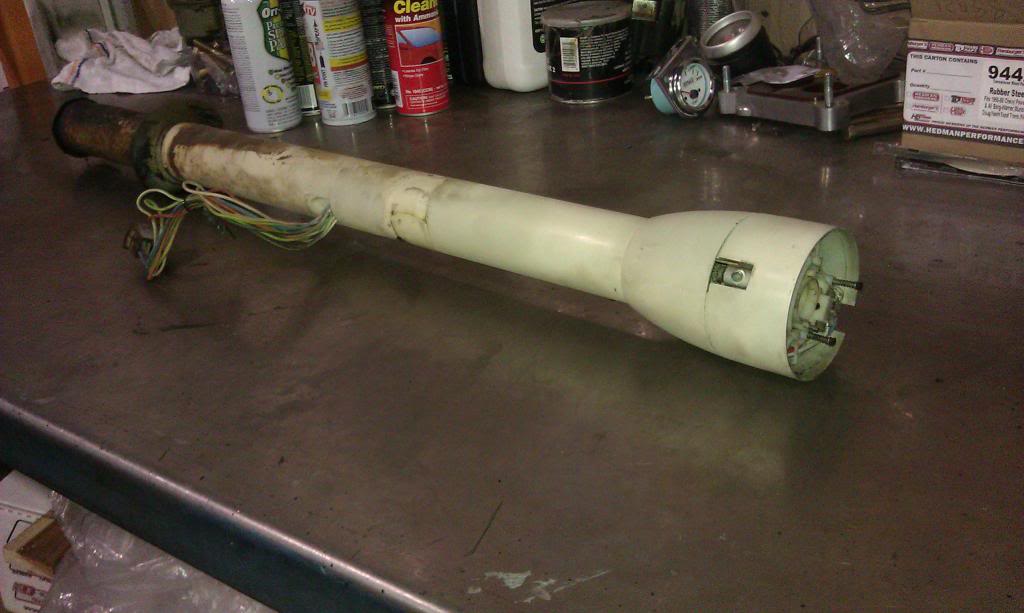
The TCP rack reuses the factory column or an aftermarket coulmn, your choice. For the '65-early '67 Mustangs that have the one-piece steering box and shaft combo it comes with a new center shaft that replaces the factory one, lower u-joints, and coupling shaft to attach to the rack down below. You will need to cut the stock column so the TCP kit also includes a retainer bearing/column cap assembly, a firewall support bracket and boot.
The stock column popped right out and slid off of the factory steering shaft that is one-peice with the box. I used a little persuasion (pry bar) between the box and the column to unseat 45 years of stick! Only took about 20 minutes and it was out and on the bench.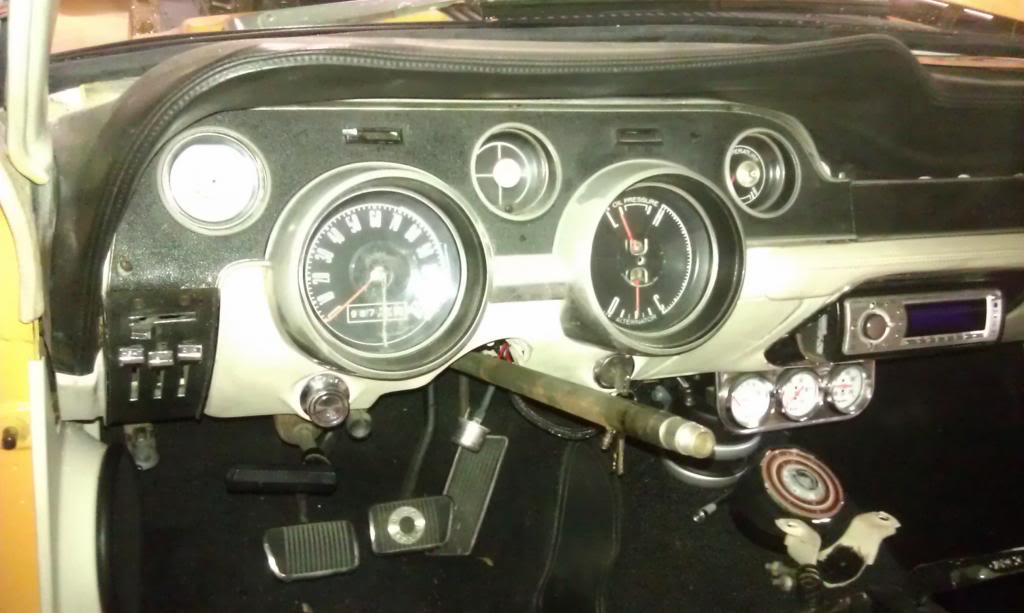
Next with the car still on the ground I removed the shock tower caps and took off the strut rod bushing nuts. This allows the suspension to droop all the way down once raised on the lift. I then removed the export brace in preparation for the TCP suspension install later on.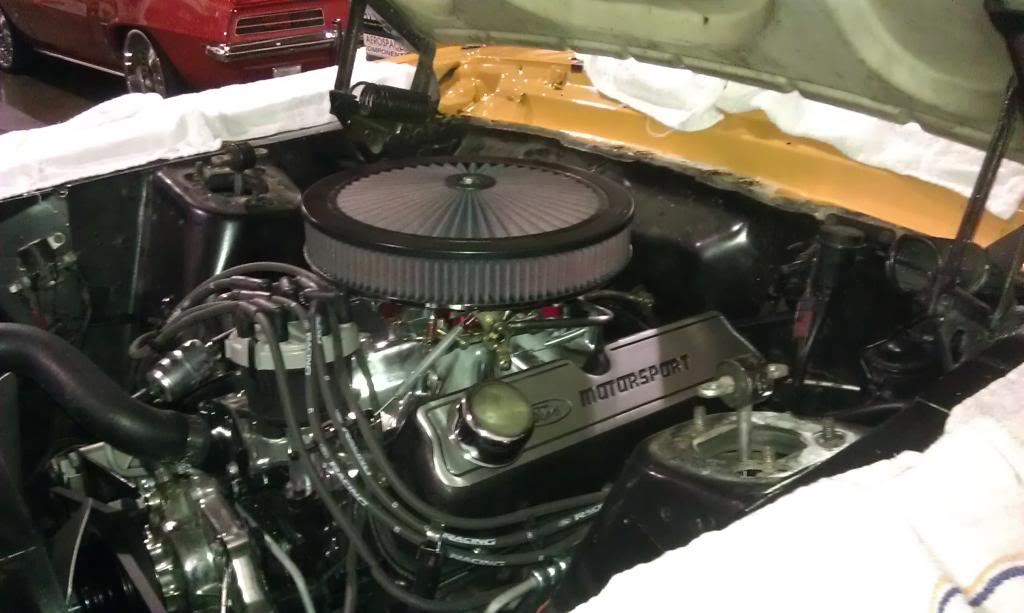
Here's the order I chose to do drop the suspension, steering and brakes this time around...
I usually drop all of the suspension, steering and brakes at the same time when I'm in a hurry. If you have access to a lift it can be done that way to save time.
Always keep the end result in mind though and DO NOT OPEN FLUID LINES or hoses unless you plan on finishing the job "the same day" or don't mind making a mess.
In my case I only have a few hours to tackle some things today, and I will be parking another car underneath this one overnight, so I'm being a little conservative.
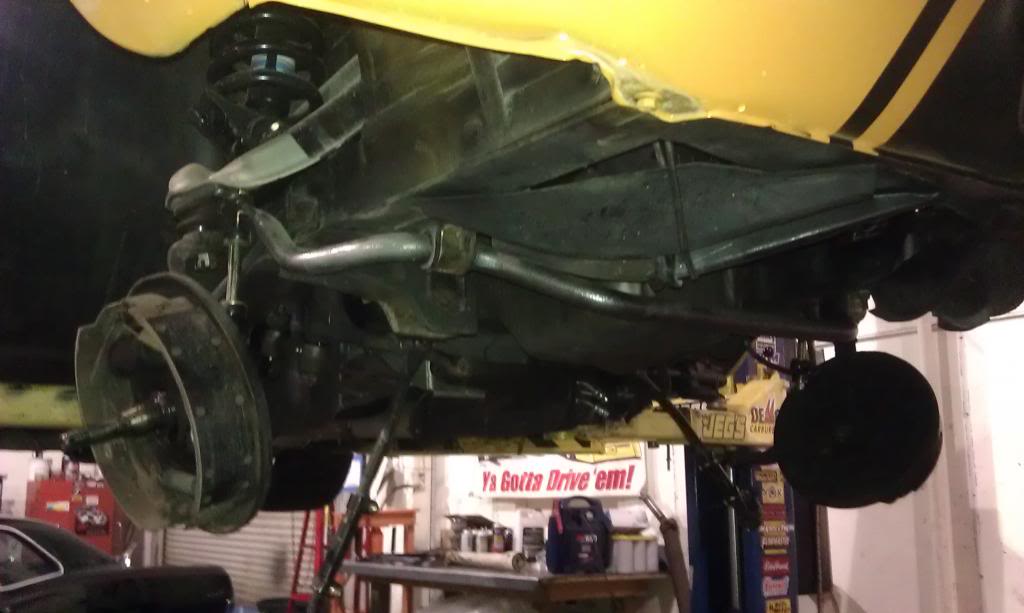
So, keeping that all in mind I racked and raised the car, removed the wheels, removed outer tie rod ends and front drums from the spindles, and removed the sway bar end link bottom nuts from the lower control arm, sometimes these are on the top which makes for a messy removal(I promptly put them back on once the end-link was pulled from the lower control arm). I'm reusing the sway bar in this case so it's OK to leave it on the car, it shouldn't get in the way too badly.
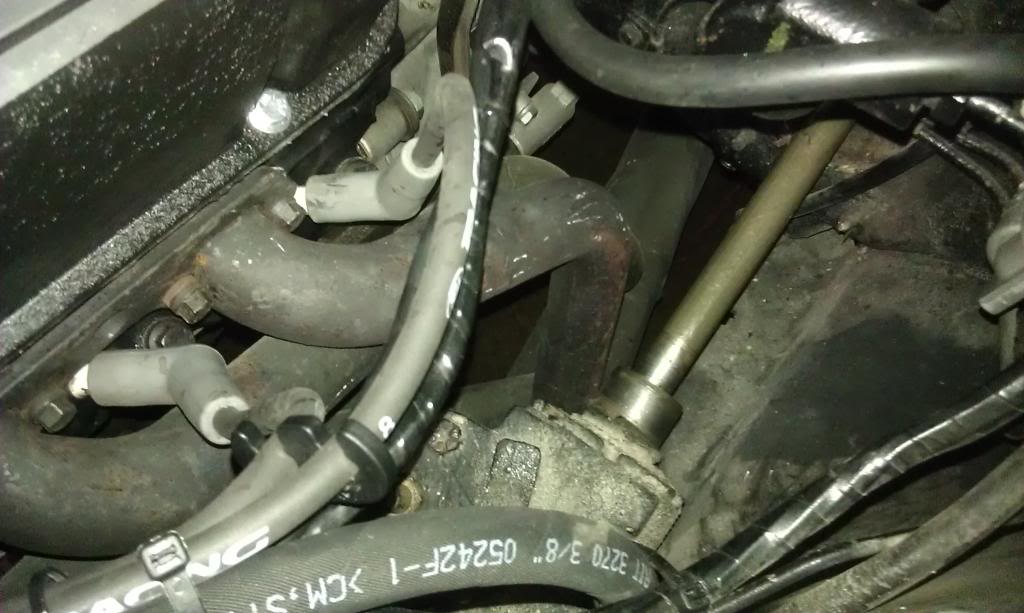
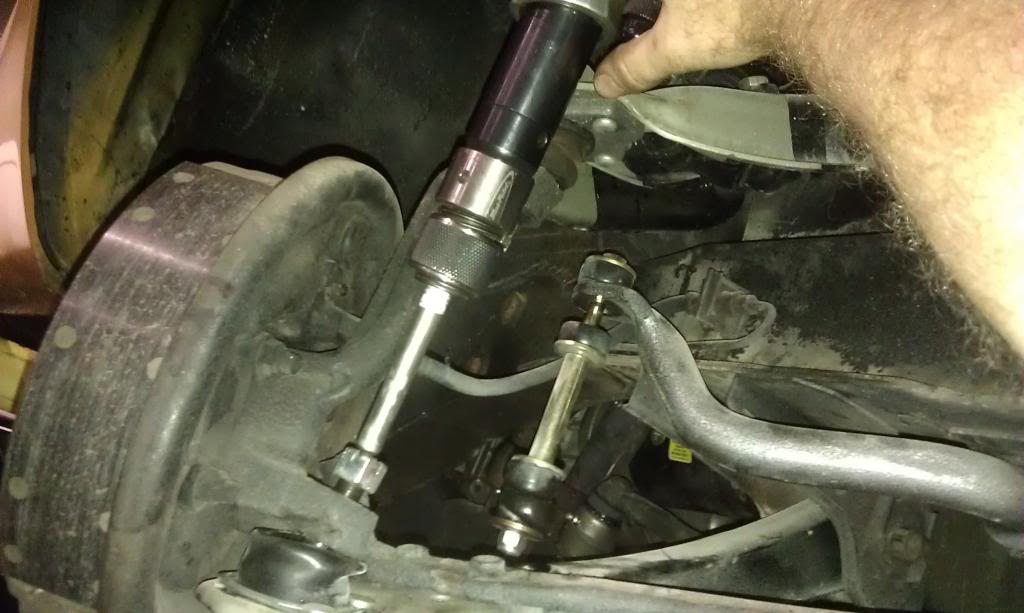
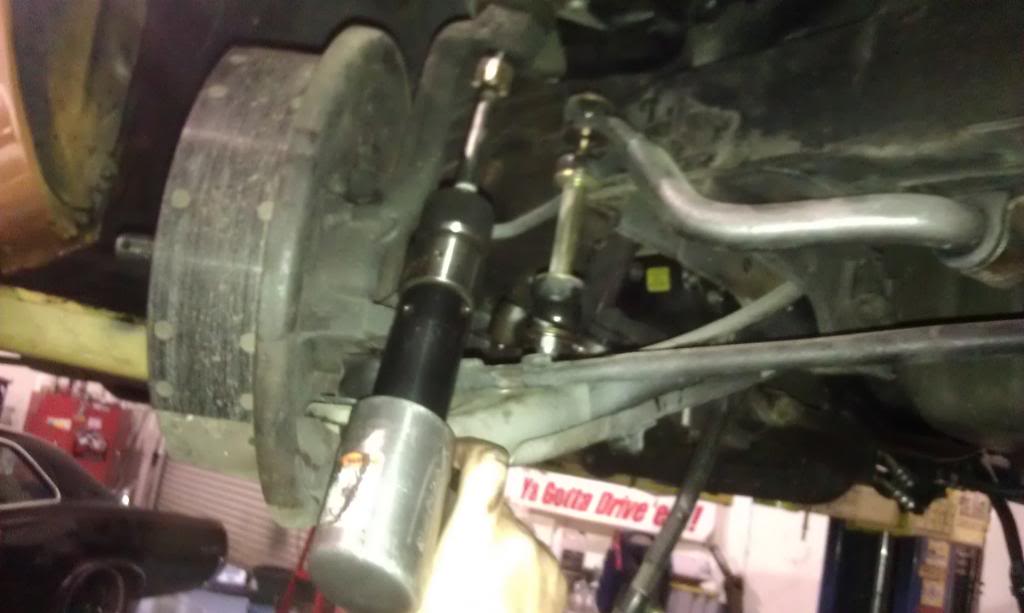
Now that everything is hanging and no longer under stress I unseated the ball-joints from the spindles. ...Note the use of the side-cutters to remove the cotter-pins and the air hammer and corresponding bit at the very tip of the ball-joint studs, being careful not to damage the threads. This is my personal method of choice to unseat ball-joints and tie rod ends from spindles. ...The use of a pickle fork here would definitely prove death for the ball-joints and tie rod ends, not good if you plan on ever reusing them on another car. I'm not that fond of pickle forks either way though. You can hit the spindle with a large hammer also for a similar result, but I don't want to put big dents in my spindles in this case either.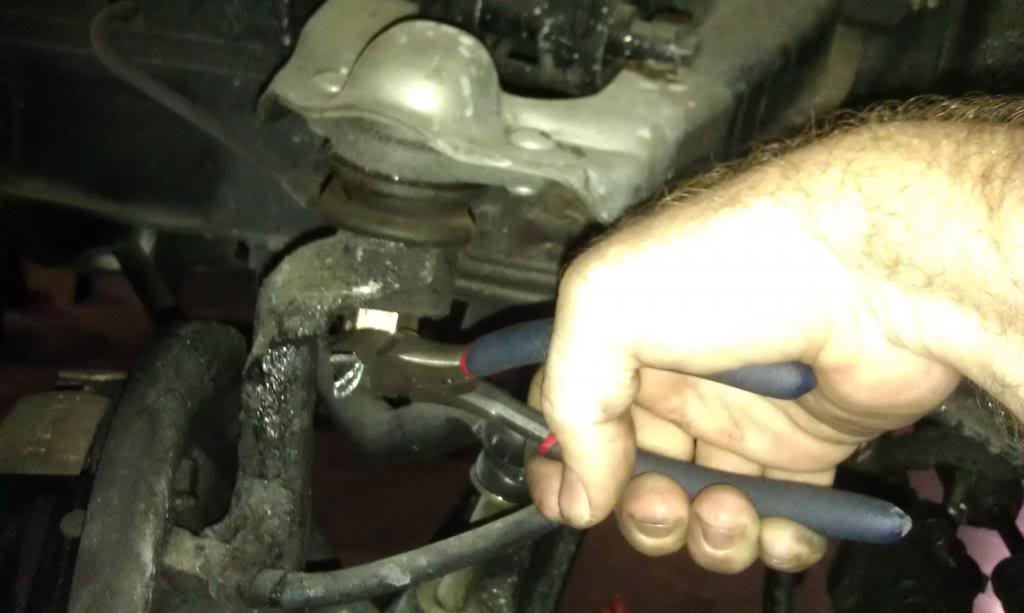
-
-
-
-
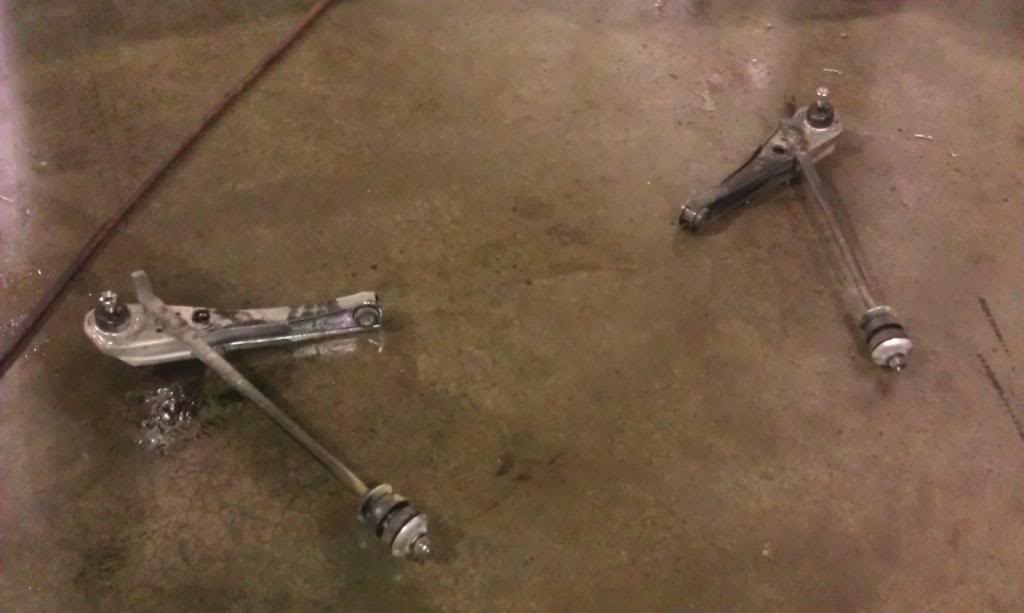
Now it's time to remove the center brace for access to the lower control arm bolts/eccentrics. Then I removed the lower control arms and strut rods as a complete unit.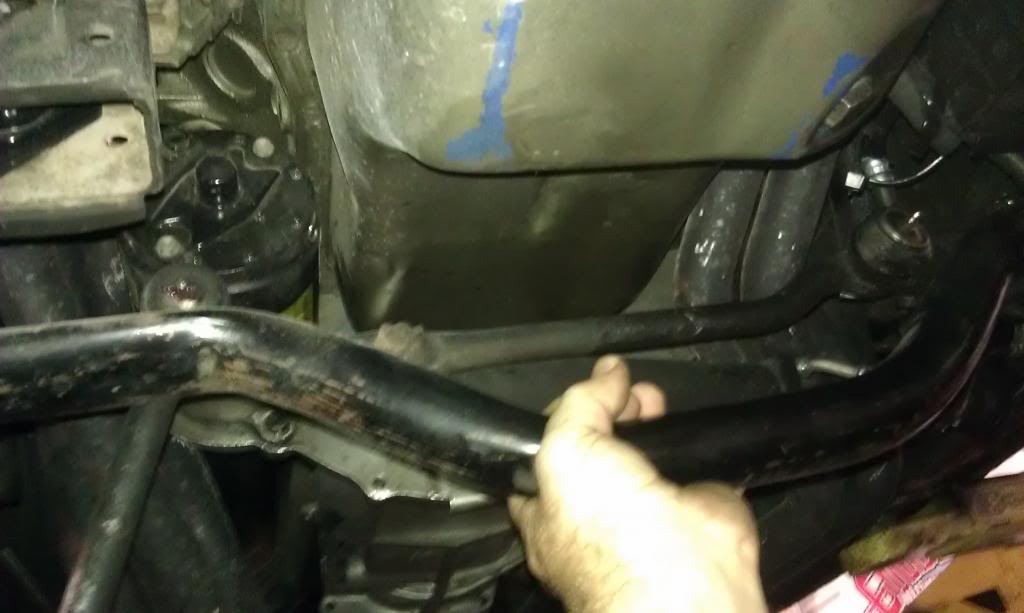
TO BE CONTINUED...
Great before and after pictures!
Posted by Diggymart on 12/1/19 @ 8:47:45 PM