You must be logged in to rate content!
7 minute(s) of a 33 minute read
9-7-2011
thanks John
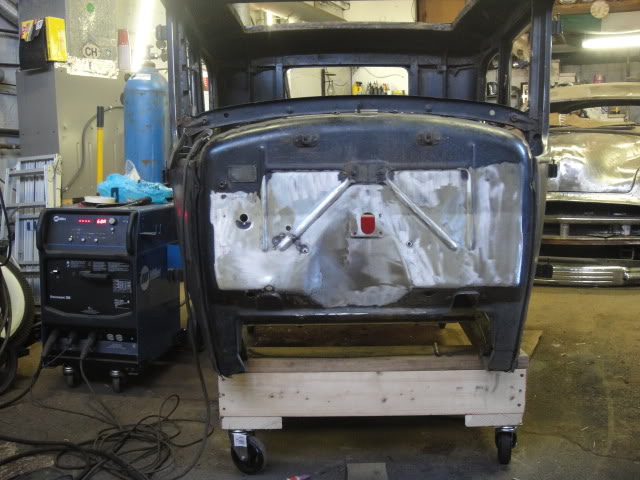
heres another poorly made non fitting heater hole patch panel.
the mess im working with
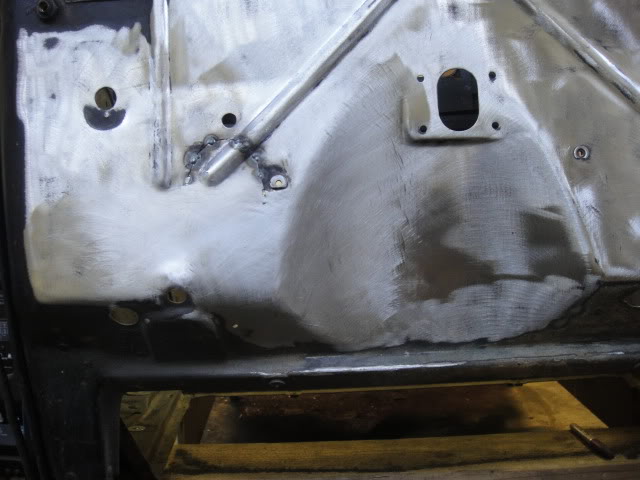
fit
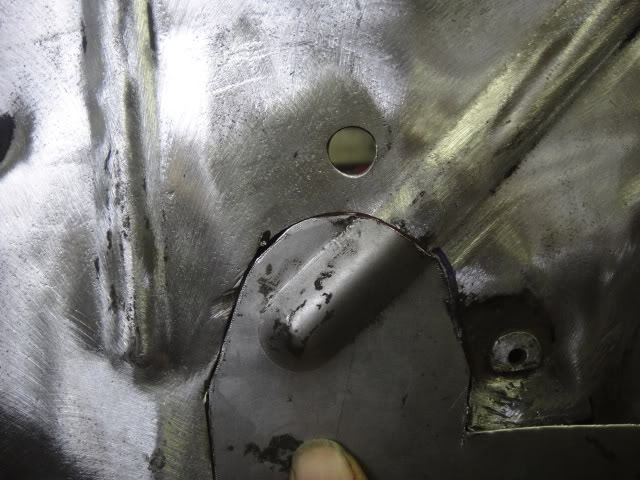
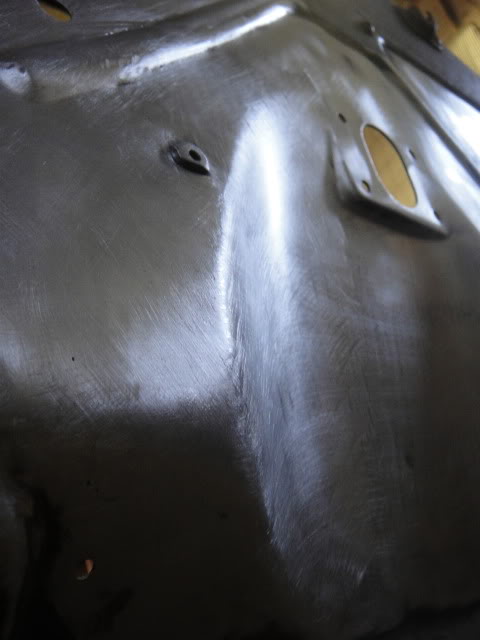
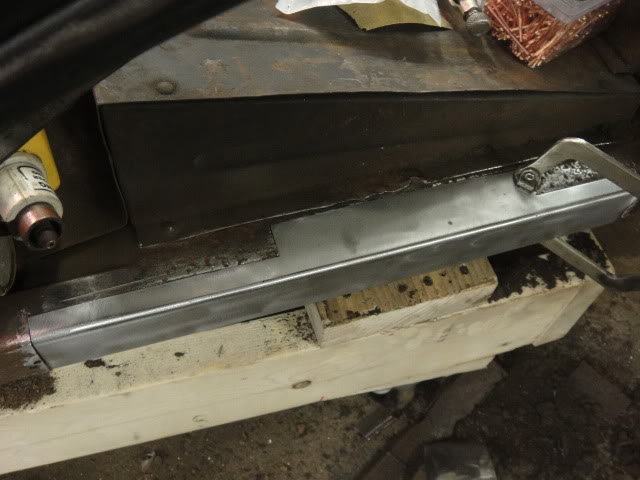
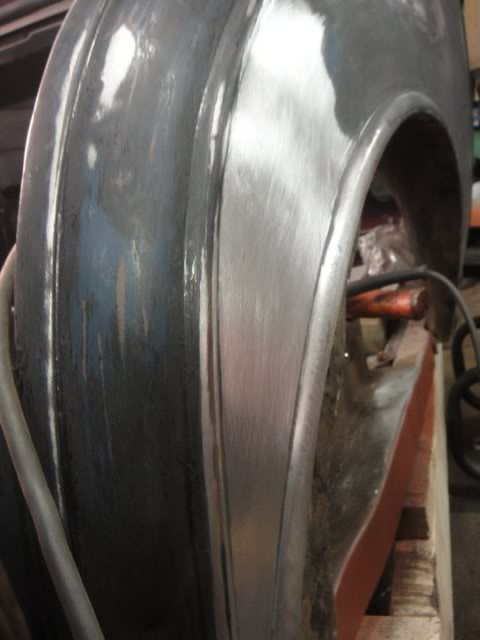
notice the extra 1/8 inch of bead
the blue line is how wide it should be.i hammered the hell outa the area on the other side of the blue line to flatten it out so the beads matched
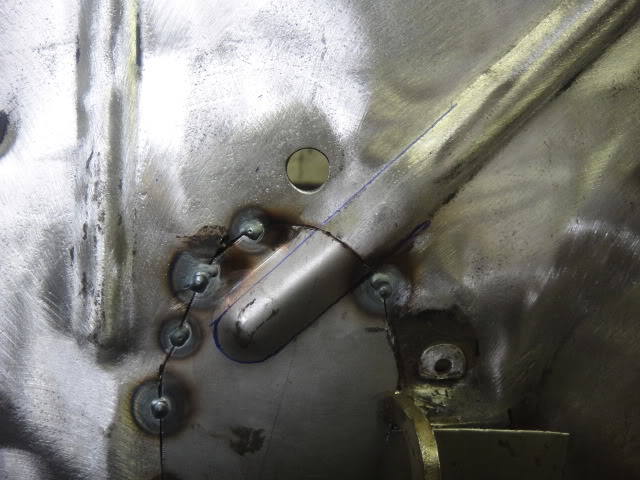
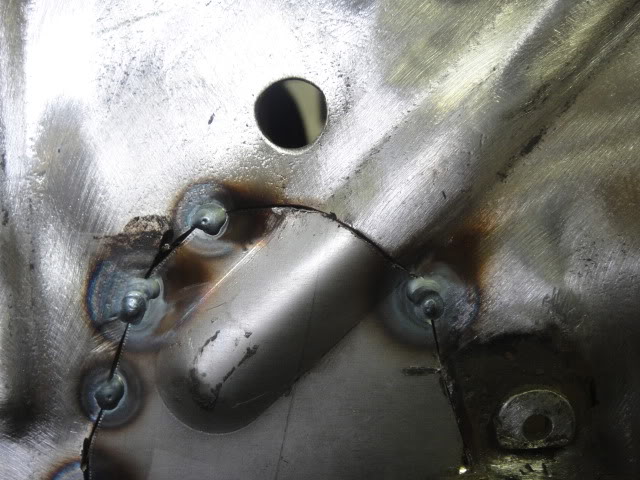
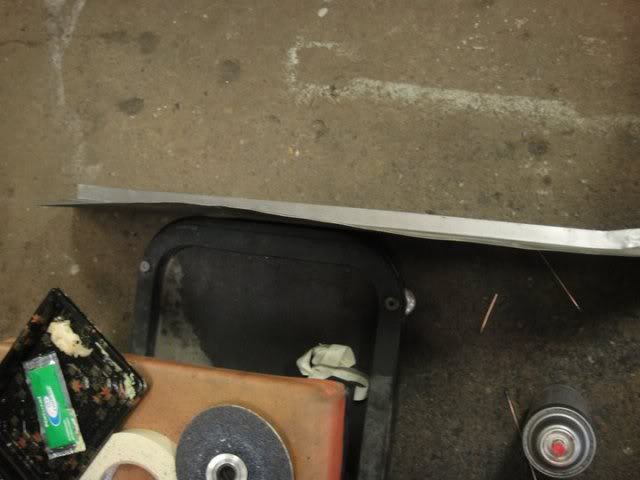
the bottom piece was really no fun
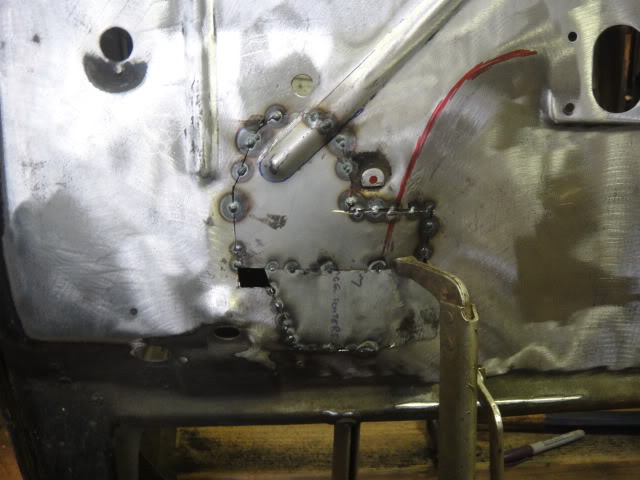
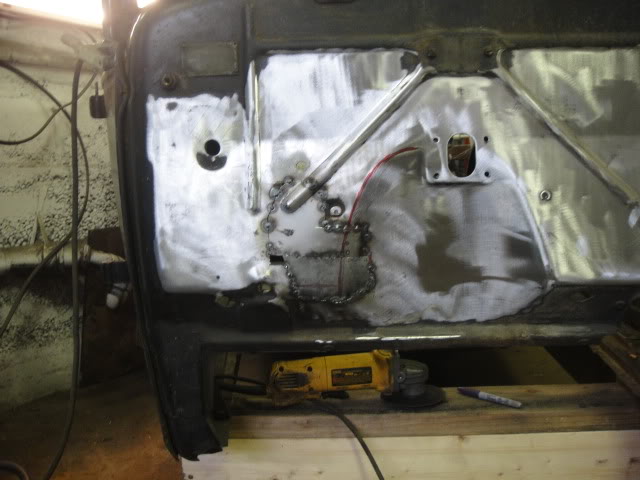
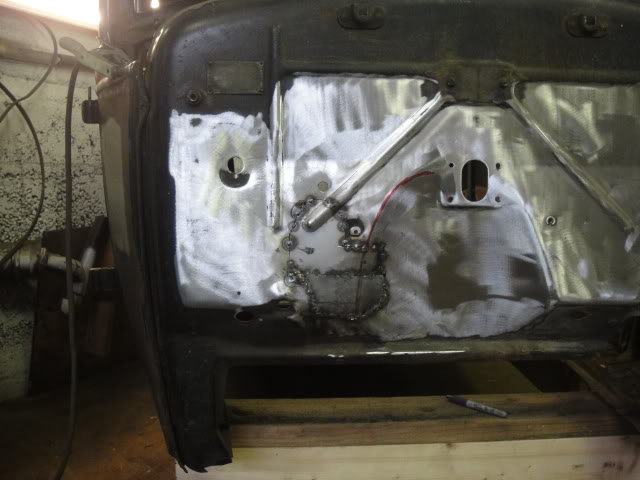
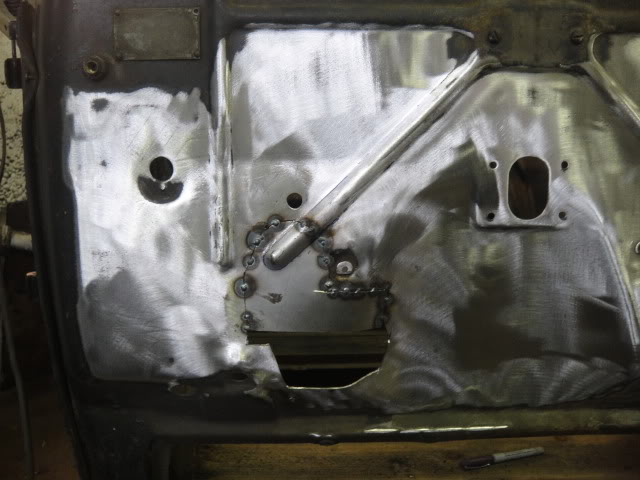
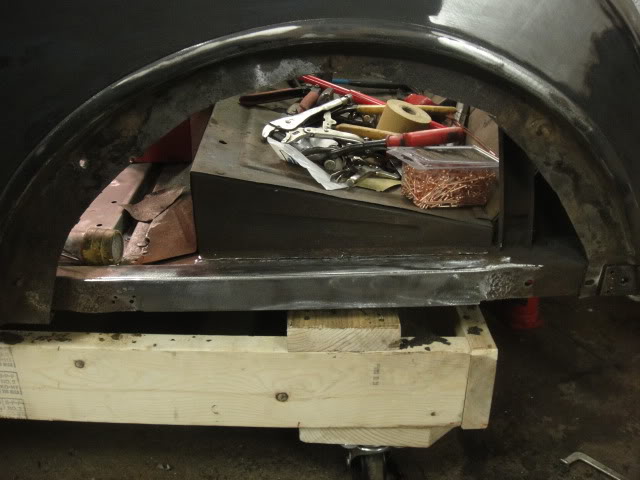
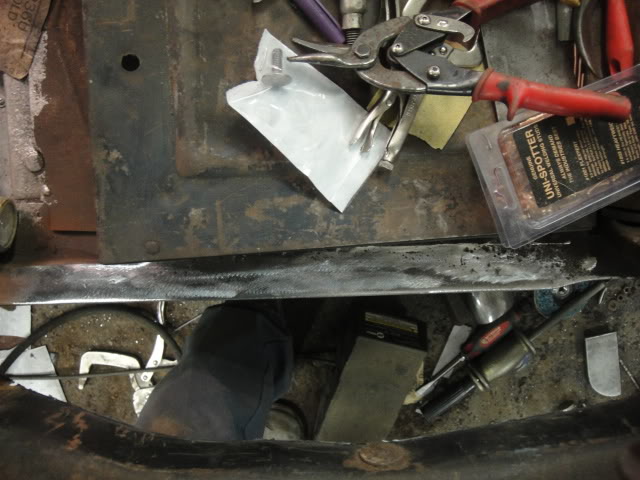
continuing the firewall heater hole
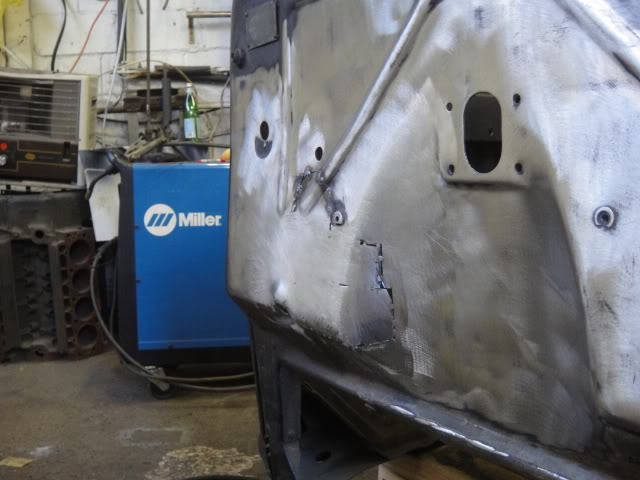
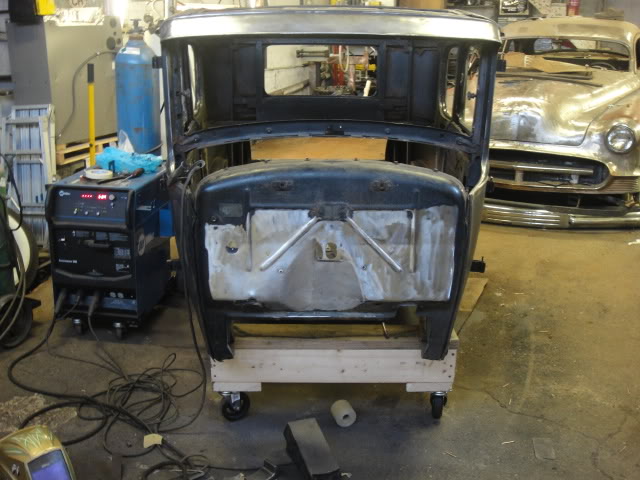
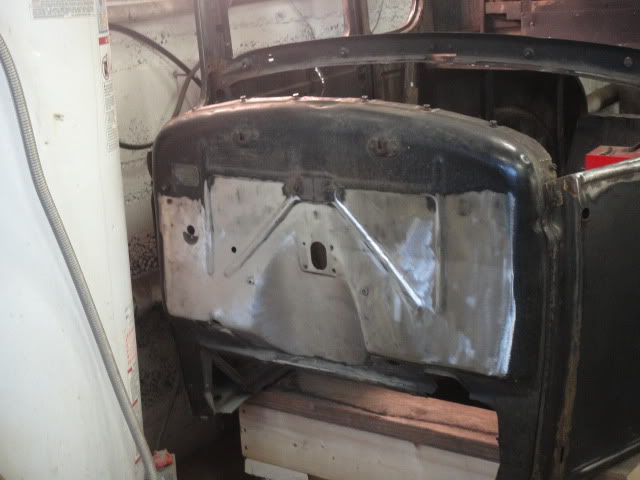
next im onto the patch panels...
Tex i dont have a die that big for my bead roller so we opted to modify the patch
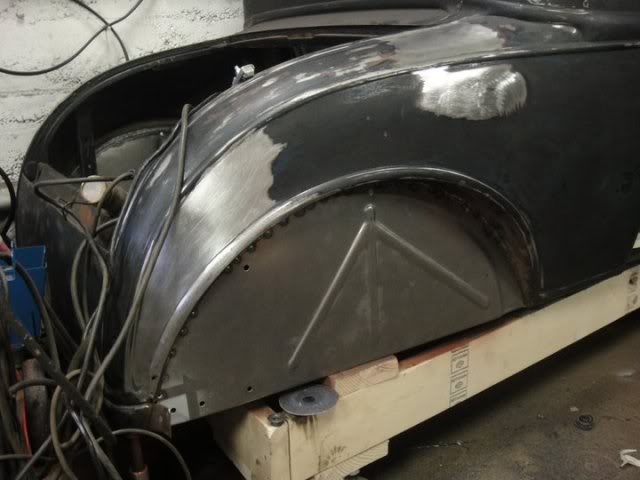
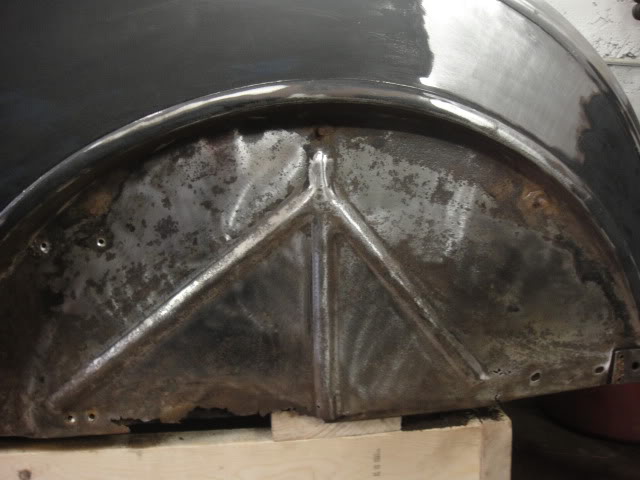
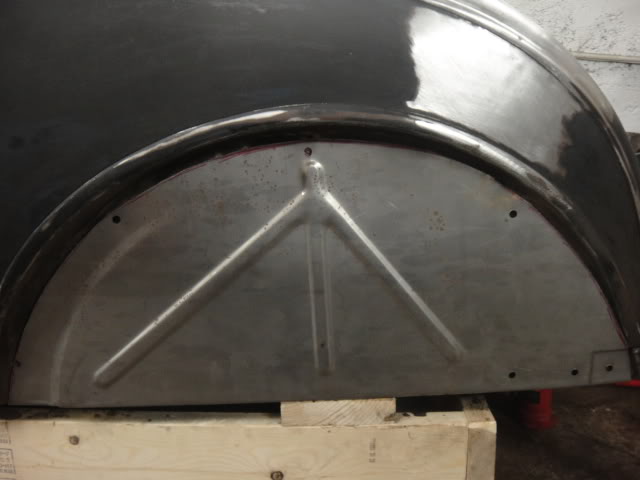
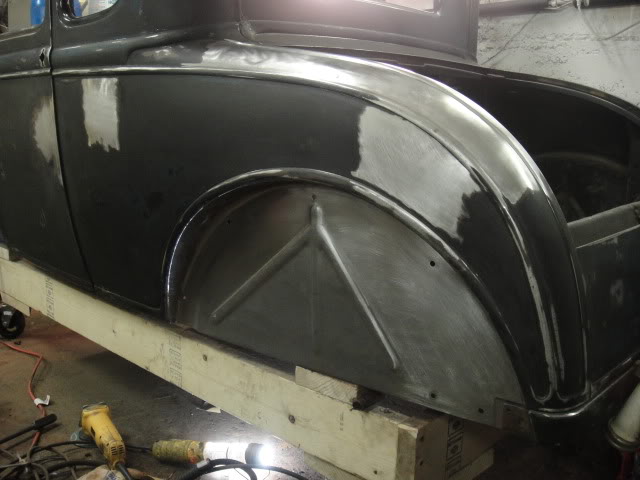
wheel well time. customer decided to put the patch panels we had in for the wheel wells. we had a big debate with all the model a supply house who has the best wheel well patches. these were from snyders in ohio and found out brookville supplies all of these patches. the body lines are no where close to stock but this isnt a points restoration. just a real nice driver.
trim trim trim
mess mess mess
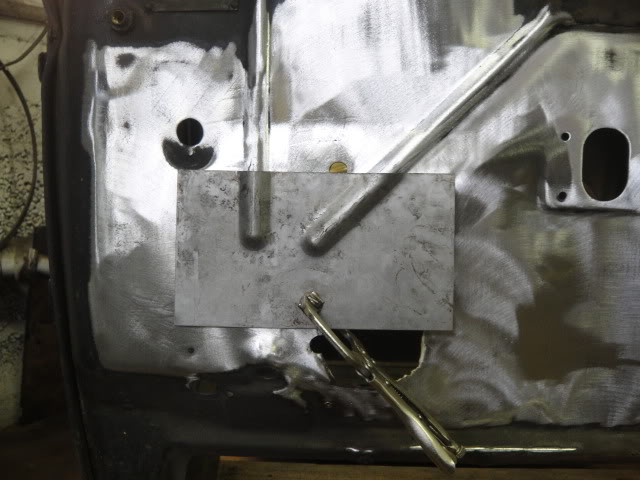
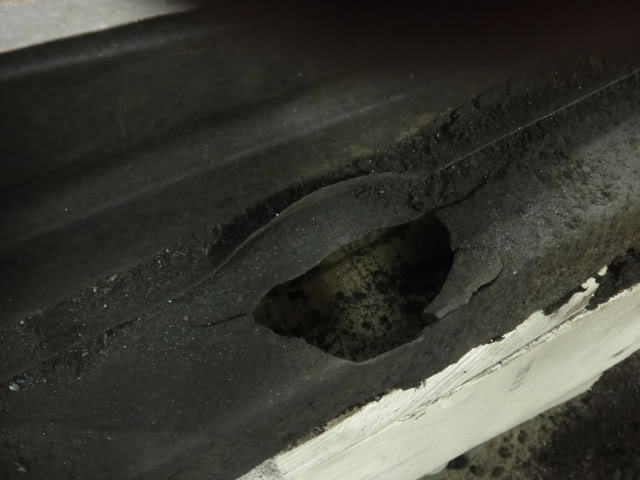
subframe cracked and thin
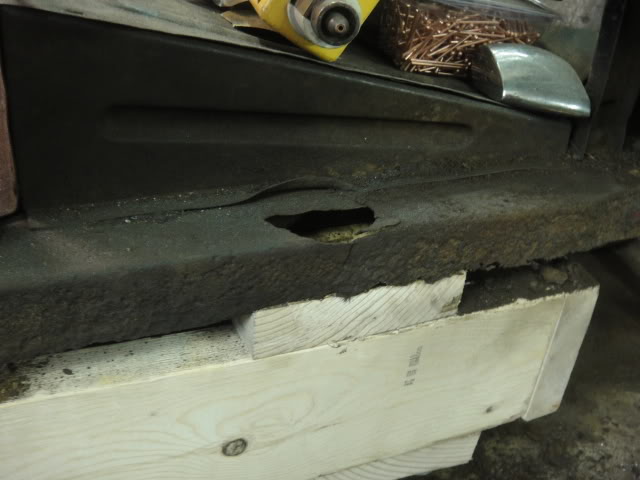
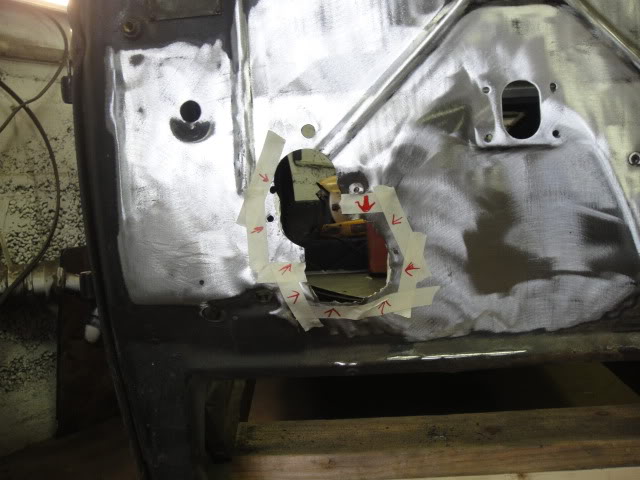
cut it out!

patch
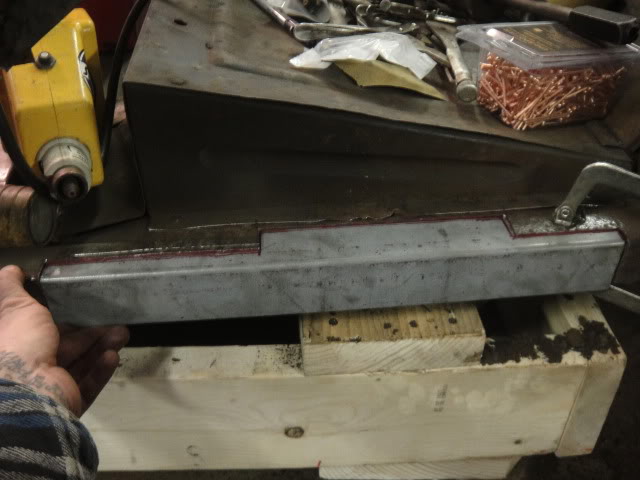
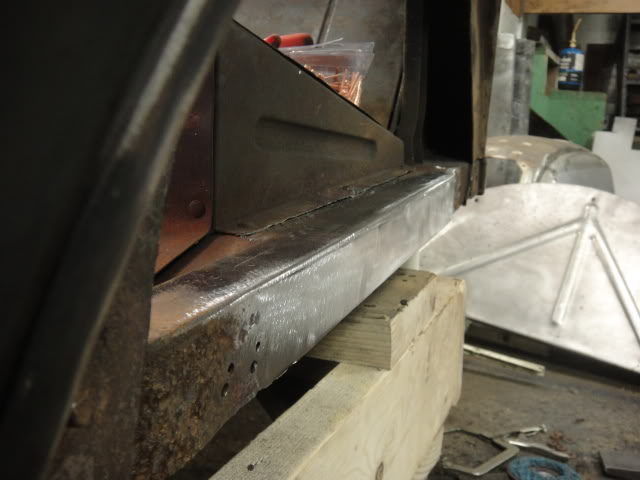
got a nice tight fit
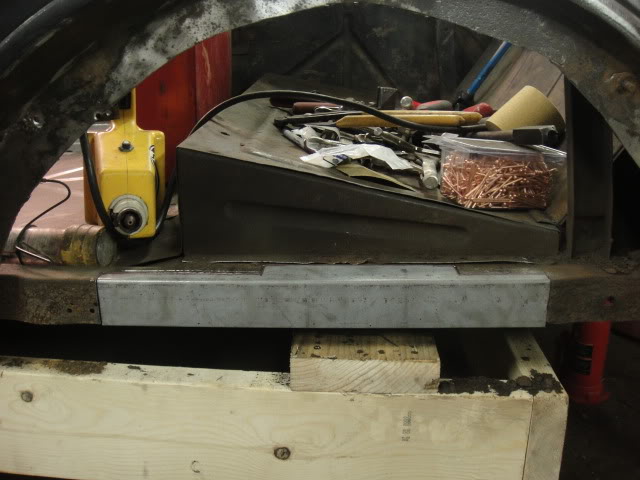
welded up
didnt get a pic of the bottom trimmed down
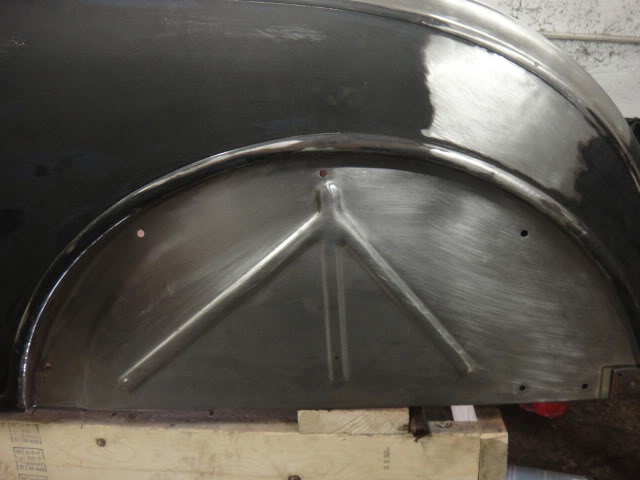
doneeee
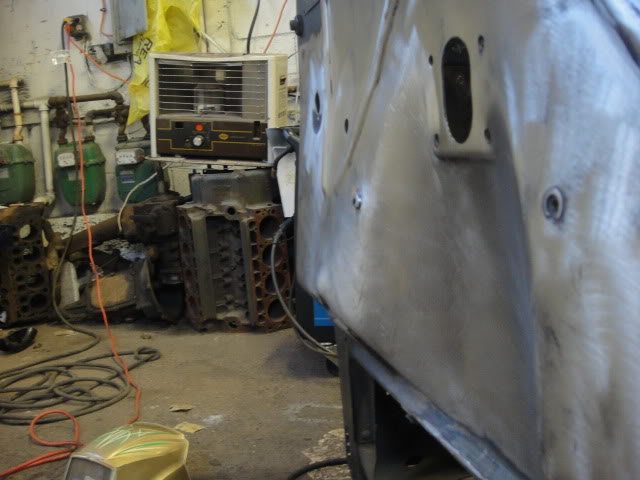
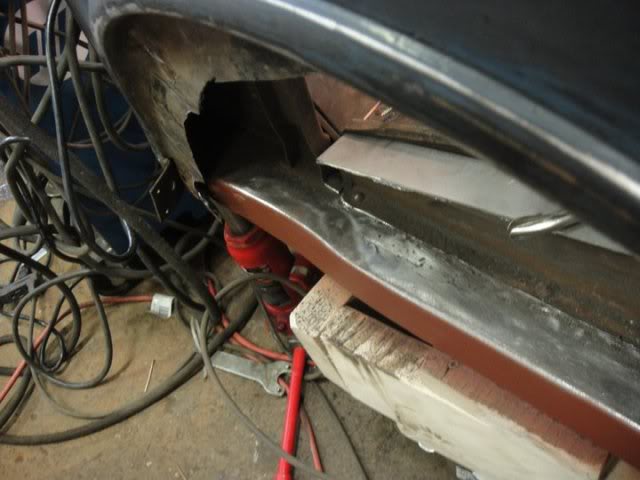
onto the wheel well next
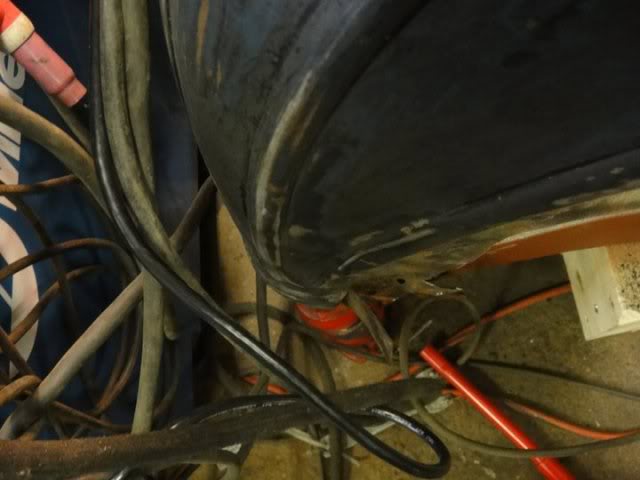
wheel well patch sittin in place
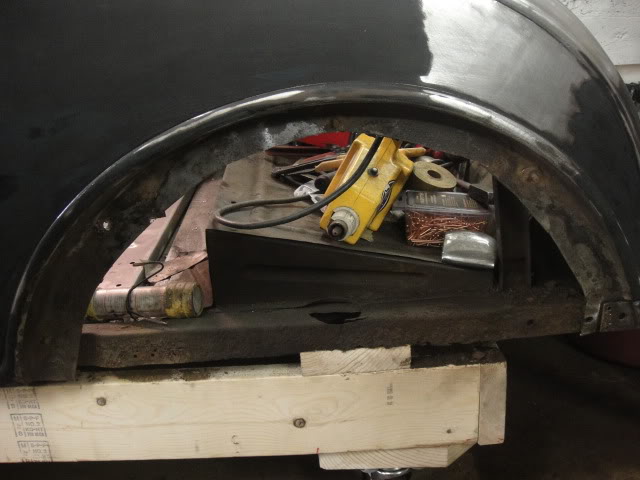
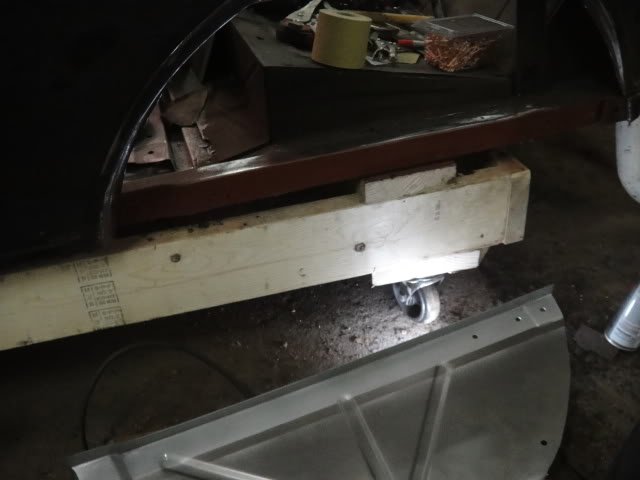
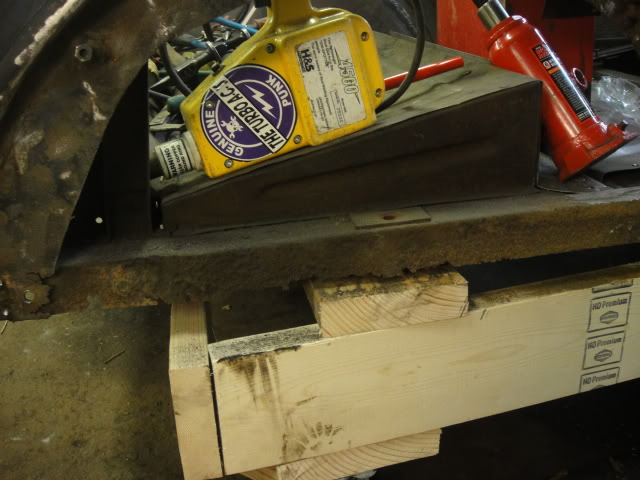
some primer on the subframe and some weld-through primer on the lower part of the patch because i dont know if the patch gets spot welded to the subframe once ya wrap it around or not.
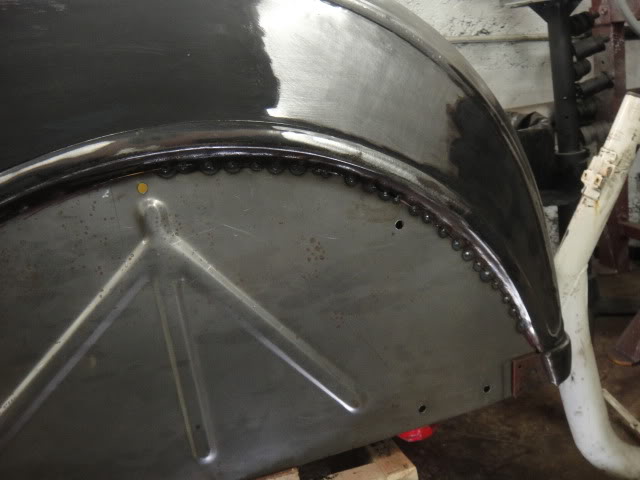
tacked in .
i usually dont work with that many tacks but for this one it seemed impossible not to. there were alot of variations in where the patch panel wanted to sit and where the og wheel well was so a ton of tacks it was
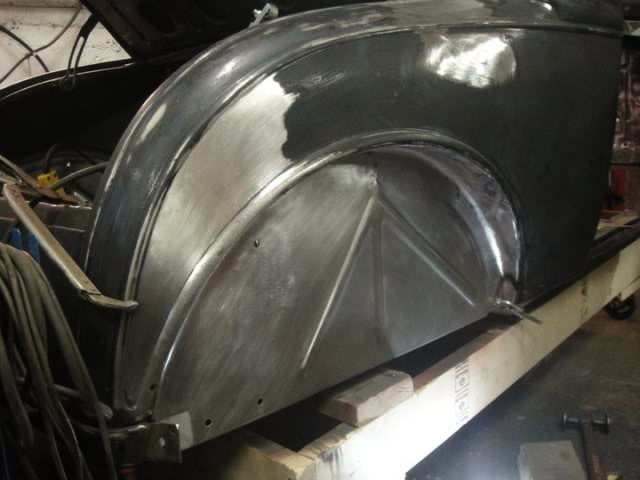
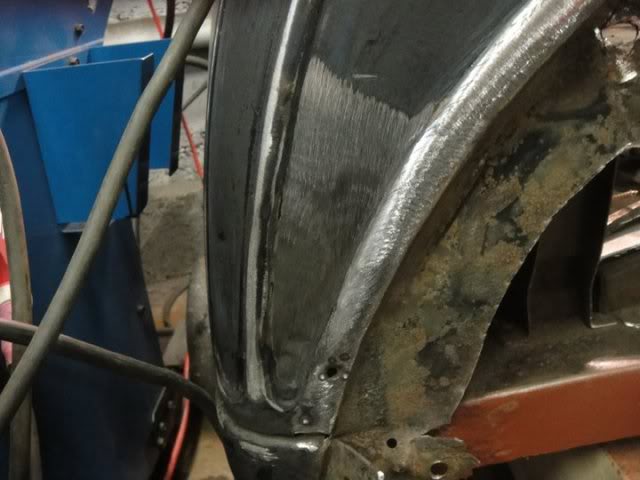
finished up!
another view
thanks Ben .thanks Pat. been doing this about 3 years now finally starting to get the word of mouth out about the shop. its a one man show so i can only do so much . but in time i think it will grow! some of the work isnt up the AACAs alley but this was and i figured you guys would like to check out the metal work on the Model A.
Next side
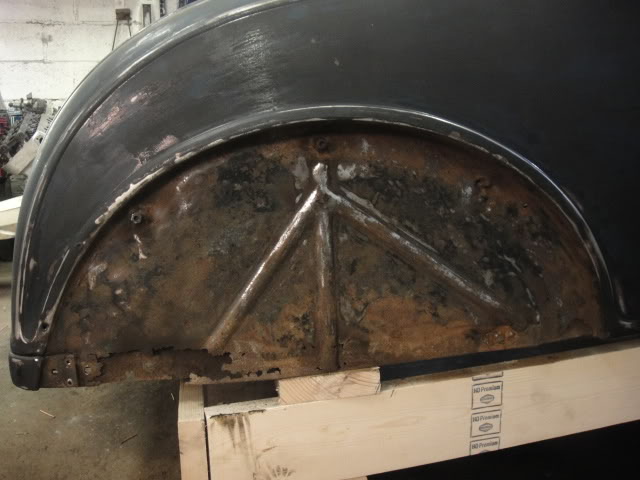
more subframe rusty-ness
new piece of subframe with some shrinker stretcher action to mimic the stock piece

sitting in place
finished up the sub-frame welded up and primed. it was a fun piece to make with the curve in it
this quarter was pretty tweaked. Hard to see if the pic it took a good hit at one point
file hammer repeat to infinity
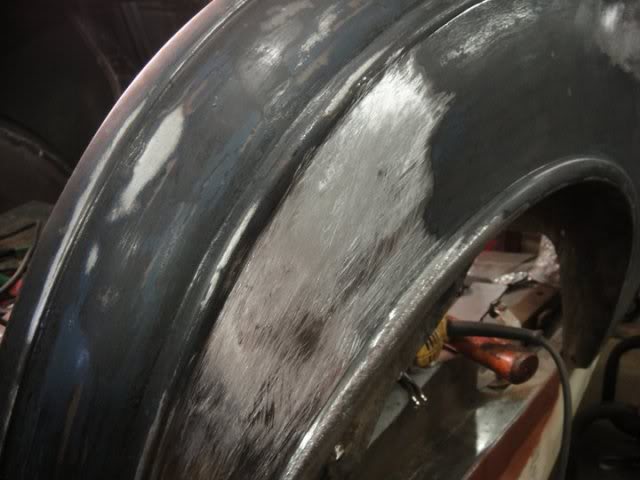
came out pretty nice the body line still need work
the quality of the panels hahahah
and we are tacked in