You must be logged in to rate content!
7 minute(s) of a 210 minute read
2-7-2021
Thanks for the advice - the strap needed tightening up but whilst I was working on it I made sure the paint was removed on the strap side but I still had the same issue so it looked as though the bearing had worn as the new starter went in and turned the engine far faster than it had before.
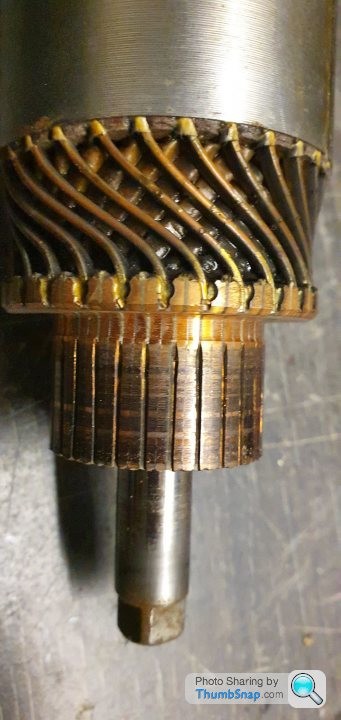
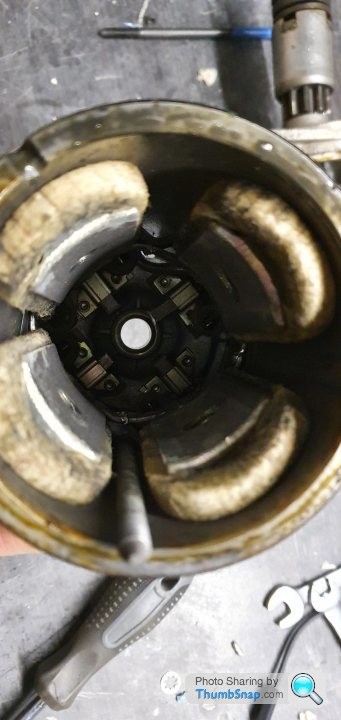
I'll pull the motor apart again and change the bearings so I have a spare should I need to replace the new one.
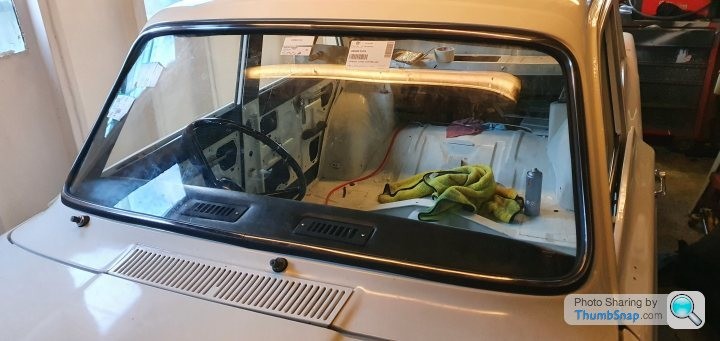
The windscreen has been replaced and I'm happy seeing glass going in as it makes the Cortina look less like a shell and more car like. I was impressed how quickly I got the windscreen but it was strange to see that it had been made in Denmark - it came quicker than I get parts from the UK!
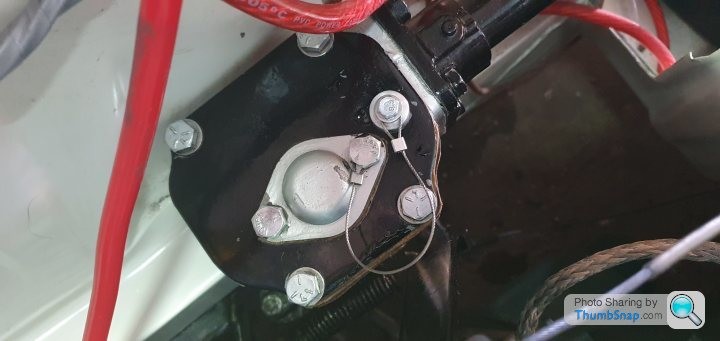
One thing that had frustrated me was how badly the steering box leaked as it appeared to have the flow rate of a sieve! I needed to work on the lid for the filler cap had turned to dust a long time ago but replacements aren't available unless you buy a £70 rebuild kit that I didn't need so I thought I would make one out of aluminium on the lathe - it's almost like I planned this!
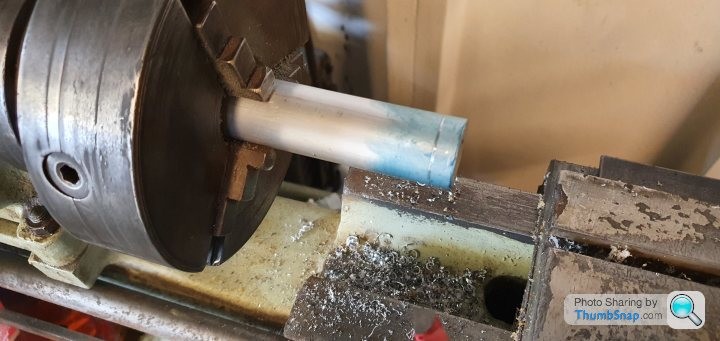
This is the first item I've made that needed more precision, the alternator bracket was more about drilling and tapping so was fairly straightforward. The Myford clearly needs so servicing as it has severe backlash on the cross slide, it's almost 1 rotation on the handle before you get motion so precision turning is difficult hence the engineers blue. I can address this backlash but need to read up on it before I attempt it, I also need to learn more about imperial dials as I'm used to metric - It's a bit like learning a foreign language I suppose but not impossible!
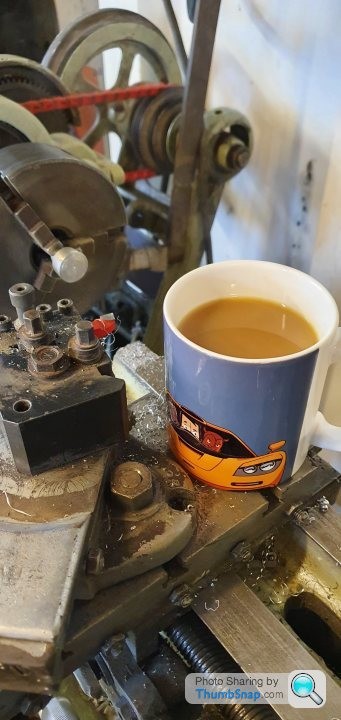
I found that the lever that changes the pitch on the lead screw was popping out so I would lose drive like a slipping clutch mid cut but I think I have found the issue behind that but time will tell. But a few hours later I had the bung finished including drilling and tapping so it could be tethered as I don't want to lose it - plus it looks a bit racey!
I made a set of new gaskets and have used a steering box grease as an alternative to hypoid oil that is recommended for the Burman boxes that leak, so far its remained smooth and no notches or noises but it's only gone as far as the driveway!
When addressing leaks I had seen a weep coming from the diff that was a little disheartening as this meant the axle had to be stripped down, I don't know why but the off side shaft puts up a fight every time but the nearside is more than willing to get out.
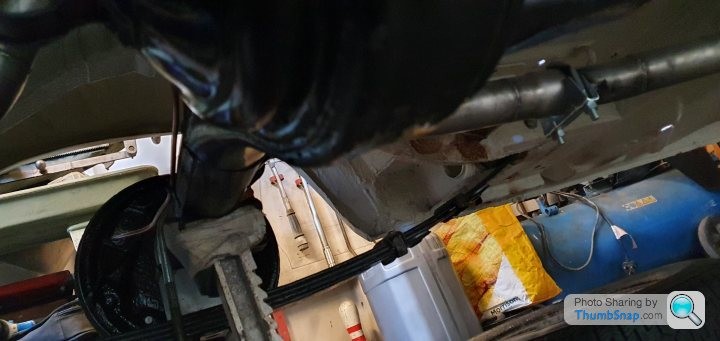

With that out of the way I finished off fitting the handbrake which is one of my favourite things about the Cortina, it's located on the dashboard and works like the game mousetrap - a rod pulls a cable, that pulls a rod, that pulls a cable, that pulls a rod that pushes the shoes into the drums and then you park it in gear because you know it's safer!
I believe I have a wiring fault on the live circuit as it feeds everything without it being turned on but at the same time I don't get a constant 12v to the coil it's all fed off the same wire as it was from the factory albeit with more things added such as the coolant fan and the fuel pump which are the items that are at fault. The more I look at what I have done with the loom the more I'm considering building a new dash loom with bus bars for permanent live, switched live and more fuses as I haven't any for the ignition and starter but the accessories fuse manages the heater, horn, wipers and radio. I also have a set of original Lucas SLR spotlamps that I haven't accomdated for which would be a nice to fit oneday so why not build a new board that can manage this and potentially more?
2-14-2021
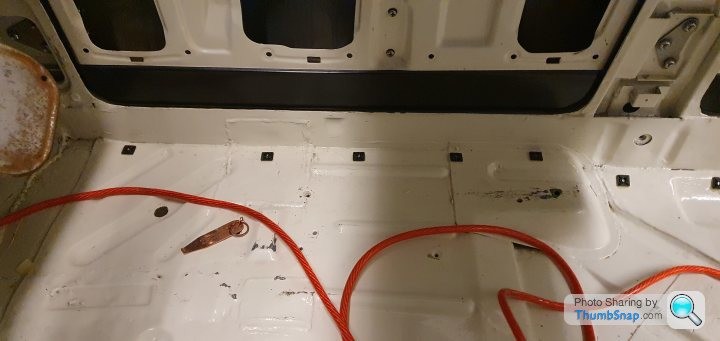
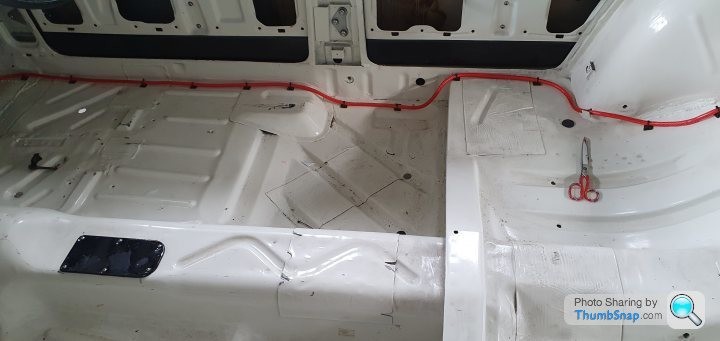
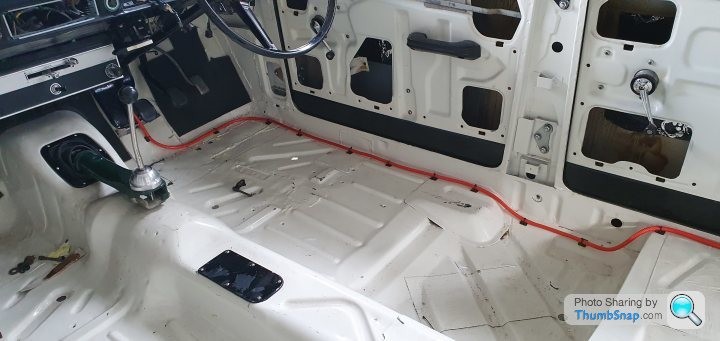
I have talked about the battery relocation before but I hadn't actually sorted the routing for it which would normally be straightforward but I seem to have a penchant for making it complicated so the plan was to follow go around the wheel tub, along the sill and through the bulkhead via the removeable plate that seals the steering column. I decided to use the stick on cable routing pads because I didn't want to drill the body or have huge self tapping screws poking though to the underside of the Cortina if I could help it. Naturally the adhesive on these pads was good for seconds so I gave it a helping hand with some headlining glue. I'm happy with how it turned out.
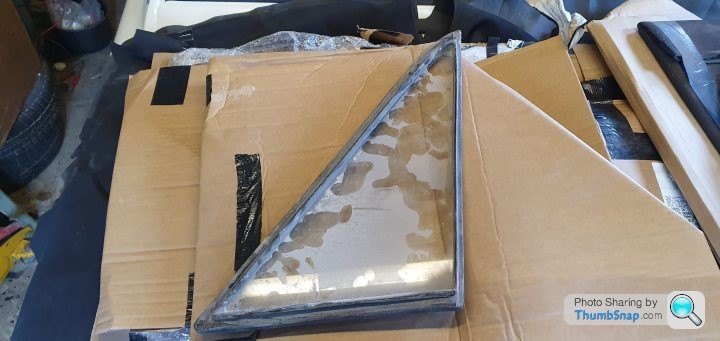
A package arrived from the owners club that I had been looking forward to get as it had all the seals for the door glass - it still hurt financially but a necessary purchase. Mrs. Jim was very happy to see more car parts leave the house and enter the garage to I'll class that as a win.
All neatly wrapped in bubble wrap, rubber and then cardboard the glass survived rather well and I was pleased to see in an uncharacteristic use of foresight I stored the quarter glass with in it's rubber making deciphering where they came from much easier!


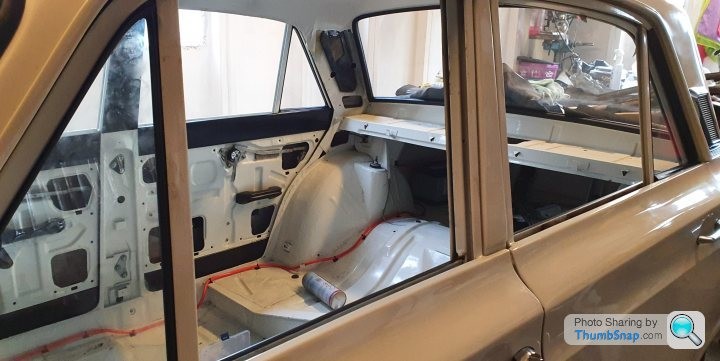
Seeing the door glass going in is a big win for me even though I've only dropped the quarters in and they'll need to be semi removed to fit the other door glass, the main point to fitting it was for look and because the upright that supports the quarter glass is difficult to fit as there are a lot of sharp edges to scrape the paint off - it's a wonderful design!
Comments
Great work mate! Loved the taillights and fins on these cortinas. Remind me of the old type 34 VWs.
Posted by MPower on 10/31/20 @ 3:15:41 AM

Thank you! I had never made that connection before, you're right!
Posted by Jim_builds on 11/16/20 @ 2:29:18 PM
Thank you Steve I appreciate the support, it feels like a lifetime since I did a lot of the work! Hopefully I'll be back on the road early next year so I can finally put some miles on her.
Posted by Jim_builds on 10/26/20 @ 12:08:47 PM
Beautiful Cortina! Looks like a lot of work but you did a bang up job! Glad you saved this one!
Posted by stevegolf on 10/22/20 @ 11:06:39 PM
Thanks for all the photos! Such a cool car!
Posted by Diggymart on 11/12/23 @ 10:55:36 PM