You must be logged in to rate content!
7 minute(s) of a 210 minute read
8-18-2021
Thank you, that's a huge compliment having seen your work on the fiesta  I am currently waiting on another replacement starter motor, the Lucas style ones I have been using have had trouble with the battery relocation and the increase in compression. I have bitten the bullet and gone for a Wosp high torque starter motor - having learnt a lot about being tight whilst studying engineering at Huddersfield, getting my wallet out gives me goosebumps!
In the meantime I have been making the most of the printer, firstly I thought I'd play with density infill settings and make something functional - a pair of soft jaws for my record vice. I've produced these as flat faces as they're there to hold a part whilst I polish/ finesse rather than grip the thing like a boa constrictor!
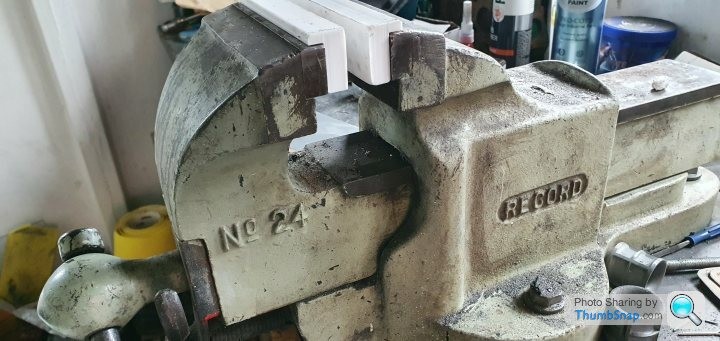
To stop them falling out when the vice is open I have added 3 magnets that sit flush to the mounting face which given their size (6mm diameter x 4mm high) have a surprising amount of force behind them

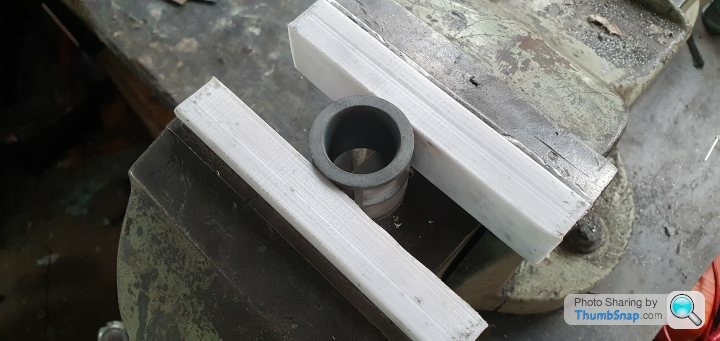
a quick demonstration using a spare choke from the carburettor has it held firmly enough to work on but not so much it will damage the soft aluminium
Back to the Cortina - when researching 3D printing I found lithiopanes (3D printed photographs) that look like flat plastic till a back light is added showing a shaded photo and thought the interior light filter could be produced and it would allow me to produce variations so long as they stay the same dimensionally.
This is the original filter
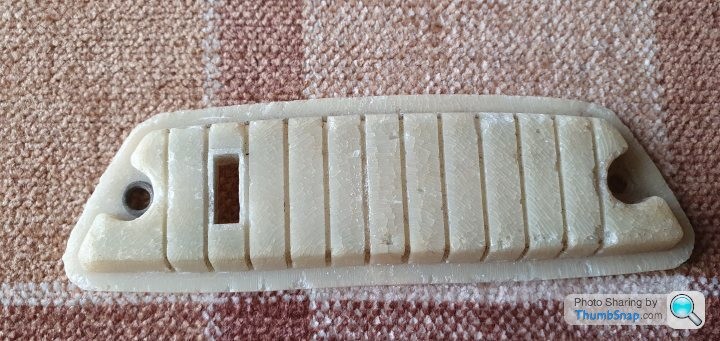
50 years has made this rather brittle on it's outer face to the point my vernier was removing pieces as I measured it.

I spent about 2 hours measuring and drawing this in Inventor and after another 2 hours I had produced this
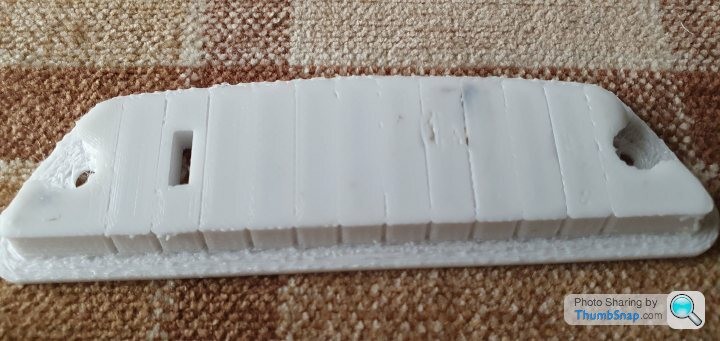
The detail on the face is missing and there are a few suggestions why this is; firstly the filament is 1.75mm and the width between the panels is 1mm so assuming the printer off is 100% accurate (they give a tolerance of 0.01mm I believe) there is an overlap of material between centres.
Secondly I placed this on the print bed face down as I would get a flat outer face as it is printed on a glass bed to mitigate the visible layers once light it shone through it but because there is an overhang (the outer flange). I have had to use sacrificial supports to prevent droop when printing (shown in cyan). This is applied to anywhere there is an overhang greater than 60 degrees.
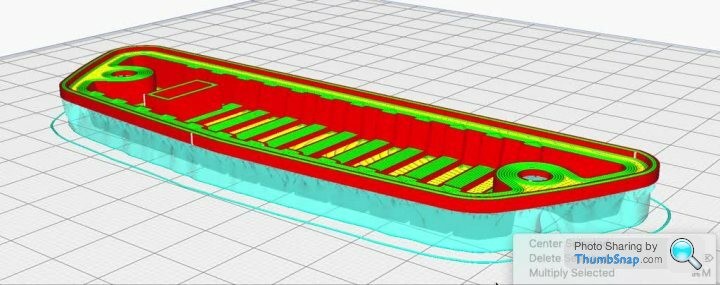
An unfortunate side affect of printing this way has left that flange looking particularly rough which can be fixed using fine sanding I would have preferred to not have to rework this once printed.
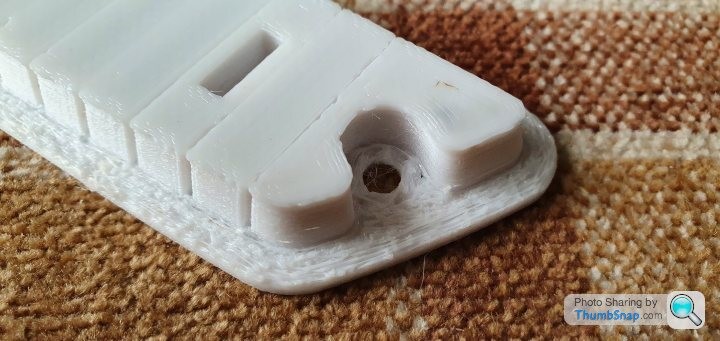
This is a learning curve for me still having only printed a few items so far but it's showing great promise, so far 4 hours in an evening and 20p of material is still a saving over £40 for a replacement from the MK1 owners club! I'll give this a trial fit to see what it's like in position and use it for reference. I also have clear PLA specifically for this too!

9-21-2021
I'd like to say it's been all fun and games in the garage but quite frankly it's a battle of wills between myself and my inlet manifolds and I've not faired as well as I would have liked!
After finding a vacuum leak possibly caused or exacerbated by my exhaust system to rigidly mounted, the inlet manifold and exhaust manifold don't appear to be flat and have even pulled on the existing studs on the head.
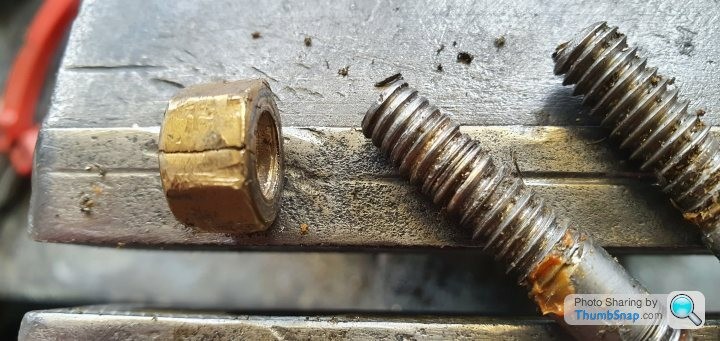

It was also at this time I found the threads for the carburettor studs were also worn so naturally I snapped a tap off in the manifold trying to helicoil it. This left me to resort to a repaired manifold I bought off eBay years ago on a whim.

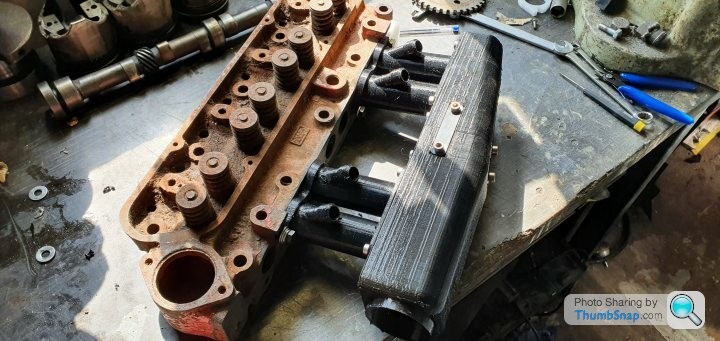
As a double check I delved deep into my secret stash of old parts and found one of my stunt heads - I presume this was found on the Titanic looking at it's condition!
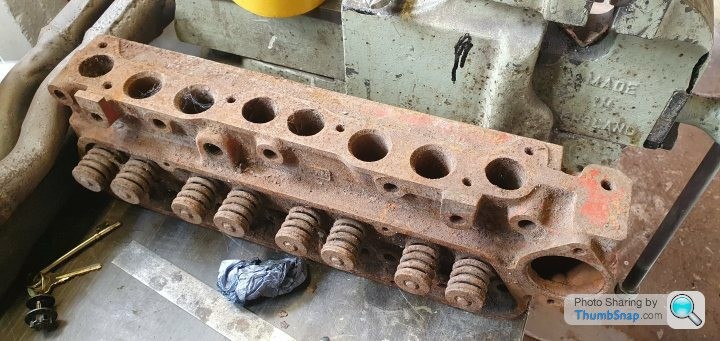
With the manifolds attached my suspicions were confirmed - they're as bent as a 9 bob note!
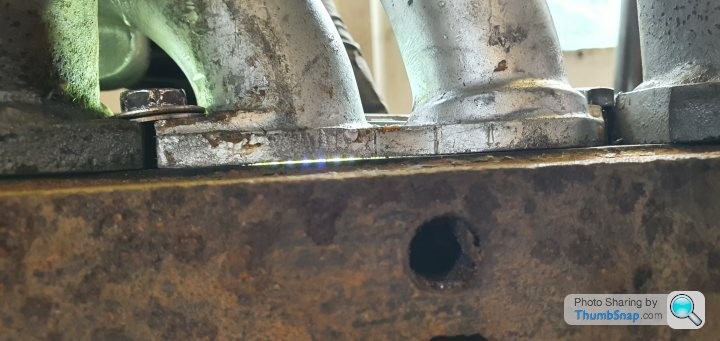
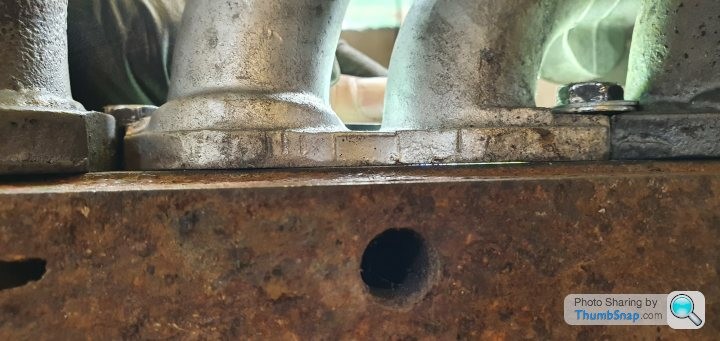
Whilst there is an uneven height difference it can be saved using some ingenuity and time.
A first pass of the inlet surface confirmed my high and low spots.
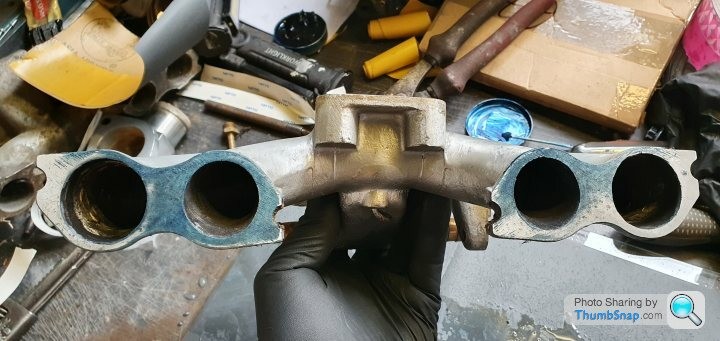
Several monotonous hours later I eventually had an even surface to play with

and the exhaust manifold for good measure!
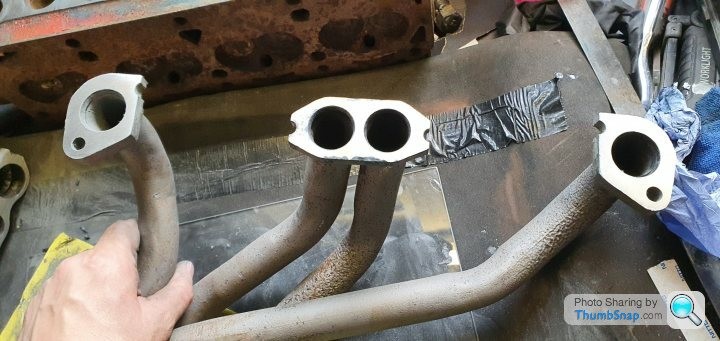
After throwing all this back together and finally torquing the fasteners for the manifolds I saw a crack on the inlet manifold flange, these are a weak point on these manifolds as they have a low point of contact with the bolts as they're shared with the exhaust manifold along with the weight of the carburettor above and the vibrations from being driven caused them to fracture even with additional supports!
I took it to a fabricator I used for work who sat on it for a week before deciding to not attempt work on it so I tried a friend of mine who's also a fabricator but generally busy who fixed it after an hour (including making tea!)
Once thrown back together the engine is running and idling with an MOT booked for Thursday so all things being well I could be legally back on the road for the weekend!
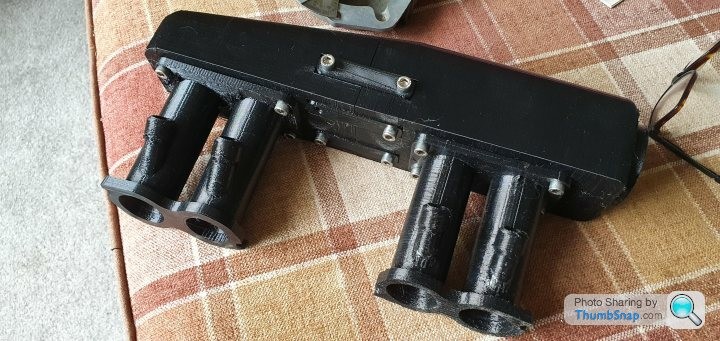
The manifold situation has made me consider my options and as DCOE webers cost a metric fortune I could spend a similar amount and go fuel injection - I've even started trialling manifold designs...
Comments
Great work mate! Loved the taillights and fins on these cortinas. Remind me of the old type 34 VWs.
Posted by MPower on 10/31/20 @ 3:15:41 AM

Thank you! I had never made that connection before, you're right!
Posted by Jim_builds on 11/16/20 @ 2:29:18 PM
Thank you Steve I appreciate the support, it feels like a lifetime since I did a lot of the work! Hopefully I'll be back on the road early next year so I can finally put some miles on her.
Posted by Jim_builds on 10/26/20 @ 12:08:47 PM
Beautiful Cortina! Looks like a lot of work but you did a bang up job! Glad you saved this one!
Posted by stevegolf on 10/22/20 @ 11:06:39 PM
Thanks for all the photos! Such a cool car!
Posted by Diggymart on 11/12/23 @ 10:55:36 PM