You must be logged in to rate content!
14 minute(s) of a 210 minute read
2-24-2020
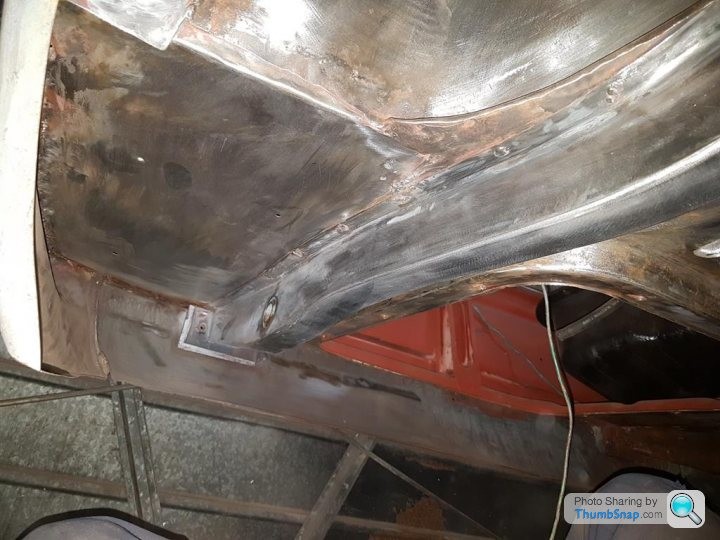
The body work prep was a long blur as one week I'd be prepping the underside the next I'd take a break to look at a door, this was mainly down to getting the whole body bare, repaired and primed roughly at the same time.
I'll focus more on the floor first:
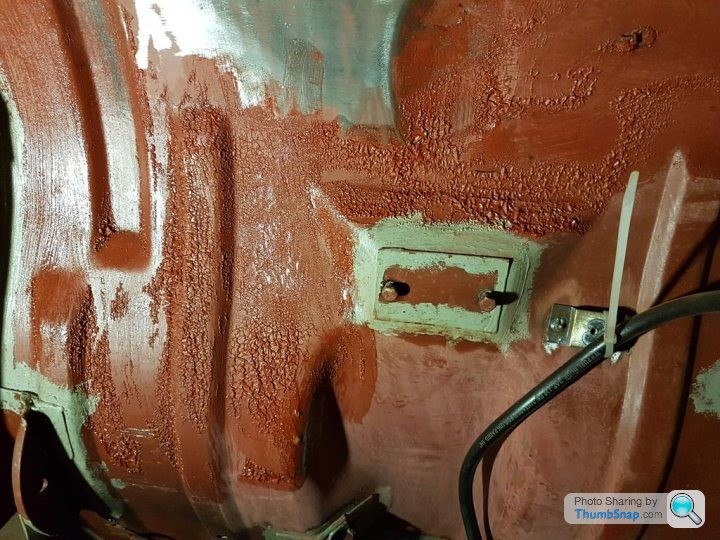
The red oxide had started to show signs of surface corrosion but it had been left "bare" for some time which is not how it is meant to be used.
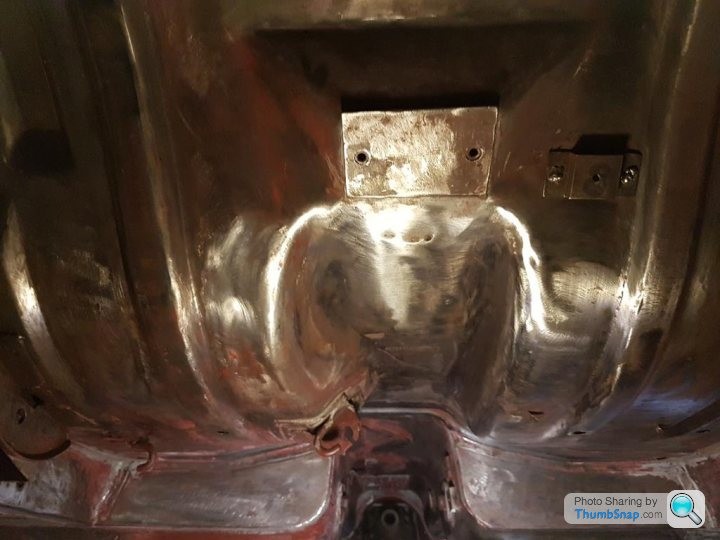
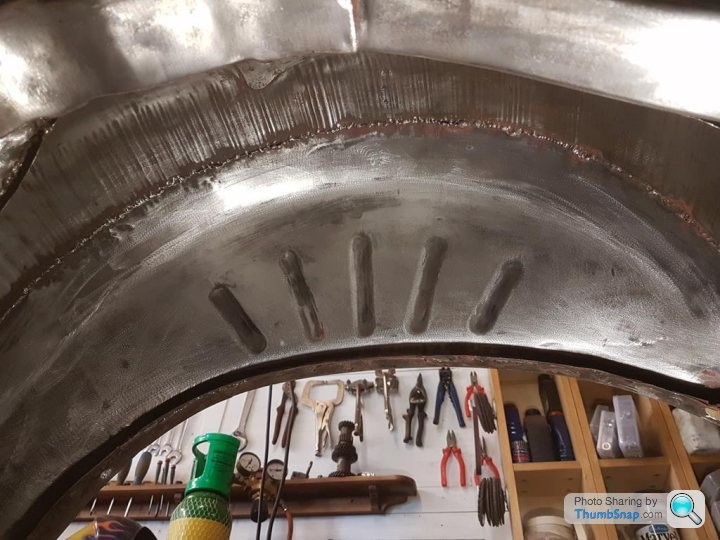
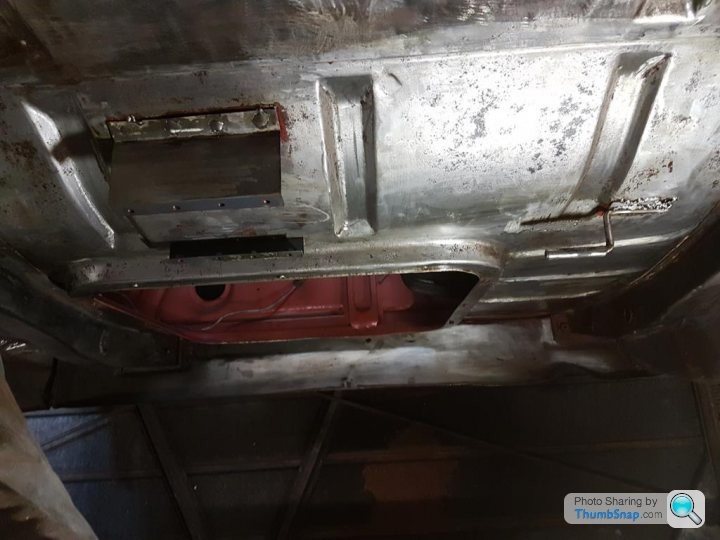
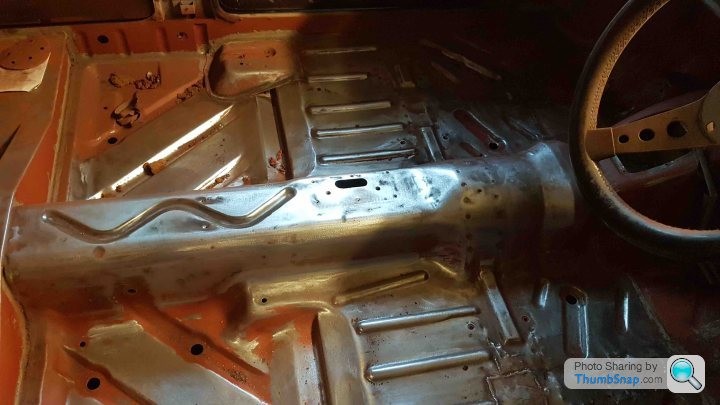
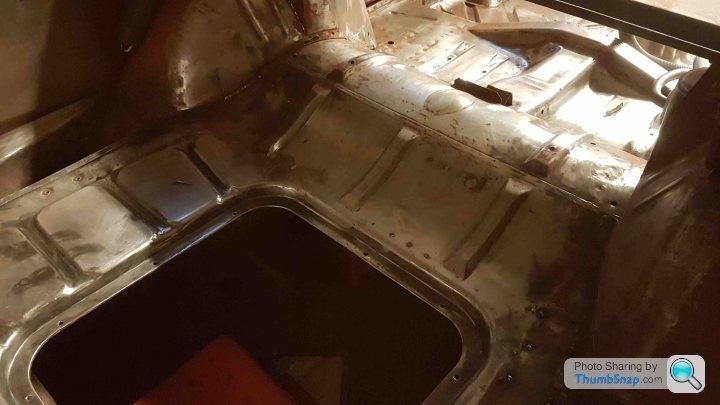
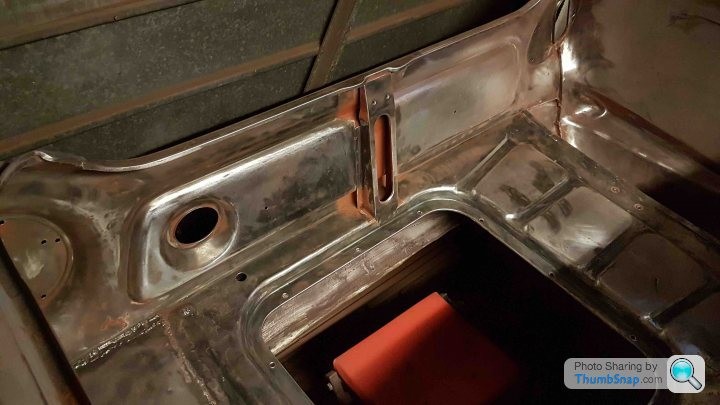
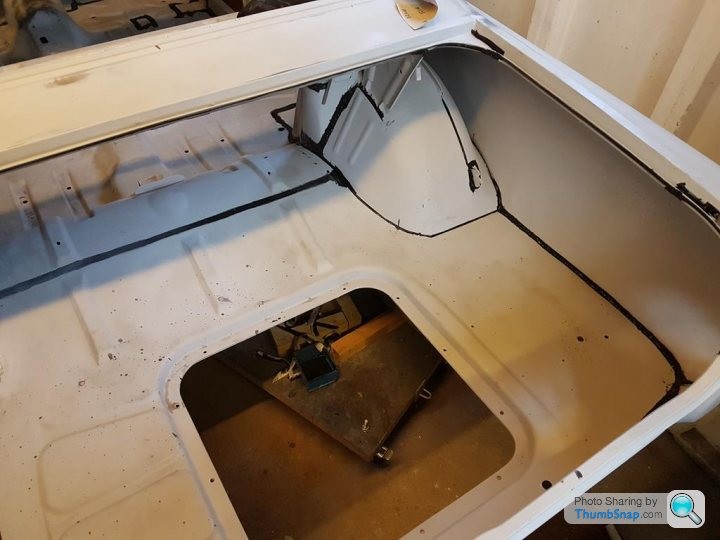
Whilst the underside was being taken back to bare metal the interior received the same treatment.
It was at this moment I became a massive tart and insisted that the boot floor needed some dressing up.
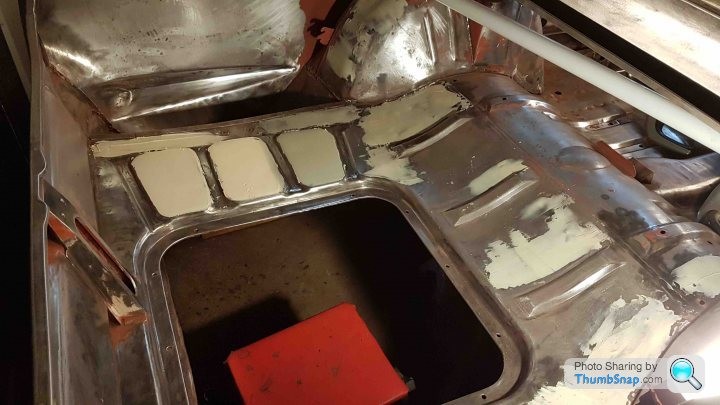
I used the interior as a trial for filler, priming and painting (which I'll come on to in a later post)
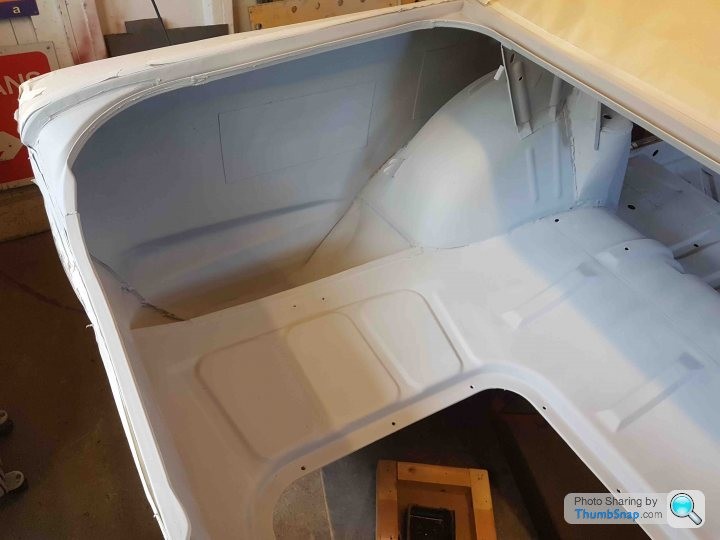
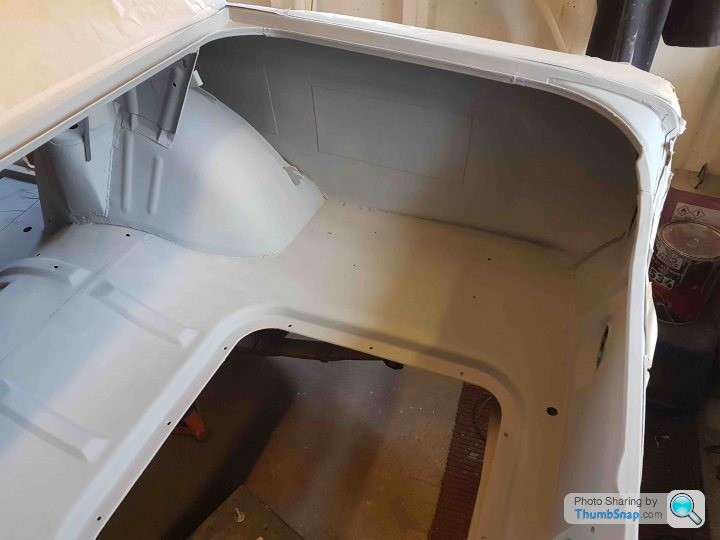
With both sides primed I could seam seal.
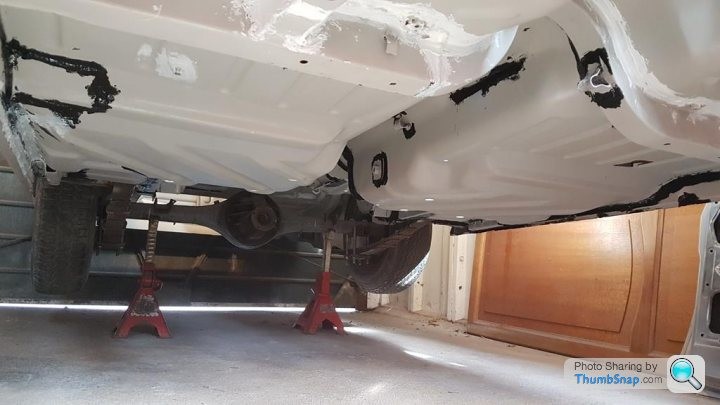
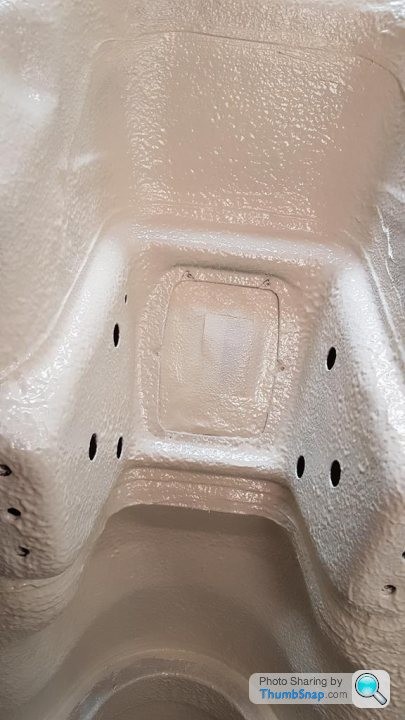
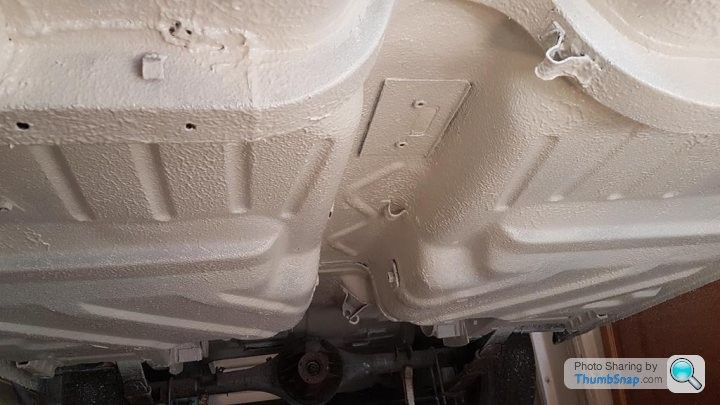
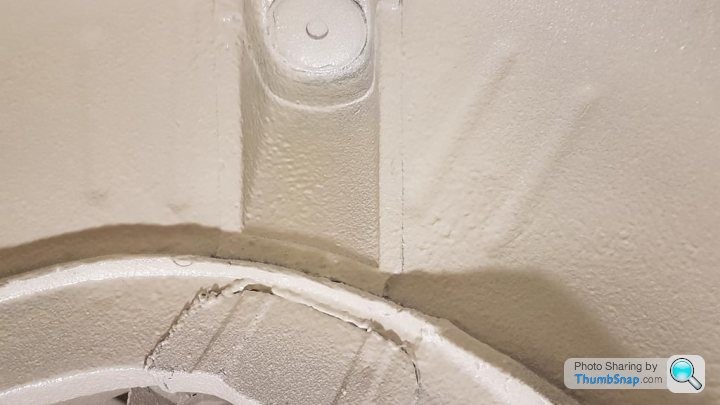
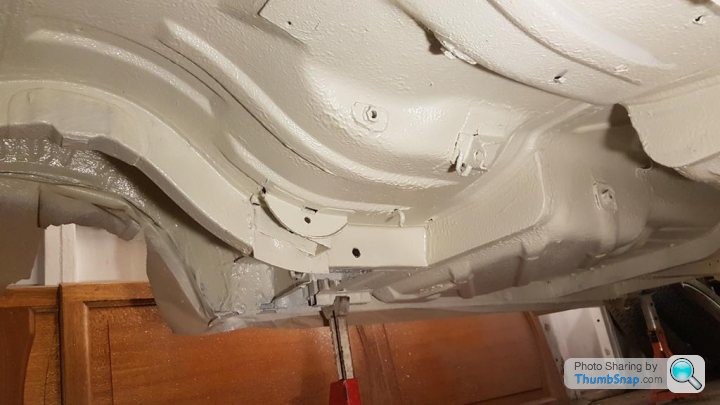
I had spent a lot of time researching the various treatments and coatings I could use for the underside, I settled on Upol Raptor which I would recommend, I used the tintable because I wanted the underside to be body colour. It's easy to mix and use an can be applied by brush, roller or sprayed, I started with a brush for seams and inside edges where spraying wouldn't be affective but spraying using a Shultz gun is simple but a pain in the @rse if you're on your back with the car above you!
White might not be the right colour for the underside of a car you intend to use but I felt that if I didn't attempt it I'd regret it and it's a lot easier to change to a black stone chip than go from black to white. This again was a motivational boost as I'd started the filling of the exterior panels which is soul destroying - mixing it, applying it then sanding it! you're always wearing a mask, it was the height of summer so work fast and sweat profusely and I have the upmost respect of people who do this daily!
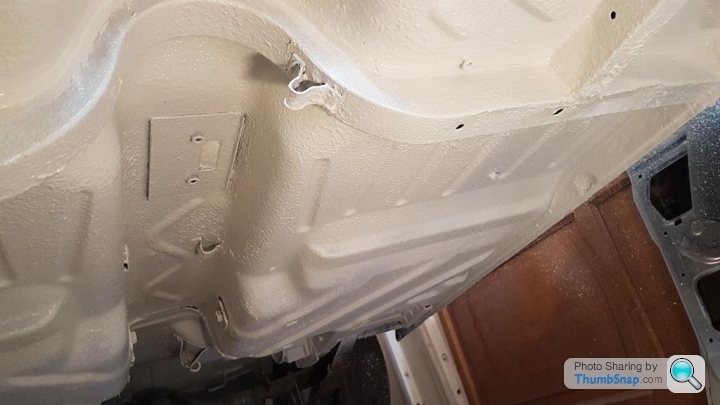
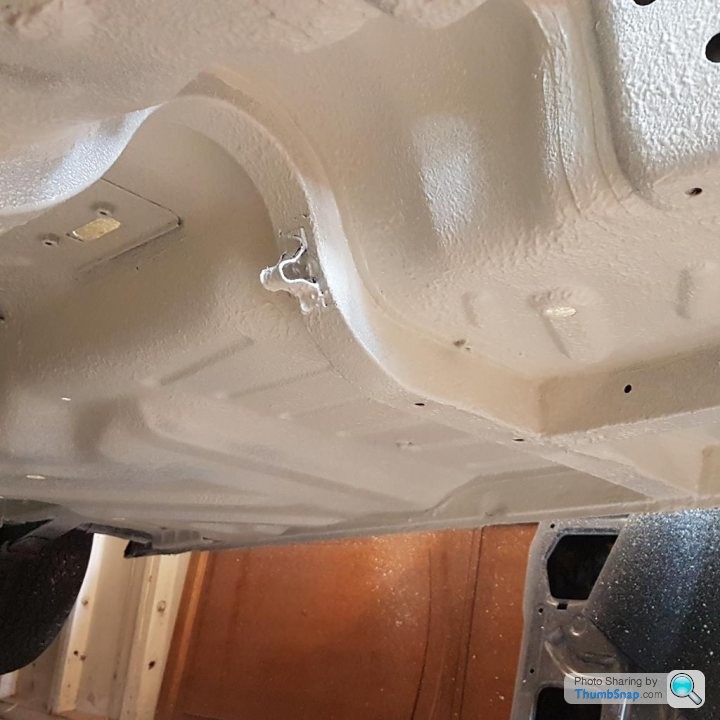
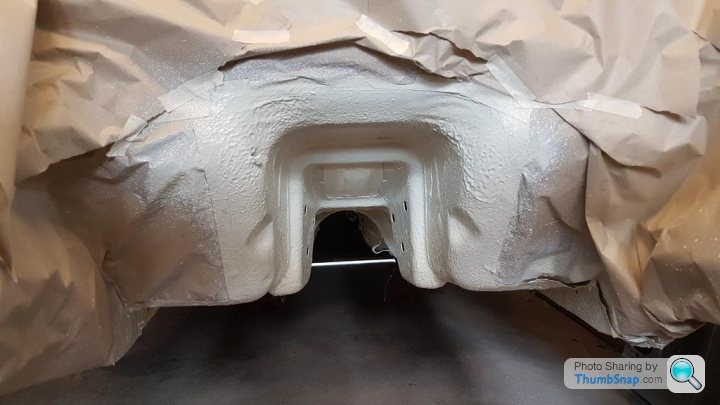
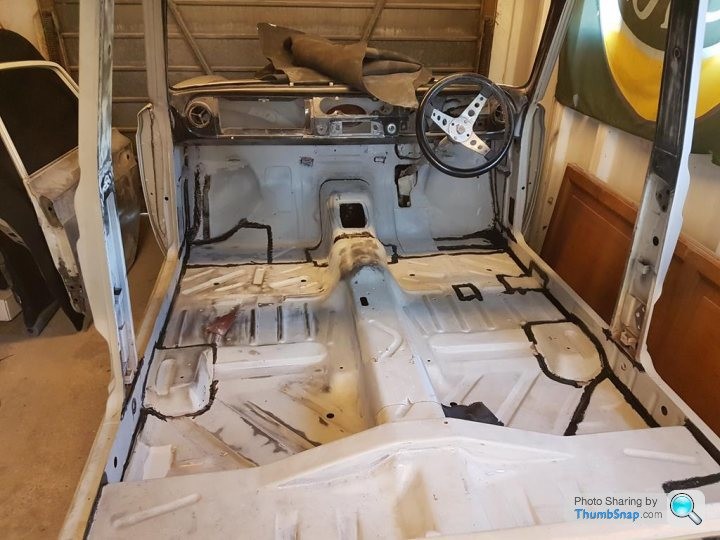
At this point the raptor was applied to the mid section of the Cortina as the front and rear suspension was still on the car, the plan was to then remove the suspension and finish the job.

With no way of moving the shell around and my narrow garage (I can only walk down 1 side of the Cortina.) I made up a frame for the front that uses the subframe mounts and a rear frame that uses the damper mounts.
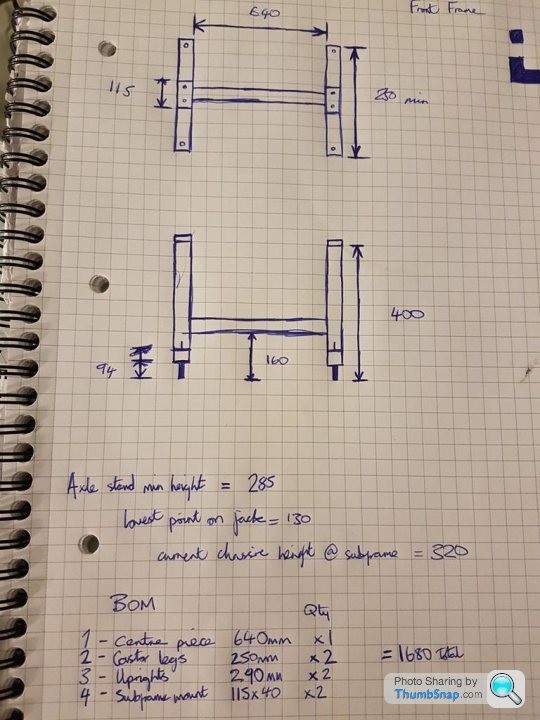
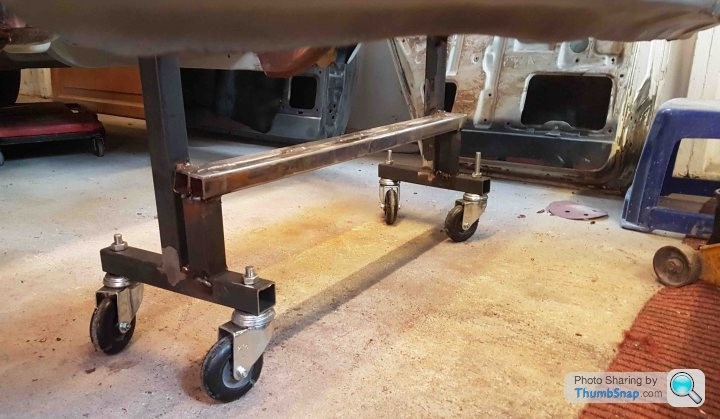
I now had a mobile shell that had could turn on the spot and be pushed around with minimal effort!
You will have noticed on an earlier post that the doors had been removed, the doors had until the stripping of paint had in my mind been an easy solution.
Strip, prime, paint, fit and home in time for tea and cake!
What actually happened:
Strip, find bodgery, swear, walk away, swear more, look at replacement doors, swear, have a cup of tea, put on a pair of big boy pants and get to work.
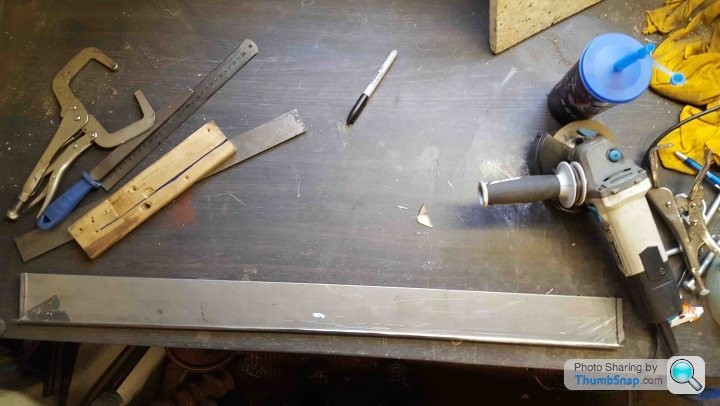
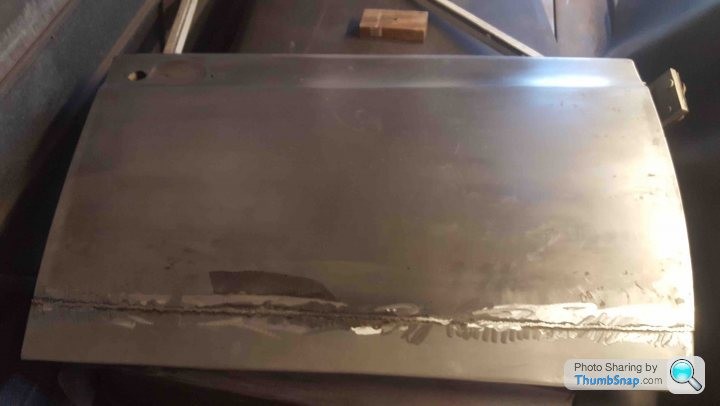
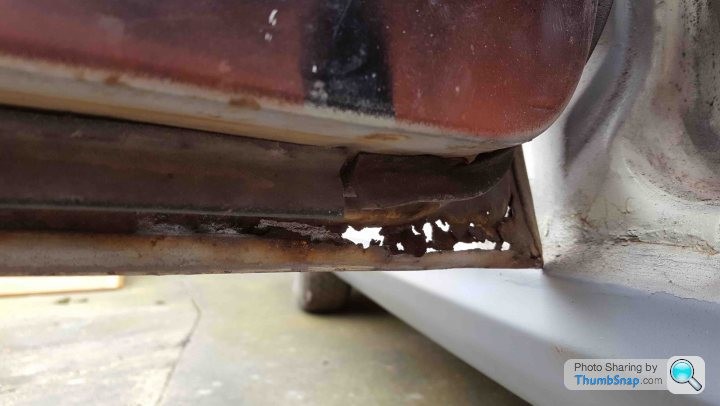
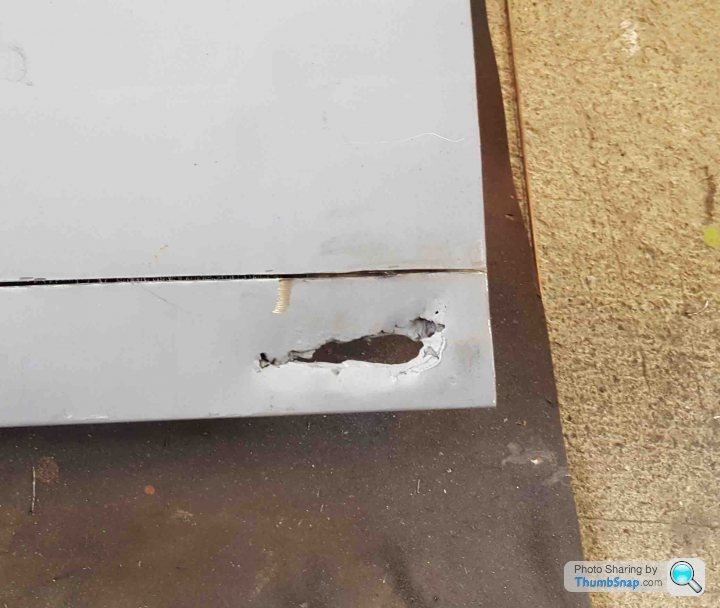
I'll apologise now for the sporadic photos - they we all roughly the same in bodgery and repairs so it's a miss mash of photos.
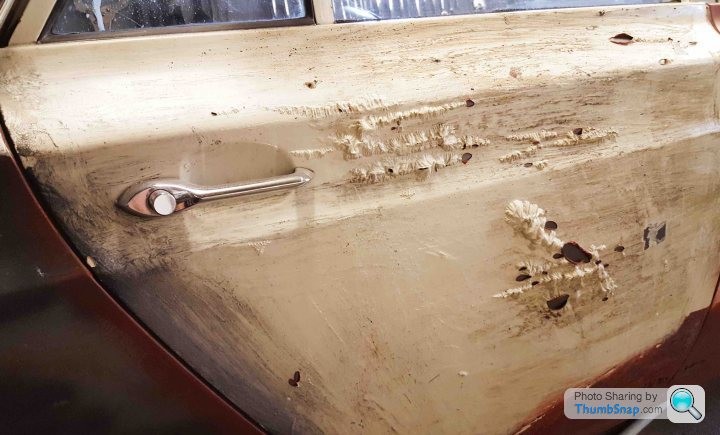
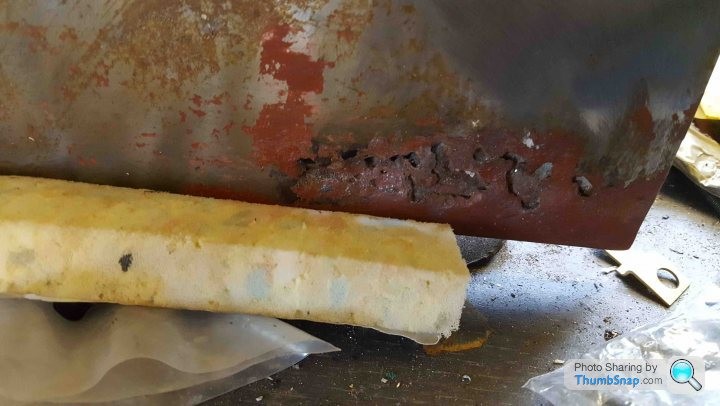
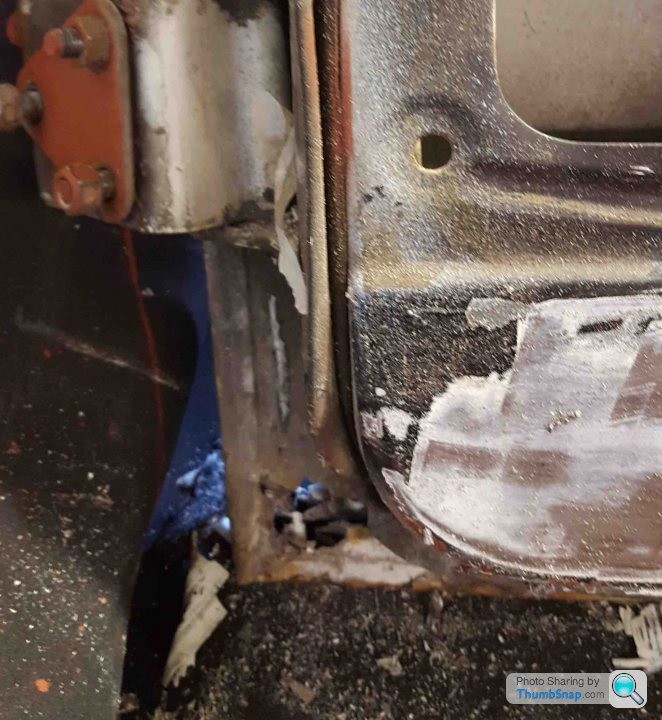
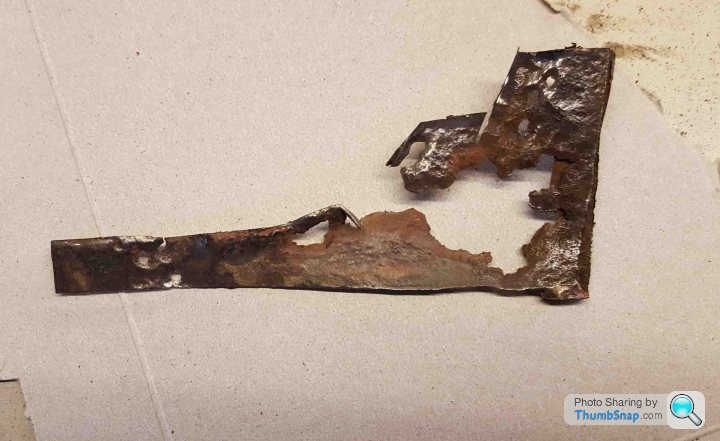
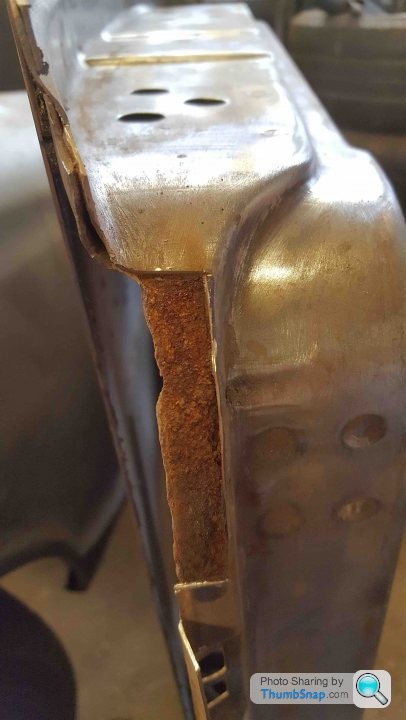
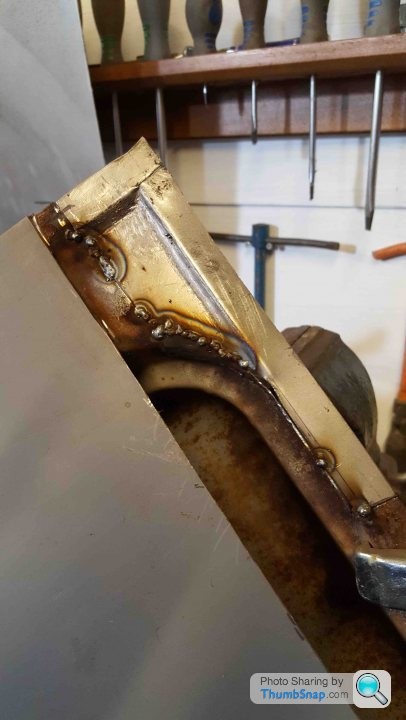
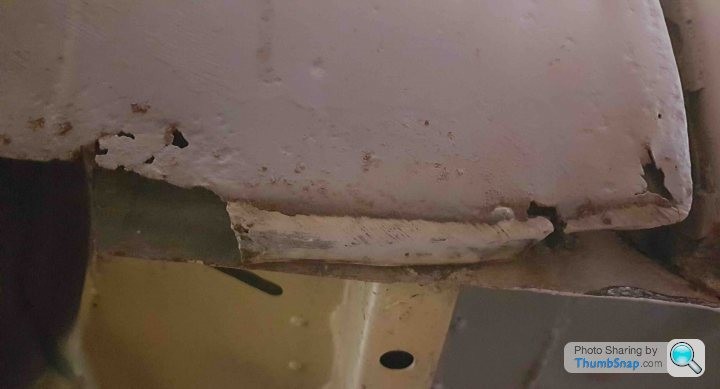
A previous owner had decided that instead of fixing these doors they would hammer the rust in, apply filler by the trowel and paint over as if nothing ever happened!
The worst offender however was the near side rear door which had also been in the wars and was sporting a rather large dent
Having looked at replacement doors I concluded that I'd probably end up with 8 doors all of which needed welding! Replacement doorskins are available but I had plenty of sheet steel and that I couldn't make the doors any worse than they are now and if I did I'd replace the skin.

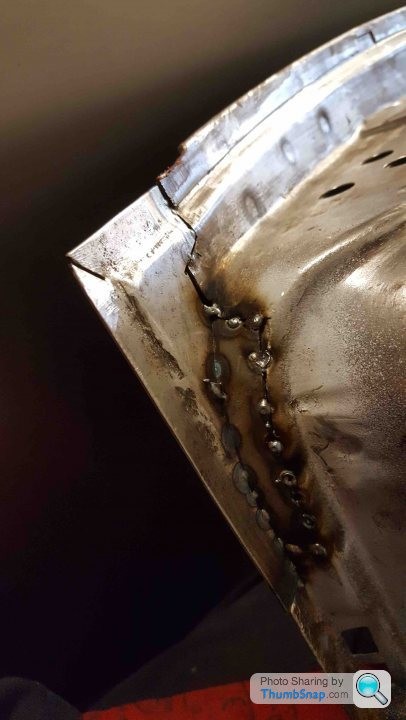
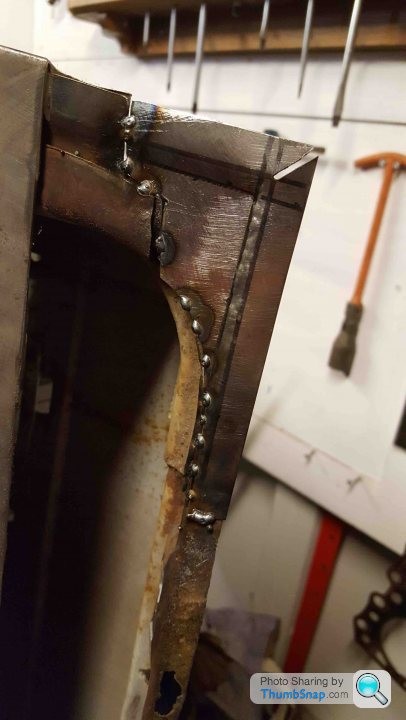
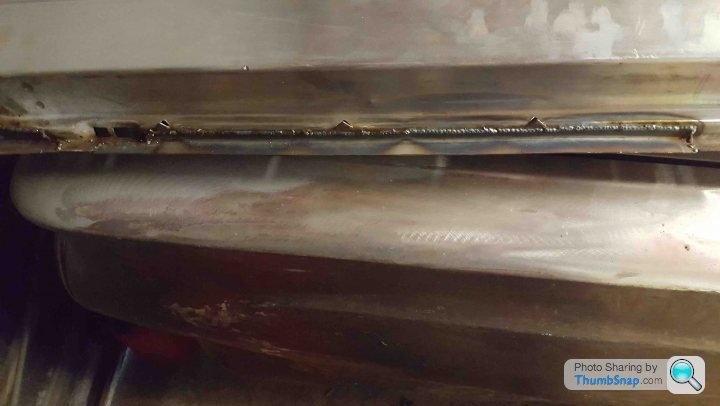


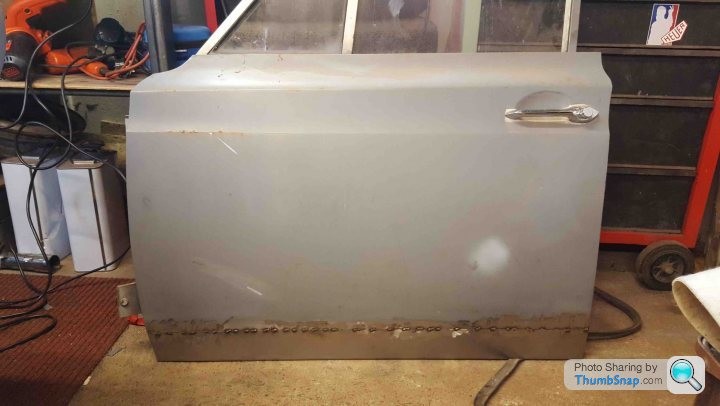
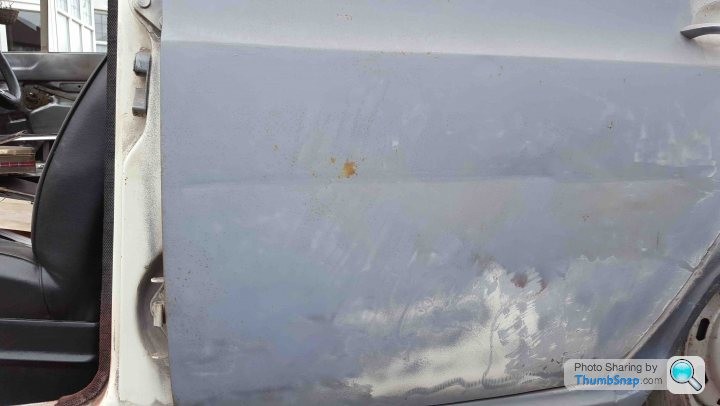
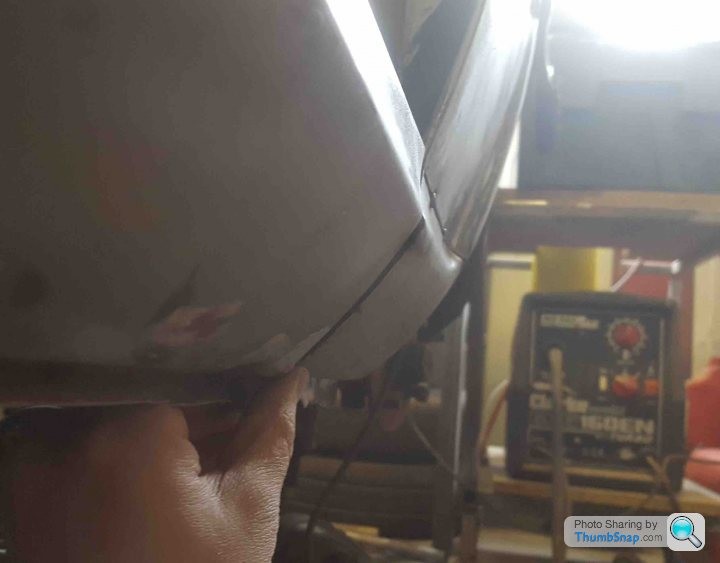
With all 4 welded up I game them a healthy coat of expoy primer both outside and in.
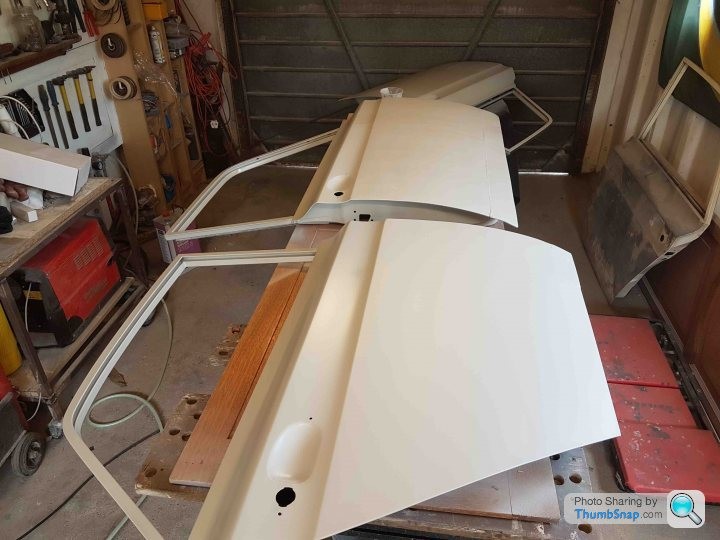
These then went into storage in our smallest spare room much to the dismay of Mrs. Retro Jim. This was because I had written into my wedding vows that I wouldn't fill our house with car parts - genuinely vowed it! In my defence however Mrs. Jim vowed to help and support me with the Cortina which using a box room for panel storage is her way of helping me!
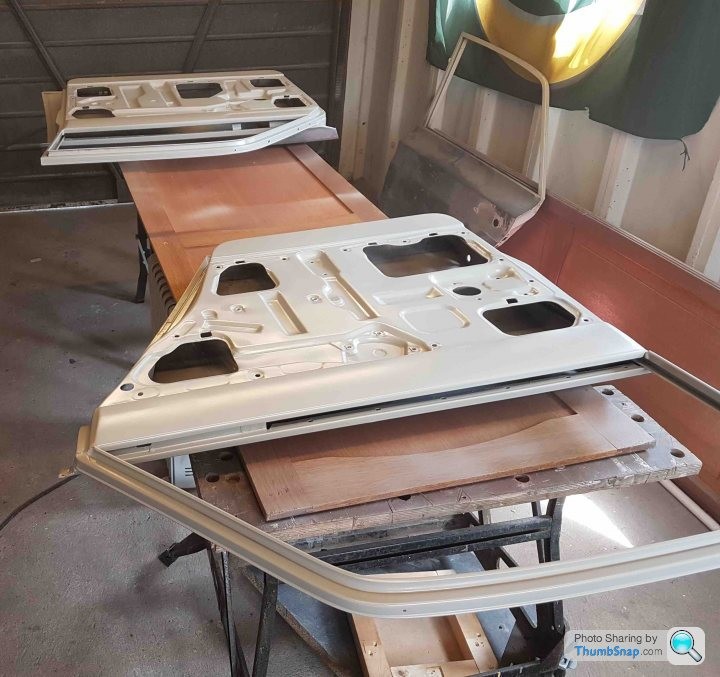
With the doors stored in the house I figured that Mrs. Jim can't get any more upset so I prepped the bonnet and boot to join them.
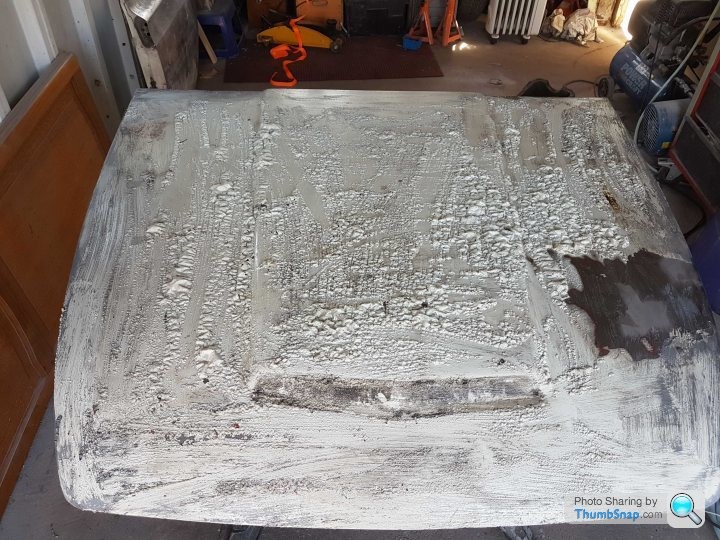
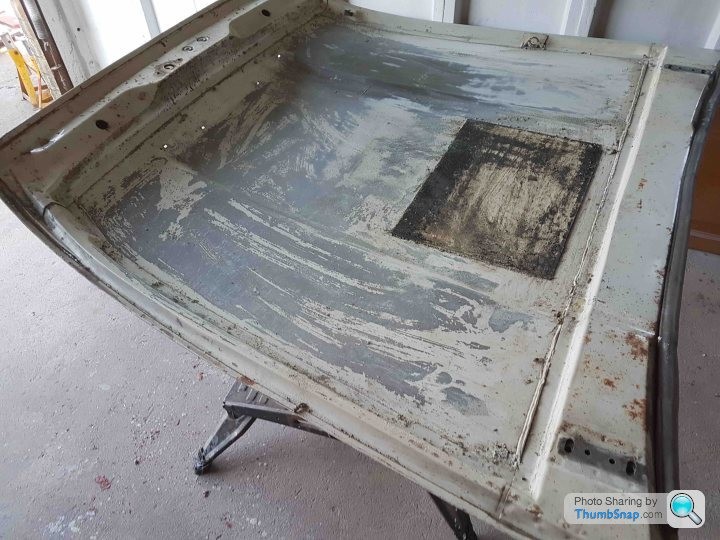
I remember that it was a hot day when I applied that paint stripper, it must have gee'd it up because I could hear the reaction - it was like listening to rice crispies!
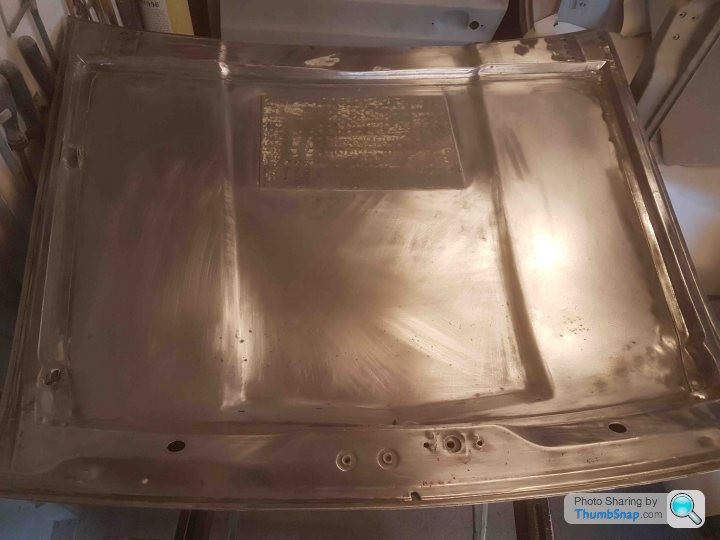
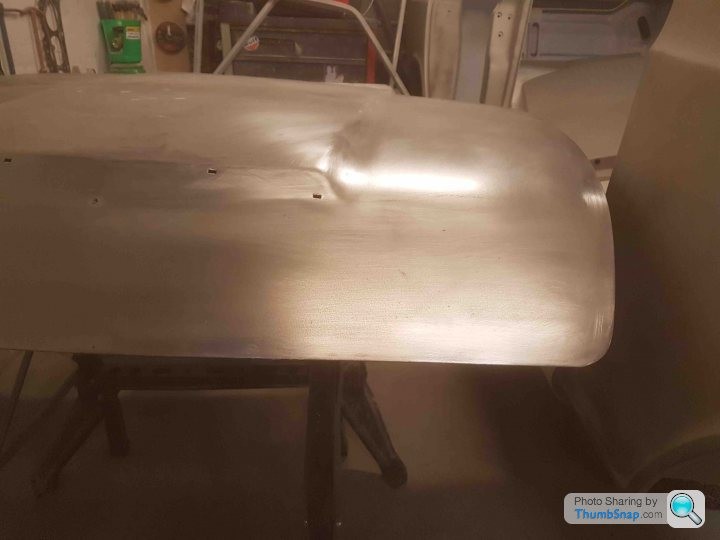
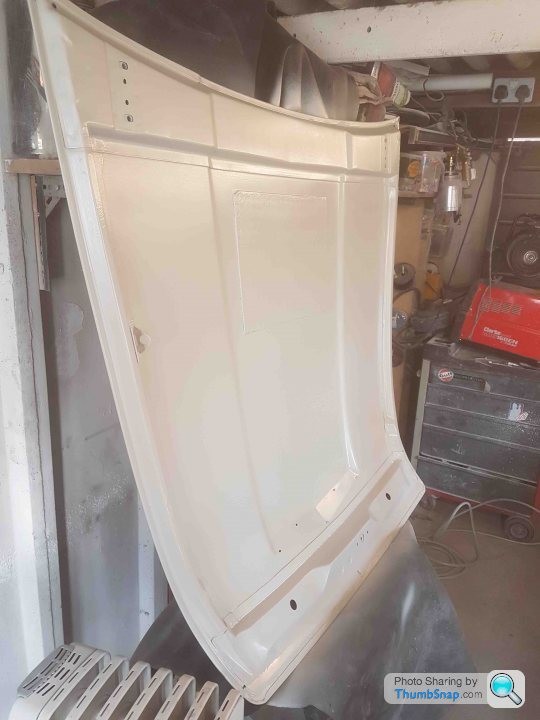
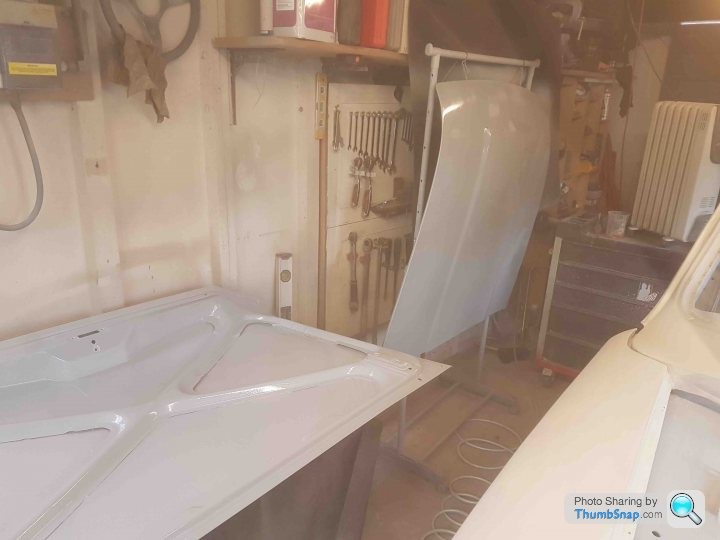
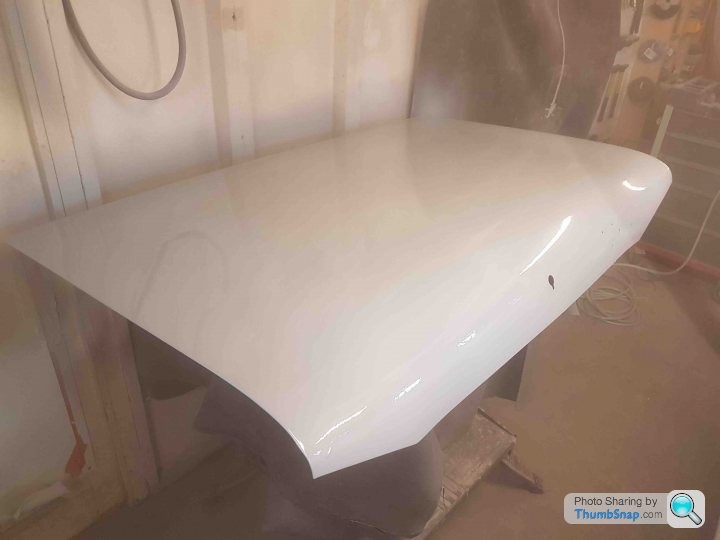
With the doors, bonnet and boot primed and placed in a warm dry environment I went back to sorting the body work.
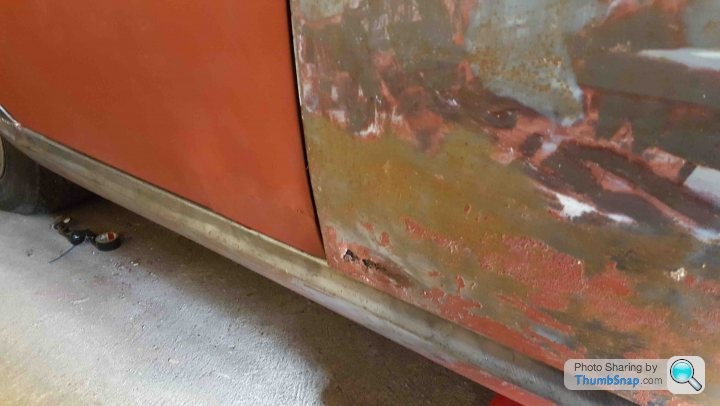
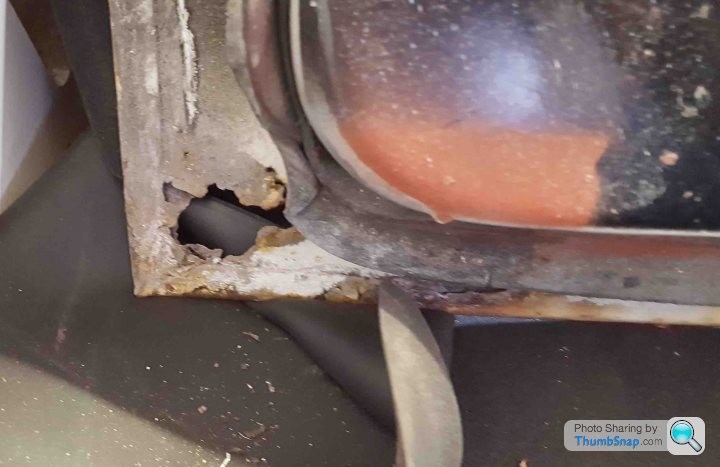
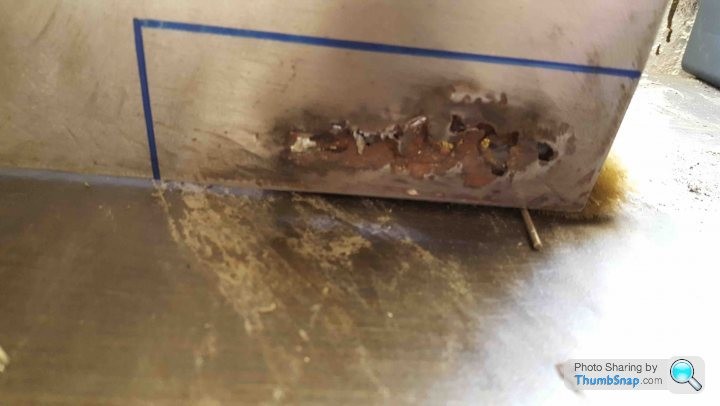
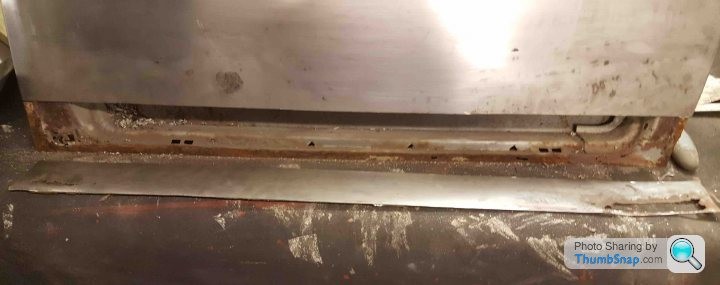
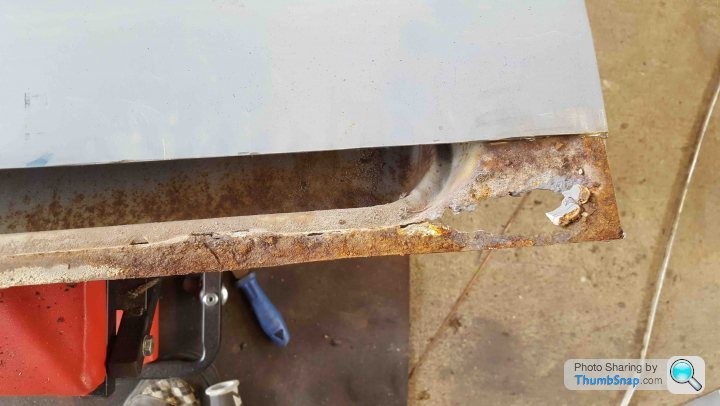
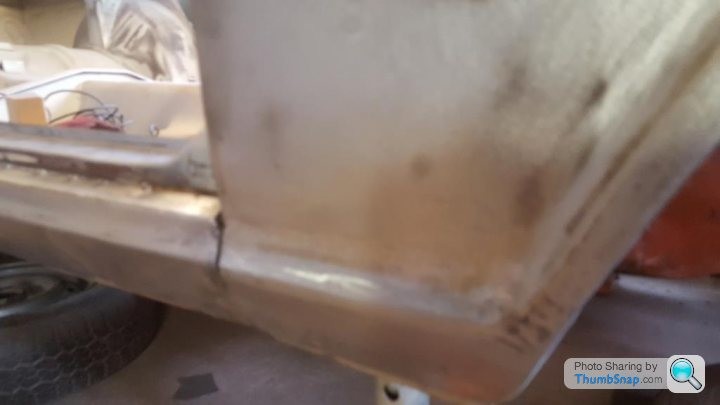
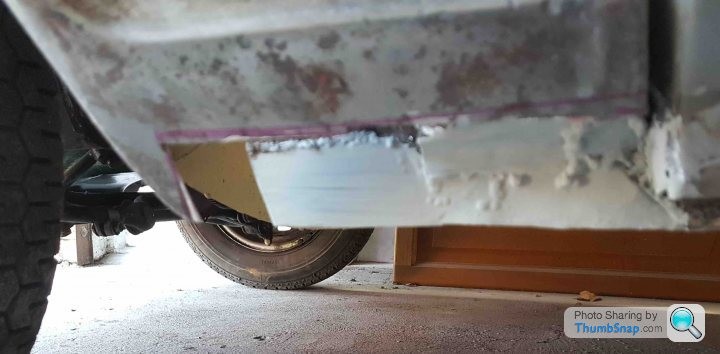
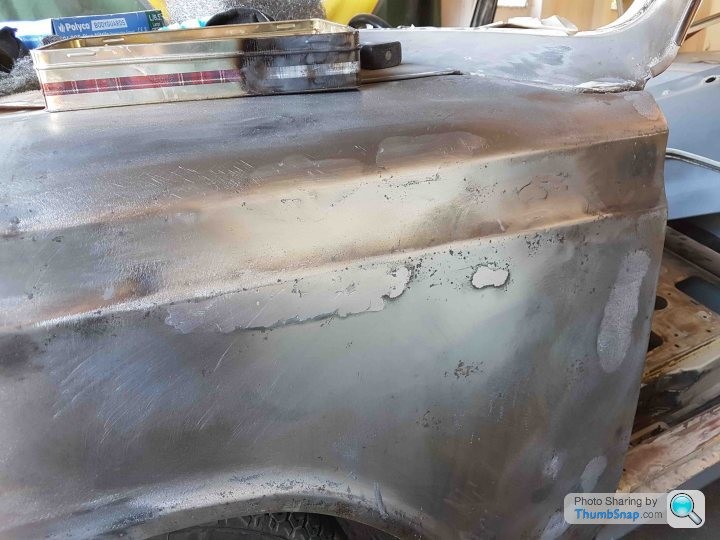
The front wings are genuine ford but were replaced not long after I bought the Cortina in 2005 because the originals were in a poor way. I hadn't noticed till I started the body work that the fit between the wing and the sill was off. The guys who did this work weren't body shop guys and did it as. favour for my Dad, I'm not angry or upset as it got me out of a hole but over the years the lower welded edge had dissolved and needed work.
These wings are 50 years old, they were pitted but again I figured work with what I have and if there's an issue I'll replace them. As I've said before the Cortina will be driven so I'm expecting stone chips etc so the body work will no doubt be freshend up from time to time.
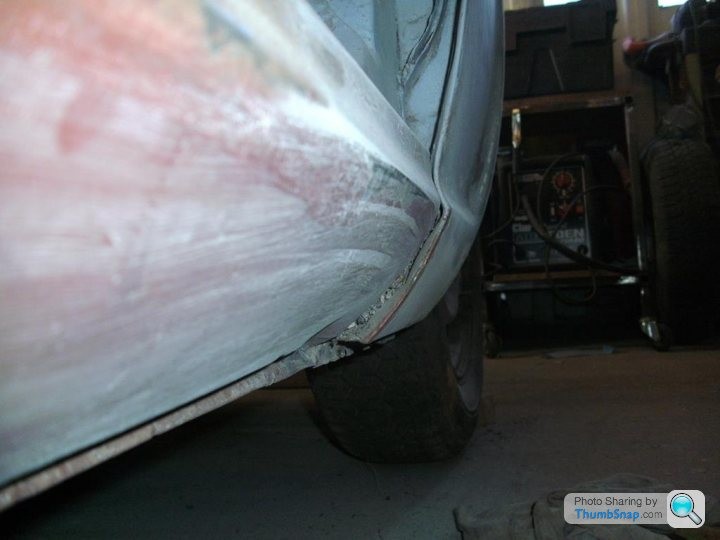
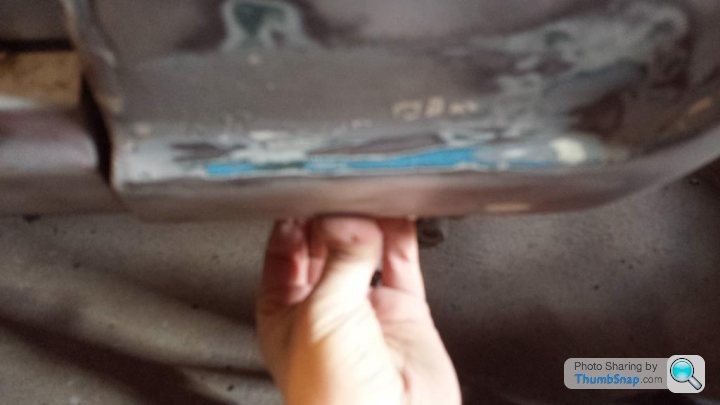
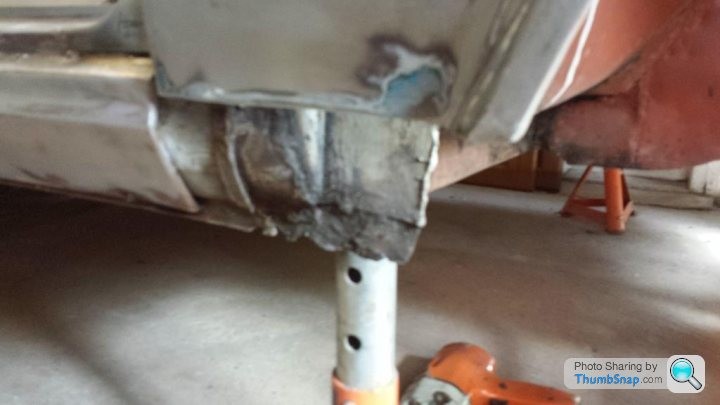
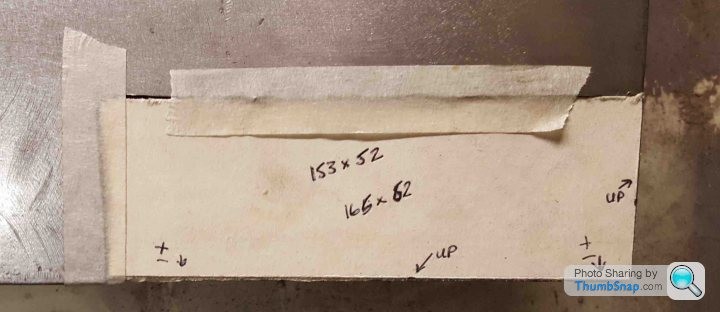
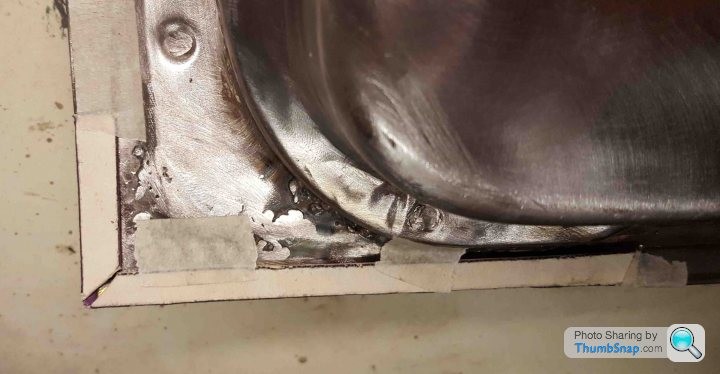
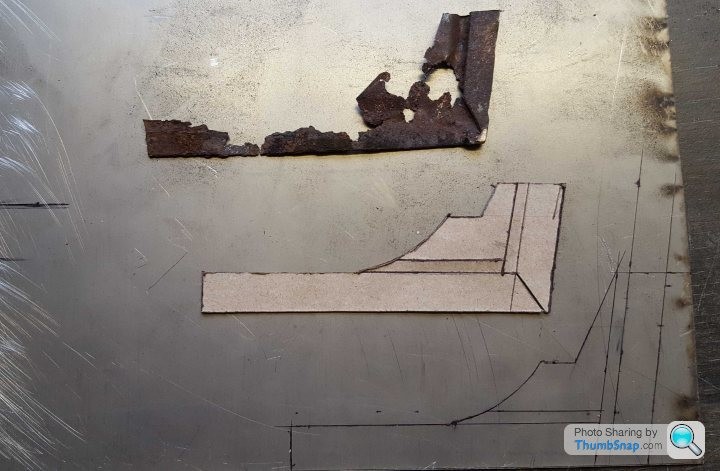
This was measured about 5 times and cut with me holding my breath! The cut is below that of a repair section so if it went south the wing wouldn't be affected in the end. Whilst off I made a new lip - just a simple 90 degree fold in the vice.

It was then seem welded and dressed back
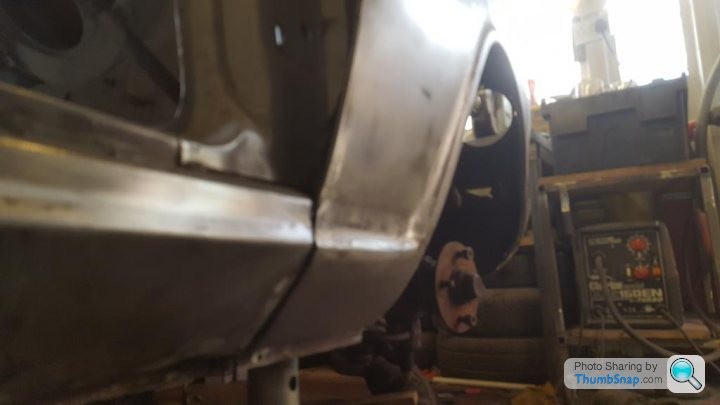
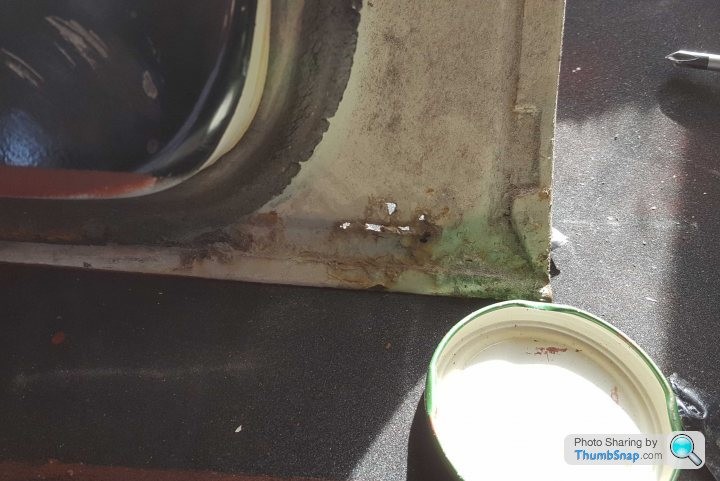
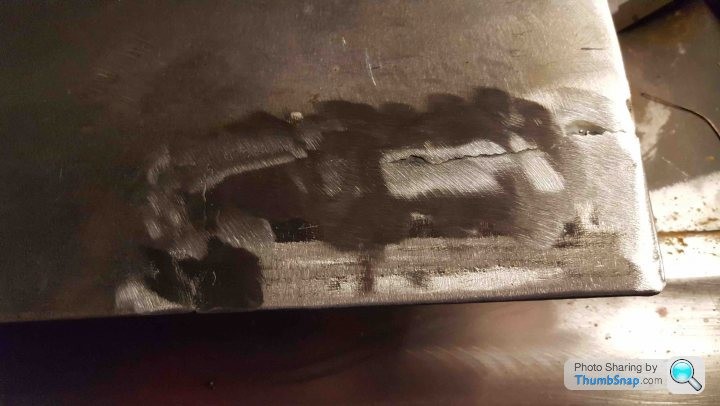
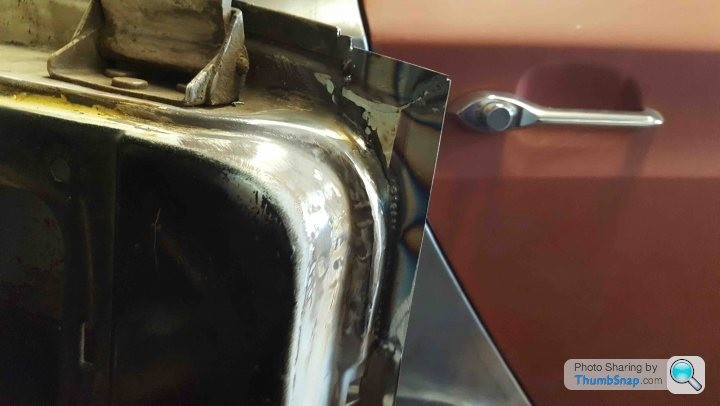
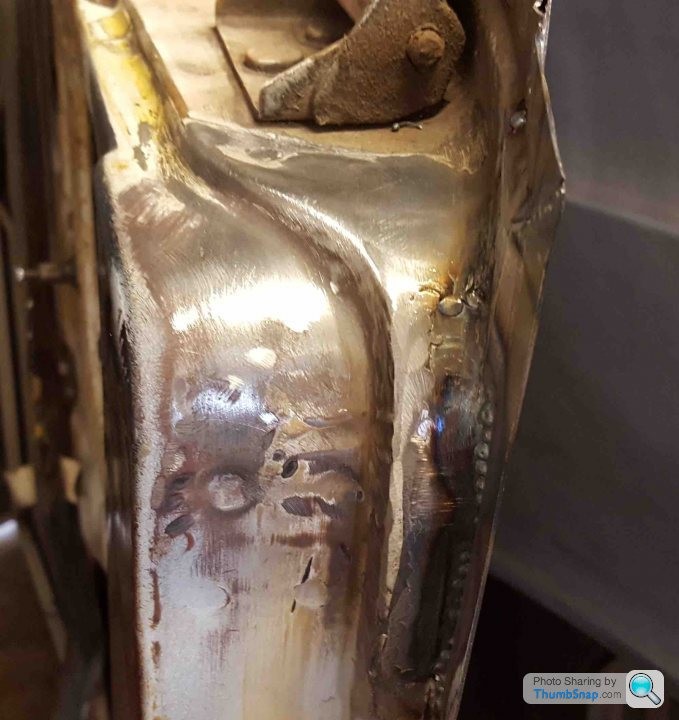
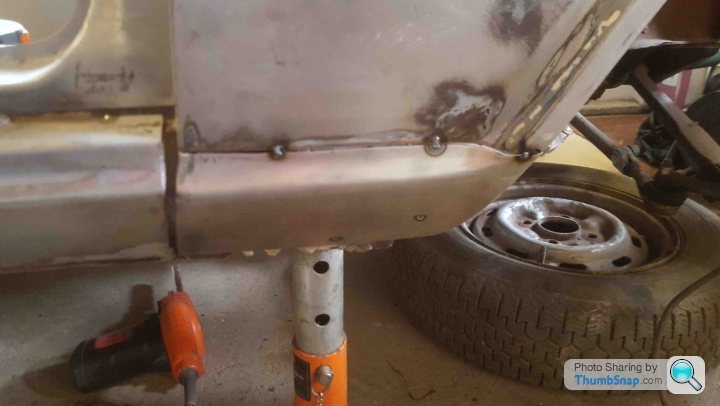
The Nearside had a better fit but was 'crispier'
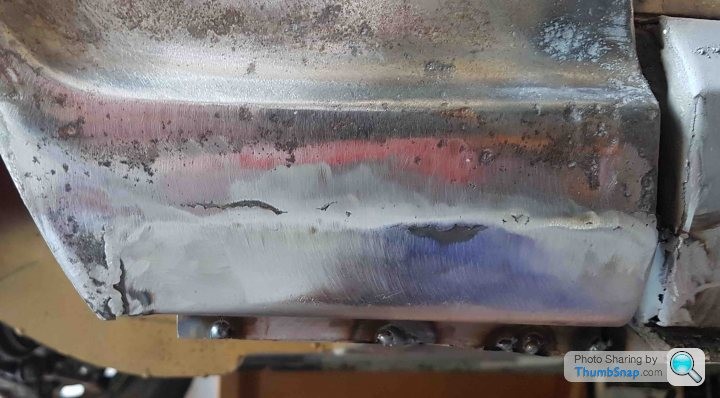
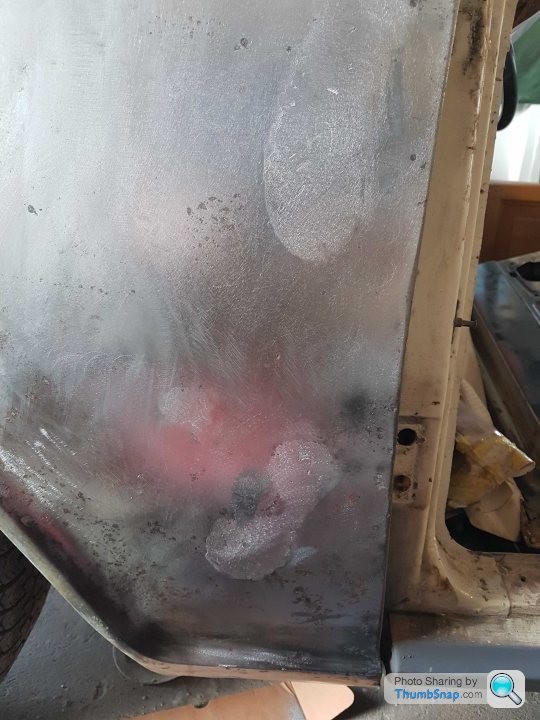
The pitting was wire brushed out, I used a dremmel engraver to ensure the metal was clean before I lead loaded. After this the wings were given a coat of rust treatment and epoxy primer.
Comments
Great work mate! Loved the taillights and fins on these cortinas. Remind me of the old type 34 VWs.
Posted by MPower on 10/31/20 @ 3:15:41 AM

Thank you! I had never made that connection before, you're right!
Posted by Jim_builds on 11/16/20 @ 2:29:18 PM
Thank you Steve I appreciate the support, it feels like a lifetime since I did a lot of the work! Hopefully I'll be back on the road early next year so I can finally put some miles on her.
Posted by Jim_builds on 10/26/20 @ 12:08:47 PM
Beautiful Cortina! Looks like a lot of work but you did a bang up job! Glad you saved this one!
Posted by stevegolf on 10/22/20 @ 11:06:39 PM
Thanks for all the photos! Such a cool car!
Posted by Diggymart on 11/12/23 @ 10:55:36 PM