You must be logged in to rate content!
8 minute(s) of a 210 minute read
2-25-2020
I couldn't agree more Bob.
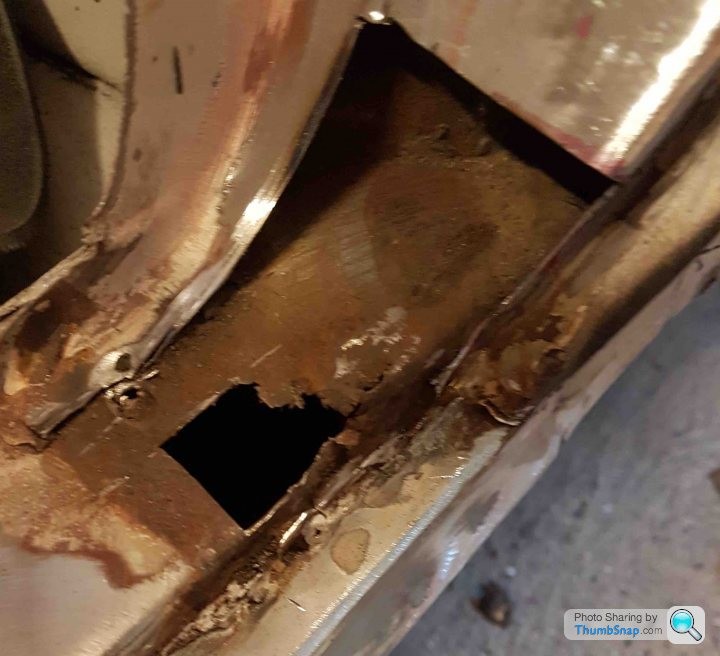
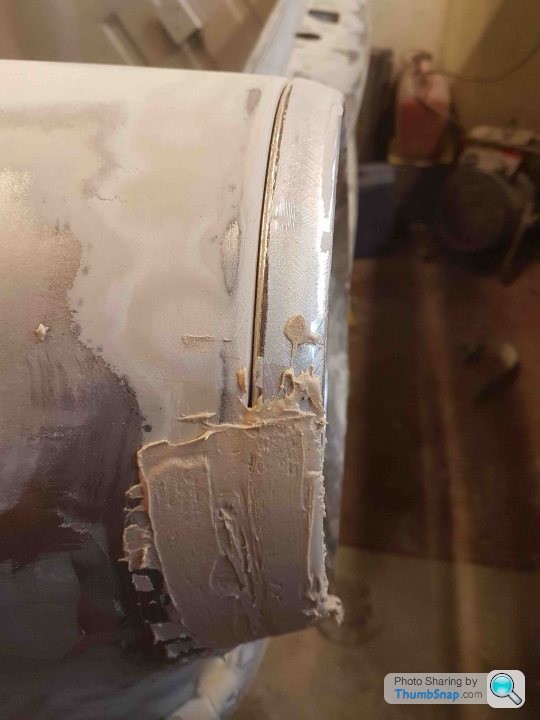
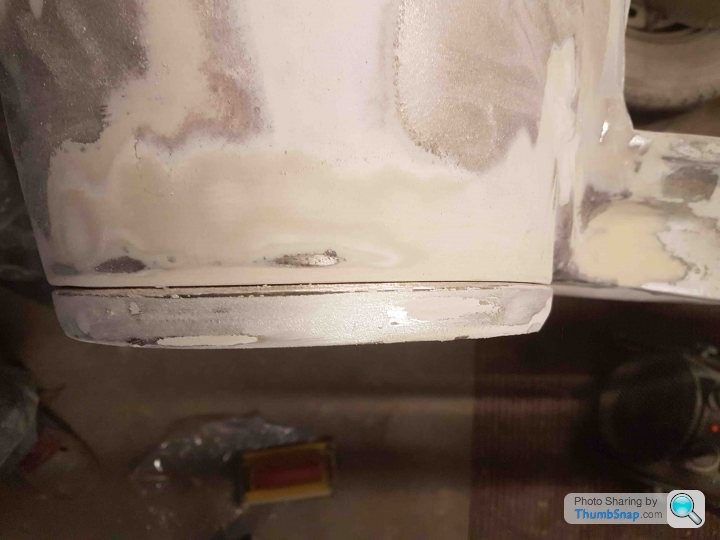
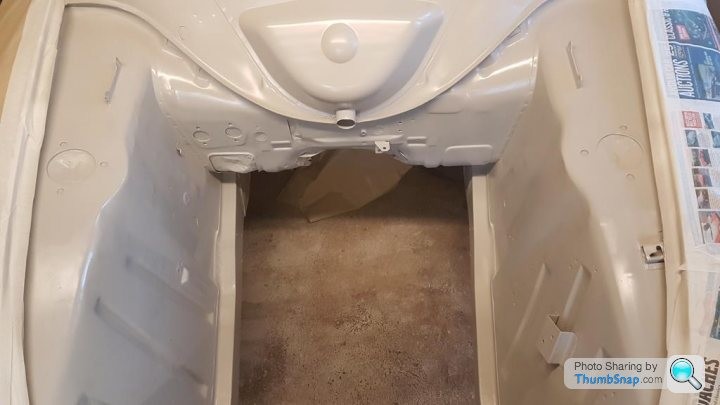
With the front wings now having been repairs and reattached I carried on my battle against old paint when I came across this beauty.
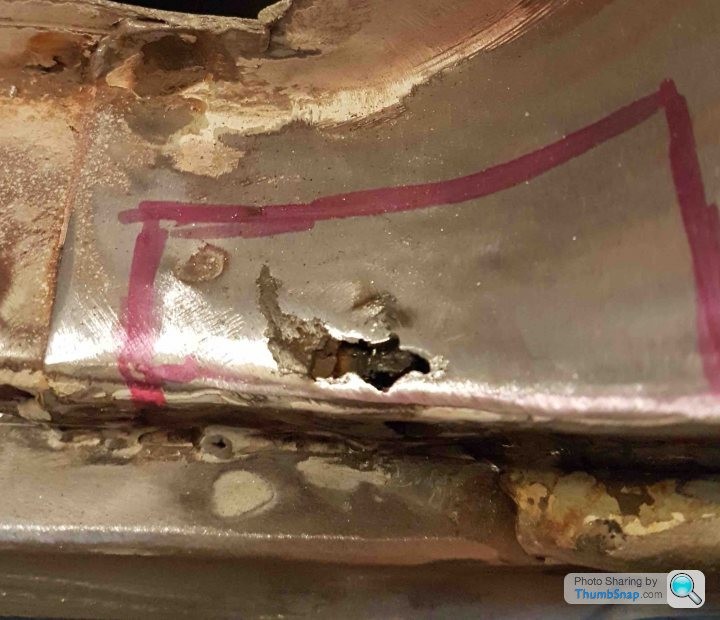
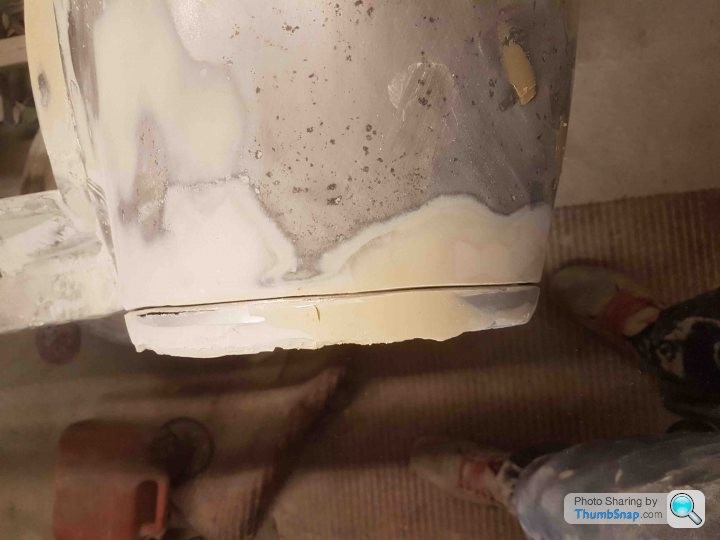
Which then grew into this
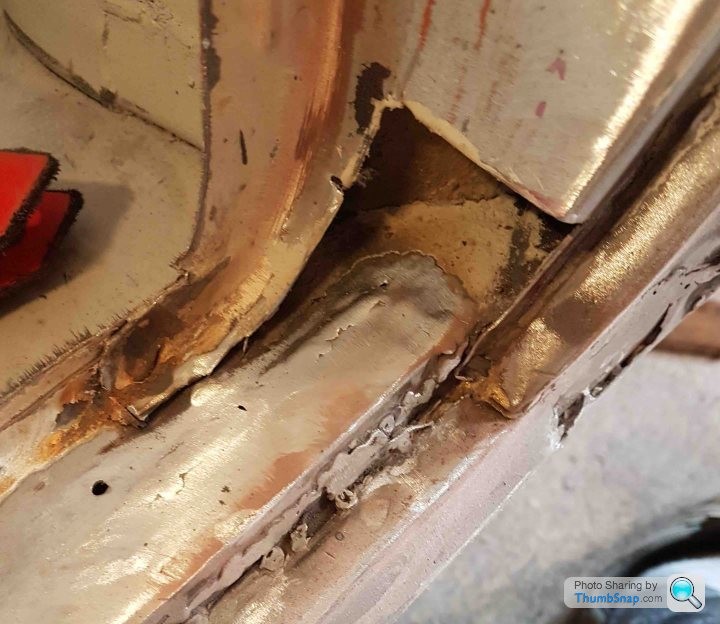
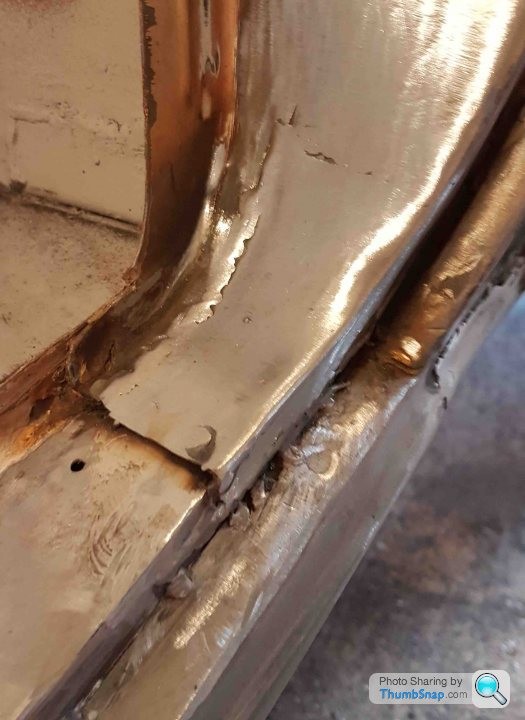
The steel was primed before the top piece was welded on. I believe this is the last of the welding repair I made for the Cortina, I don't miss it but I was surprised about how quickly I did that repair, if I recall it was a morning from discovery to wrapping up which was a lot quicker than how I worked on previous repairs.
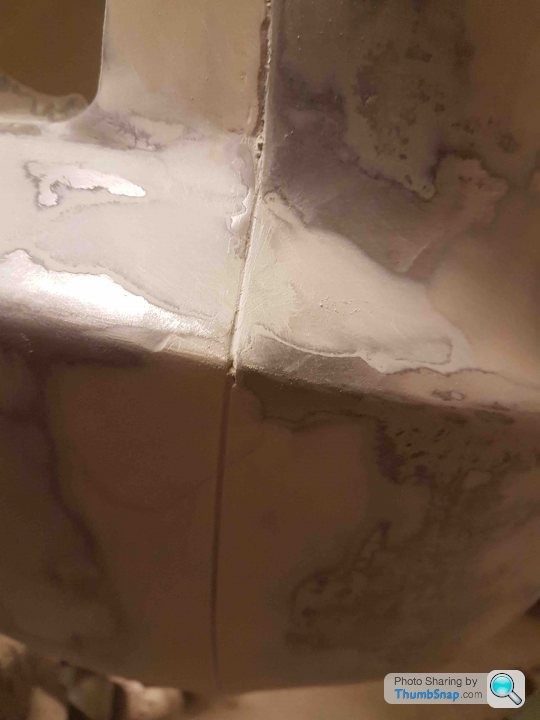
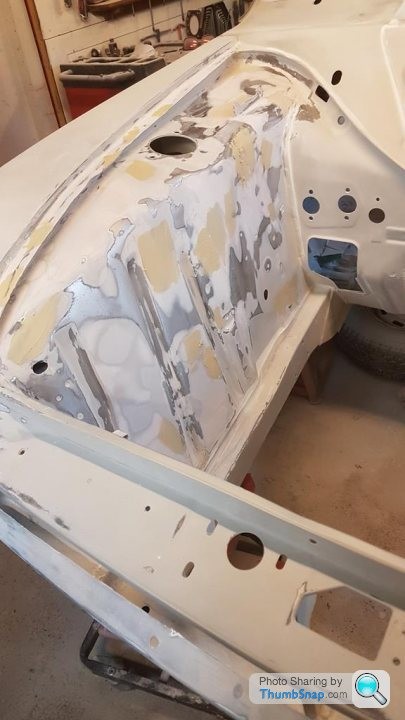
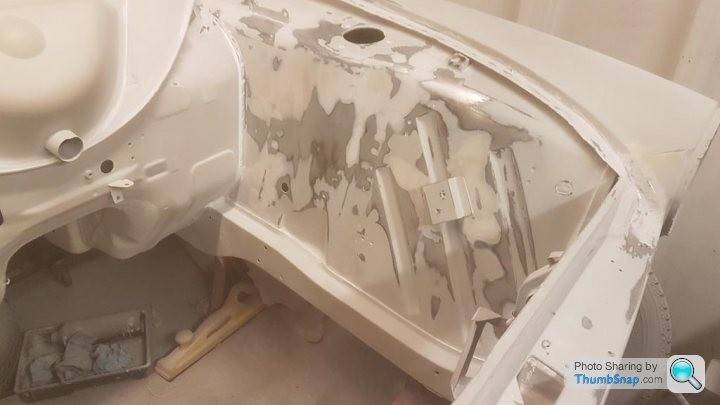
To celebrate I went back to filling and sanding!
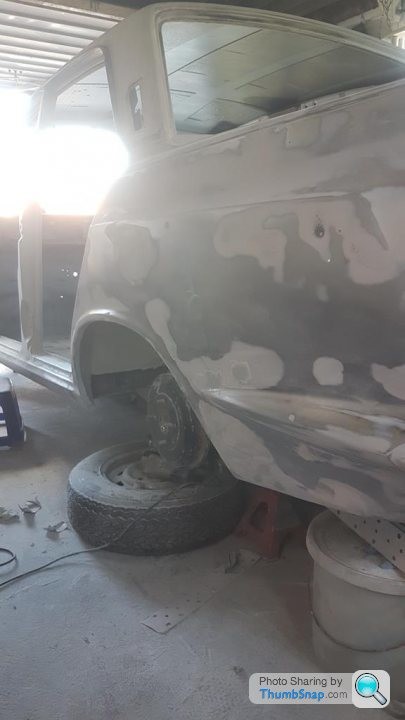

Generally the wings were in a decent state, I went to this trouble to sort small dings and ensure they looked right in the case of the front wings get the headlight gaps finely tuned.
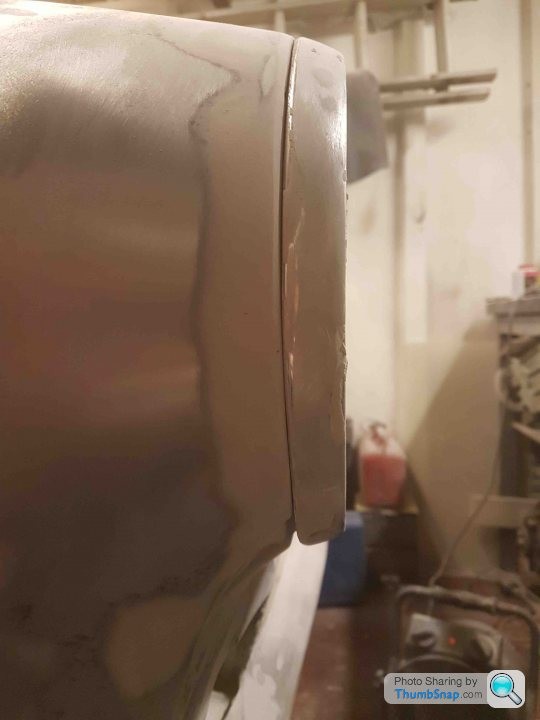
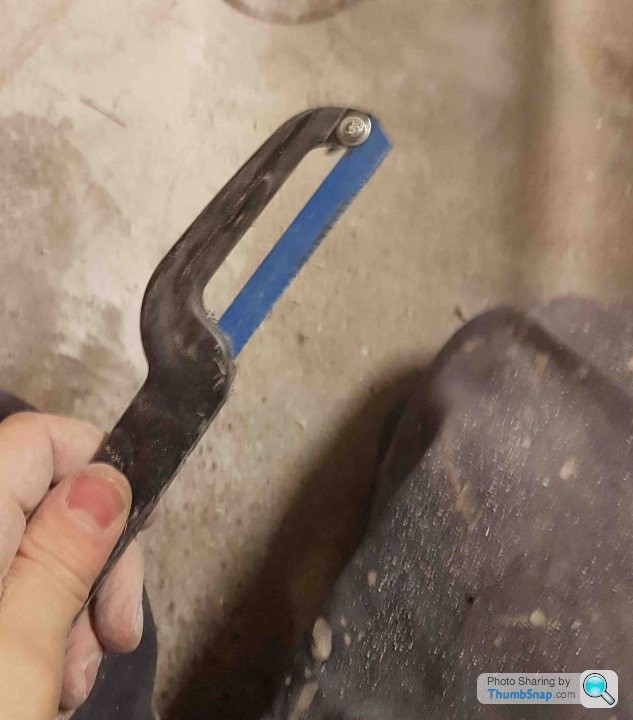
This little tool was £2 from B&Q and its great for jobs like this, I even used it to tidy the gaps between the welded wings
It was about 12 months ago when I was doing this and as luck would have it my wife was sent on a course in London for 6 days spread over 6 weeks so I was tasked with getting her to Nottingham train station for 6 am. I don't mind getting up early but my current job starts at 9am and it takes 25 mins approx to get there so I figured once I got home from dropping Mrs. Jim off I had a bit of free time. Given that body work prep is primarily time over money and making a batch of filler or hand sanding panels - yes I did all this prep work by hand! was a perfect way to catch up on time lost.
I have enjoyed it so much that every morning I'm in the garage at about 6 till 7 which roughly equates to the average time I'd spend on a Saturday, as a bonus this is the same time Mrs. Jim fires up her jet powered hairdryer so she's awake already and I get garage time without neglecting our marriage to spend time on the car!
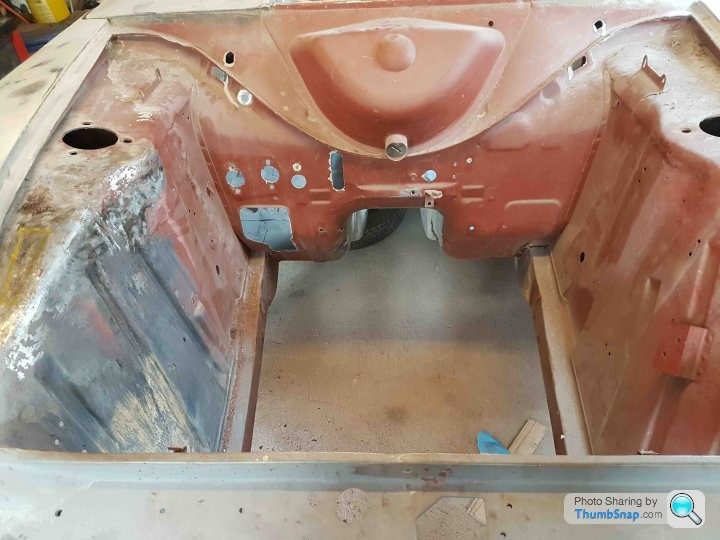
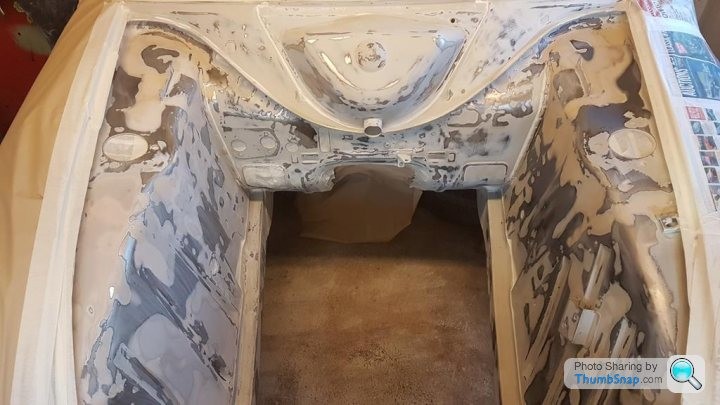
I was finally at a point I was happy with the exterior wings I decided to sort the engine bay because of 2 reasons:
1 - Classic car buffs including myself love a good engine bay
2 -I want it to look pretty when it breaks down and the AA are having a look at what I've broken!
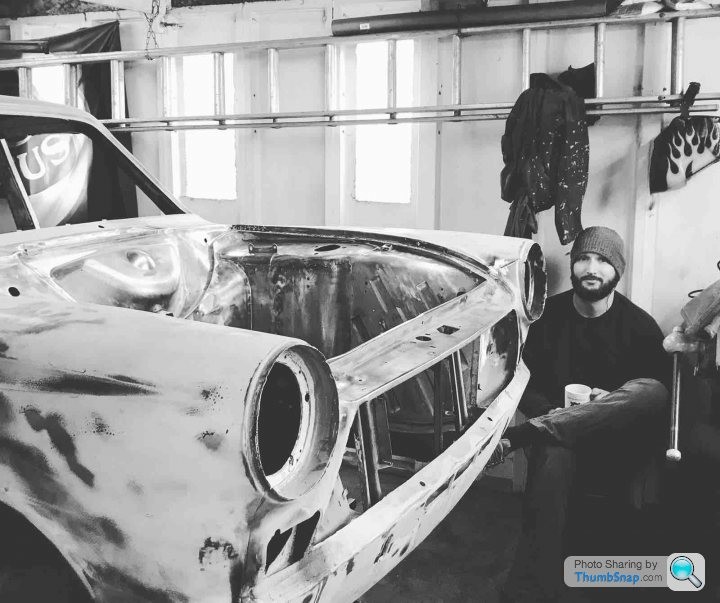
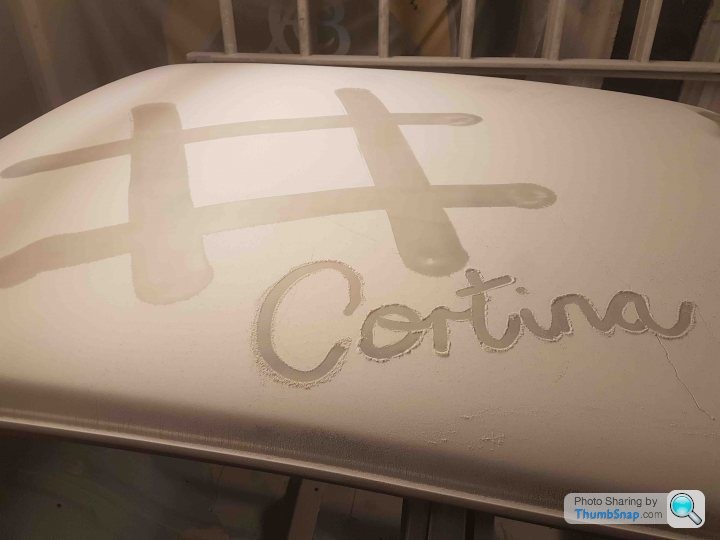
It was around this time Mrs. Jim took pity on me one Saturday and bought me a cup of tea - this doesn't happen often as the odds of a spider jumping out on her in the garage is too high for her to warrant plus it was very dusty in there given the work I was doing but she did take this photo of me which is Instagram worthy!
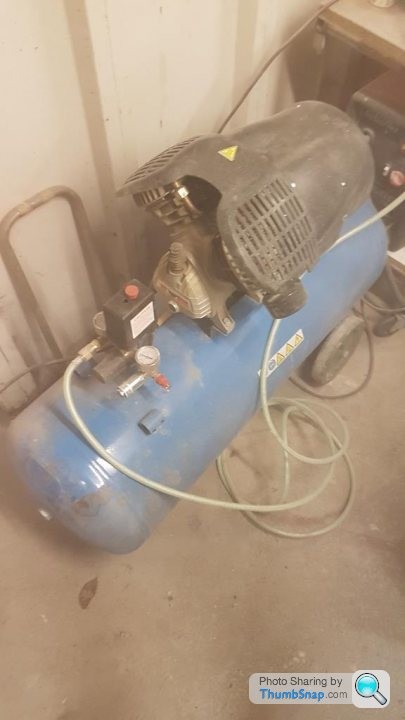
At the time I found that the Aldi compressor I was borrowing from my father whilst doing a decent job of supplying air for small priming jobs it was struggling to provide for larger areas, this compressor turned up on eBay rather cheaply but was sold as a repair job. Usually the pressure relief switch goes on compressors and they're cheap to fix so I put a bid on for £45 as I figured if it's that knackerd I'd put it back on. As it turns out it just needed a 13 amp fuse!
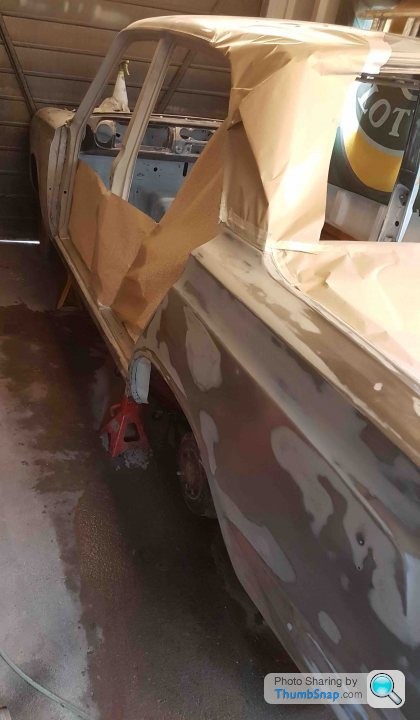
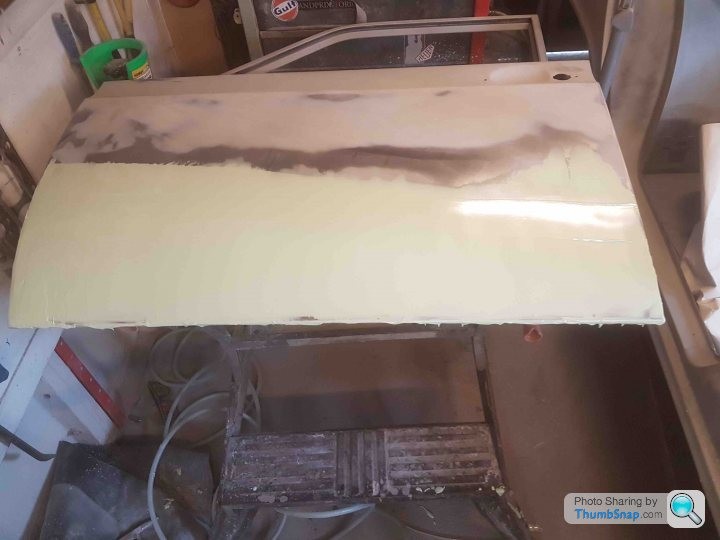
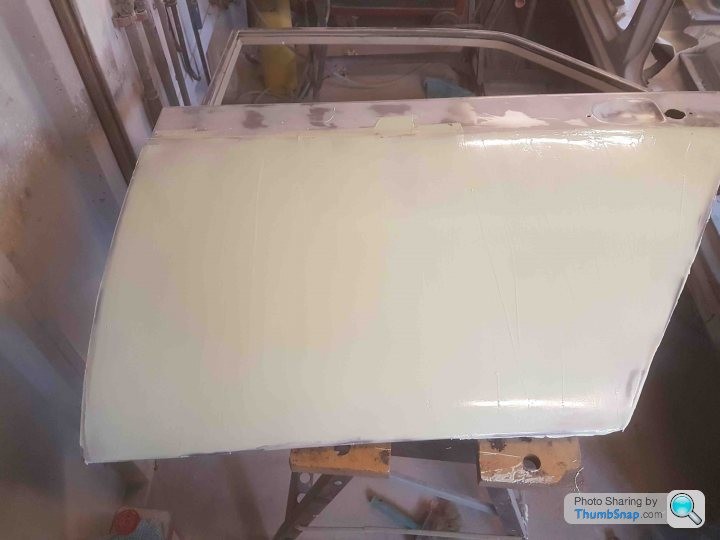
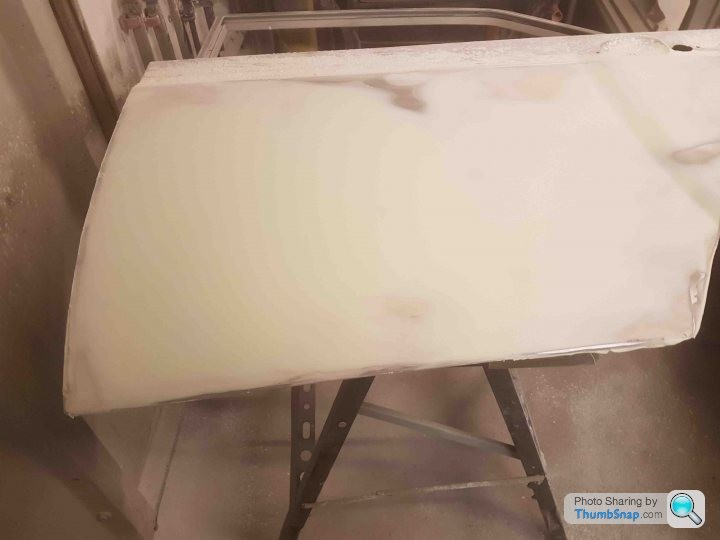
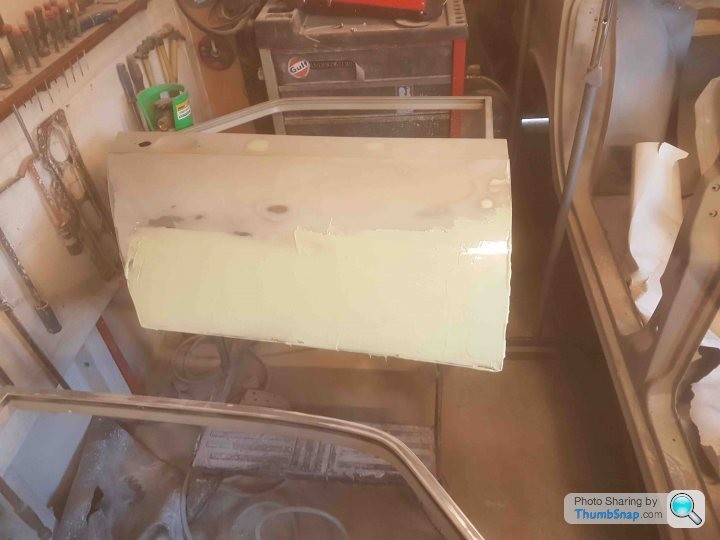
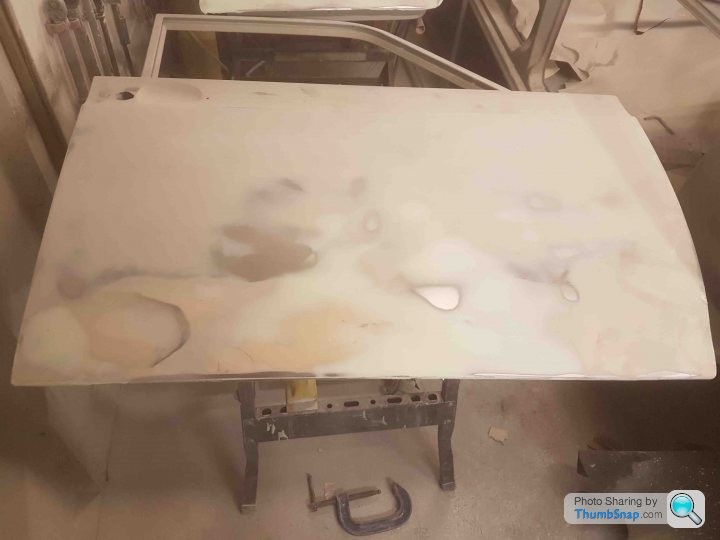
In an unbelievable twist of fate I managed to get back into Mrs. Jim's good books by removing the offending doors back into the garage so that they could be tidied up, the repairs I had made were functional - but they didn't follow the curved profile of the original skin, I had to use filler - I'm not a fan of using filler this way but I believe that the maximum depth of the filler is 3mm and there is less filler on the doors than before.

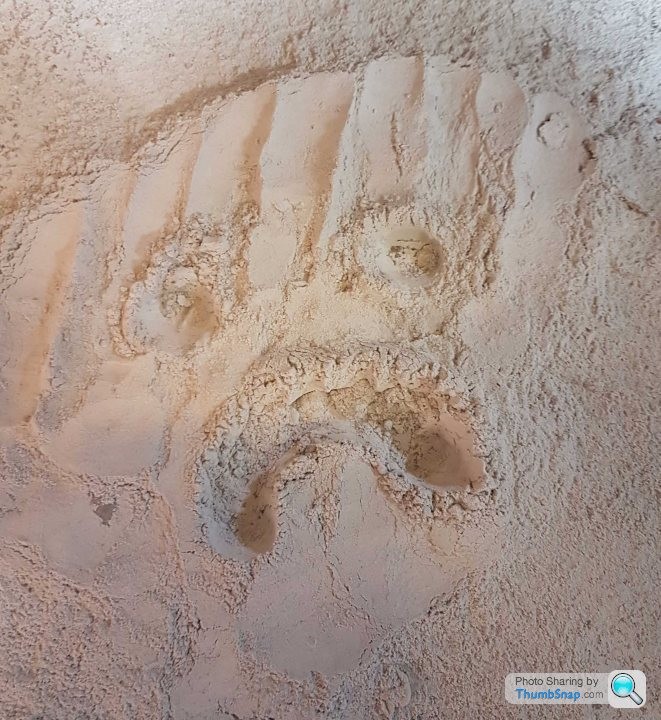
All this sanding generated a huge amount of dust in the garage.
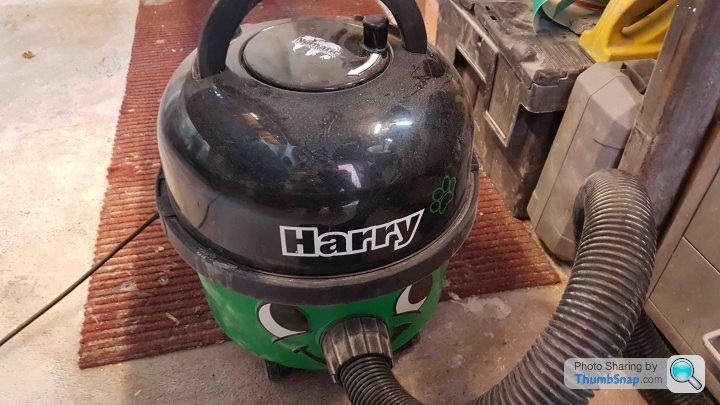
All of this dust was collected up in Harry who has never quite been the same after consuming all this suspicious looking white powder!
To totally get rid of the dust and try and prepare the garage for more primer and eventually paint I had to get as clinical as I could. Everything was kicked out of the garage, I then hosed the garage down but there was so much dust on the cement floor that the water was sitting on top of the dust - we had to get wash it twice to get it all off. I then slowly cleaned everything before I was allowed to be placed back in the garage. Mrs Jim took pity on me again and helped out which but even then it took 12 hours all in to sort!
Comments
Great work mate! Loved the taillights and fins on these cortinas. Remind me of the old type 34 VWs.
Posted by MPower on 10/31/20 @ 3:15:41 AM

Thank you! I had never made that connection before, you're right!
Posted by Jim_builds on 11/16/20 @ 2:29:18 PM
Thank you Steve I appreciate the support, it feels like a lifetime since I did a lot of the work! Hopefully I'll be back on the road early next year so I can finally put some miles on her.
Posted by Jim_builds on 10/26/20 @ 12:08:47 PM
Beautiful Cortina! Looks like a lot of work but you did a bang up job! Glad you saved this one!
Posted by stevegolf on 10/22/20 @ 11:06:39 PM
Thanks for all the photos! Such a cool car!
Posted by Diggymart on 11/12/23 @ 10:55:36 PM