You must be logged in to rate content!
3 minute read
Wolo Maxi Sound Dual horn install in a 2010 Insight
Hey,
My fiancee thought her stock insight horn was way too dinky sounding, so while at the auto store I picked up a Wolo Maxi Sound dual horn to beef it up a little.
Tools Needed:
12mm and 10mm sockets and rachet
flathead screwdriver
saudering iron
wire stripper
extra wire, around 20 gage
liquid electrical tape or heatshrink tubing
First remove the 7 buttons to take the shroud off from above the grill. These tabs are pretty nice, pry up the middle part and you can then pull the whole thing out. So much better than the normal tabs that break easily.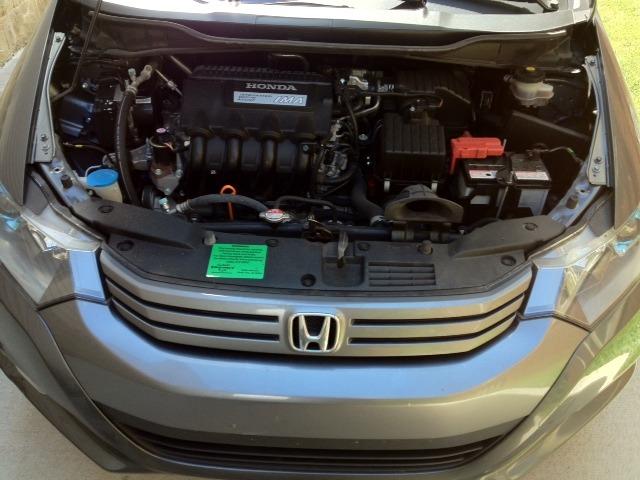
You can now see the little stock horn. Remove this with a 12mm socket. Unplug it as well.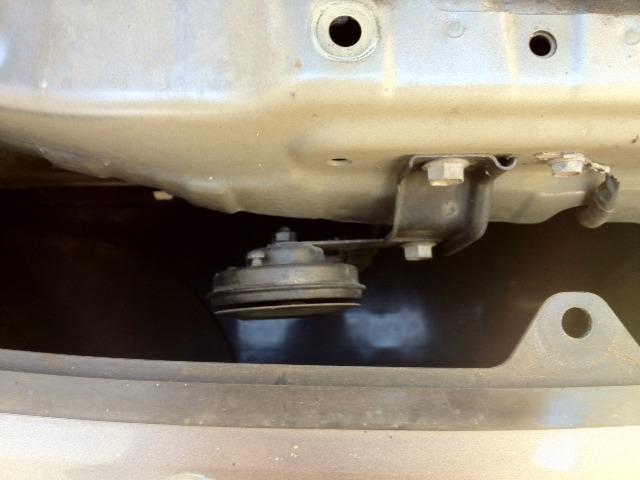
You can see how wimpy it looks compared to the aftermarket ones.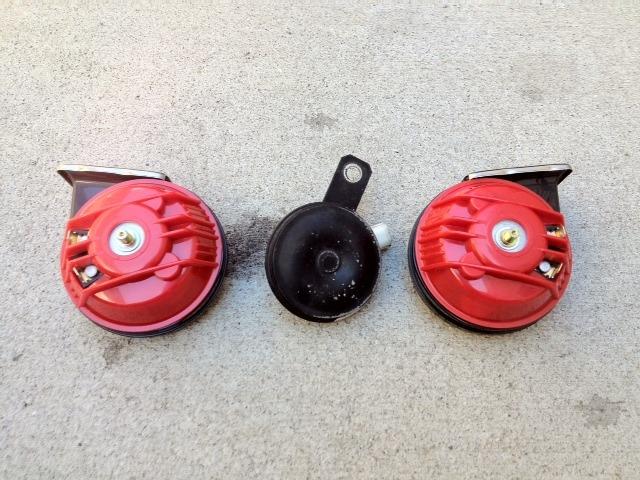
You wont need the connector, so snip it as close to the plug as possible and strip the end of the wire. There isn't much excess wire so make sure you give yourself enough. You may have to trim back some of the insulation.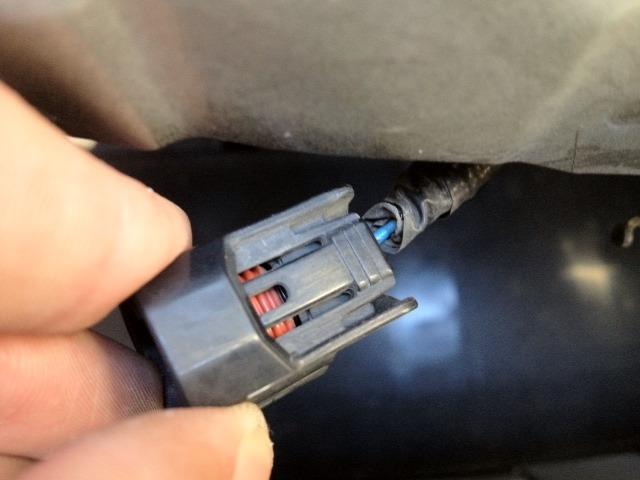
You will need to split the power from that wire to go to both of the horns. The second connector from each horn will go to the ground. Make a wire like the one below using wire you have to supply and the included connectors. This will attach to the horn wire from the car.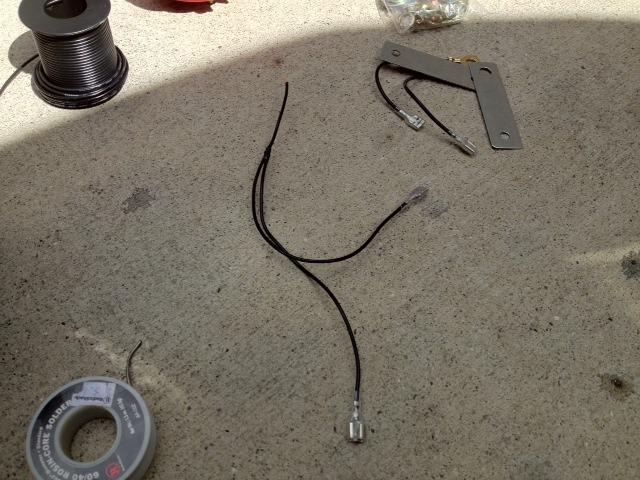
Since there is a ground right next to the horn bracket I attached the two included ground wires to that. you will need to remove the bolt with a 10mm socket. I hooked everything up just to make sure it worked before bolting the horns to the car.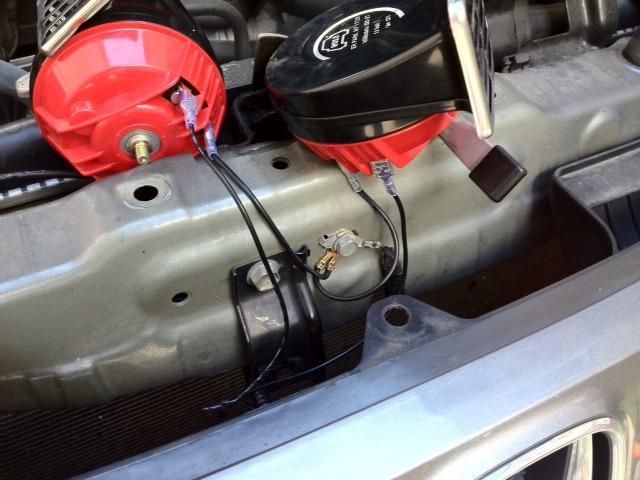
Attach the included horn brackets. Due to the shape of the honda bracket there is only one way to attach them. Affix them with the 12mm bolt that held the original horn.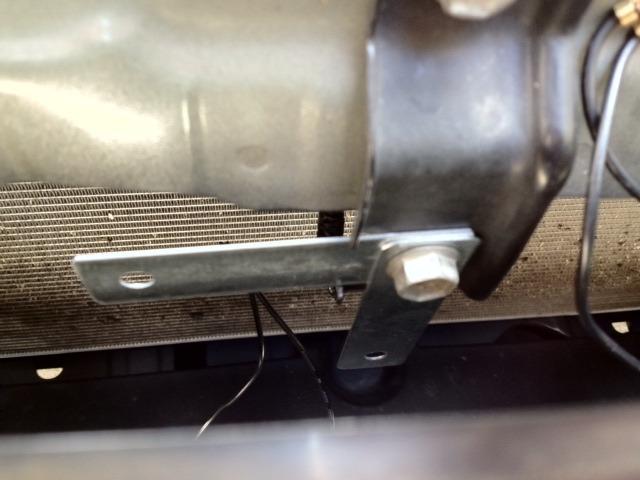
Now attach the horns to the brackets with a 10mm socket. The ground wires may be tight, i had to route one behind the bracket.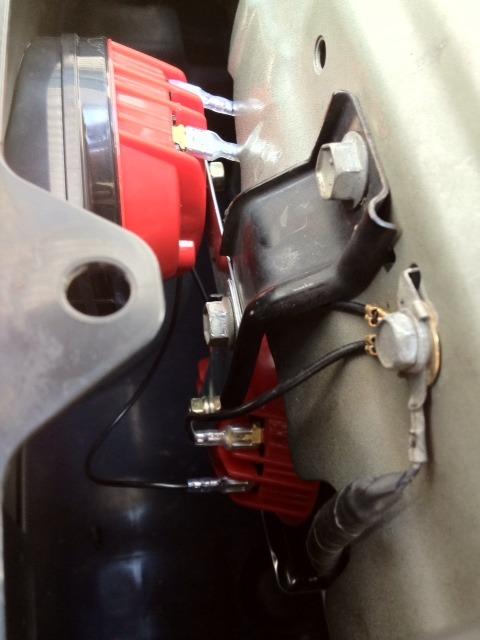
You can hear the comparison between the stock and new ones here. The stock one sounds so tinny in comparison.