You must be logged in to rate content!
4 minute read

92-95 HONDA CIVIC SHIFT BOOT/E-BRAKE INSTALLATION INSTRUCTIONS
1. The center console consists of two parts. The front one has the shift boot trim piece and the rear one has the armrest (if you have one).
Remove the screws that hold the center console into place. There are 3 on each side, one by the end of the rear console console (underneath the ash-tray), one in the middle where the two consoles come together (as shown on the picture to the right) and one to the front of the shift boot.
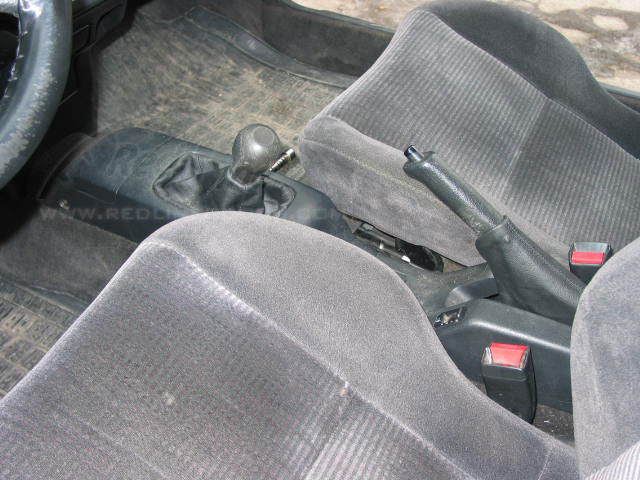
2. Unscrew the shift knob. It may be very tight, if you cannot do it by hand, use vise-grips for extra leverage. Make sure to wrap the shift knob with a cloth or a towel to prevent from scratching it.
At this point, the consoles can be just pulled off - first the rear one, then the front one.
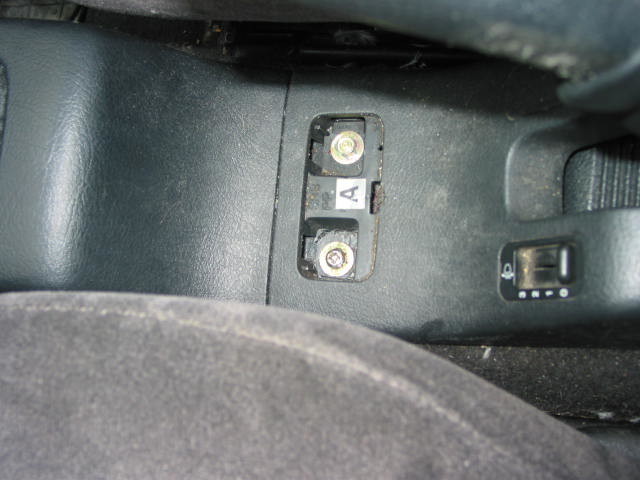
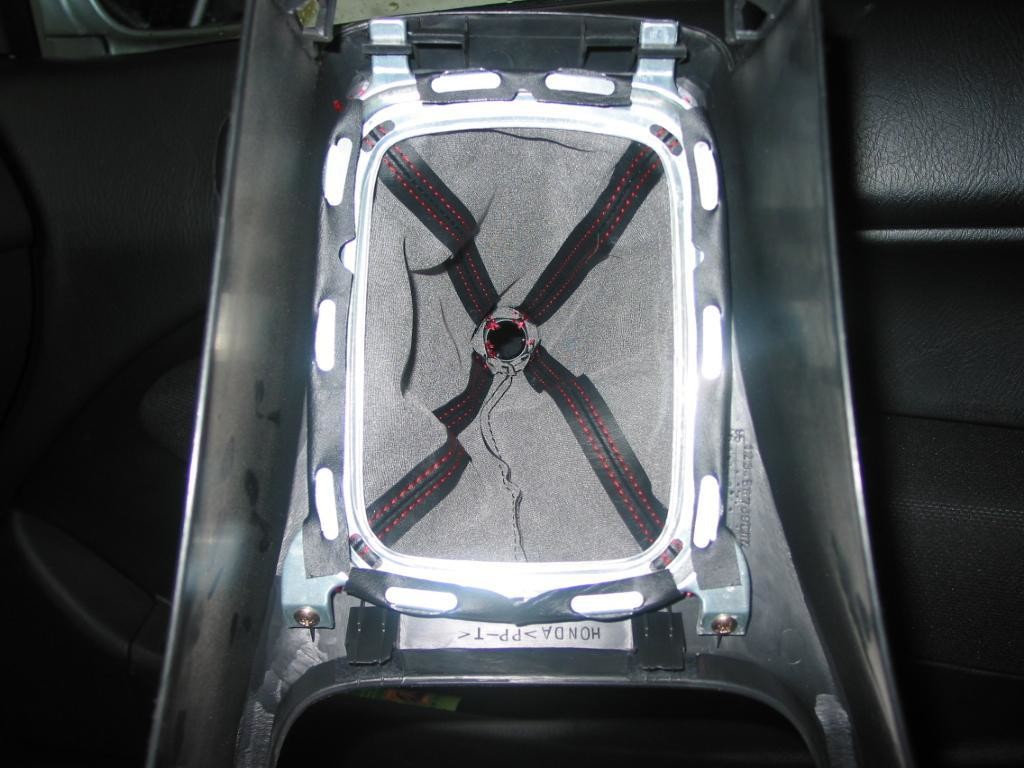
3. This is what you will see underneath the front console. Undo the two screws visible at the bottom of the picture to the right to disattach the shift boot, along with the metal frame, from the center console.
Unwrap the metal frame from the shift boot, turn it inside out and remove the top piece (the metal plug-like ring).
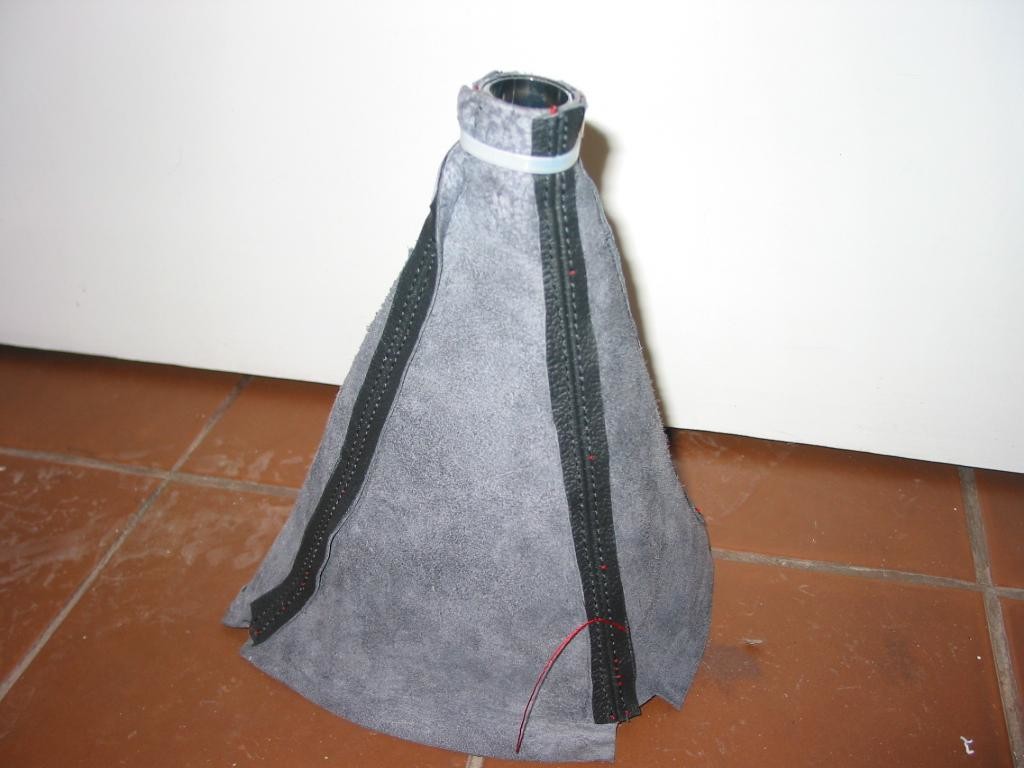
4. Turn the new boot inside - out and slide the plug-like piece THIN END FIRST into the boot starting from the wider part. After it's been worked in all the way (and this will require some effort) use a ZIP-tie to fasten it to the boot. Then turn the boot back to the right side.
Wrap the boot around the metal frame just like the factory boot was and mount the frame back to the console piece with the two screws you undid before.
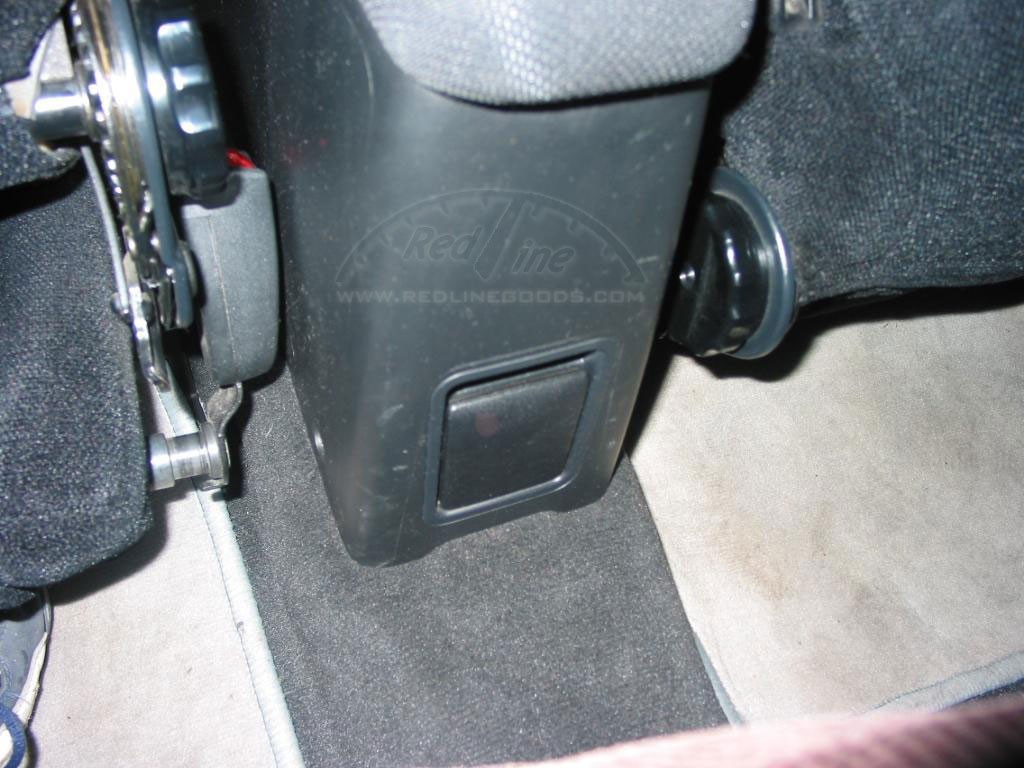
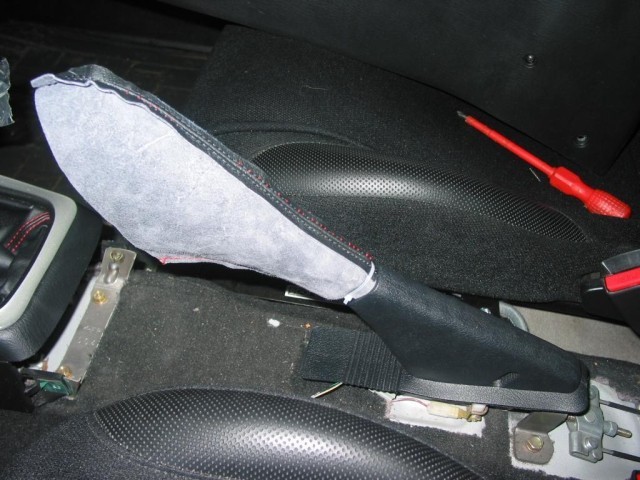
5. This is what your e-brake looks like at this point.
Turn the e-brake boot inside-out and pull it on the e-brake handle, TIGHT END FIRST. Use a ZIP-tie to secure the tight end of the boot on the handle. Put the ZIP-tie on about 1/4 of an inch from the top edge of the e-brake boot right where the plastic grip of the handle ends.
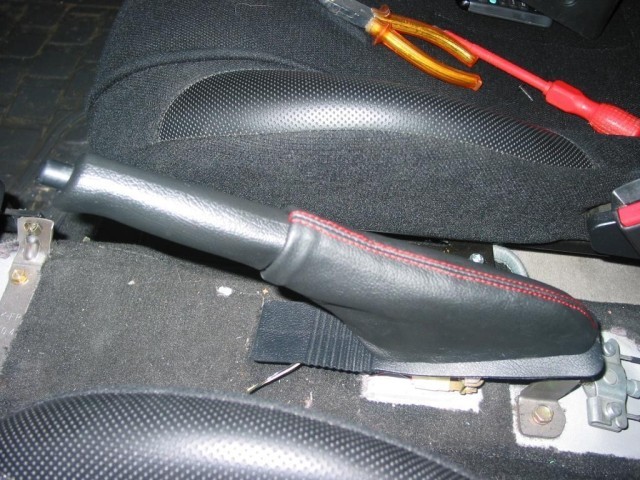
6. Turn the e-brake boot back to the right side and pull it until it's tightly wrapped around the plastic 'boot' your car had from the factory (visible on the picture to the right).
7. Reinstall front console, reinstall rear console, reinstall shift-knob and... ENJOY!!
Useful tip
You have installed a product made out of genuine leather. As you know, to maintain a leather product in good condition, you should take care of it. We suggest occasionally (every 4-6 week for example) applying some leather conditioner/UV protector to keep your leather from drying up in the sun and cracking.
Redline Automotive Accessories Corp. will not be held liable for any labor, incidental or consequential damages of any kind. Proceed at your own risk.