You must be logged in to rate content!
7 minute read

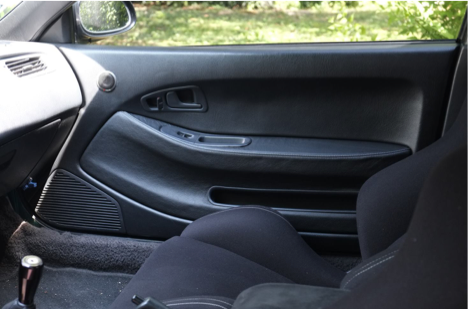
How to install RedlineGoods door inserts Honda Civic gen 5 (92-95)
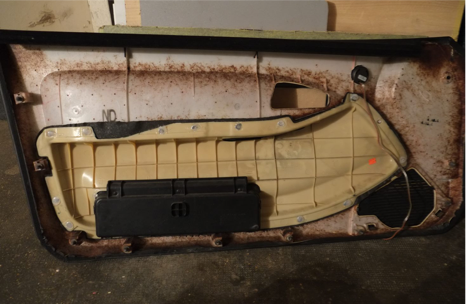
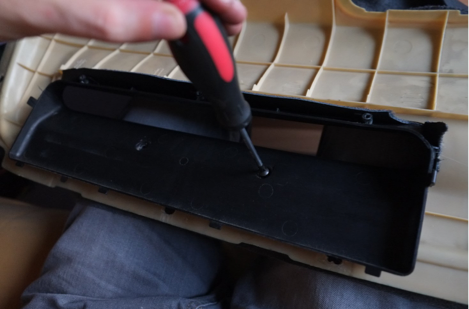
Door panel removal
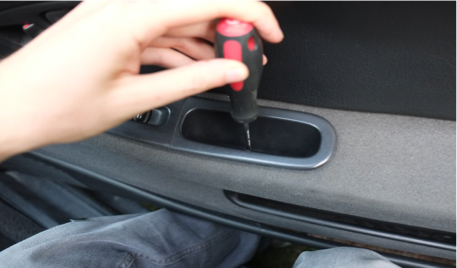
Remove all screws that attach the door trim to the door by starting with the power windows. Unscrew the screw at the bottom of the small compartment:
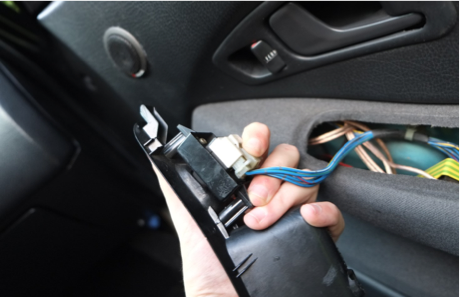
Once unscrewed, unplug the wire of the power window if you have it.
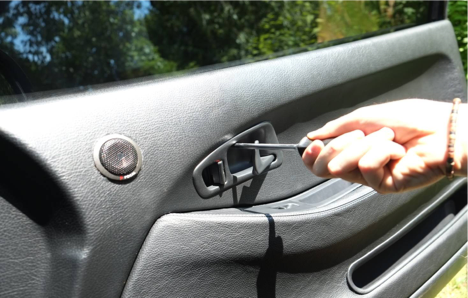
Now unscrew the door handle, the screw is hidden by the handle, pull it to access the screw.
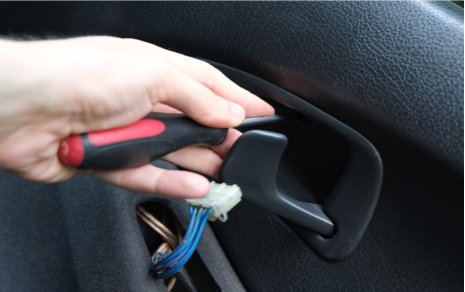
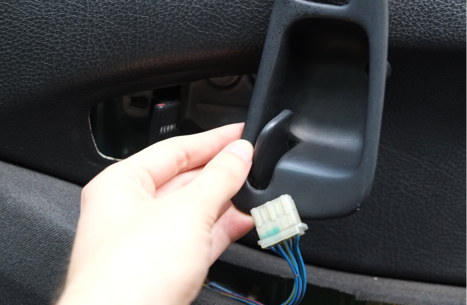
Then rotate the cover of the handle to take it out of the slot.
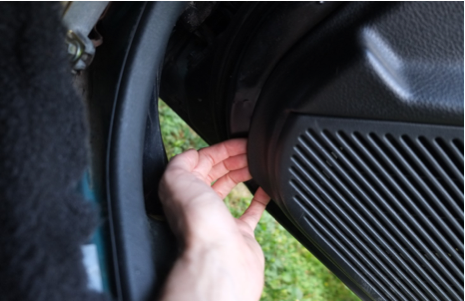
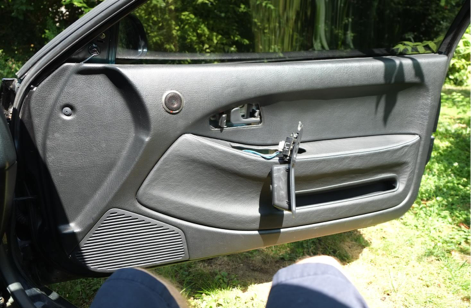
Now you can remove the door panel. Start by pulling the door panel to unclip it from the door. There is approximately 10 clips around the door. Start with the bottom left side, easier side to unclip.
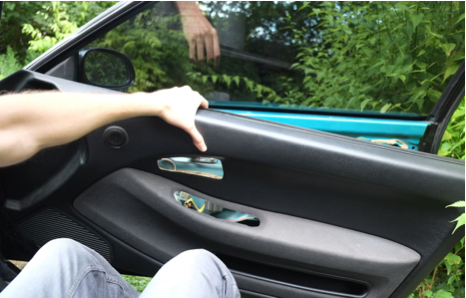
Continue to unclip the all way. Pull it out by the top.
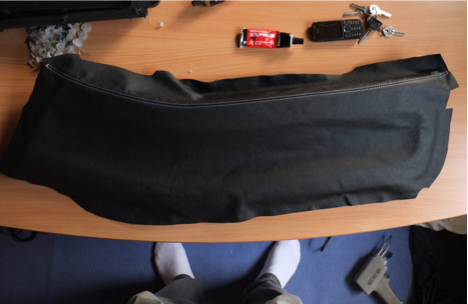
Replace the coating :
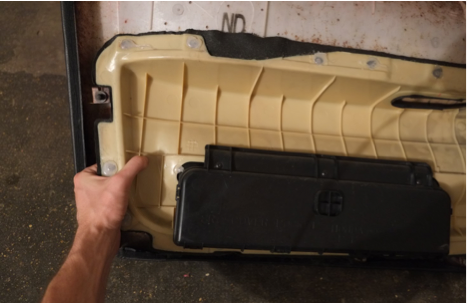
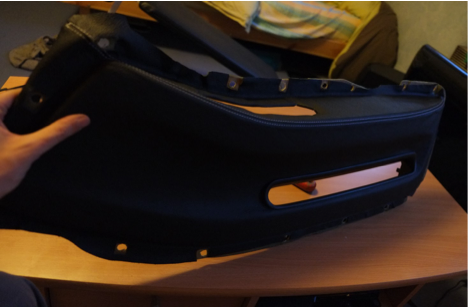
On the back of the door ponel, you can see how the armrest is attached. Most likely glued.
Simply unplug the armrest to the door trim by pulling it (if it is fixed by glue).
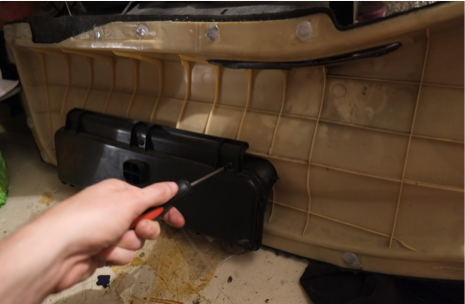
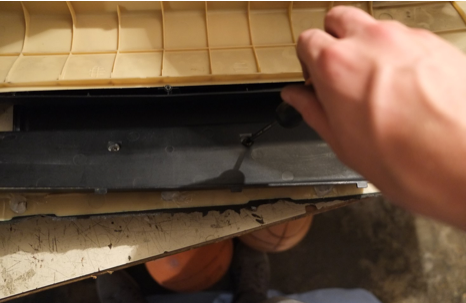
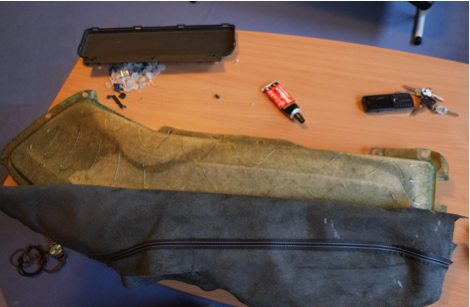
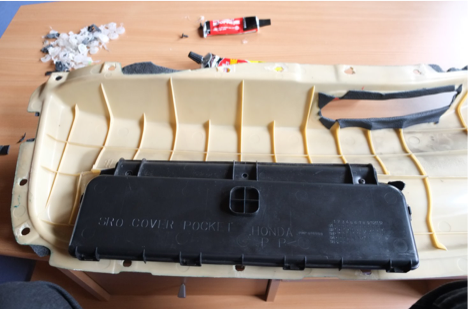
Now remove the black plastic part starting with the three rear screws.
The rear side is old with two clips on the two sides. Care when you unplug it, they are a bit weak.
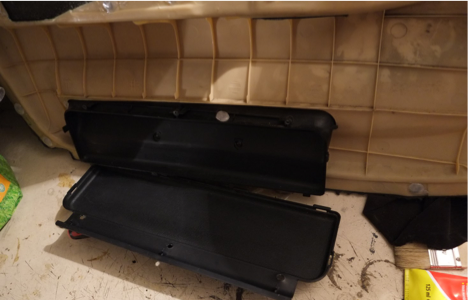
Now remove the two screw who old the pastic to the door panel. Then put out all the plastic.
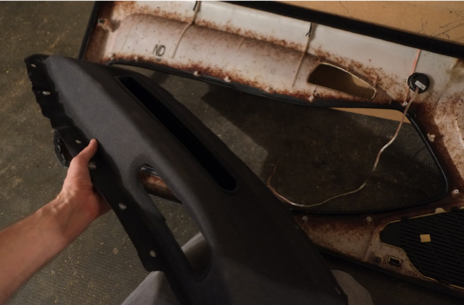
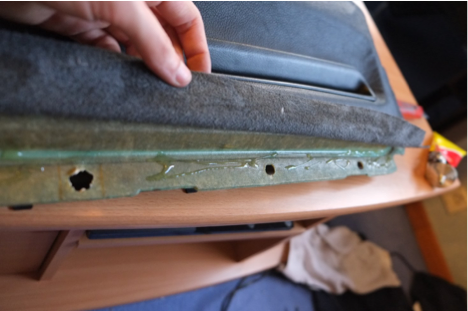
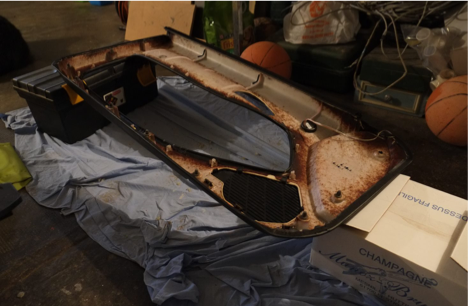
You can now remove the coating by pulling it off.
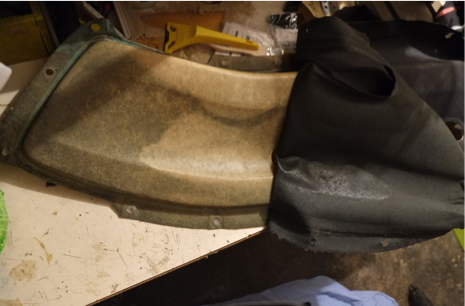
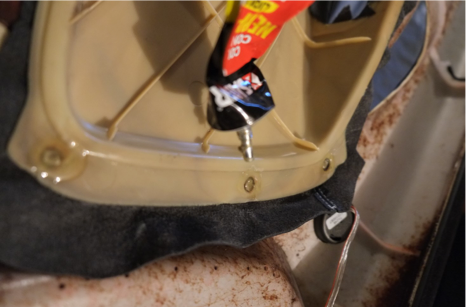
If necessary you have to correctly empty the glue hole because residues can prevent cored bond when you reinstall the panel back into the car.
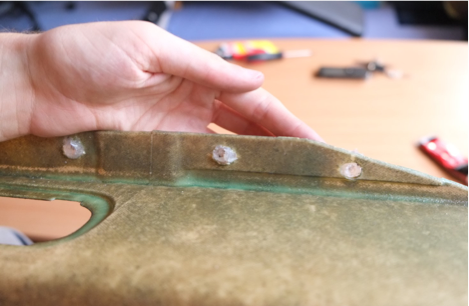
Here is the correct way to have your supports cleaned before adding the new leather.

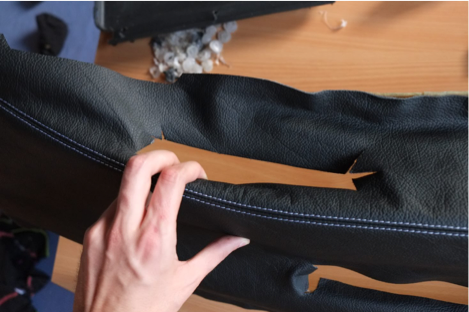
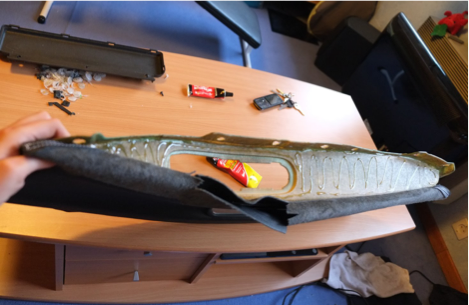
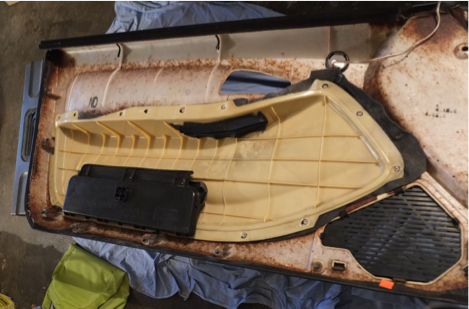
You can now place your new fabric and correctly position on the liner. Take care of fixing it well in the corners in order to be in its final position.
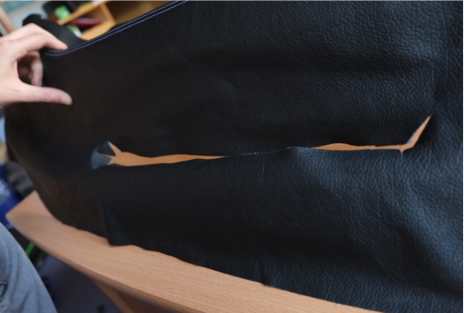
Carefully cut the fabric in places where the plastic door must be reattached. Make sure to leave enough margin. You can always trim off more when necessary. An X-acto knife is the best tool for this purpose.
Add the bottom plastic to his previous place in order to keep the fabric in good position during the bonding phase.
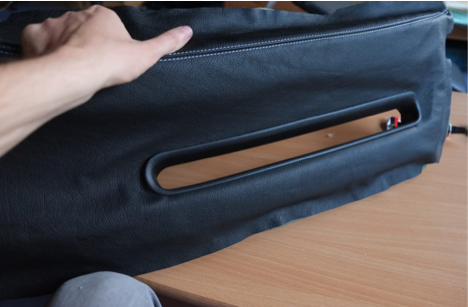
Then screw the plastic back to the armrest, the fabric cannot move anymore so it will be easier to glue it properly to the other parts of the door.
Now start the bonding phase with a tube of glueneoprene glue, do not hesitate to put a lot of glue to prevent bubbles from forming. Make sure the entire area is evenly covered with glue.
On corners of the door, the fabric should be taut and absolutely must keep the position you give it.
Repeat the same procedure for the top of the armrest
Your fabric is now properly glued, now you just have to re-assemble plastics elements back into the car.
Reassemble the plastic lower storage and don't forget to cut the fabric all around the holes
Reassemble the door panel
Now you have to pick up the armrest to the door trim part, it is advisable to raise the door trim part on some supports (chairs, anything really) in order to fix and let the glue dry properly on the armrest.
Put the armrest on the door trim making sure it is correctly positioned.
Then fix the armrest door trim filling hole with glue neoprene.
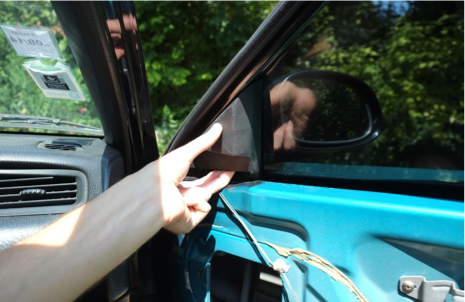
Let dry for a full day before remount the door panel. Then proceed to reassemble the door. For convenience, remove first the plastic cover mirrors if you have not done it before.
Reattach the trim in the same way that you removed, taking care to re-clip all the edges on the door side. Then replace, in first, the plastic of the window controller taking care to plug it back.
Finally, reassemble the door handle by screwing the cover.
Enjoy the result !J