You must be logged in to rate content!
4 minute read

HONDA CIVIC 2012-15 REDLINEGOODS DOOR INSERT INSTALLATION GUIDE
Items to make this process easier: plastic trim removal kit, a box cutter, a heat gun, dremel, Philips and a flat head screw driver.
There is a little gap at the front of the cover that is your starting point to pop up the clips. Once it is loose you’ll need to slide towards the front of the car.
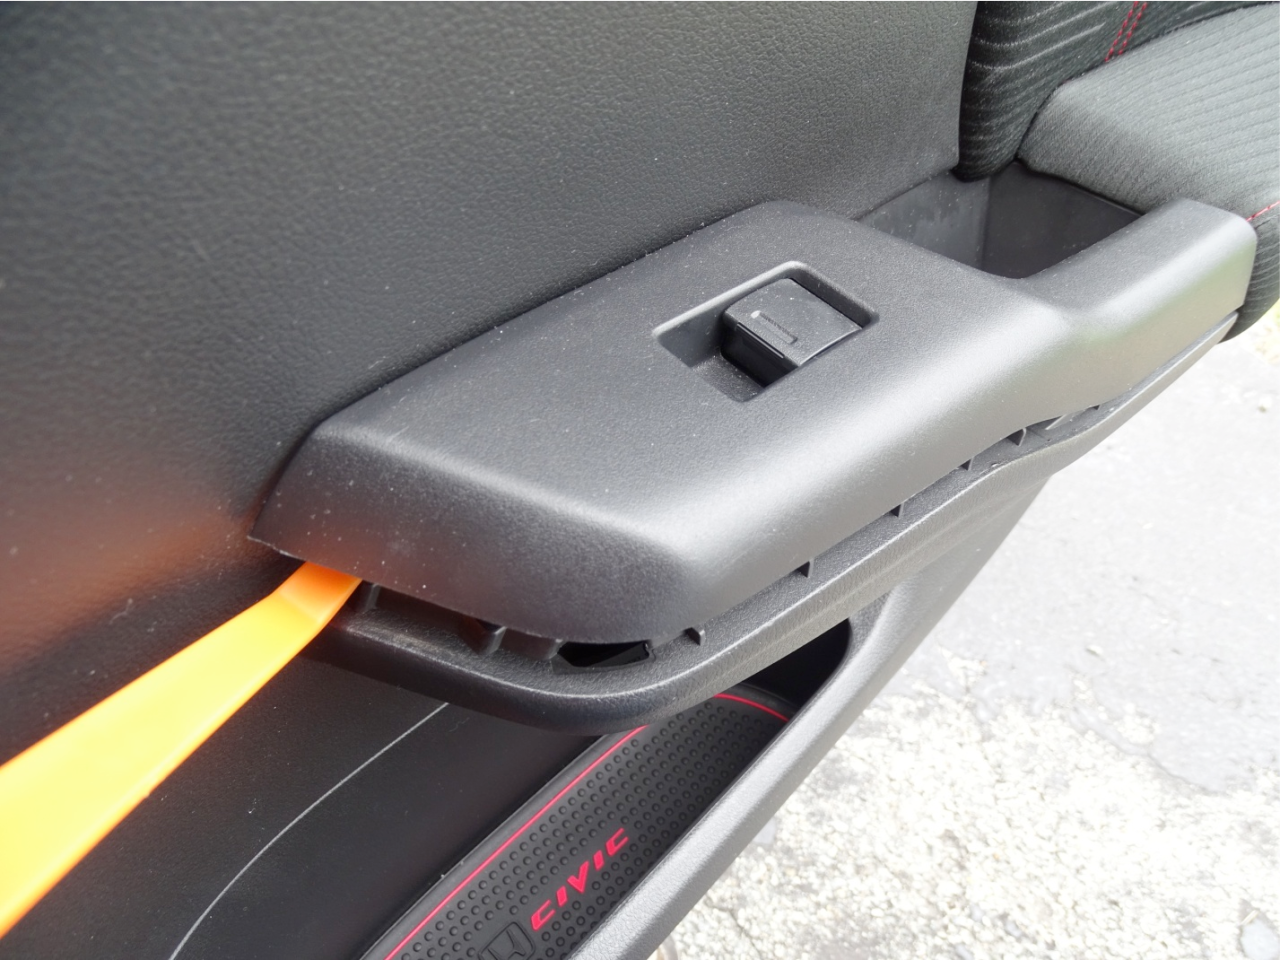
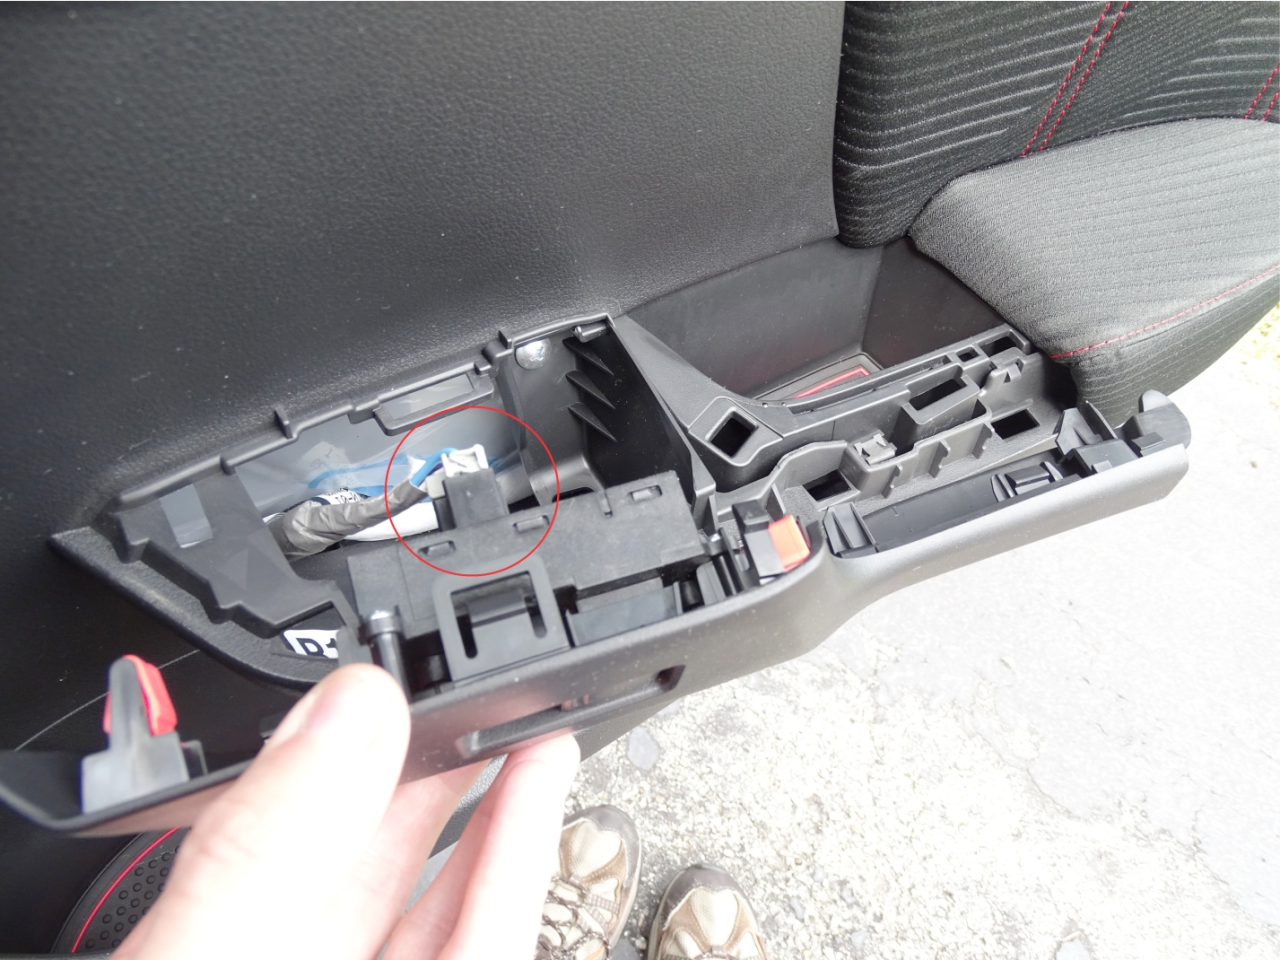
Next you’ll need to unclip the plug circled and set the switch off to the side.
Next unscrew the Philips head screw and set that off to the side as well.

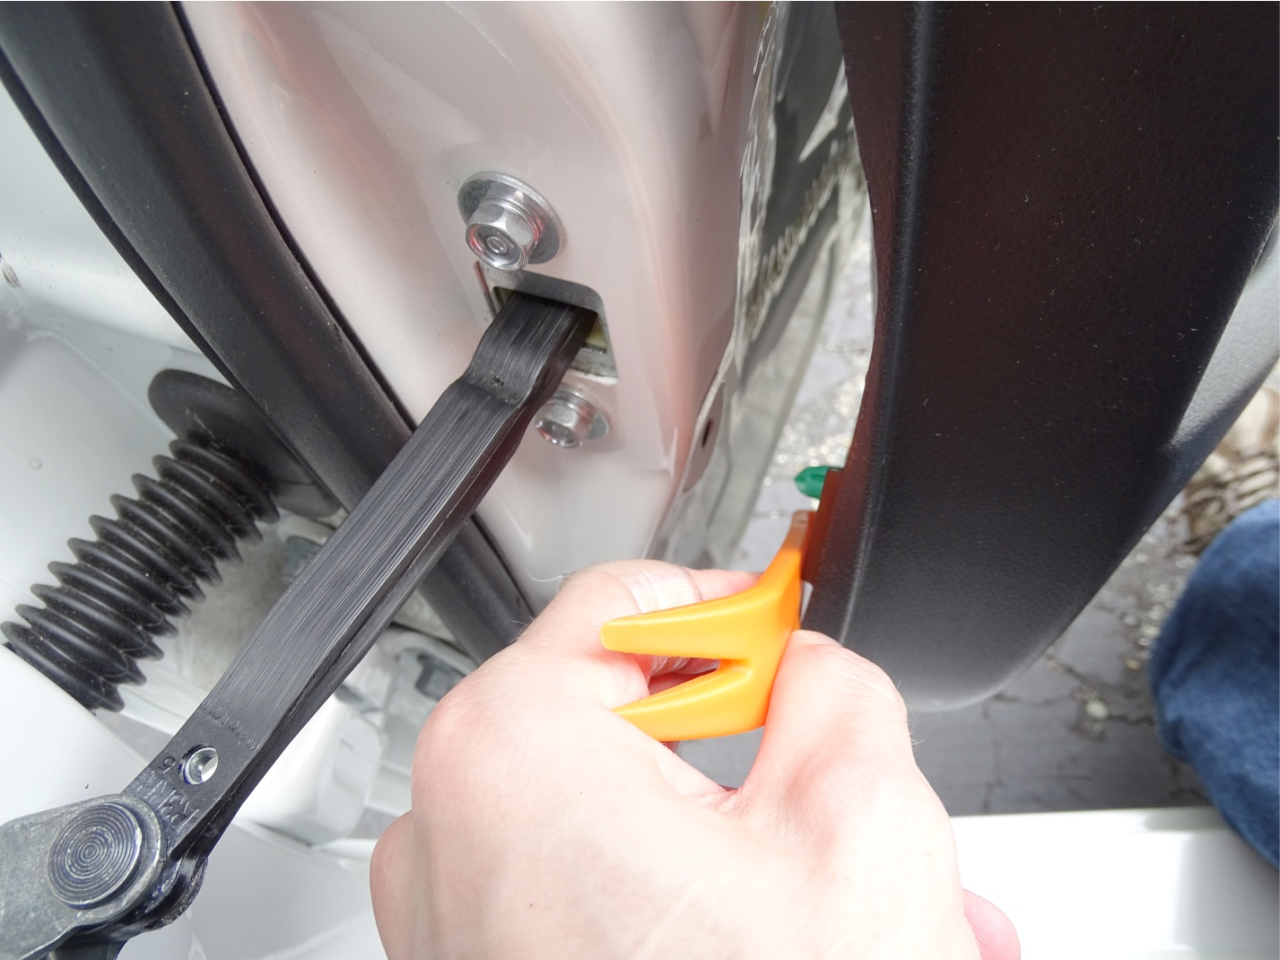
There is a little gap at the bottom of the door in the center to use as starting point when praying apart the snap clips. Just work your way around the clips and lift vertically once they are all no longer secured.
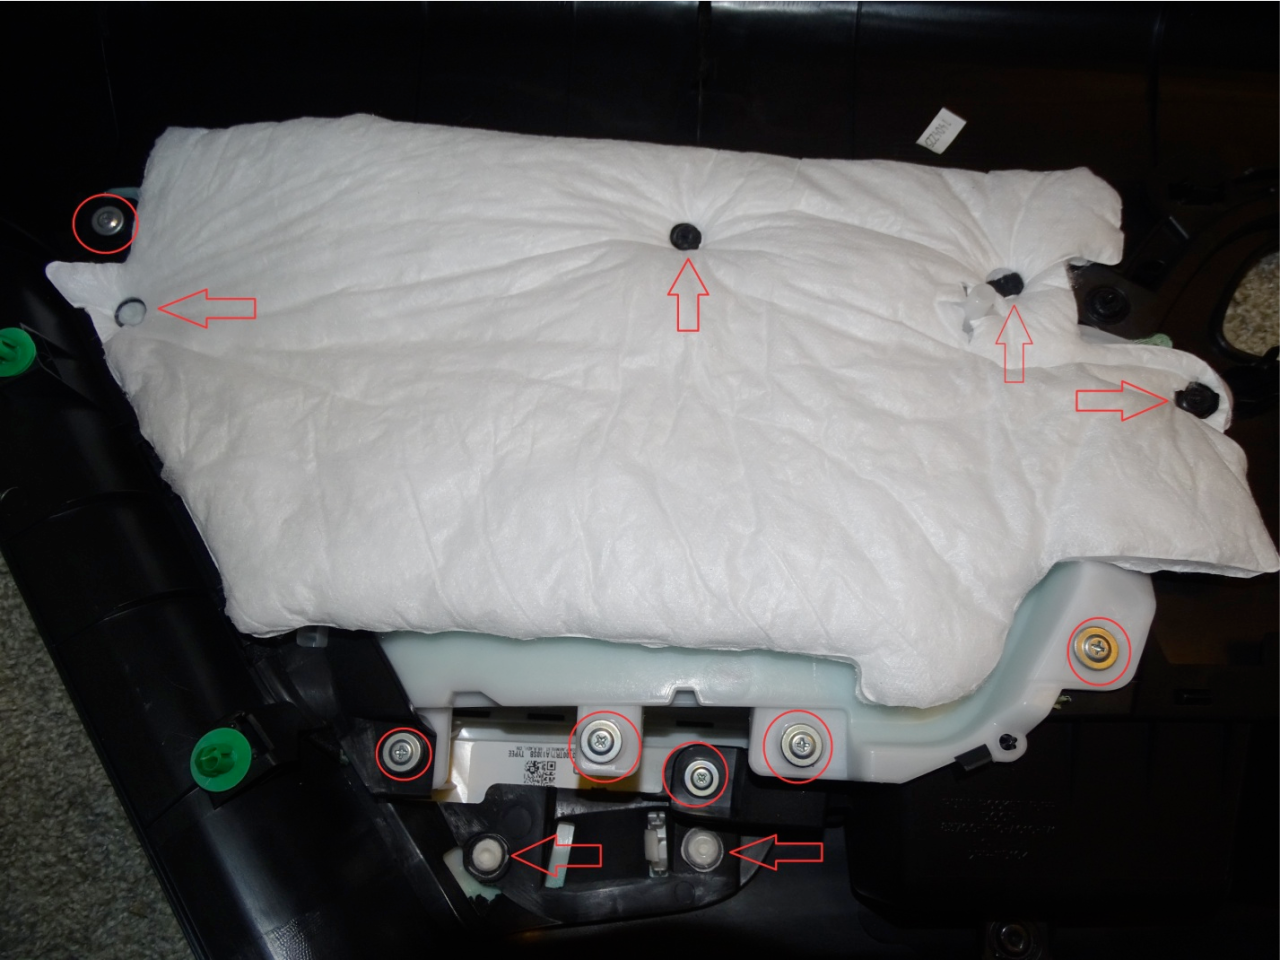
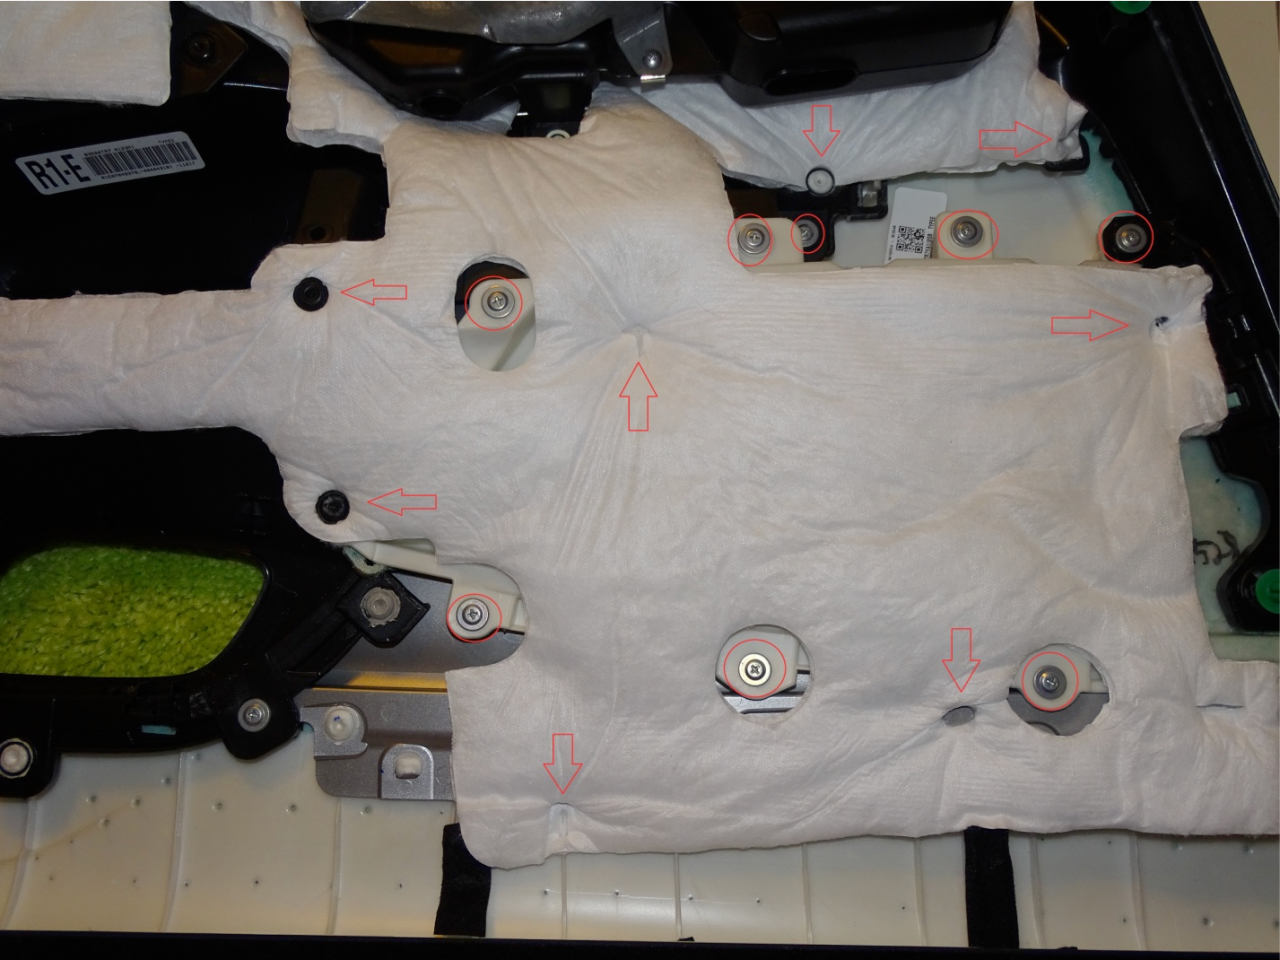
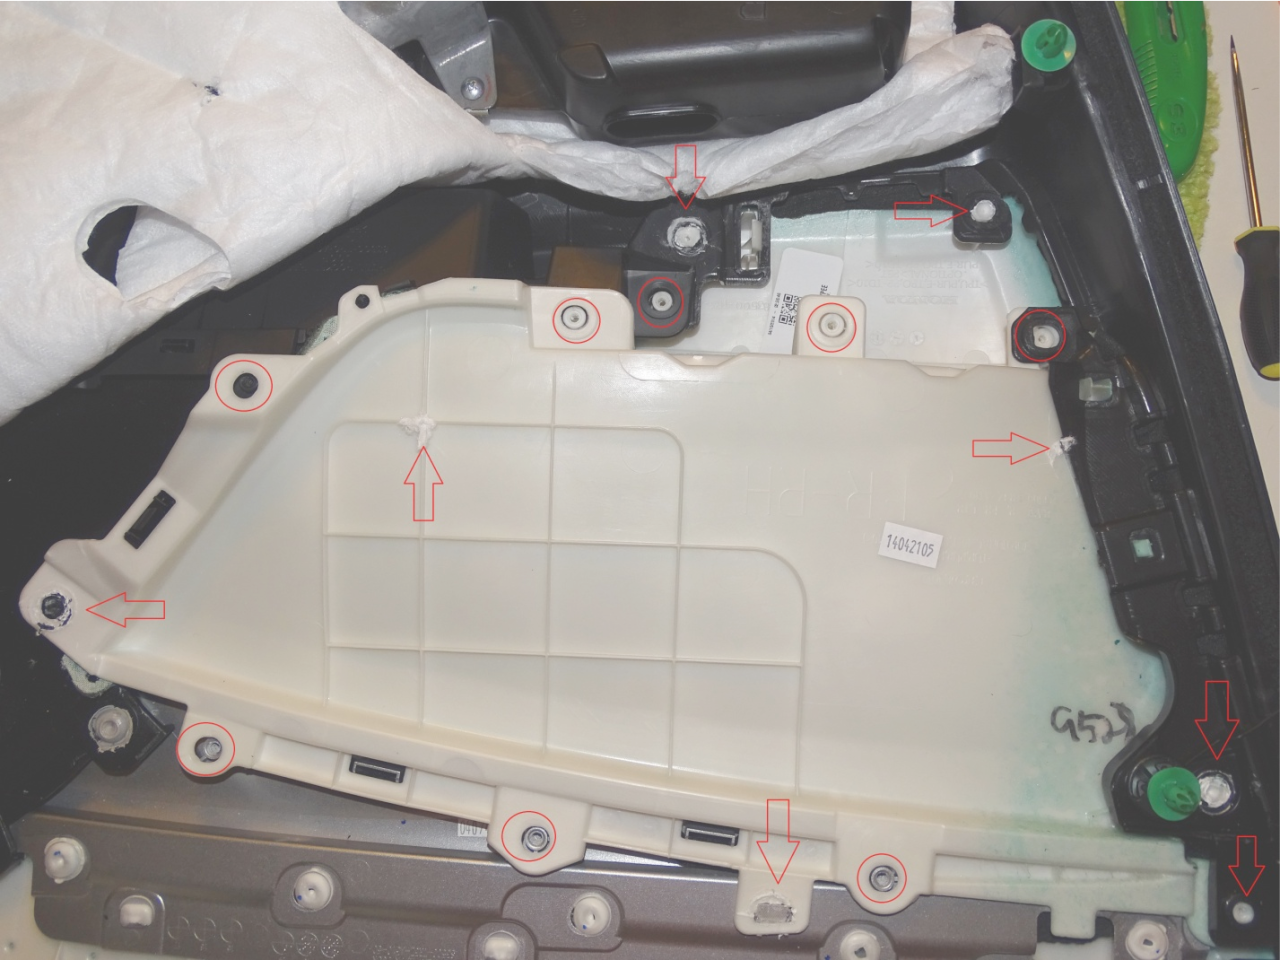
You’ll need to break the plastic welds to get the inserts out. I found this to be easier using a heat gun to soften up the plastic making sure to not melt the door and using a dremel and box cutter to carefully cut away the plastic. The small flat head screwdriver was helpful as well you poke through the last bit if it didn’t come apart. This is the rear passenger door.
The screws are the easy part to remove.
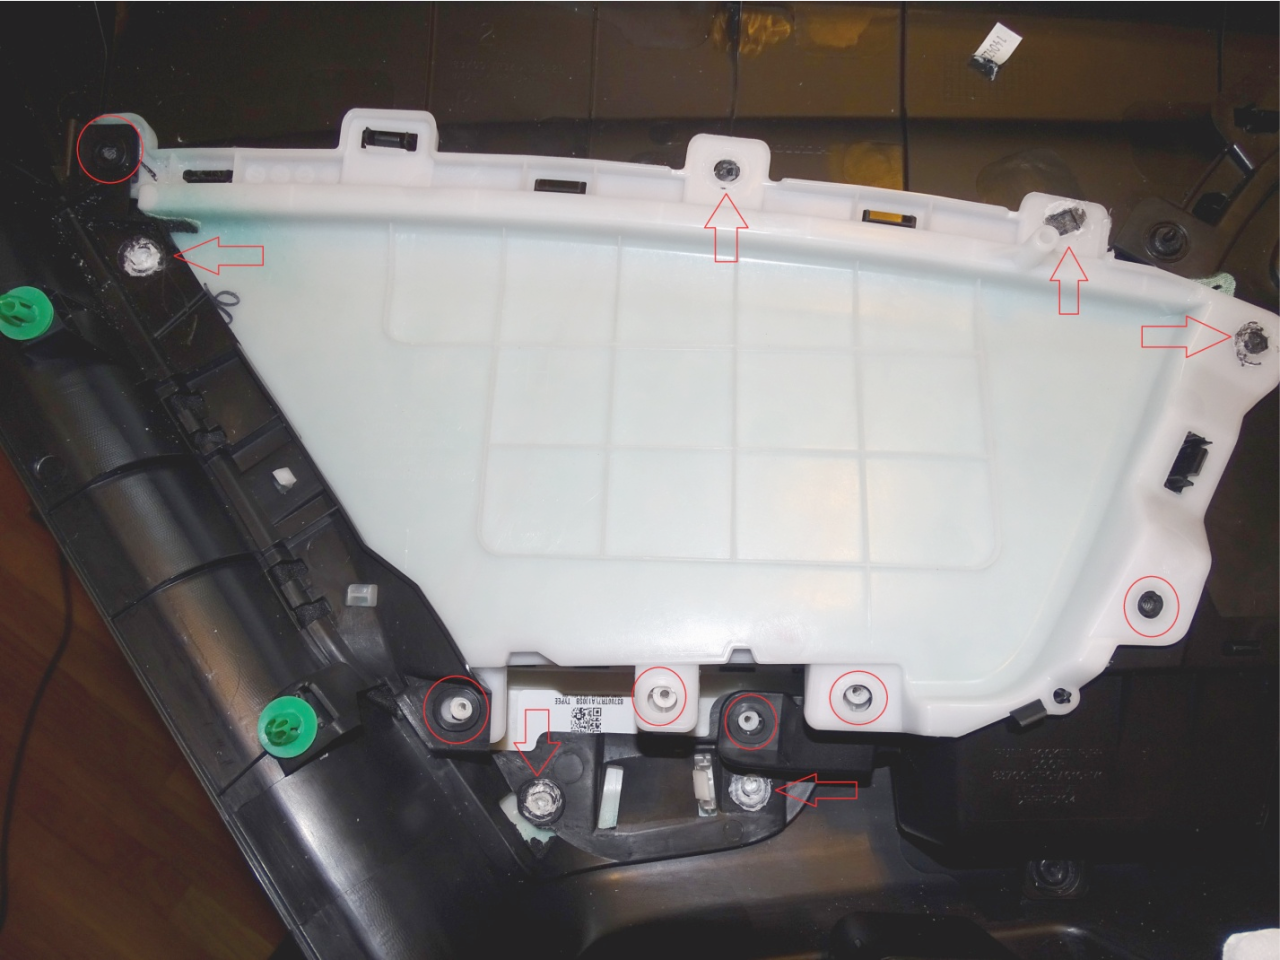
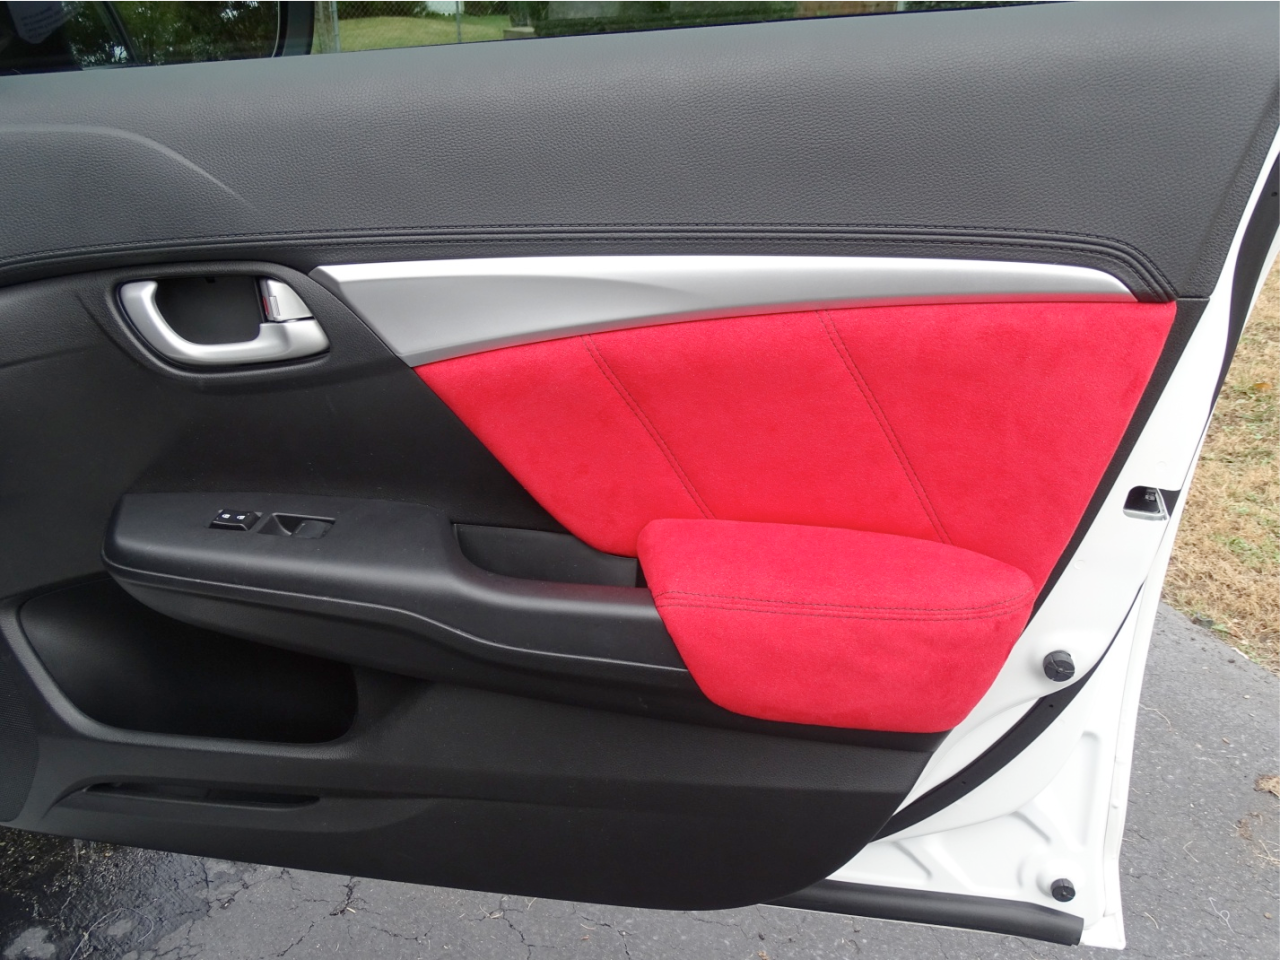
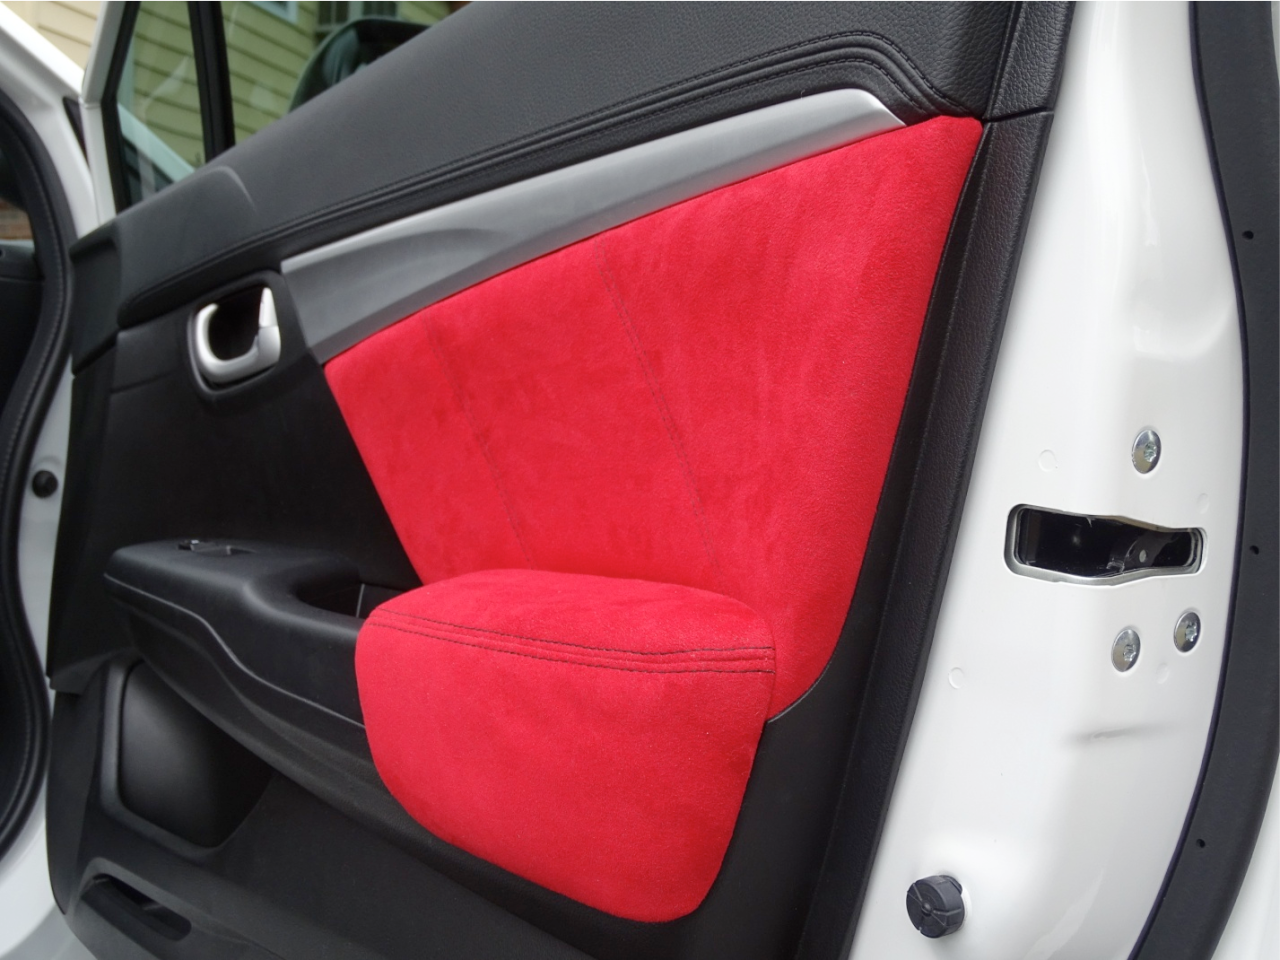
Follow the same procedure for the other doors. This is the front passenger door.
Once the inserts are out you’ll need to carefully remove the stock fabric. Test fit the new fabric/leather as you may need to trim it slightly. I found the foam backing around the edges to be a bit thick and needed to trim it to fit properly. It’ll depend on what options you choose so you may not need to do this step.
You’ll need to get some spray glue that bonds fabric to plastic. Something like 3M or Loctite will work. Your local crafts shop or home renovation shop should have what you need.
Follow the directions on the can.
Flatten out the fabric and work from the center towards the edges.
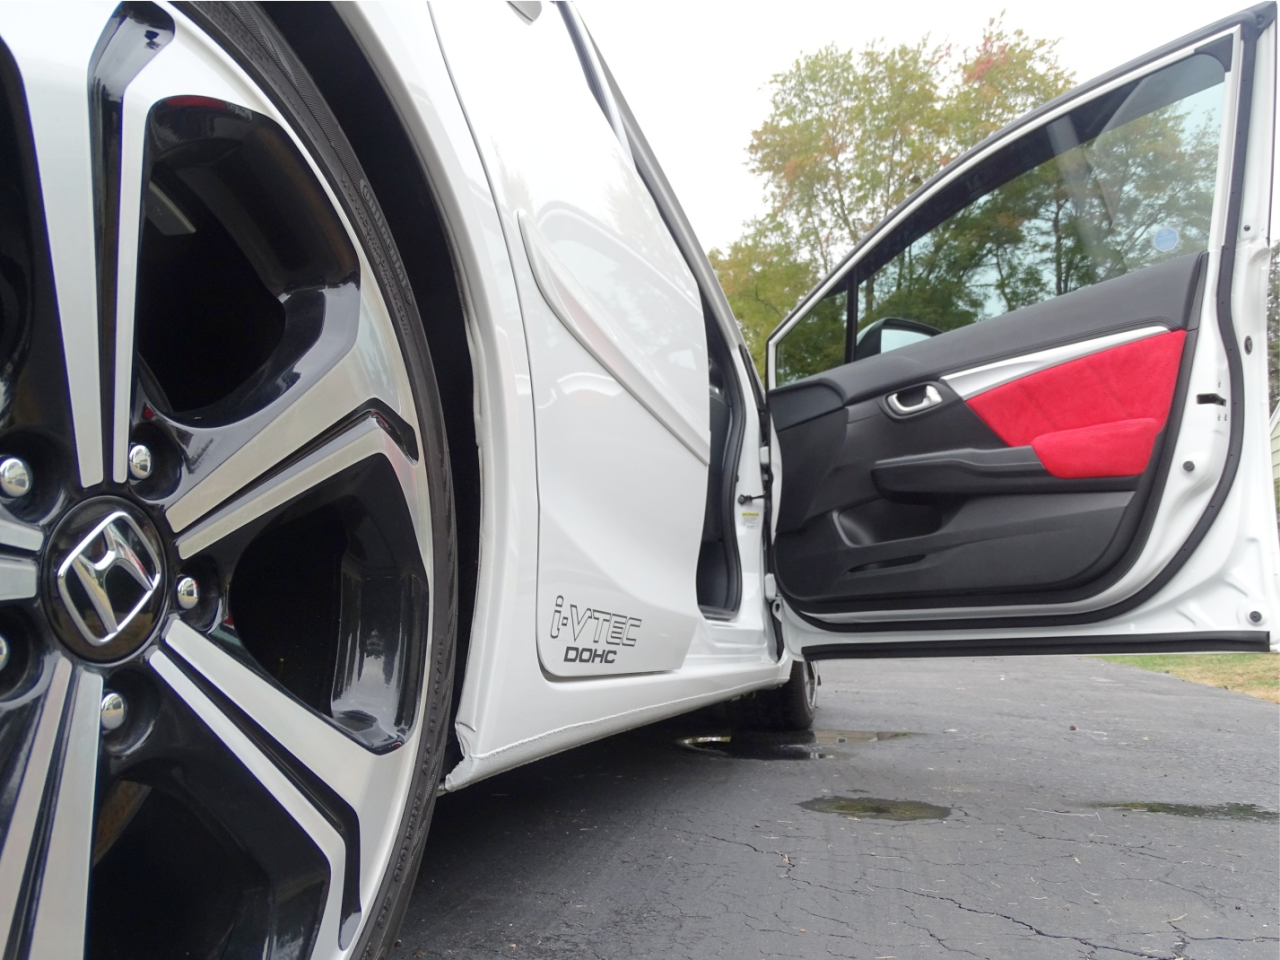
Reinstall everything in reverse order. If you want you can use some type of plastic epoxy to secure the insert where you had to cut / drill the plastic welds.