You must be logged in to rate content!
4 minute read

HONDA CIVIC 2012+ SHIFT BOOT INSTALLATION INSTRUCTIONS
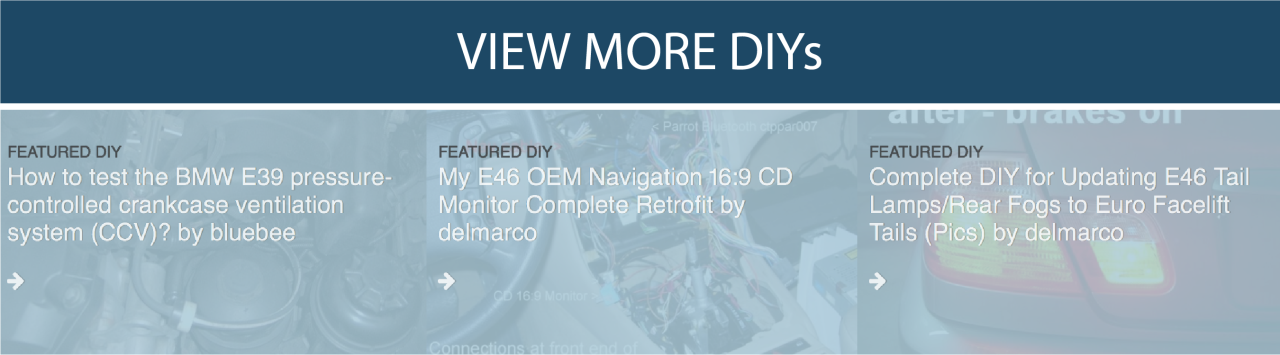
1. Remove the shift knob by pulling down on the shift boot. It will not simply pull straight down. I found it is best to pull down and angle it slightly and work it from there. You may find it easier to use a flathead screwdriver and pry the clip loose. Once the boot is off, use the 9/16 wrench on the retaining piece for the shift knob. Turn it right to loosen it. Once you have done this, you can turn the shift knob to the left. It will take about a dozen full turns to get it off.
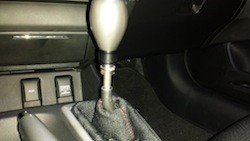
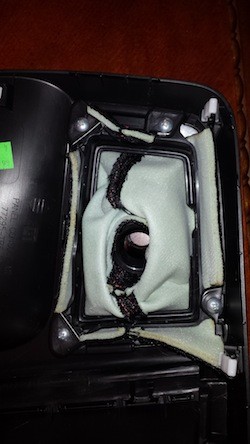
2. Now you will need to remove the center console shifter cover by putting your finger down into the boot and grabbing the console and pulling it up. You will need to pull up the parking brake for clearance. I found that it came up with a modest amount of effort. Once it is loose, you will need to swing it left in order to clear the parking brake and remove it from the shifter itself.
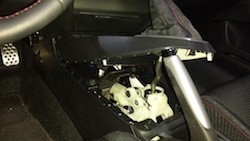
3. Make sure you unplug the cigarette lighter and aux connectors from the back. Once you have the center console removed, you need to turn it upside down and unscrew all 4 screws. Set them somewhere safe since we will be reusing them again.
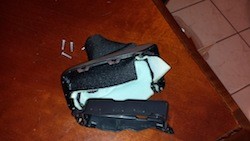
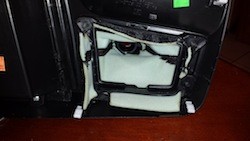
4. Now, the top silver liner should just pop out like in the picture and the bottom black liner as well. These two pieces are what sandwich the shift boot to keep it from sliding out. If your shift boot is stapled in, you will need to undo each staple.
5. Slide the old shift boot out and put the new Redline boot in just like the OEM Honda was. Take your time with the fitment. If you don't have a staple gun, it's not a problem at all. Just make sure each side is pulled down a good amount before screwing everything back together.
6. After it's put back together, check the fitment one more time to see how it looks. Then place the center console back over the shift lever and make sure to reconnect the Aux. and cigarette cables. Give a good amount of force and the console should just pop into place.
7. Repeat step 1 backwards and your new Redline boot is installed!
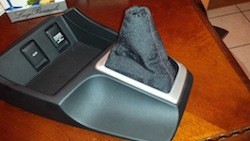
ENJOY YOUR NEW LEATHER BOOTS!
Useful tip
You have installed a product made out of genuine leather. As you know, to maintain a leather product in good condition, you should take care of it. We suggest occasionally (every 4-6 week for example) applying some leather conditioner/UV protector to keep your leather from drying up in the sun and cracking.
Redline Automotive Accessories Corp. will not be held liable for any labor, incidental or consequential damages of any kind. Proceed at your own risk.