You must be logged in to rate content!
7 minute read

RedlineGoods 2016+ Civic Door Armrest Installation
To remove the door panel, you will need a phillips screwdriver, small and large flat screwdrivers, and body panel pry tools if available.
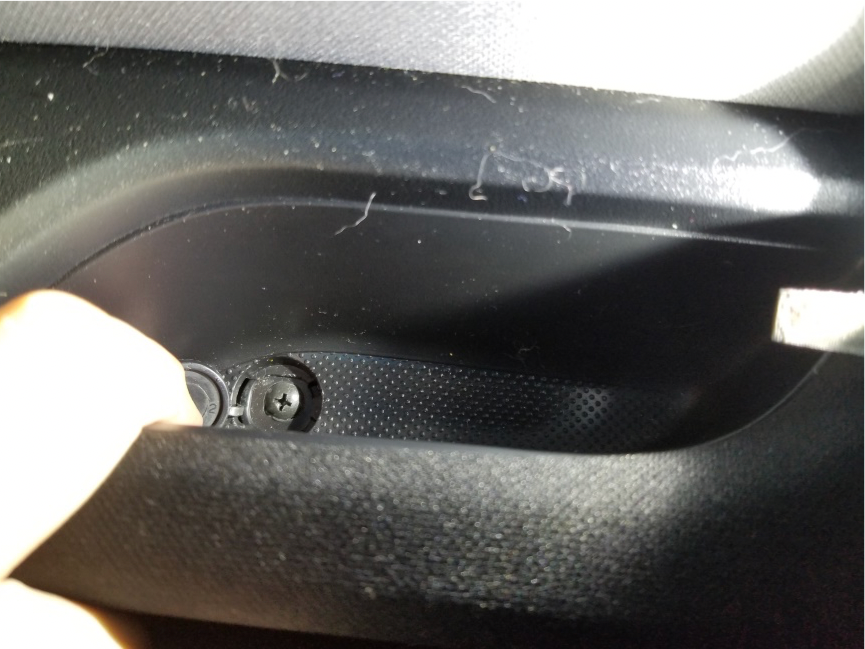
Just under the control panel and pull arm there is a phillips screw, this needs to be removed first.
Redline Automotive Accessories Corp. will not be held liable for any labor, incidental or consequential damages of any kind. Proceed at your own risk.

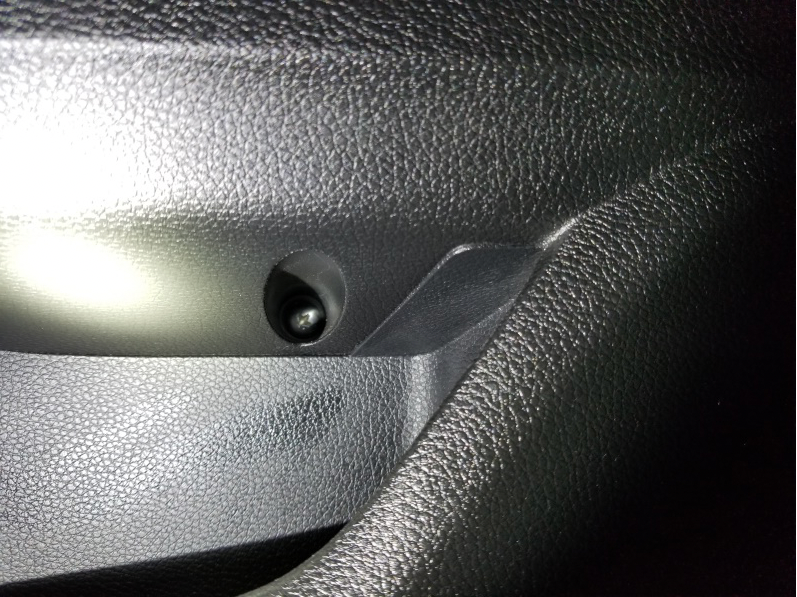
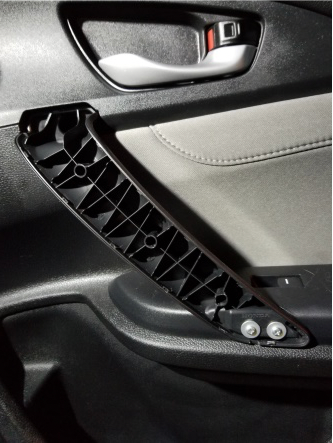
At the bottom of the pull arm you will see a little tab space, put a small screwdriver in there and pop loose the silver pull arm cover.
There are two screws at the bottom, and one at the top of the pull arm, you will need to remove them next.
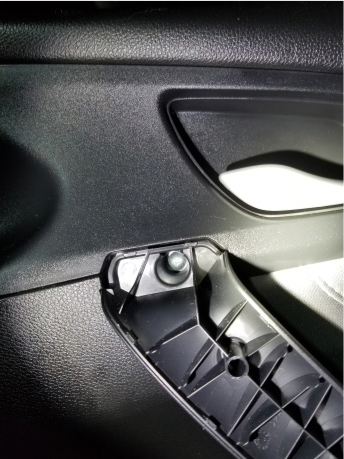
Inside the grab hole of the arm rest you will see a little round tab, pull that up and you will see a phillips screw, remove that next.
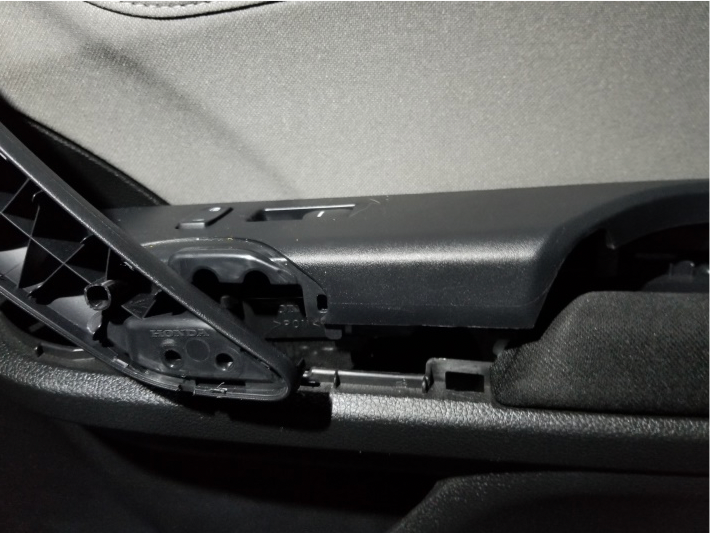
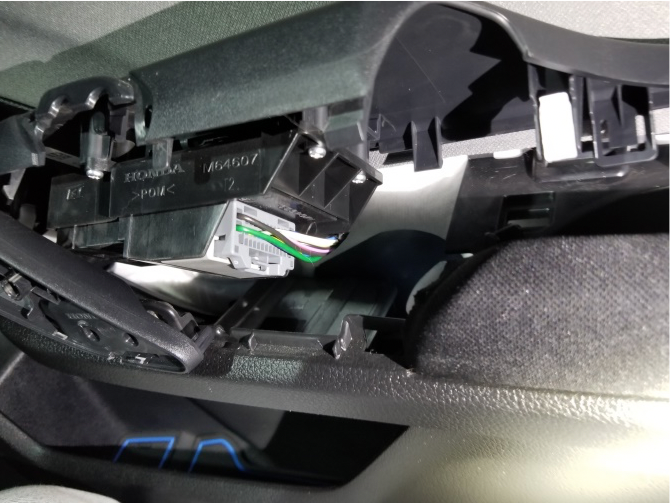
You will then be able to use a pry tool, or screwdriver, and pop up the electric window control panel, start around where the pull arm attaches and work it free.
Once you get the control panel up, you will see a vertical plug, push on the tab then release them from the panel, it should be free to be removed then.

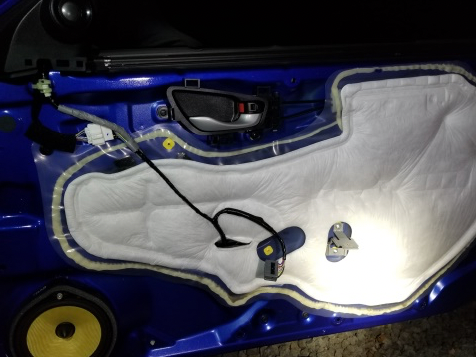
Then you are ready to remove the door panel, use a pry tool, or a wrapped screwdriver to protect the paint. Start at the bottom of the door in the center, pull gently but firmly, once you get the first couple clips free on the bottom work your way around the sides of the panel. Once you get all the clips free, pull straight up on the door panel and it should come free.
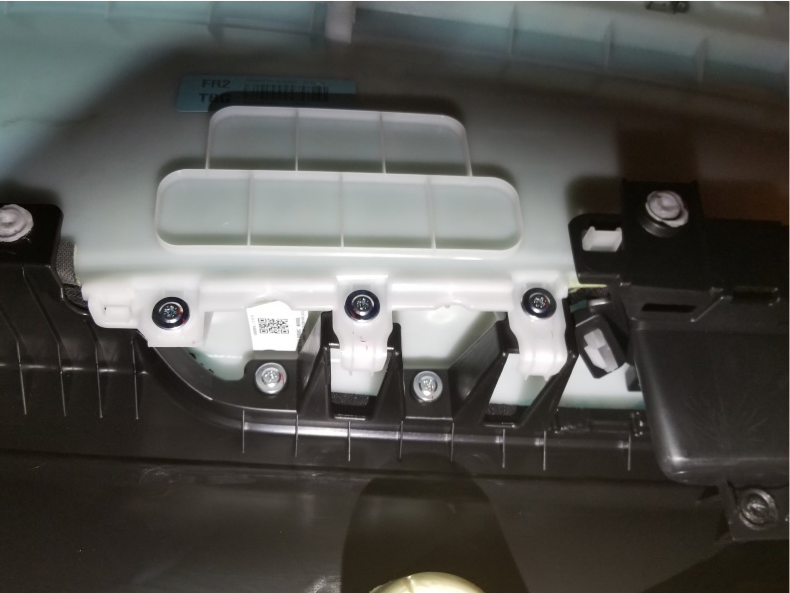
On the backside of the door panel you will find 5 screws that hold the arm rest in place, remove those 5 screws.
Then go to the other side of the door panel and pop the arm rest free. Now you are ready to install the new door armrest cover.
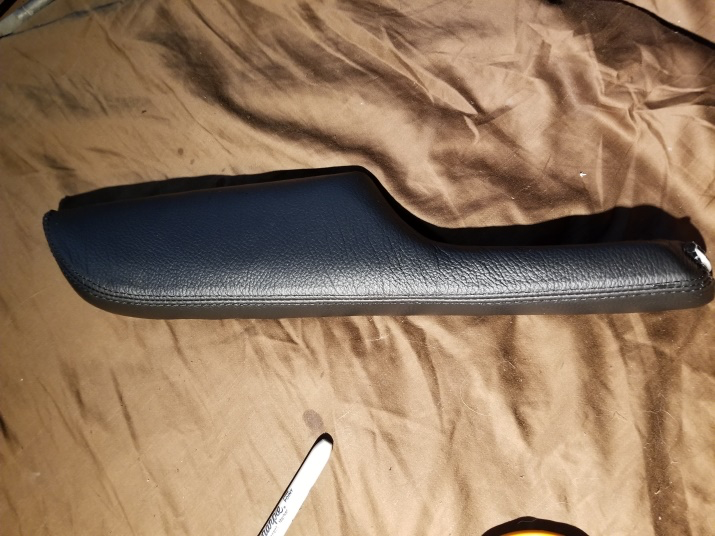
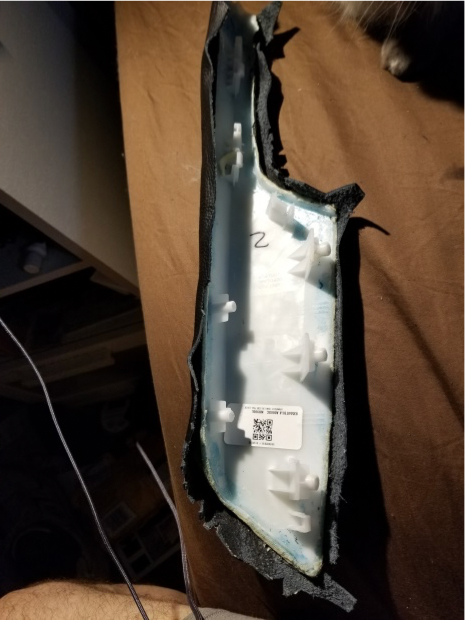
The stock armrest fabric is glued across the entire piece – so I took a razor knife and trimmed off all of the tabs around the entire piece so that your new leather piece will have bare plastic to attach to with glue.
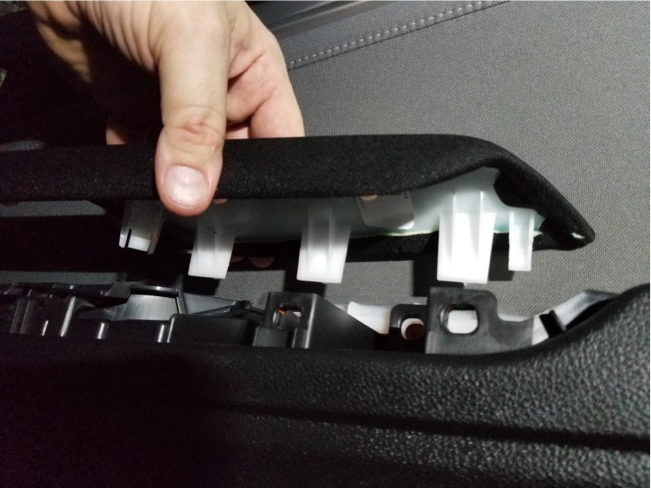
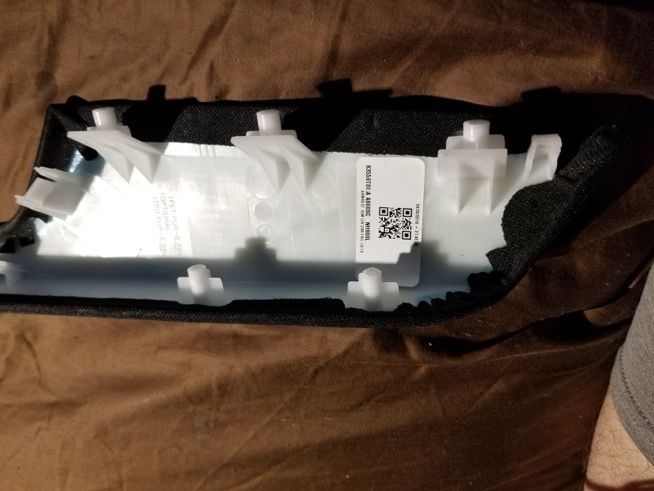
This is what the piece should look like after trimming off all of the tabs.
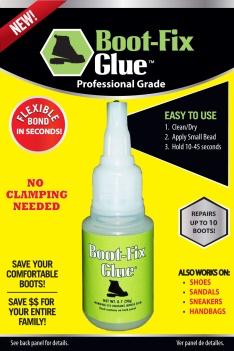
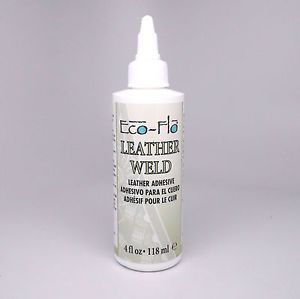
For attaching the leather armrest for best results I found you will need 3 different adhesives: 3M Rubber and Vinyl #80 Spray adhesive, Boot-Fix Shoe Glue: Instant Professional Grade Shoe Repair Glue, and Tandy Leather Eco-Flo Leather Weld Adhesive. These glues I found all on Amazon, and will run you around $45, but they work with ease and will make your job so much easier in the long run and give you a professional looking finish. When using the spray adhesive I found it best to spray both the back of the leather and the piece you are attaching it to, then using a hair dryer to semi set the glue so it will tack in place easily.

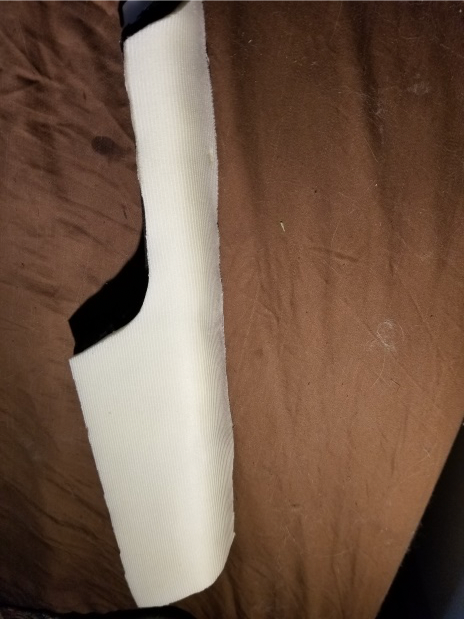
I wanted to add a little more padding to my armrest, so I bought some foam interfacing (you can find it in any sewing fabric section, I found mine at Wal-Mart), cut a piece to just fit over the top of the armrest, not around the edges, then used the spray adhesive to hold it in place. Now you are ready to carefully stretch the leather piece over the armrest.
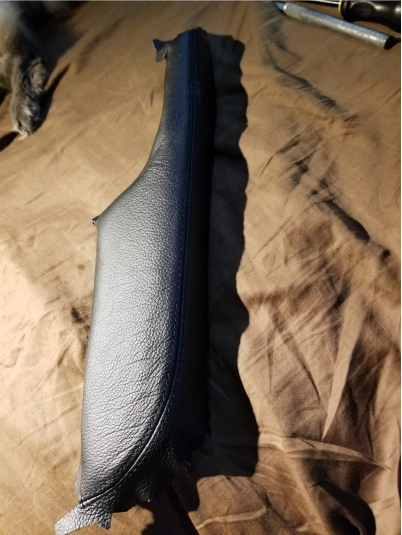
After assuring the fit, spray both sides with the spray adhesive, then carefully position the leather into place – make sure that the seam in the leather goes along the edge of your armrest. Once you have it in position, firmly press all of the surfaces into place. (Sorry I got my cats feet in the last pic (LOL))
Now you are ready to slowly go around and glue all of the tabs into place. You will be using the boot fix super glue, you should wear disposable gloves, and pull the leather tight as you go around the edges and glue down the tabs. Save the long corner tabs to glue down last. Be careful not to get glue on the display surfaces, but if accidentally do, you can use nail polish remover to remove any of the glue spills when you are finished.
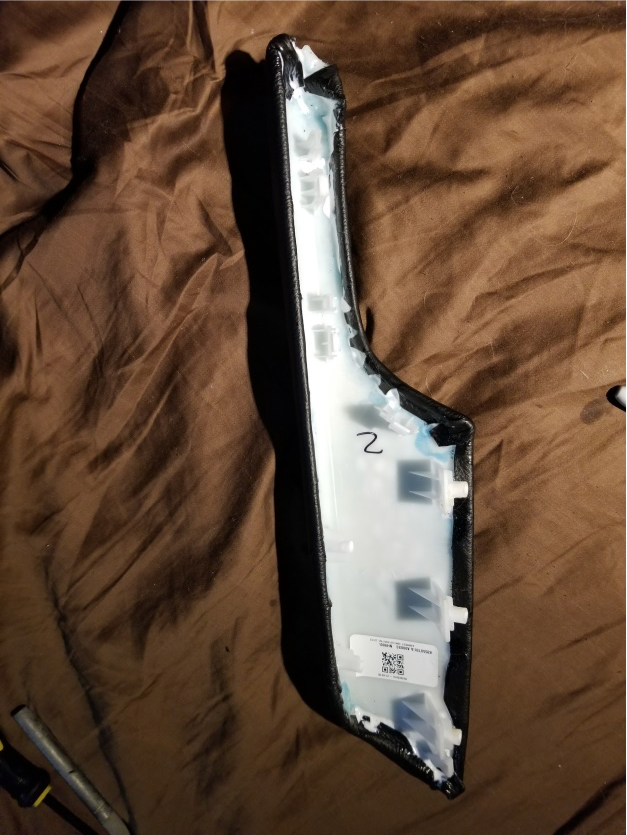
Once you have all the tabs glued down, for added security, I used the Tandy Eco Flex white glue in all of the tight corners and crevices – or any place you think the piece isn’t glued properly. I used my hair dryer to semi set the glue so it wouldn’t run. I then let the glue totally dry overnight.
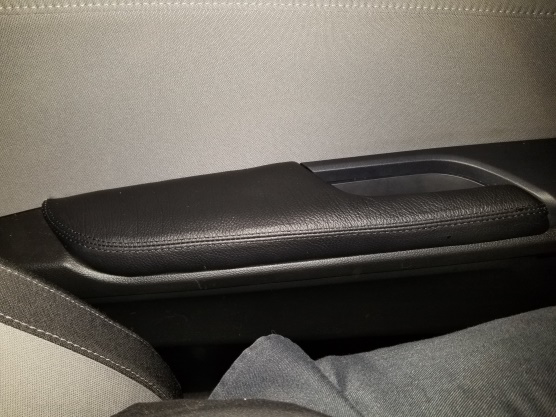
Once you have it glued securely to your liking, you will be ready to reinstall it in the door panel, and reassemble your door panel interior.
You are ready to enjoy the beauty of your new armrest that should last you for years to come!