You must be logged in to rate content!
5 minute read

INSTALLATION OF THE FRONT/REAR DOOR INSERTS Prelude 92-96
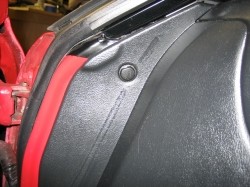
10. Pry the trim ring hiding the scren on the front of the doors and remove the screw.
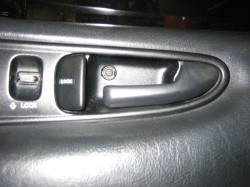
11. Another screw is hidden under the door knob.
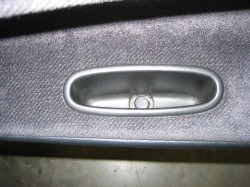
12. Another one in the door pull recess.
13. The last one is in the back of the door trim on the bottom.
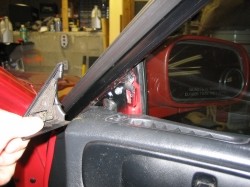
14. Remove the trim piece hiding the mirror, pry it off with a small flat screwdriver. Remove the door trim by pulling it up and off.
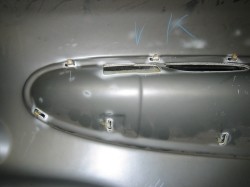
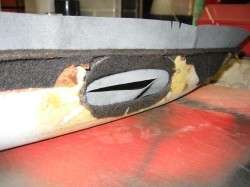
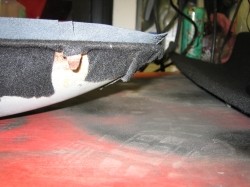
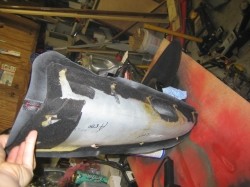
15. Remove the insert from the door, it's held by bent metal studs, straighten them out with a flat screwdriver.
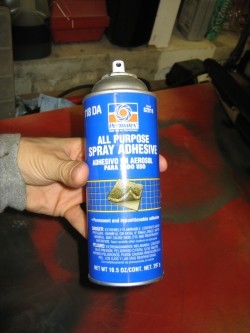
16. Get your spray adhesive ready for work. :)
17. Decide if you want to remove the old door insert lining or keep it. If you want to remove it, do it now.
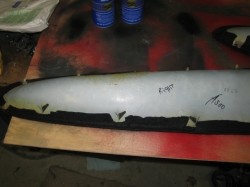
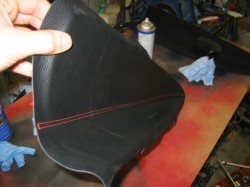
18. Align the leather insert with the plastic one. Start glueing from one side and keep straightening out the leather as you move towards the other side.
Useful hint: The leather is folded for transport. If you can, let it sit in a heated room to make it more pliable. Put weight on it to help it straighten the wrinkles out (a phonebook is a great tool for that).
19. Once you glue it all on, use a sharp tool to trim the leather in the door pull recess (front inserts only)...
20. And, likewise, around the mounting prongs.
21. The leather inserts are cleverly manufactured with a lot of spare material...
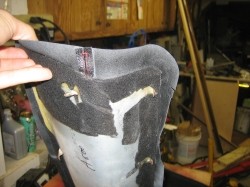
22. .. that you can now use to wrap around the edges and glue.
23. If you decide to trim it rather than glue it, make sure you don't trim away the stitch lines as the stitching might start to come apart. The ends of the stitch lines are very important and DO NOT cut them off.
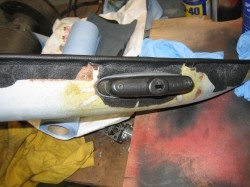
24. Reinstall the door pull in the front inserts.
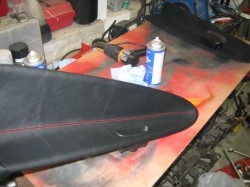
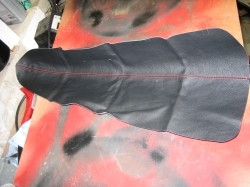
25. Here's what the finished insert should look like. Reverse steps 10-15 to reinstall them back into the car... and ENJOY!
REAR DOOR INSERTS
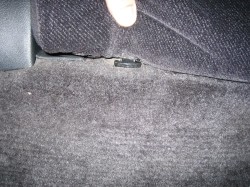
26. Pull these 2 clips under each seat, and the bottom of the seat will come out.
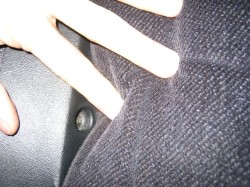
27. Rremove the screw by the seatbelt.
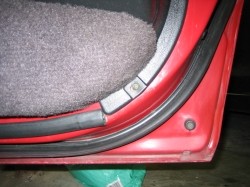
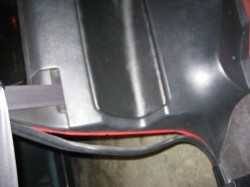
28. Remove rubber trim by door (not completely, just so it clears the panel).
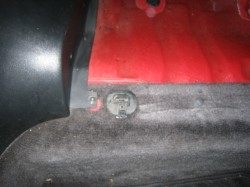
29. You can see the screw, it is located in the same spot on each seat. When you remove the back panel you should be able to get to that one. when removing the pass side seatback, you need to open the seat with the key and remove the 2 bolts under the plastic covers.
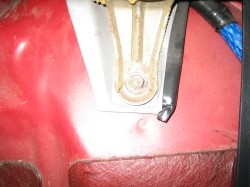
30. Remove these 2 screws to remove the DRIVERSIDE seat (pass side is different, see above).
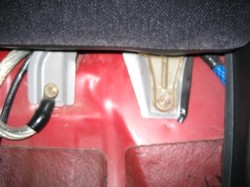
31. Here's a close-up.
32. Install the rear insert over the stock one (refer to steps 21-24) and reverse steps 26-30 to reinstall the rear trim and seats.
Useful tip
You have installed a product made out of genuine leather. As you know, to maintain a leather product in good condition, you should take care of it. We suggest occasionally (every 4-6 week for example) applying some leather conditioner/UV protector to keep your leather from drying up in the sun and cracking.
Redline Automotive Accessories Corp. will not be held liable for any labor, incidental or consequential damages of any kind. Proceed at your own risk.