You must be logged in to rate content!
5 minute read

97-01 HONDA PRELUDE SHIFT BOOT/ARM REST INSTALLATION INSTRUCTIONS
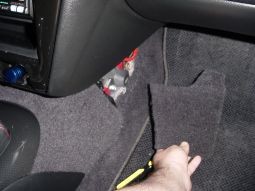
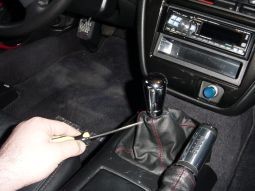
1. Start by removing your shift knob. Then remove pieces of carpeting on both sides of the console, in the front, below the radio.
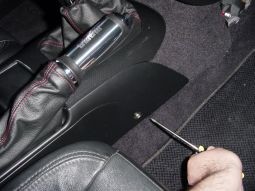
2. Slide both seats back to reveal two screws (one on each side of the center console). Remove these two.
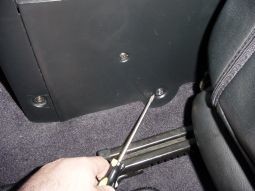
3. Slide both seats forward to reveal six more screws (three on each side of the center console). Remove both the lowerr ones - the upper ones hold the storage bin tray.
4. Slide console toward back of car about an inch, lift up about a couple inches. Reach under the console and disconnect wire leading to ashtray light.
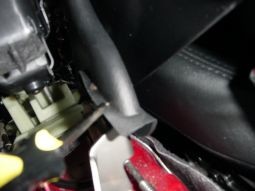
5. Raise parking brake. Slide console forward and up to remove. Turn console upside down, be careful not to scratch the plastic. Remove the 4 screws that hold the shifter boot plastic frame.
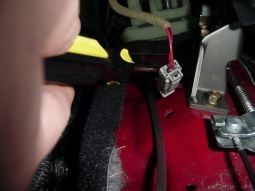
6. Take the chrome plastic trim piece from the stock boot and attach it to the new boot using a ZIP-tie.
7. The stock shift boot is stapled on to the plastic frame. If you have a staple gun, you can remove it and attach the RedlineGoods shift boot with staples. I didn't have one, so I used 2" pieces of wire: I poked 3 small holes on the shift boot, then I ran the pieces of wire through these and through matching holes in the plastic frame (obviously a good idea to line up the new shift boot with the frame before you start poking holes in it). To secure the pieces of wire I just twisted them together and cut off the excess, if any. The picture on the right shows this.
7. You should now have a boot that is fitted onto the plastic frame piece. Take this whole setup and put it back onto the console and tighten the 4 screws.
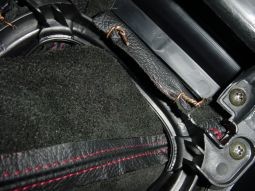
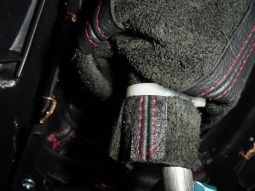
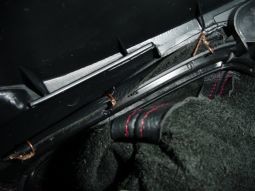
8. For the ebrake boot, you need to do the same - either use a staple gun, or poke some holes with an ice-pick or a similar tool, then run a few pieces of wire through them. Twist the wire to make it hold. Obviously, since the stock plastic e-brake boot didn't have any holes, you need to punch some in it, too.
9. Put the center console back on. Before lowering it, hook up the wire for the ashtray light. Put back the 3 screws from each side of the console (2 in the back, 1 in the front). Put back the 2 grey carpeted trim pieces. Take your shift knob and screw in onto the shifter. That's it!
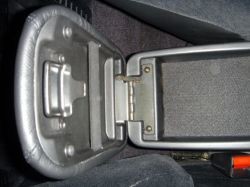
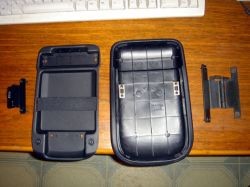
10. Lift the arm rest cover and remove the 2 screws holding the bottom of the hinge to the console.
11. Remove the 2 screws holding the latch (L) and hinge (R)
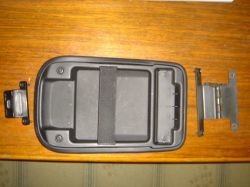
12. Remove the inner cover by carefully prying it away from the top cover. This may take some force as there are 2 plastic tabs held by metal barbs that must be released.
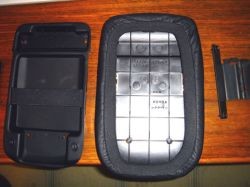
13. Install the leather cover over the top of the arm rest and use your hands to make the cover fit as tight and smooth as possible.
14. Place the inner cover back on and install the latch and hinge.
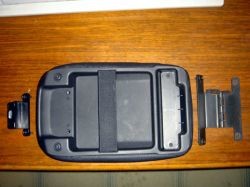
15. Install the 4 screws through the latch and hinge and tighten all.
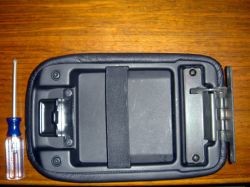
16. Install the arm rest on the console using the 2 screws to hold the hinge to the console.

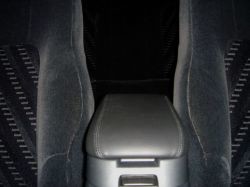
17. This is what you should see at this point. :)