You must be logged in to rate content!
5 minute read

98-02 HONDA ACCORD SHIFT BOOT/ARM REST INSTALLATION INSTRUCTIONS
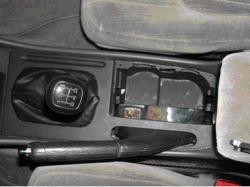
1. There's a silver ring below your shift knob. Push down on it to disengage the clips on the bottom of the knob from the boot. Next unscrew the knob and set aside.
2. Pull out your cup holder from the console. Be careful, the clips are pretty strong. Once the cup holder is out, you can grab the console and pull it out. There are no screws holding the console in. If you look, it appears as if two screws at the base of the armrest hold the console in, but they don't. Going clip by clip around the perimeter, it comes out pretty easily.
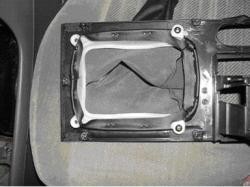
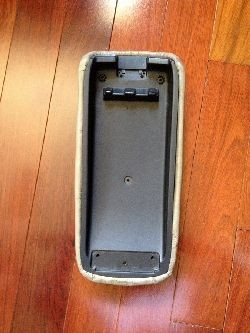
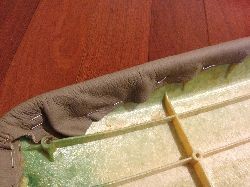
3. Once removed, you can flip the console upside down and see that there are four screws attaching the boot base to the console. Remove the screws from the plastic base and the boot will be free from the console. You will need to remove the staples from the boot base. I used a small screw driver and needle-nosed pliers to get them off. The plastic is not very sturdy. So, I recommend taking a little time and being careful with the removal.
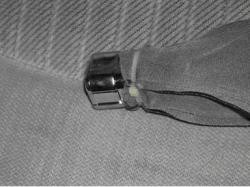
4. The boot is attached to the ring with a zip tie. Remove the zip tie and the ring is free from the old boot. You will need to get a new zip tie to attach the new boot.
5. The reinstall is pretty much a reversal of the first four steps. The main change is that you will notice that the top of the new boot is too small to go around the ring. Don't panic. The top only has to be large enough for the actual shift rod to go through. Turn the boot inside out and press the ring into it until it is snug. Then use the zip tie to hold it in place and turn right side out. Be patient, it may take a couple of tries to get it right. Also pay attention to the direction of the ring. It is slightly wider at the rear. Also, the shift boot has two stitches at the back and one at the front. So, you want to make sure that you get everything pointed the right direction.
In step 3, you removed the staples from the original boot. I thought long and hard about how to re-attach. In the end, I did nothing. The leather is a snug fit. By the time that you get all of the pieces back together, it will want to stay that way. If you want to re-staple, you certainly may.
Remember that this is leather. It will seem a little small when you get it, but it stretches. Be patient; you will get the fit right.
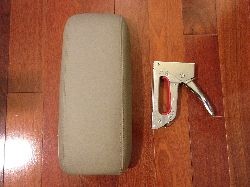
1. This is your armrest. It is covered in a thin film of vinyl and underneath that a stiff foam.
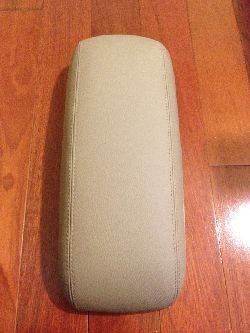
2. Begin by removing the 3 screws at the bottom of the armrest to detach from car. Then remove the remaining 3 screws to detach the entire black plastic from the underside of the armrest.

3. Test fit the new Redline Goods armrest cover to make sure everything fits properly.
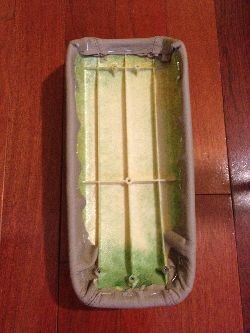
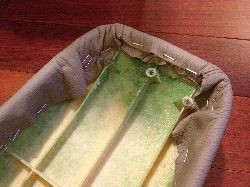
4. Once its centered, use a staple gun and begin stapling from one end of the armrest and work your way to the other end.
5. Make sure to tuck any excess material inside. The black piece of plastic underneath the armrest will conceal it once re-installed.
6. Reattach the black piece of plastic with the 3 screws.
7. Reattach the armrest back to the car with the remaining 3 screws.
CONGRATULATIONS - YOU HAVE SUCCESSFULLY INSTALLED YOUR NEW LEATHER BOOTS!
Useful tip
You have installed a product made out of genuine leather. As you know, to maintain a leather product in good condition, you should take care of it. We suggest occasionally (every 4-6 week for example) applying some leather conditioner/UV protector to keep your leather from drying up in the sun and cracking.
Redline Automotive Accessories Corp. will not be held liable for any labor, incidental or consequential damages of any kind. Proceed at your own risk.
Powered by Froala Editor