You must be logged in to rate content!
9 minute read

REAR INSERTS INSTALLATION Accord 98-02
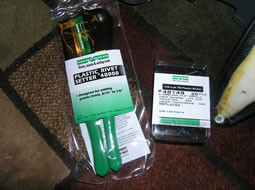
Note In order to remove the rear panel, it will be necessary to permanently break the factory "fasteners" (melted pegs). I decided to purchase plastic rivets (Marson #48149 - 20pcs; I got two boxes to have some extra) and an accompanying rivet setter (Marson #48000) to reattach the panel. You could probably use standard rivets, however, unlike standard rivets the diameter of plastic rivets does not increase. If you decide to use rivets, you can drill the holes before you remove the panel (assuming you don't care about the old material). This way, you know the holes in both the door panel and insert are aligned properly.

1. Remove the rear seat. Remove the carpet from the back of one of the seats. There are clips around the perimeter and a few under a strip at the top of the seat back.
If you are familiar with removing the rear seat, skip to Step #9.
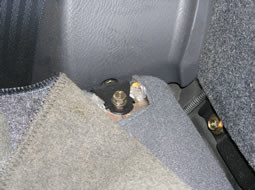
2. Remove the bolt from the driver's side.
3. Remove the bolts from the middle.
4. Remove the bolts from the passenger's side.
Lift out the passenger's side seat back. Remove the seatbelt from the guide at the top of the seat back.
5. Remove the bolt on the side of the driver's side seat back (in the middle).
6. Remove the plastic panel that runs in front of the rear deck (where the seat backs latch in place). This piece snaps into both rear side panels and has a few clips along the back.

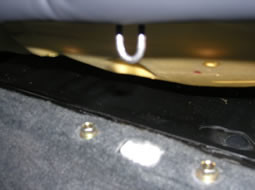
7. Remove the bolt that holds the seat bottom in place (bolt is fastened through a wire loop).
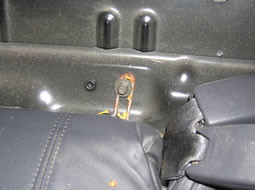
8. Lift the front of the seat bottom. It is held in place by two wire loops that come free when lifted.
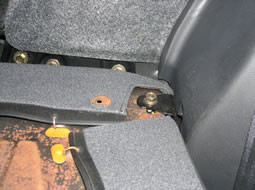
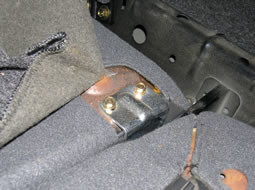
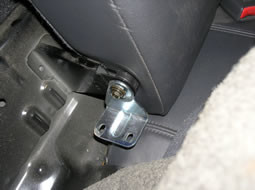
9. Remove the bolt that is near the seat bracket.
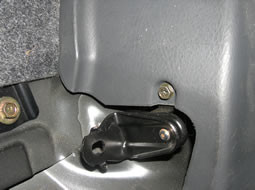
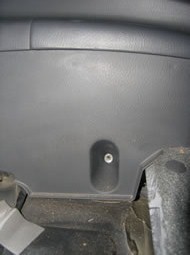
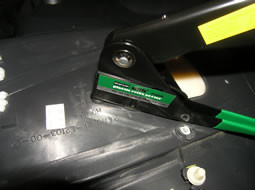
10. Remove the screw near the bottom (in the recess in the side panel).
Gently remove the panel. There are four clips that run about 4" from the top of the panel.
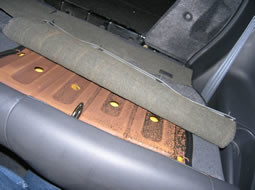
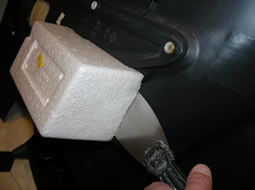
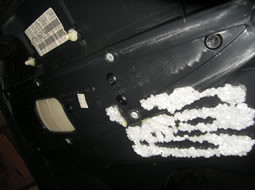
11. Remove the foam block from the rear of the side panel. I used a putty knife to get under the block.
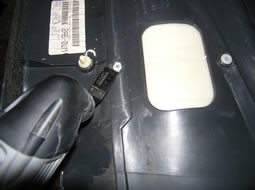
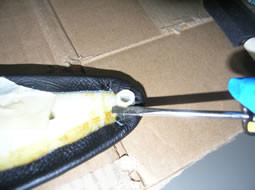
12. Drill out or cut off the plastic pieces that are holding the insert in place. If you have a Dremel, it works better than a drill; just take your time as it can tend to melt instead of cut.
Note: If you are using plastic rivets to reattach the insert and don't care about the old leather, it would be a good time to drill holes for the rivets (skip to Step #14 and then return to #12). Otherwise, remove the panel, remove the old leather and then drill holes for the rivets.
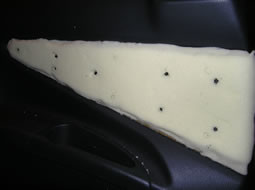
13. Remove the old material from the insert.
14. If you're using plastic rivets to reattach the insert, drill holes in both the insert and the side panel. If you have removed the insert, align it before drilling. If you have not yet removed the insert, there is no need to worry about aligning the two pieces. Just make sure you're drilling through an area with material behind it (there is a square void in the middle of the side panel). Be sure to make holes for rivets near the front edge (see Step #23; note the extra rivets on the side that faces the door opening). Not too close to the top or bottom of the insert, however, as there is less foam under the top and bottom 1" of the panel.
15. Temporarily tape down the leather on the panel. You can make adjustments, as needed, at this point. Once you start gluing down, adjustments will be more difficult.
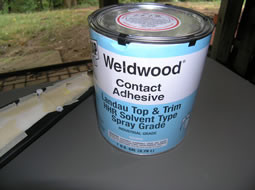
16. I used Weldwood HHR (High Heat Resistant) contact cement. It is intended to be sprayed but can be brushed easily enough. You can probably use web spray cement (spray can), too, but considering only the edge is being glued, I decided to brush the cement.
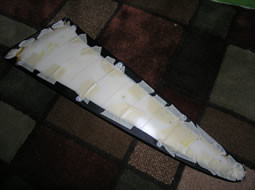
17. Remove the tape you used to hold the leather one section at a time and glue down each section. Whether you're using spray or brush, the concept is the same. Apply cement to both the leather and the insert. Wait until dry, pull tight and press to lock in place. Use a roller to ensure a good joint.
18. Continue around the insert. For the narrow portion of the insert, I used a screwdriver to press the little pieces into place.
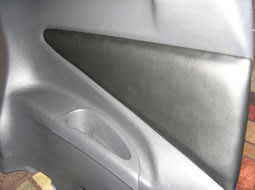
19. Finished gluing; onto reattaching the insert to the side panel.
20. I used plastic rivets to reattach the insert. This method requires a special rivet setter for plastic rivets. The rivets I used require standard 1/4" pilot holes so there's no need to locate an uncommon drill bit size.
21. You can probably start anywhere you want. I started in the middle and worked my way out.
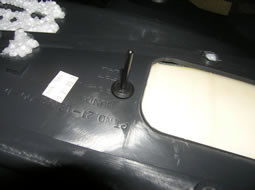
22. Plastic rivets work just like normal rivets when installing; they lock differently and do not expand in diameter which makes them ideal for this purpose. Insert rivet in setter, hold insert tight against side panel, squeeze tool slowly. I found that after a few rivets you can feel the notches in the piece that locks the rivet in place. For best results, you want at least 3-4 notches to lock (at least with the type I used).
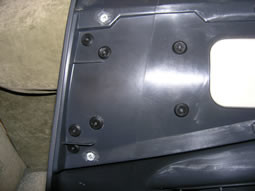
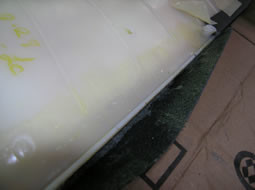
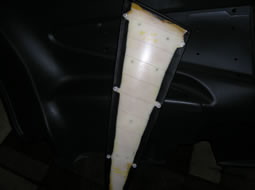
24. The rear of the side panel after riveting the insert back in place.
25. Better than from the factory!
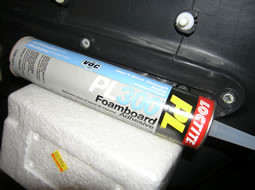
26. I am not sure of the purpose of the foam block. I would venture to guess it helps to make the side panel feel solid by preventing movement too close to the outside of the car. I picked up some Loctite PL300 for foamboard use. Whatever you use to attach the block, make sure it is compatible with foam, otherwise it will burn through the block.
CONGRATULATIONS - YOU HAVE SUCCESSFULLY INSTALLED YOUR NEW LEATHER BOOTS!
Useful tip
You have installed a product made out of genuine leather. As you know, to maintain a leather product in good condition, you should take care of it. We suggest occasionally (every 4-6 week for example) applying some leather conditioner/UV protector to keep your leather from drying up in the sun and cracking.
Redline Automotive Accessories Corp. will not be held liable for any labor, incidental or consequential damages of any kind. Proceed at your own risk