You must be logged in to rate content!
4 minute(s) of a 88 minute read
11-2-2013
Okay, please pardon my ignorance in post #55. I have replaced the knock sensor and all seems okay, no CEL after 75mile.
My ECU seems to be learning at a decent speed. It still gets the idle surge when putting it in neutral from 1st-4th gear. It has seemed to learned Not to do it when coming out of 5-6th gear.
Performance- throttle response is beautiful, absolutely amazing. It's 65 degree out and the car loves cooler weather but Torque seems even better then having the full size MDX spacer on the car. Even only after 75 miles driven after resetting the ECU the car runs through the RPM's so well. Just runs right through them.
I'm excited to see how the car operates after 300+miles !! Flash Pro will set this thing off
11-6-2013
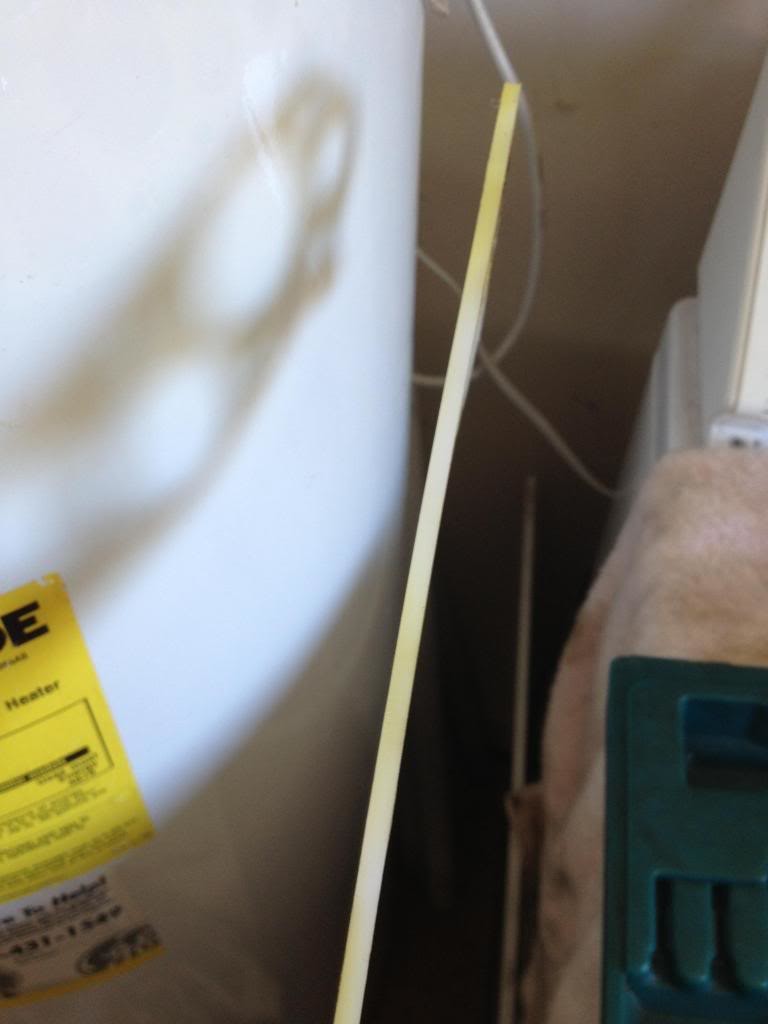
I've seen a lot of people complain about the P2R IM thermal gasket so I though I would share what condition mine was in after 16k miles. Looks fine to me.

11-8-2013
Okay, in an effort to be a productive member and give back to a community that has given so much to me, I have decide to do a quick write up of how to modify your stock TB into being the Master TB for DTB IM. I will not cover the installation being it is pretty simple and you are basically swapping TB's.
Tool - Dremel and a cutting bit
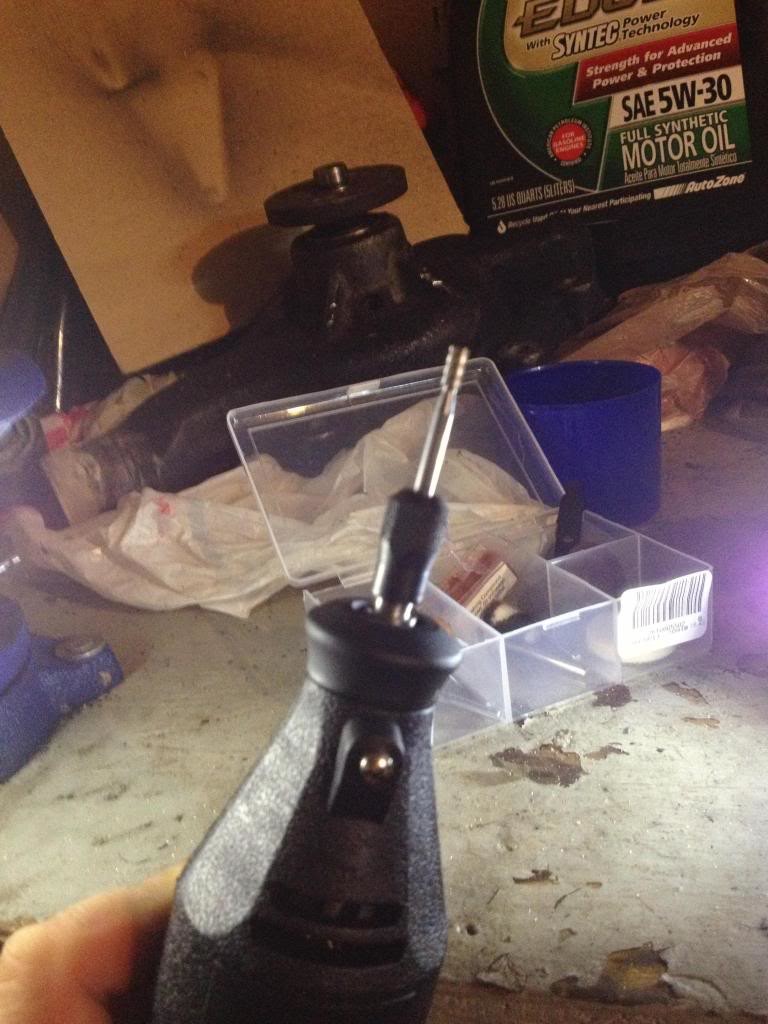
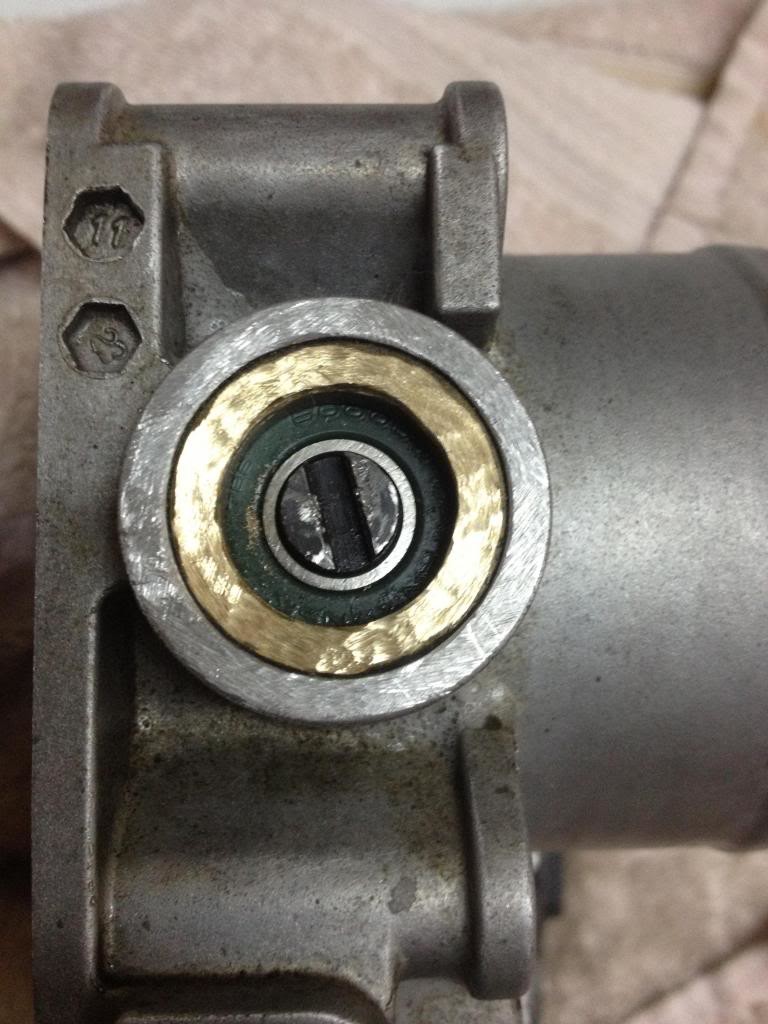
Step 1 - There is a Brass cap that is on the front side(when mounted to the car) of the stock throttle body. You will need to drill out a little hole in the center just enough to break through. Take your time, it's not that thick, maybe 3mm. You dont not want to break through and damage the internals. From there you will be able to see the mounting point for the connector rod/shafts that make the 2 TB work in conjunction, it looks like the end of a screw where a flat head screw drivewould go into

Step 2 - When I say 3mm Cap, it's all one piece but 3mm is like a lip. Best way to describe it is that it's like the top of plastic water bottle caps , turn it on its side and that's how you are looking at the brass cap. Sill imagining the bottle cap on it's side, the thicker part would be the side walls where threads would be around, but the sides are thicker then the top. Hope that wasn't confusing.
Carefully continue to remove the 3mm brass cap material, while working your way out. The 3mm cap will eventually run out and expose a thicker outside layer of the brass cap, that is where you would stop drilling and it will become flush.
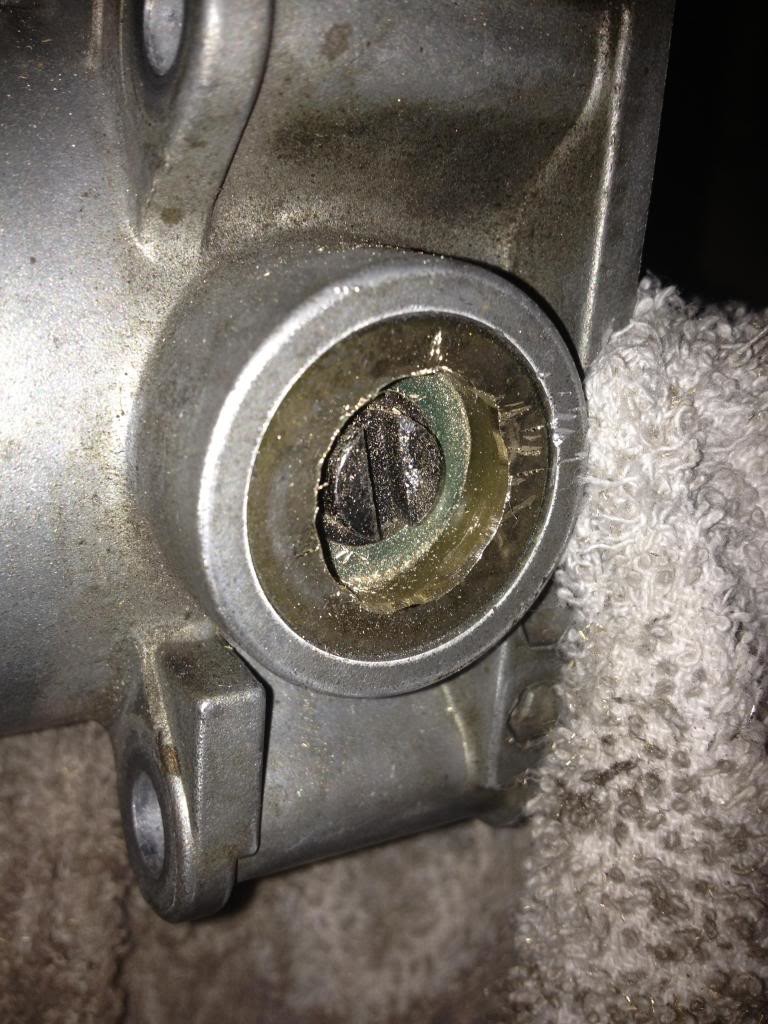
FINAL LOOK WHEN FLUSH
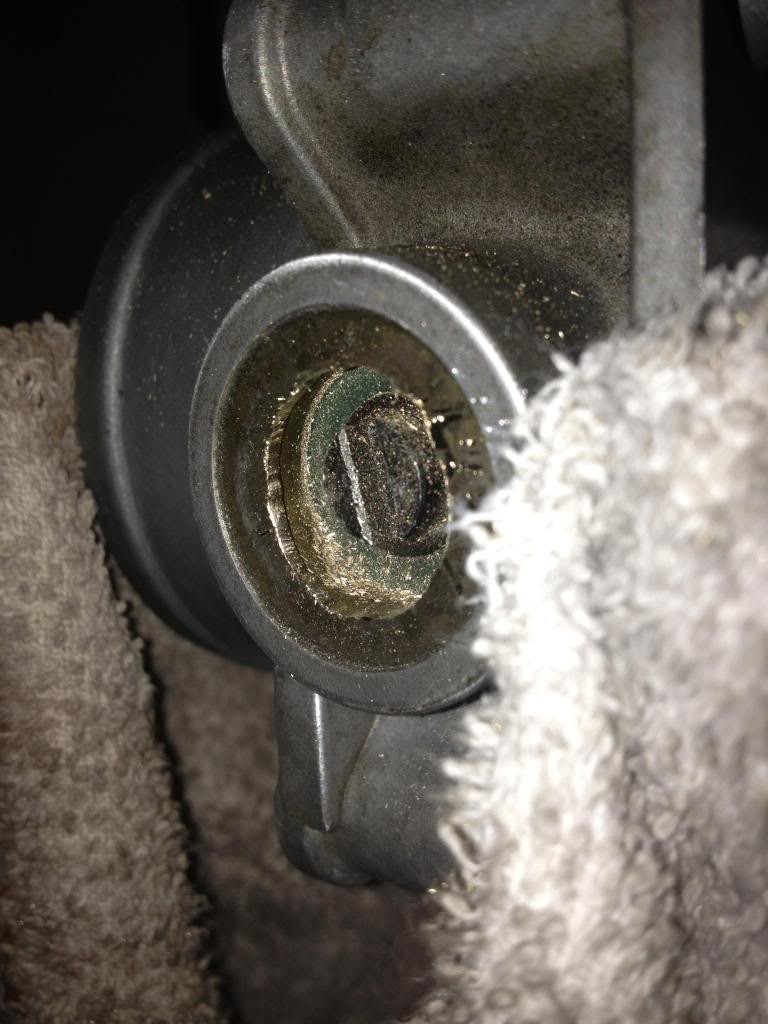
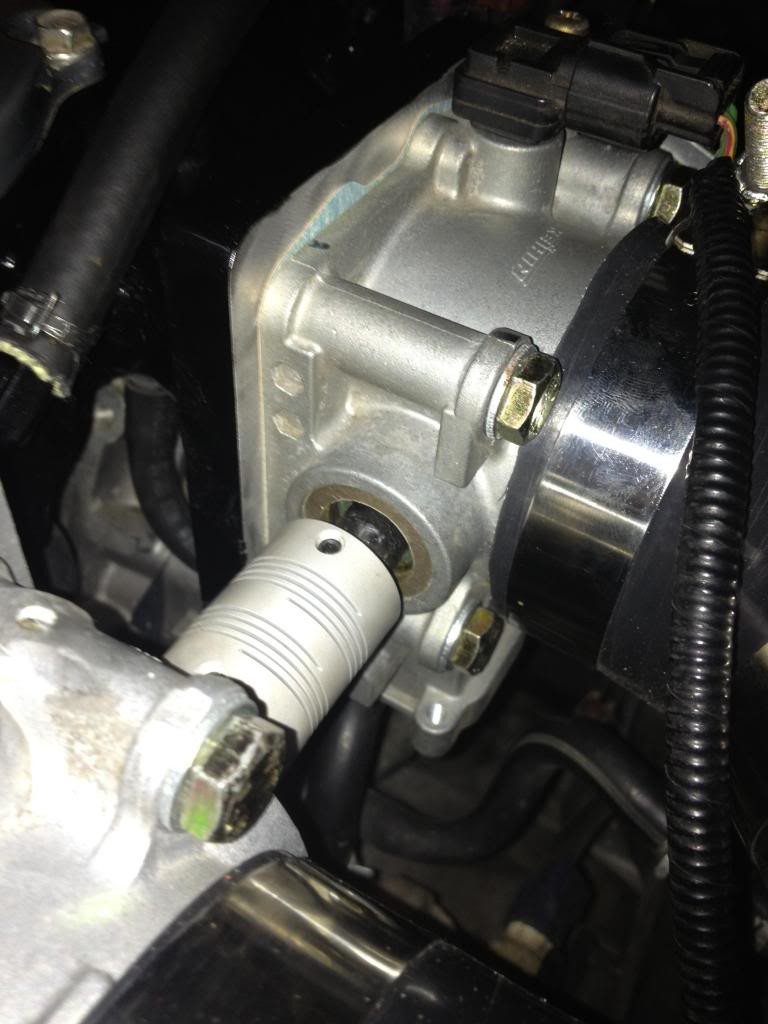
Step 3 - Mount the bad boy. This is done by removing the two TB's, pulling them apart and inserting the connecting shaft (attached to the slave TB) into the flat head screwdriver style slot on the master TB, and then mount them both.

Wow great photos and details. Thanks for sharing!
Posted by Diggymart on 11/14/18 @ 1:39:39 PM