You must be logged in to rate content!
4 minute read

13+ HONDA ACCORD SHIFT BOOT/ARM REST INSTALLATION INSTRUCTIONS
1. Unscrew the shift knob. Lefty-loosey righty-tighty. :)
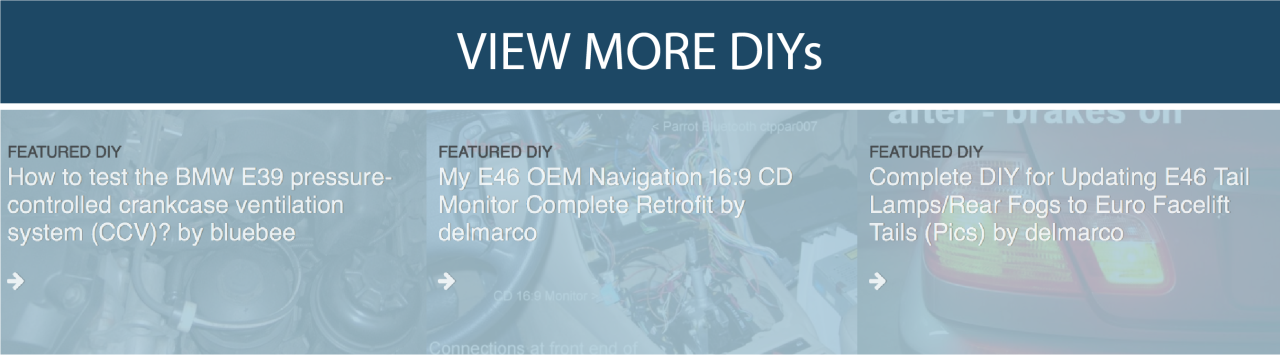
About 2 inches forward from the back, a notch in the trim allows for a trim tool to be inserted. Pull the trim up from the back forward to remove from clips.
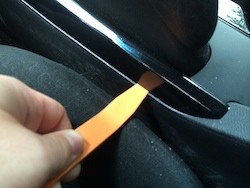
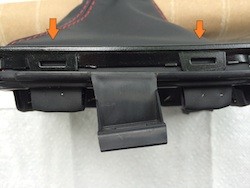
2. Remove the two screws holding the center console compartment in. One on each side. Pull compartment out.

3. From the back forward, pop the clips holding the panel on. There are 10 clips total securing the panel. 5 per side.
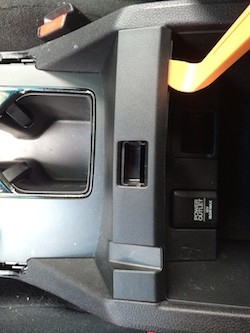
4. There are 2 electrical connectors at the front for USB and ACC Power. Remove those and take the console out of the car altogether.
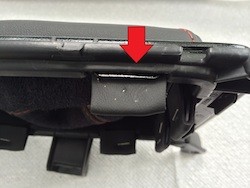
5. 4 screws and 2 clips secure the shift boot plastic trim on the bottom of the center console panel.

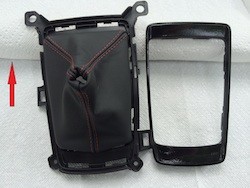
6. With the shift-boot trim off the console, slowly pry open the 8 tabs holding the shift boot trim ring on, 2 on each side.
7. Remove staples holding shift boot to plastic. 8 strips of the shift boot, 2 on each side.
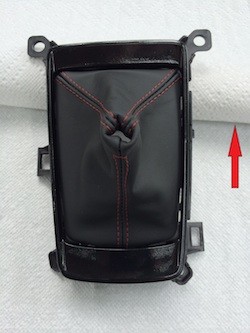
8. Make sure to put the new shift boot through the inner holes, fold over, and staple. Note the direction of stitching
9. Press the outer trim ring back on. Reinstall shifter trim in the center console, and the console in the car.
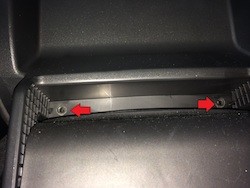
10. Open armrest compartment and remove 4 screws from bottom of armrest. Two in the front...

11. ... and two in the rear.
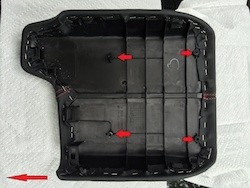
12. Remove the stock cover by undoing the staples and install the RedlineGoods cover instead. You can either re-staple it if you have the proper staple gun, or just glue it down.
13. Reinstall the armrest lid with the new cover back into the car.
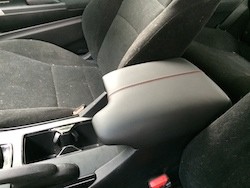
CONGRATULATIONS - YOU HAVE SUCCESSFULLY INSTALLED YOUR NEW LEATHER BOOTS!
Useful tip
You have installed a product made out of genuine leather. As you know, to maintain a leather product in good condition, you should take care of it. We suggest occasionally (every 4-6 week for example) applying some leather conditioner/UV protector to keep your leather from drying up in the sun and cracking.
Redline Automotive Accessories Corp. will not be held liable for any labor, incidental or consequential damages of any kind. Proceed at your own risk.