You must be logged in to rate content!
3 minute read

2000+ S2000 CENTER CONSOLE INSTALLATION INSTRUCTIONS
6. Take your center console leather cover and place it over the center console, making sure that it is center and that the holes in the cover match up to the holes where the clips clip in.
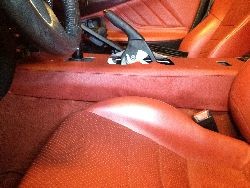
Remove both driver and passenger seat (OPTIONAL BUT RECOMMENDED).
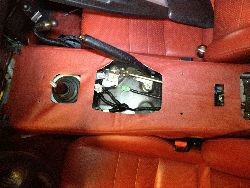
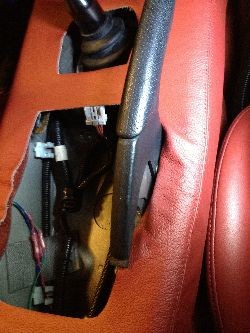
Remove the 8 plastic clips holding down the OEM center console cover. Because the clips are inserted at an upward angle, pull down on the clips, then pull away. Work your way from front to back, as the clips at the rear of the OEM console are most difficult to remove. If you break any clips, they are $2.50 USD from the Honda dealer.
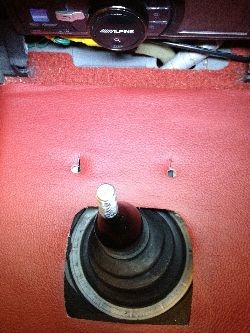
7. At this point you will cut out slits where the holes are in the leather cover, making sure that they correspond where the holes for the clips go. You might need to make larger holes to accommodate the room for the clips. You will also need to cut slits in the areas marked by the green arrows.
After every hole you create, re-insert the plastic clips to secure the cover to the center console. Again, work from front to back on each side.
8. You will do the same thing here. Cut out slits for the clips to go through.
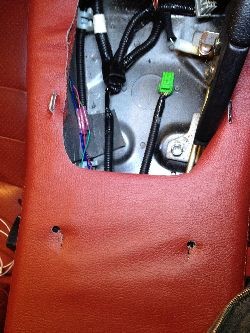
9. If there is any excess leather, you can either cut it off or tuck it in like I did in the area marked by the green arrows
10. Use a putty knife with the edge taped over with painters tape and gently work the extra material underneath the center console.
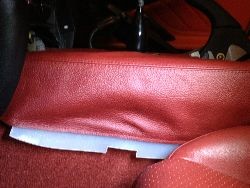
11. Do the same thing for the rear part of the leather cover, making sure that the cut out tucks under where the clip is located. The cut out is marked by the green arrow. You will do the same thing for the other side.
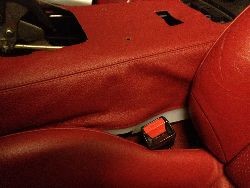
12. This is what it should look like when you are complete. Reinstall the center console unless you're installing the armrest, in which case leave it for the end (don't forget the electrical connections) and the radio door.