You must be logged in to rate content!
4 minute read

JEEP CHEROKEE INSTALLATION INSTRUCTIONS
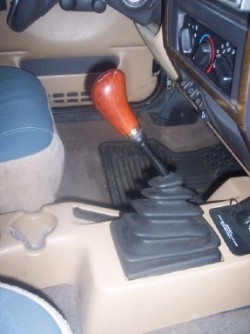
1. Start by removing the gear shift knob. The easiest way to remove the stock shifter is by using a large pipe wrench and turning counterclockwise. Use a wash cloth or something soft to cover the shifter to avoid damaging.
On 02+ models the shift knob removal is different! The shift knob does NOT turn off. To remove it, one has to pry off the cap on the very top of the shift knob and then remove the nut holding the knob in place. The cap has the details on it for the 1, 2, 3, 4, 5, R. Taking off the cap is difficult! You need to use a very small screwdriver and be extremely careful not to ruin it.
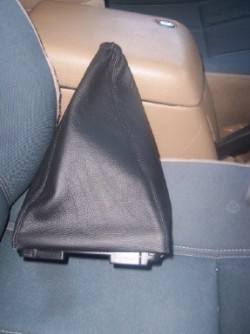
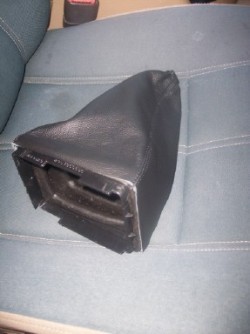
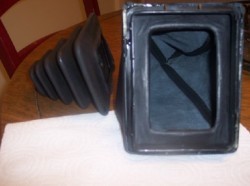
2. Once the shifter is removed, remove the old boot and bracket by simply pushing in the front end (the side nearest the emergency break) until you can remove the bracket.
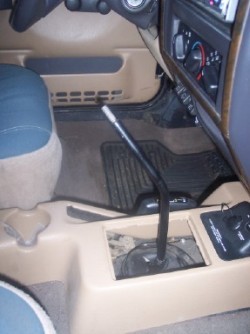
3. Keep the rubber boot on the bracket as we'll need these for the install. Clean the bottom rung of the rubber boot with an alcohol swab.
4. Drap the new leather boot over the old rubber one and bring the leather just flush with the bottom of the rubber boot. The panels of the leather boot should match up exactly with the sides of the old boot. This is going to create a snug fit and a stock look on install. With either gorilla-glue or hot-glue, lift back the edges of the leather boot and glue the old rubber boot to the new leather. Remember to keep the edges flush so that the leather does not come any lower than the old rubber boot. This is extremely important.
5. Allow the glue to dry over night.
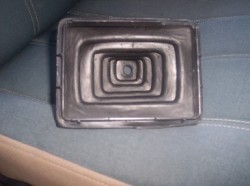
6. Invert the boot and with a straight razor or a sharp knife, carefully cut the first rung of the old accordian style boot completely around the inside.
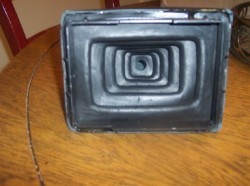
7. Remember to cut shallow to avoid cutting the leather.
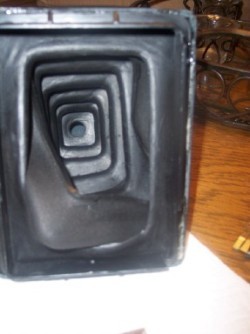
8. Once done, you should be able to remove the large center of the old boot. Now you are ready to install back in the Jeep.
9. Thread the shifter through the center of the leather and work the shifter bracket back into place until firmly secured. Finally, add the shifter knob.
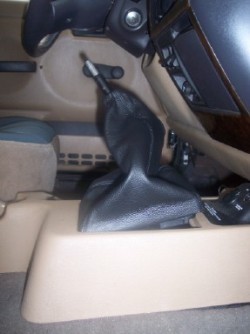
CONGRATULATIONS - YOU HAVE SUCCESSFULLY INSTALLED YOUR NEW LEATHER BOOTS!
Useful tip
You have installed a product made out of genuine leather. As you know, to maintain a leather product in good condition, you should take care of it. We suggest occasionally (every 4-6 week for example) applying some leather conditioner/UV protector to keep your leather from drying up in the sun and cracking.
Redline Automotive Accessories Corp. will not be held liable for any labor, incidental or consequential damages of any kind. Proceed at your own risk.