You must be logged in to rate content!
5 minute(s) of a 620 minute read
7-11-2011
I hope everyone had a nice weekend... pretty darn hot in this part of the country.
Let's dig into some more nastiness shall we. Pictures pretty well explain themselves. Here's a closer look into a crossframe to main frameconnection.
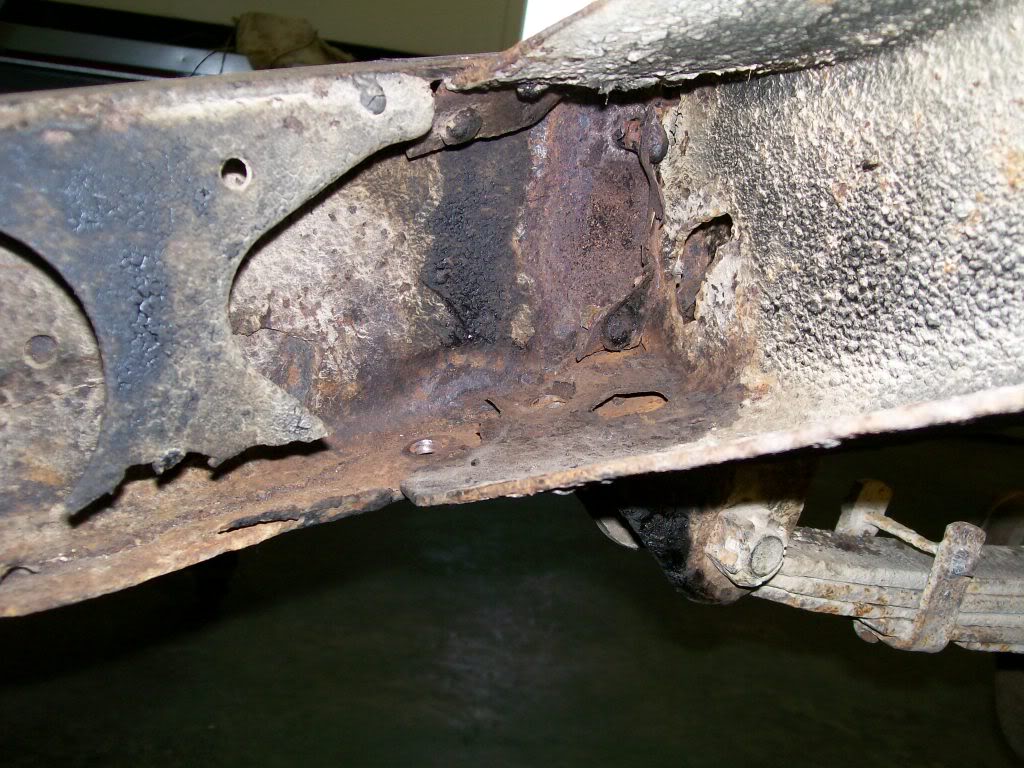
Finally we're starting to grind and drill out those 61 year old rivets. Question...If I take out the cross brace will it go back in again. How did the factory do it? We'll deal with that later, for now we just need to keep moving forward.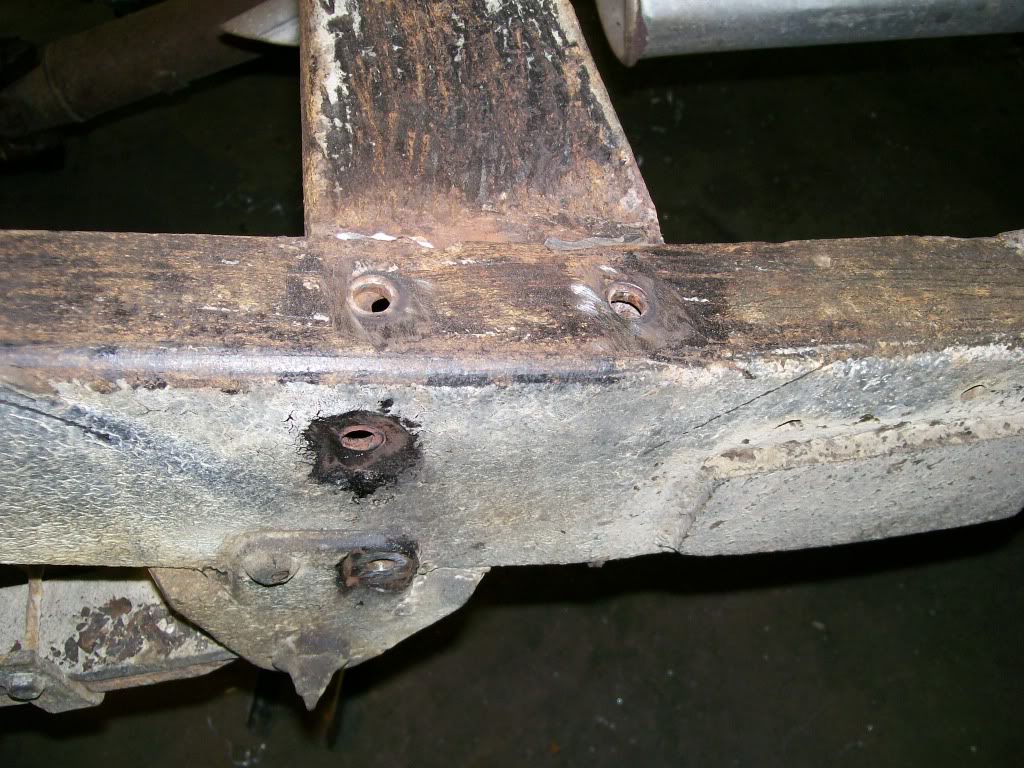
7-12-2011
It's cool to see all who like the looks of this truck, you see what I saw 26 years ago. And yes, it is the lift and tires that really sets it apart. As every year passes by it becomes more of a moving piece of american history.
I got the rivets drilled out, and it looks like with a little beating this cross frame will be able to be repaired and fit back into place. That's good news I was afraid the main frame would have to be spread apart to get it back in place again.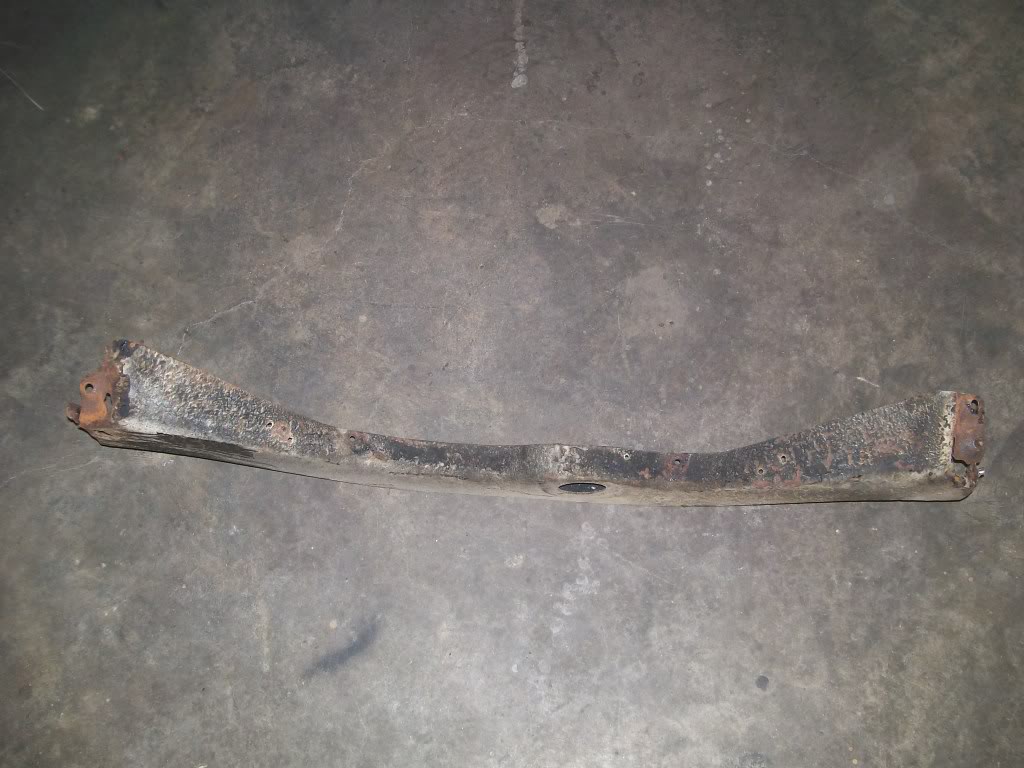
Wow, another flashback.... Your right iDriveYJ, it does have a look to it.
My flashback is refering to when I got the truck someone before me ripped out all the original wiper linkage.
If anyone out there has a truck around the same year I ask, does the factory use a vacuum wiper motor and was the original using cables to run the wipers or did they use actual linkage to operate the wipers?
Back to my flashback.. I used a Chevy Nova electric motor to run the wipes. I mounted the motor under the dash. I remember I hooked up (temporarily) the wipers and linkage to the motor. Of course there was cutting and adapting going on. Anyway, I turned the wipers on the first time, oops , one wiper did great, it wiped the window perfect. The other went down and wiper the sheet metal below the window.
 Back to the drawing board.
Under the dash i didn't have the space to run the linkage to get the wipersas the factory did.
But..If I moved the pivot point of the passenger side it would be that both blades would be down facing to the right and raise at the same time.
Good eye iDriveYJ.
Cross frame is out, now I can get right to the individual areas that need attention.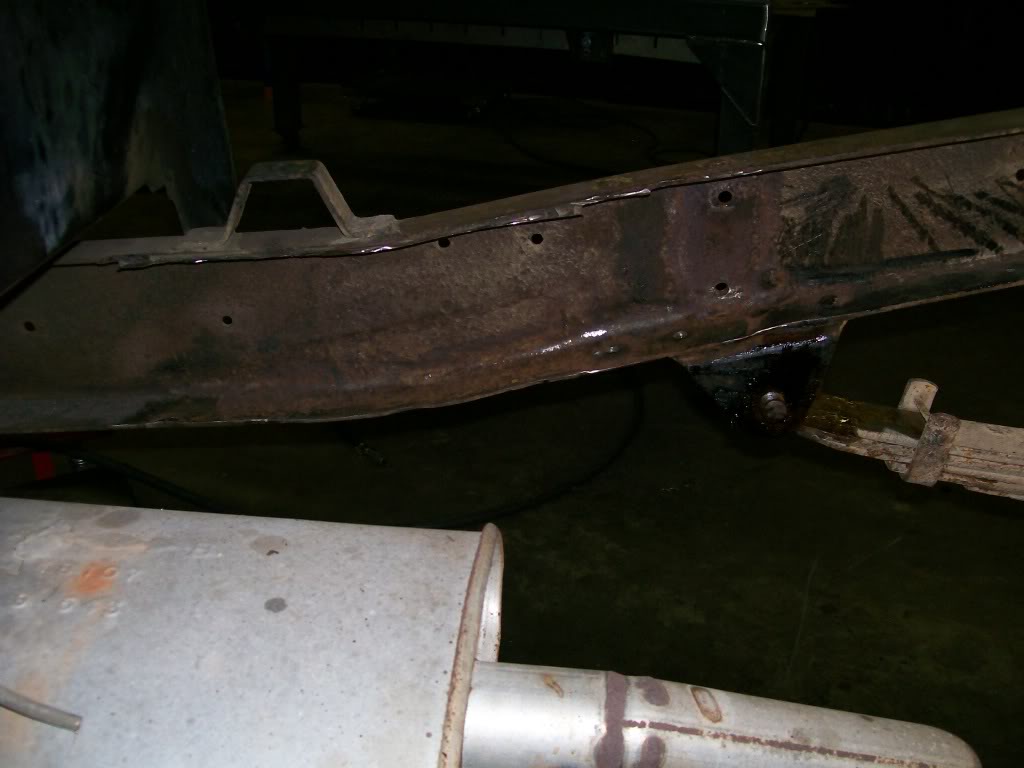
In this pic of the drivers side I still need to get rid of the web like bracing and we'll be down to just the main frame also. Then it's time to start cutting away the rusted through sections of the frame.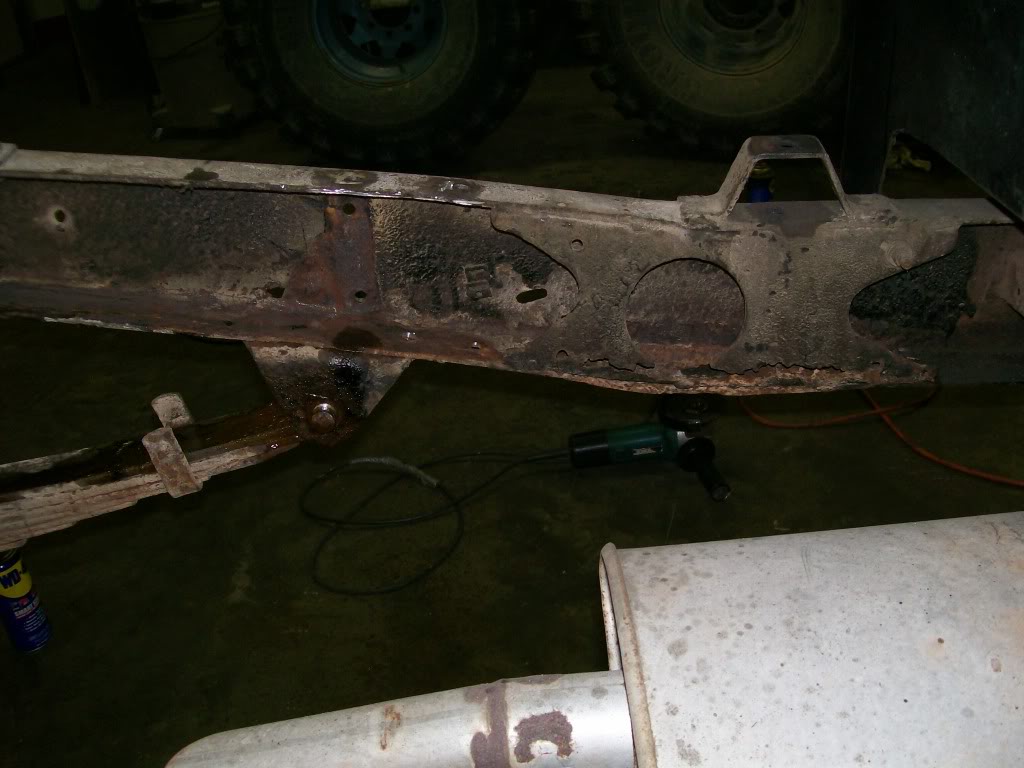
Thanks GotJeeps, I thought I saw where they have come up with an electric replacement for the original vacuum motor, good invention.
Ok, finally were gonna see some real metal removal. This first picture is a hunk I cut out of the passenger side just behind the cab. Looking at the old hunk of metal here you can see where I realized 26 years ago that there was a frame issue. I welded a patch right over the rusted through area. Hmmmmm, cosmetically apealing, nope, but it did serve the purpose of keeping the frame from twisting out of shape.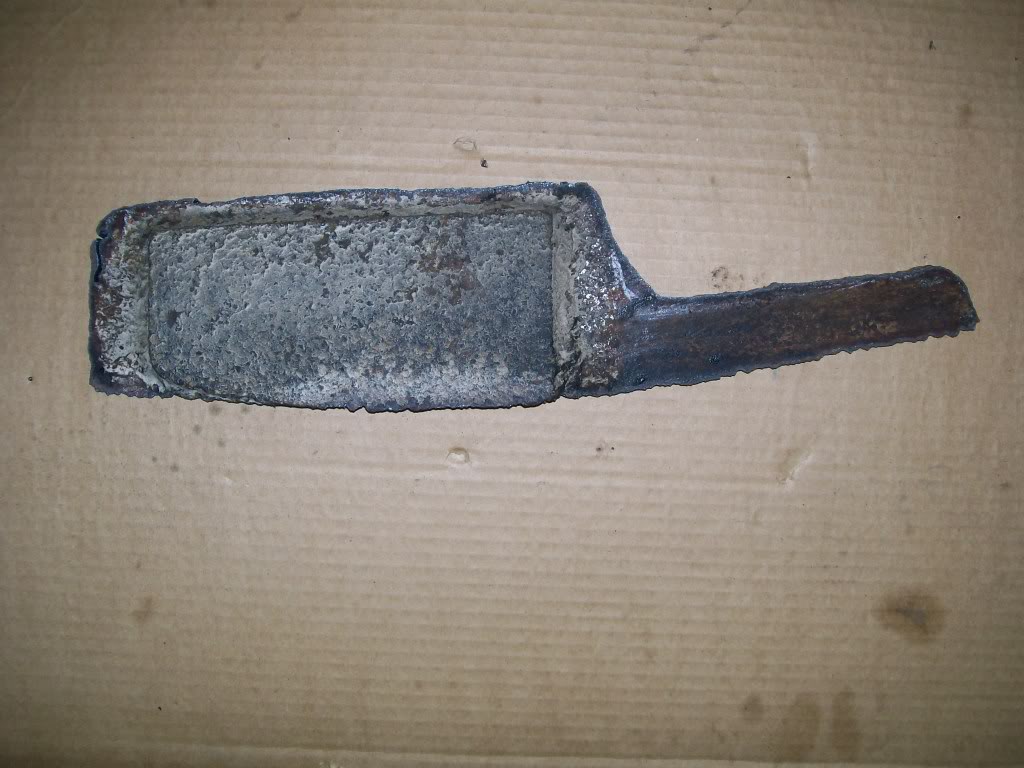
Next picture, cardboard, whats with the cardboard. As I mentioned in the beginning we're gonna utilize Torchmate plasma cutting table. By using the cardboard and a sharpie marker I'll trace the exact image on cardboard. Once I draw the image I'll scan the image to torchmate and it'll cut the replacement frame section for me.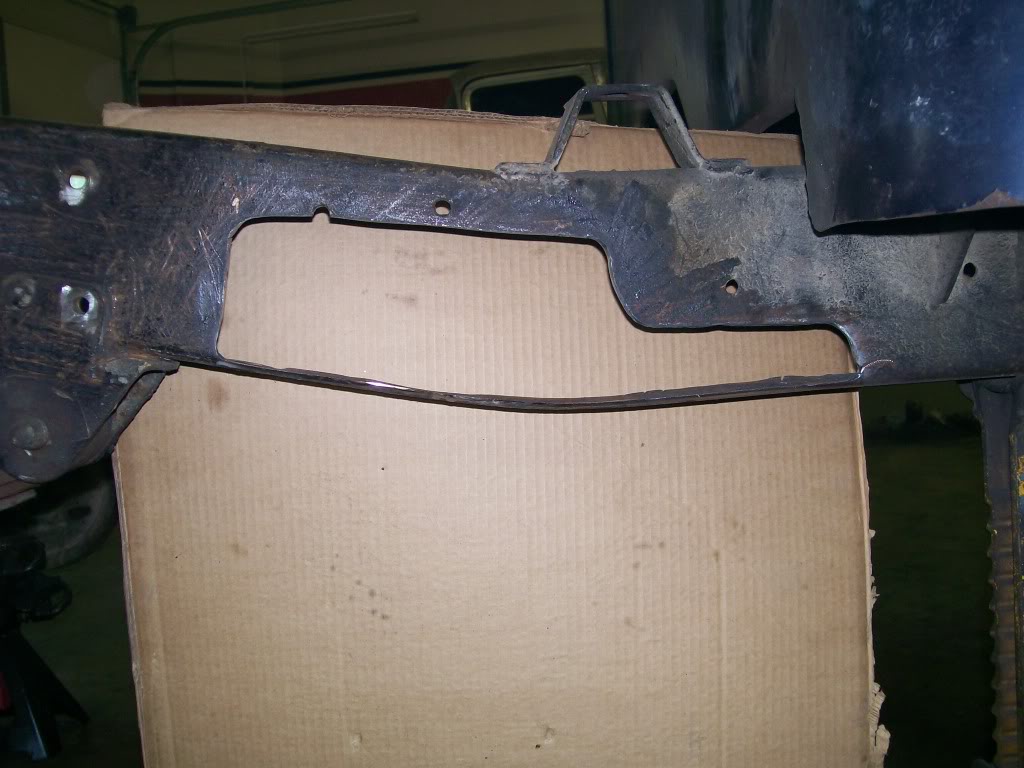

Comments

Great before & after!
Posted by Diggymart on 1/11/20 @ 4:10:28 PM
Gotta love the Willys! Good job...great build!
Posted by Diggymart on 12/10/18 @ 8:34:21 PM
Ultimate classic truck right there
Posted by CCmyVW on 12/26/20 @ 4:17:42 PM