You must be logged in to rate content!
8 minute read
My Nexus 7 Install
Compliments of aameghoo @ https://acurazine.com
9-24-2015
Above is a quick walk-through video of my setup. Sorry for the crappy cellphone video, I was just sitting in the car and figured I might do a quick video, I might do a better one at some point in time.
The tablet is a Nexus 7 (2012) running a custom rom, Autodroid 1.2. The tablet is connected to the car through my isimple gateway with a 3.5mm. The tablet is mounted using molding putty to form a gasket around the tablet that holds it in place. I got this idea from another member OOg and it turned out great! That putty is awesome lol. I also soldered long wires onto the Nexus 7 buttons to extend them to the lower cubie in case I ever need them. I wish I had taken more pictures along the way but I was too excited as I was doing it. Below are the few that I did manage to take along with some screenshots from the tablet. If you have any questions I'll be happy to answer.
Here is a list of the major software and apps on the tablet to have it setup how I have it:
- Apex Launcher Pro
- Power Widget Light
- CoPilot GPS
- GMD GestureControl (for the gestures in the video)
- Rocket Player
- Tasker
- Texdroider DPI (to change screen scaling)
- AutoDroid 1.2 (Custom ROM)
My list of hardware (Links):
- 6 foot micro-usb to usb cable
- 6 foot audio extension cable 3.5mm male > 3.5mm female
My future plans are to add a
for better sound quality and a
to program the stock buttons to interact with the tablet.
Now the pictures:
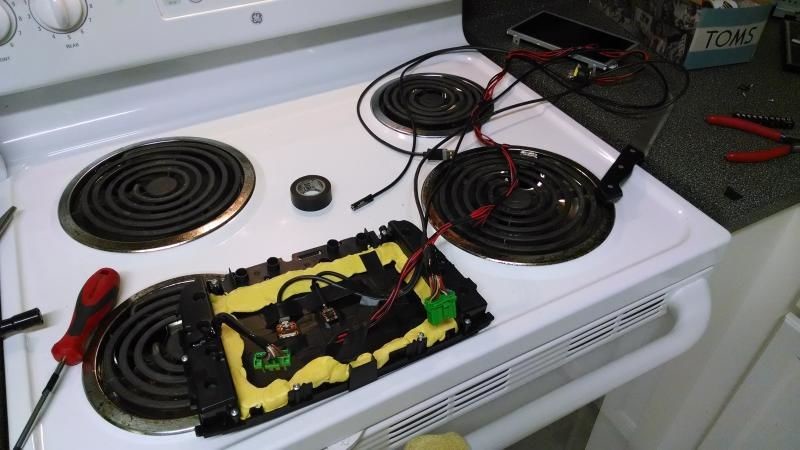
Yellow stuff is the molding putty
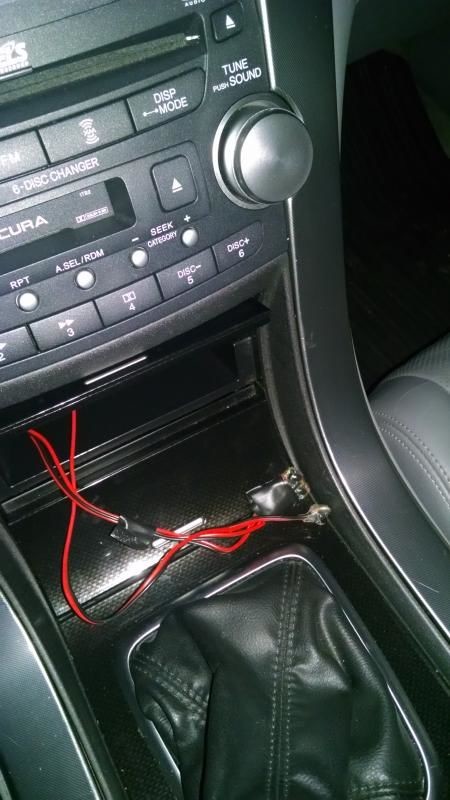
extended buttons
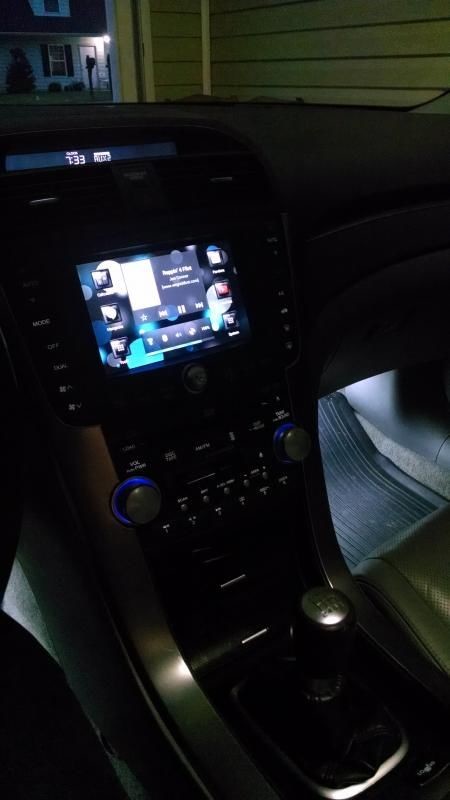
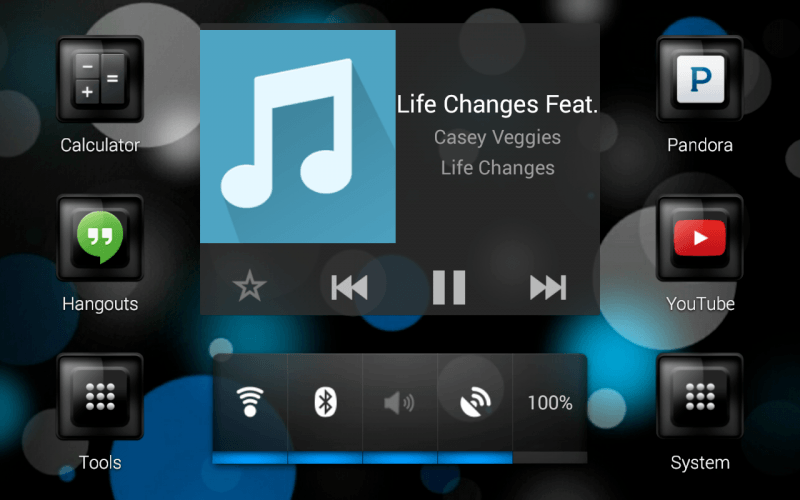
My homescreen
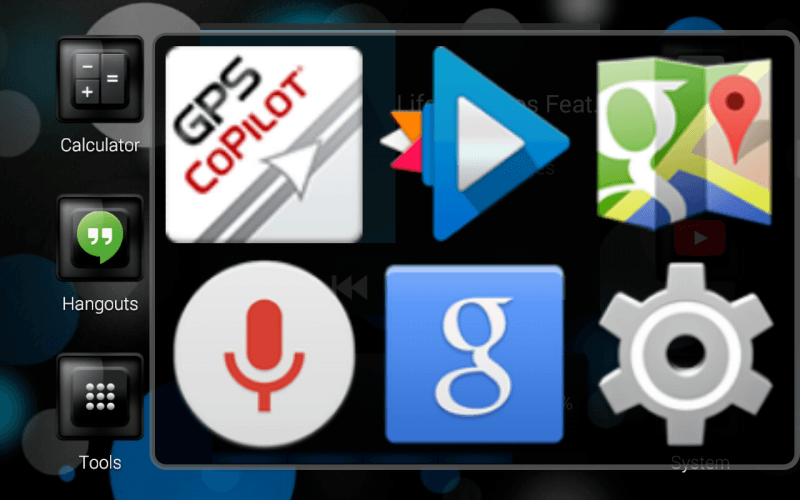
My popup icons
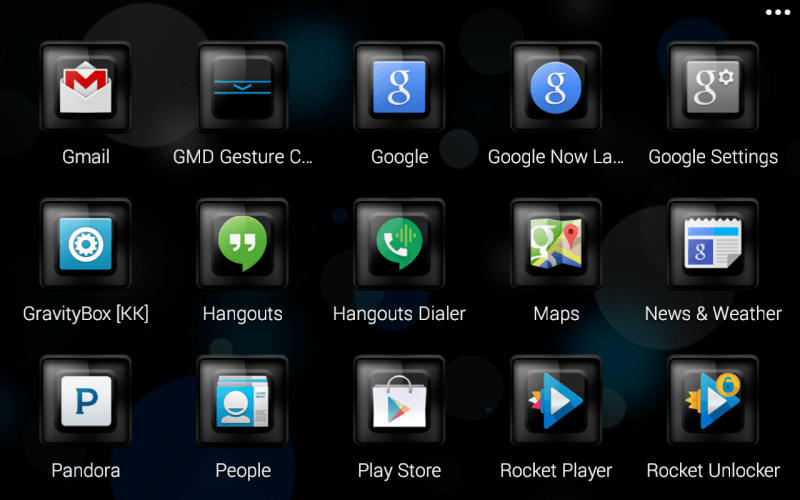
View of a page of my app draw
Gestures:
- Next Track: 3 or 4 finger swipe from right to left
- Prev. Track: 3 or 4 finger swipe from left to right
- Play/Pause: 3 or 4 finger swipe Down
- Show Popup Apps: Single Finger starting from right edge, swipe left then back right to stating point at edge
- Back: Single Finger Swipe starting at right edge swiping left and down
- Home: Single Finger starting at right edge, swipe left then up
- Atl Tab (Previous App): Single Finger starting at right bottom edge, swipe left
10-21-2014
I don't use bluetooth a whole lot. I did have problems with the
in that it was very inconsistent with connecting to the Nexus when I turned on the car, it would work right about 1 out of 10 times. I ended up returning the Isimple add-on and getting that DAC in my OP instead. I do miss being able to change songs with my steering wheel with the Bluetooth when it actually worked but I'll be installing a Joycon soon enough that will allow me to get that back and even more features. My phone and a keyboard are the only other bluetooth devices I've used with the Nexus and they work perfectly on AutoDroid. I think I might have a copy of USBRom somewhere that I downloaded before he pulled it that I might be able to send to you though it you want to try it. The Isimple add-on also never worked consistently with USBRom either btw.
12-9-2014
I used tasker, the "say" action to be exact.
I can upload a backup of my tasker data if anyone wants it.
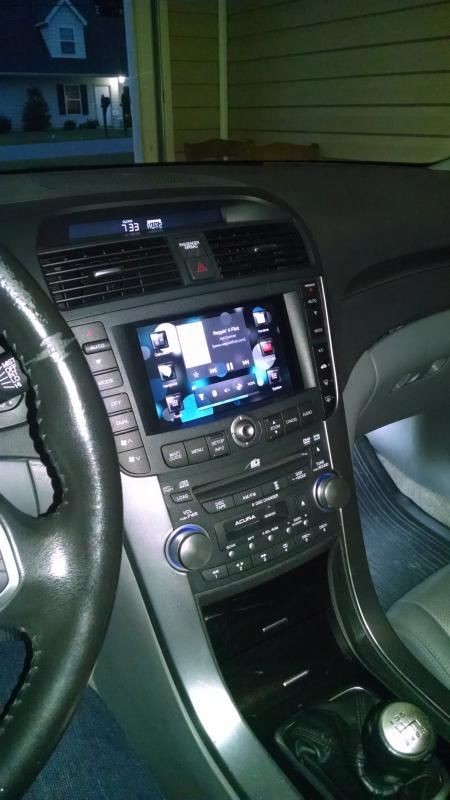
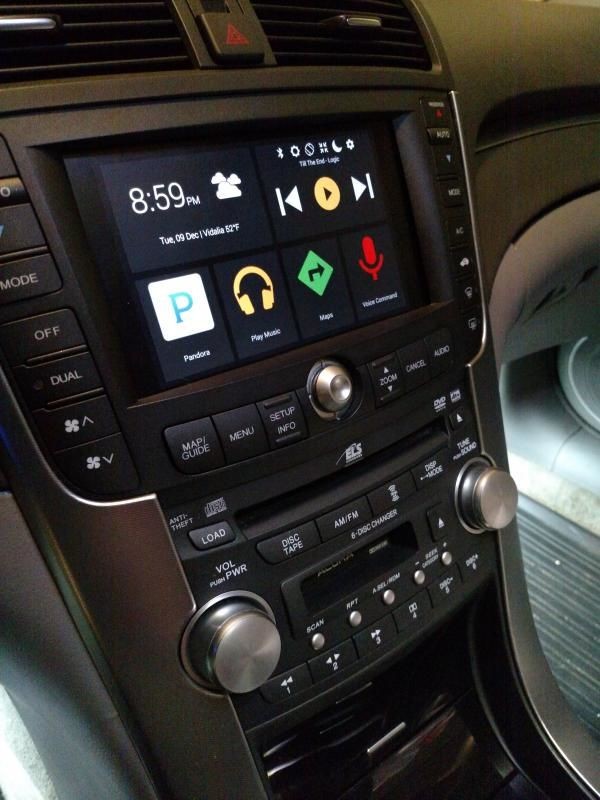
Also here's a picture of my new layout
12-21-2014
Yeah I have a 4 port hub and I can just stick a flash drive in there and it will read right off it.
How did you get the backup cam to work? I was never able to get mine to, it's still sitting in my glovebox.
To be honest I would say it's worth it to at least extend the power button. There's been a few times mine has went into a deep freeze (screen not coming on no matter what I do) and holding down the power button for about 10 seconds would reboot it. If I didn't have the power button extended my only 2 options would of been wait till it dies which could be a week or more, or take things apart so I could get to the button on the tablet.
I will say soldering the buttons was the biggest pain in the ass I had with the install since they're so small. You really only need the power button though and that's pretty much just for when the tablet locks up. There's a 4th button on the button ribbon that doesn't do anything, I would say practice on that so you can get a feel of it before moving on to the power button. The hardest part was getting the solder to stick, I found that if I heated the metal on the button first, the solder was much more likely to bond to it. I also put hot glue on the button after I soldered them to reinforce the joint to make sure it wouldn't break off.
An ADB command might also get it to reboot if you have your computer on hand, haven't tried that though since I just use the power button so I can't say for sure, just a side thought