You must be logged in to rate content!
4 minute read
The Big 3+1 (plus battery cable upgrade)
Compliments of jiggad369 @ https://acurazine.com
9-2-2012
The benefits of a Big 3 are all over the internet so if you have a demanding system, this is the next thing you should be looking into.
Here I did the traditional three point upgrade (alternator to battery, battery negative to chassis, and engine to chassis) plus upgrade the transmission case ground. In addition since I had some more extra wire left, I went ahead and upgraded the battery to fuse block cable.
Parts needed:
10 ft. 1/0 cable (high quality flexible type)
1/0 Terminals
1/0 Fuse holder with 150a fuse
Heat shrink
Techflex
Step 1: First and foremost, you want to go ahead and terminate all of your cable runs. The alternator to battery runs about 4-5 feet depending how you secure it (with the fuse holder included). The battery negative to chassis, engine to chassis, and transmission case to chassis are all about 1 foot long each. I used Techflex to cover the wire and copper lugs and heatshrink to finish up the runs.
Step 2: Take the rubber boot off the alternator cable and unbolt the 12mm nut. BE CAREFUL TO NOT TO TOUCH ANY PART OF THE RATCHET TO THE CHASSIS!!!
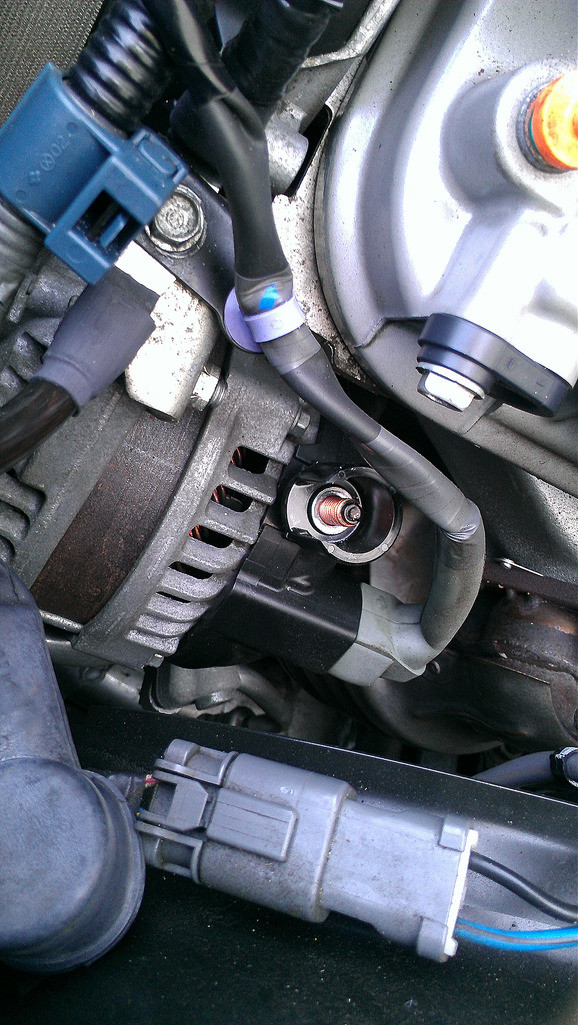
Step 3: Install the 1/0 cable first onto the threaded stud on the alternatorthen the stock cable on top of it. Then re-thread the 12mm nut from the previous step and tighten. Run the cable to the battery whichever you way like. I ran mine behind coolant reservoir. Here is the finished product.
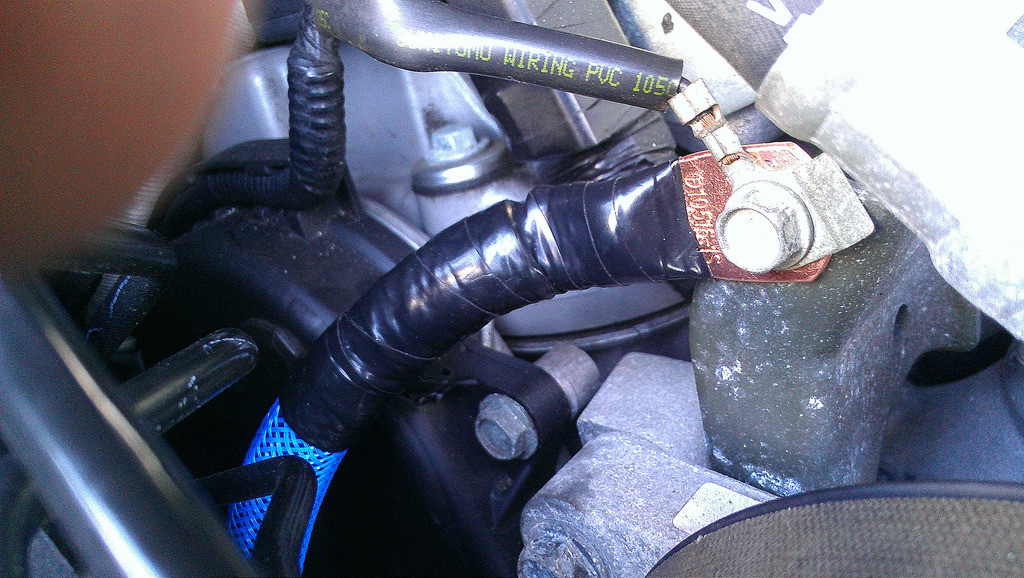
Step 4: Next is the engine to chassis groudning. Here you want to go ahead and remove the two 10mm bolts that hold onto that flimsy little grounding cable on the passenger side engine mount to chassis.
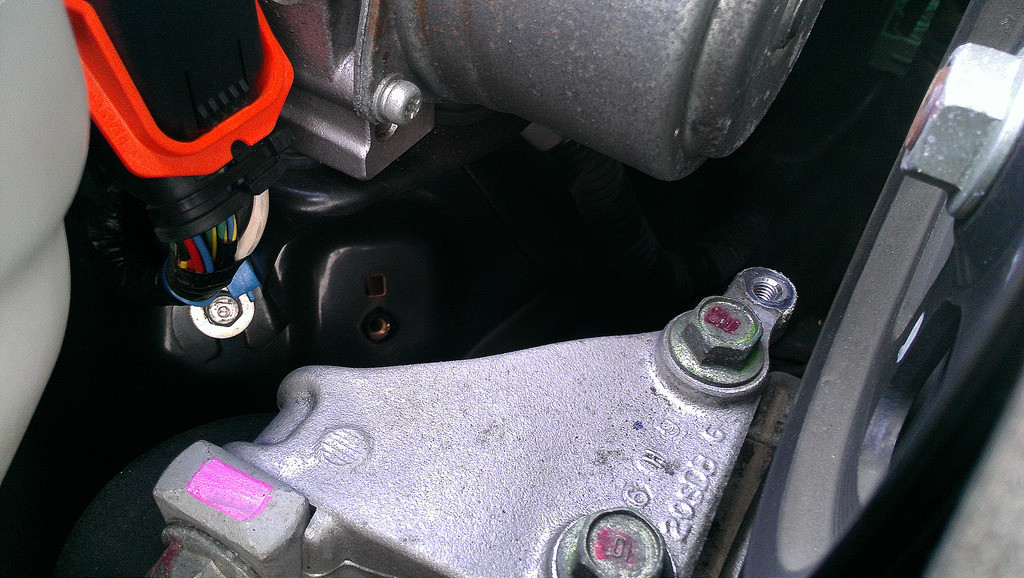
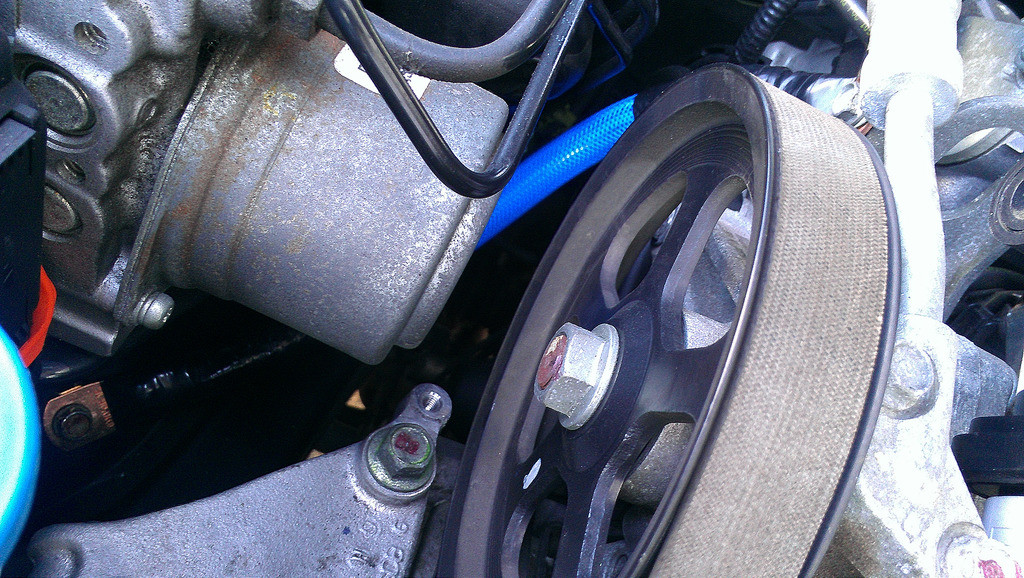
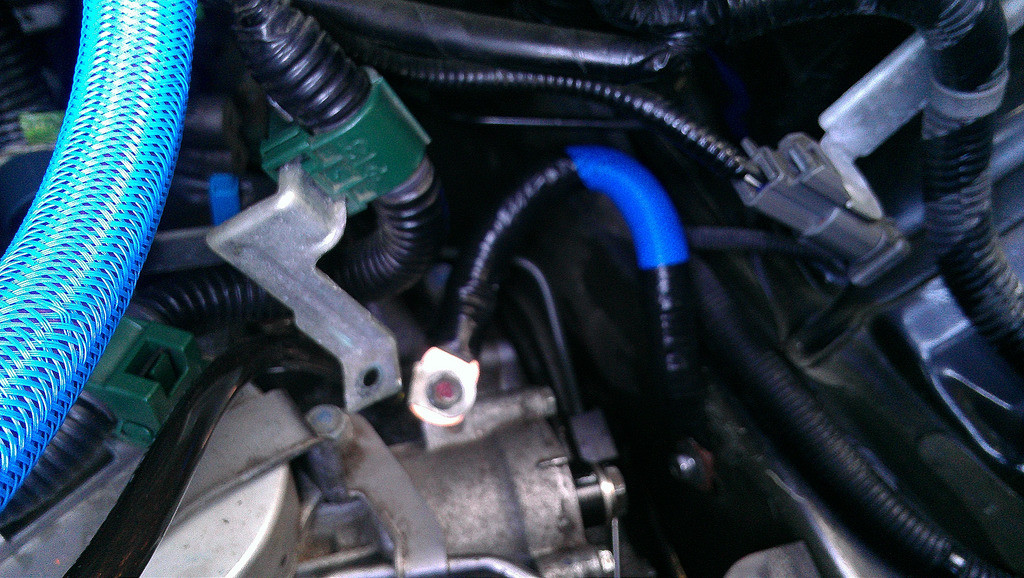
Step 5: To upgrade this point, I did not use the same two locations as stock. I measured the stock chassis ground point and other engine ground points with the minimal amount of resistance. The lowest resistance engine ground point I ended up using is right above/behind the PS pulley. There is a small ground cable already connected to it so it's not too hard to locate. Here it is:
Here is the final product:
Step 6: Next point is the battery negative to chassis. This is as simple as it gets. Just use the stock grounding point.
Step 7: Take off the intake. Like the battery negative, transmission case grounding is also very simple. We're just going to use the stock grounding point.
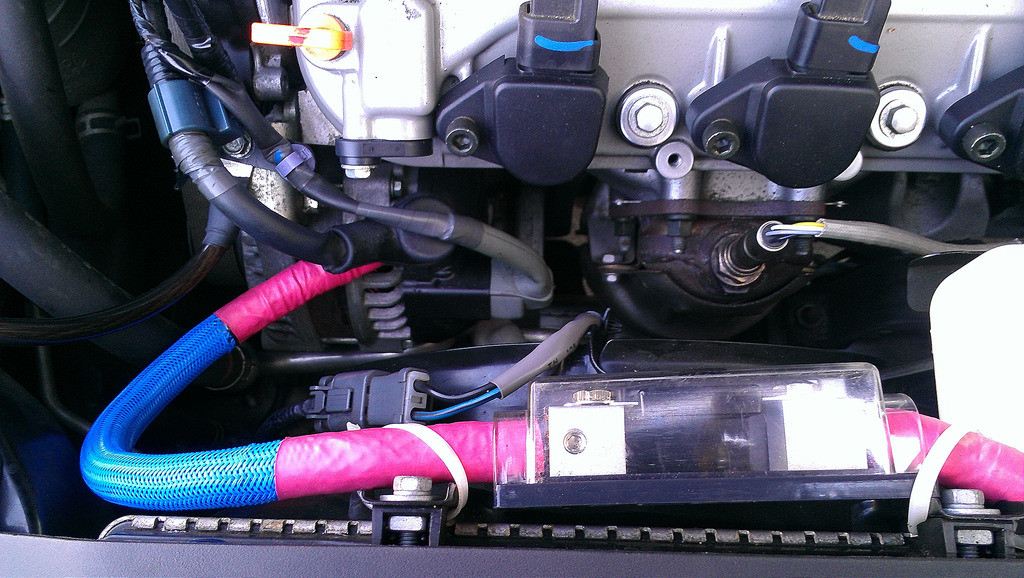
I also went ahead and replaced the stock battery positive to fuse block wiring. The stock cable is barely a 8 ga. wire. Since I had extra wire left, I just used the stock fuse block terminal (90 degree) and soldered on the 1/0 wire. The other end is terminated into a aftermarket battery terminal.
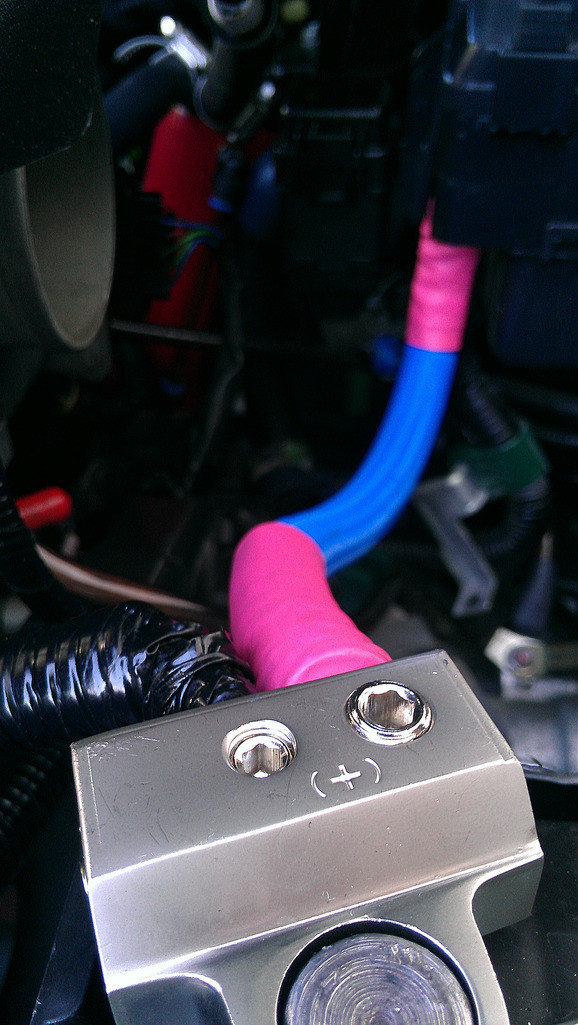
Here is the finished product.
