- 17MM Socket
- 2' Breaker Bar (might be able to use something shorter)
- Allen Wrench of decent size (to be used as the tensioner locking pin)
- Flat Head Screw Driver
You must be logged in to rate content!
4 minute read
A6 2004 C5 Audi 2.7T Serpentine Belt DIY
Compliments of deem2000 @ https://www.audiforums.com
7-30-2011
I completed this repair thanks to the generous help of Kris Hansen's DIY located here. AudiWorld Tech Articles
While I was replacing the belt I had a few "ah ha" moments and thought a DIY would be beneficial for others.
Tools Needed
17MM Socket
2' Breaker Bar (might be able to use something shorter)
Allen Wrench of decent size (to be used as the tensioner locking pin)
Flat Head Screw Driver
Approx 1 Hr of Time
Start off by removing the weather stripping from the bumper and plastic engine covers that block access to the serpentine belt, see Serpentine in the car.JPG.
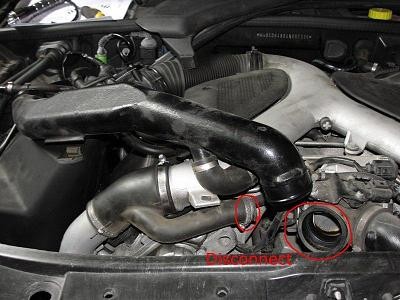
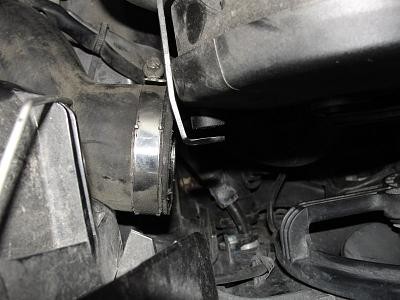
Next, remove the plastic vacuum line from the left side. Undo the clamps and remove the screw at the bottom of the plastic vacuum line as shown in the pictures below. Also, the plastic vacuum line sits on a lip near the bottom so it'll take some work to get it out. See the following photos.
Disconnected Plastic Hose.JPG
Plastic Hose Disconnect Top.JPG
Plastic Hose Disconnect Bottom.JPG
Once the plastic hose is out of the way, you can now freely access the serpentine belt.
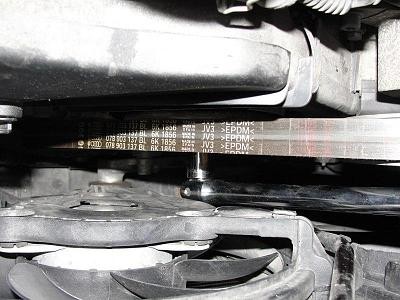
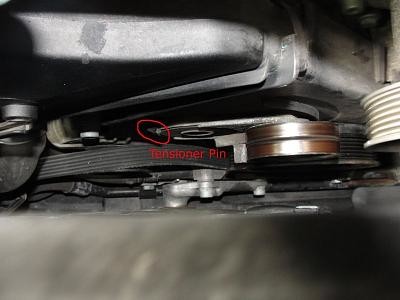
Get your 17MM Socket and Breaker bar and attach it to the nut and rotate it towards the driver side, see Belt Tension Bolt Location.JPG While holding presser on the breaker bar (relieving pressure on the tensioner), put the locking pin in (allen wrench), see Belt Tensioner Relief Pin Placement.JPG. Note, it's best to feel for the locking pin location first before getting the breaker bar in there.
Slide off the old belt.
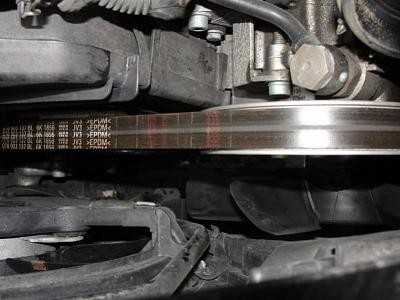
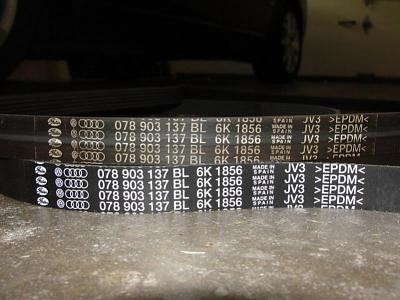
Compare the old belt to the new belt, see Old and New Belt.JPG. Their lengths should match!
Put the new one on. Fish the belt around all the pulleys leaving the tensioner for last. You want to make sure the belt grooves are lined up before closing it back up. The first time I tried to the put on the belt it was difficult because I did not have the belt lined up correctly on all of the pulleys. When you slide the belt on to the tension it should be easy. If it's not look around; the belt is not on properly.
With the belt back on check it again, make sure the grooves are lined up.
Ok, put it back together, take it for a test drive, and smile because you just saved yourself $350 in labor from the dealer.
I did this repair when my car was 7 years old and had 50,000 miles after the dealer suggested replacement because it was noisy.

Continuation of previous post. See attached photos.