You must be logged in to rate content!
4 minute read
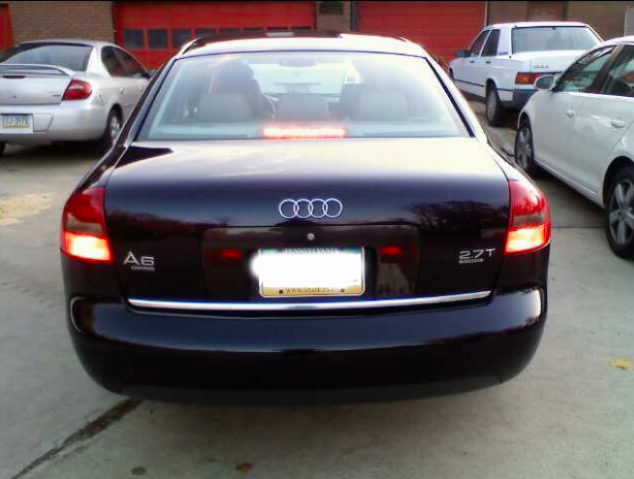
Change 3rd Brake Lights on C5 A6
Compliments of 01A6Turbo @ www.audiforums.com
10-18-2008
Hey guys, for anyone who is suffering from burnt out 3rd brake light bulb(s), here is my HOW-TO replace & fix them.
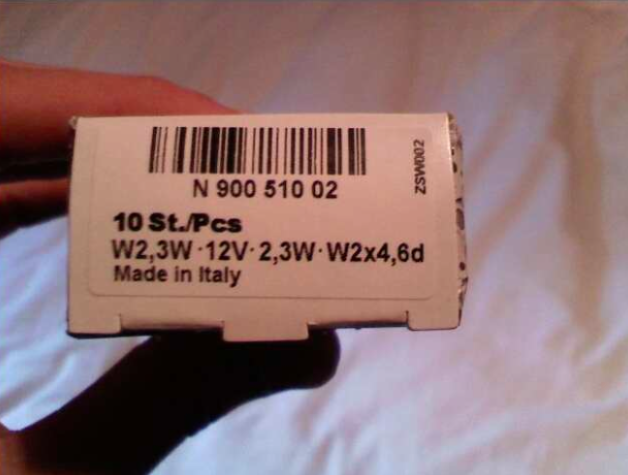
First off, I went to the dealership and ordered 10 new bulbs (the 1999-2004 C5 models consist of 10 bulbs in the 3rd brake light). I figured, if I'm replacing one of them, might as well replace them all! [Footnote: I've read & heard that the other bulbs are at more risk of prematurely burning out, once one or more of them already have burnt out]. The bulbs from the dealer cost around $2.50/ea - You can find them online at places such as ECSTuning.com for around $2.15-30/ea - but then again, don't forget you're paying for shipping!
I have a picture here of the box with the right type of bulb you will need.
Secondly, you need to remove the 3rd light housing. This can be done by going into the trunk, belly side up. You will see, what looks like a tiny hole, to access the 3rd brake light. [If you have bad lighting, use a flashlight] You will see two clips holding the housing inplace. Pop both of these clips up - your brake light is now free from the car. Slide the unit out of the housing compartment - this can be done by lifting forward and out. Slide the unit to the right, between the two frames of the trunk, until you can tilt the left side of the unit down - thus pulling the entire unit out of the frame.
Next, you will see the unit is connected to its power supply. [You can now get out of the trunk at this point] lol. The power supply cables are clipped onto the unit. Using a fingernail, or flat head screwdriver, lift the clip up carefully, and pull the cables from the unit. Ta-Da! You're entire housing unit is now free to take into the garage/home.
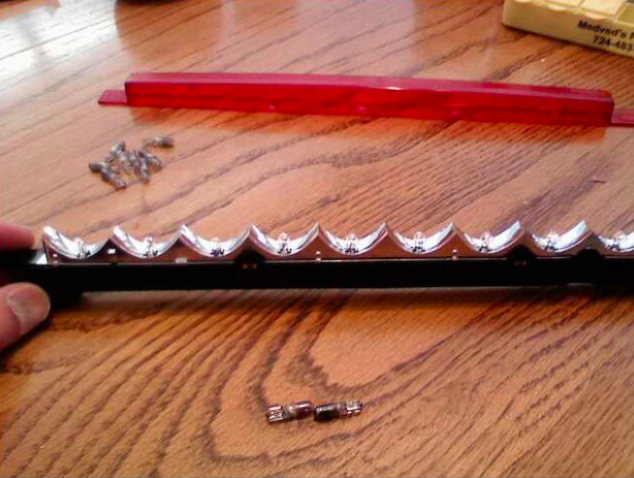
Next, you need to take apart the unit. This consists of 3 things - The red plastic part, a chrome & black pastic part, and the bottom black plastic part. [See pics]. Each "layer" is clipped to each other. Start by removing the red piece first. There are four clips, 2 on each side, holding it on. Again, with a fingernail, lift up [at the point of each clip] on the red plastic, and pull the unit downward. You will continue to do this to each layer until you have it apart.
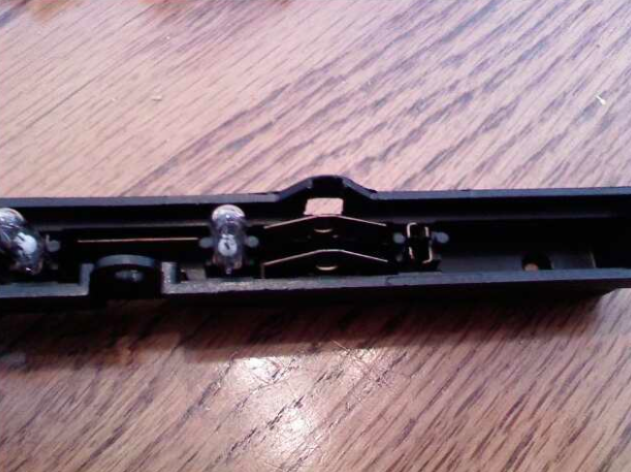
Once the unit is apart, you will see that the bulbs just sit between two metal clips. Very simple to remove & replace. Just pull out the bulb [gently] and replace by pushing the new bulb in. My advice is to do one bulb at a time, so you do not lose your place.
Once each bulb is replaced, put the unit back together, opposite of how you took it apart. The chrome/black unit clips onto the black unit; then the red unit clips onto the chrome/black unit.
Replace the power supply by clipping the cables back into the unit.
Replace the unit by feeding it up & to the right [back in between the 2 frames]
Slide the unit back into the housing compartment
Lastly, fasten your two clips that hold it in place.
Wha-la! You're done. This project literally took me about 15-20 minutes.
Enjoy guys! :-)