You must be logged in to rate content!
9 minute read
All Red Tails with vinyl
Compliments of jaywood @ www.r3vlimited.com
1-10-2011
Here is my DIY on all red taillights. I have seen a lot of people painting there lights with transparent red and I always thought that wasn't going to hold so I decided to try something new. I ordered this transparent red vinyl that was made for tinting tail lights off of eBay. It was about $6.99 a roll with free shipping.
This is my first time doing this, so I am no pro. But this way seemed to work out fine for me. I don't know of anyone who has done it this way, so hopefully this is something new to you guys as well...I posted this on e30tech as well, so for some of you it might be a repost.
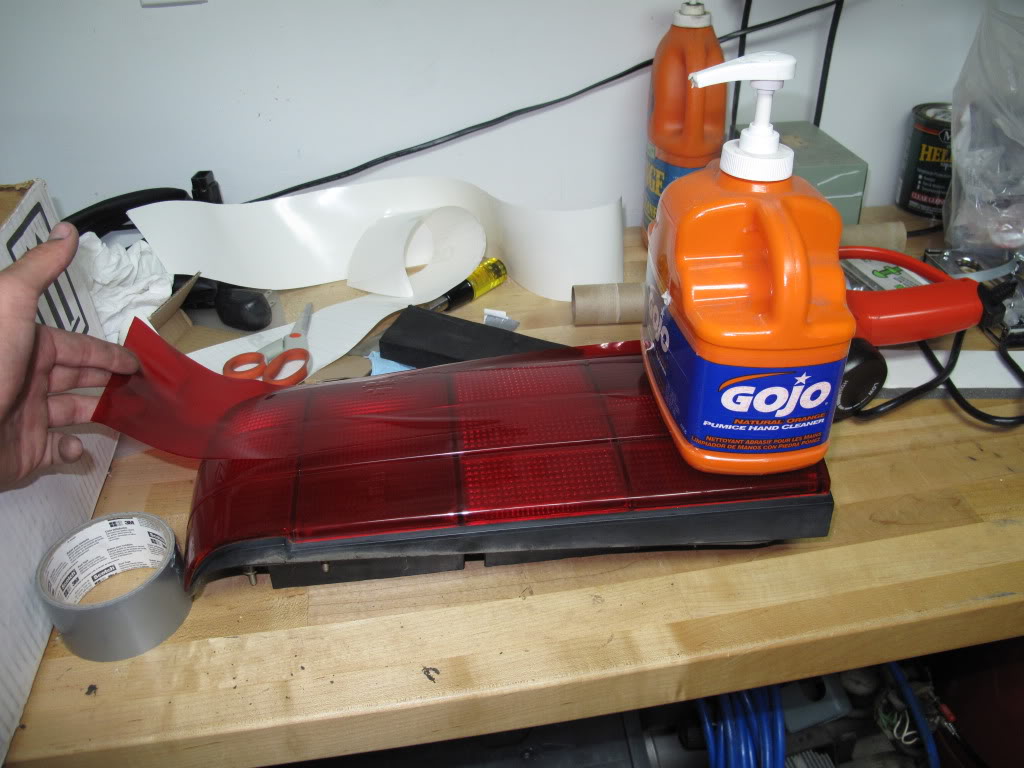
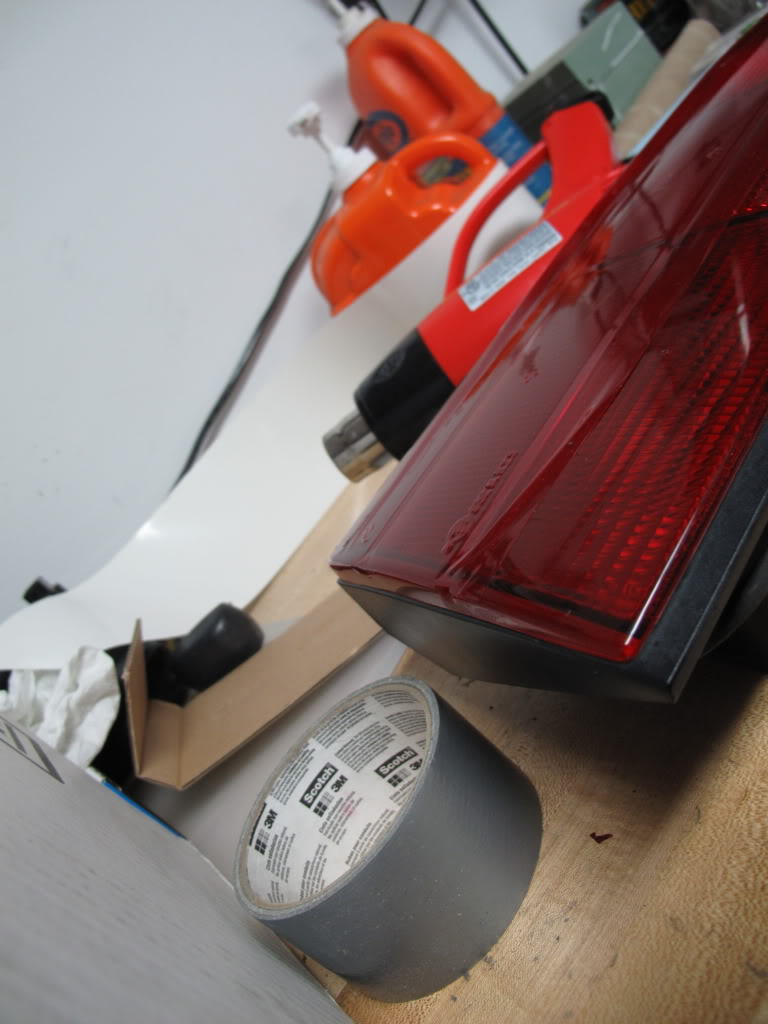
Materials
> Two 12"x24" roll of red taillight tint (eBay)
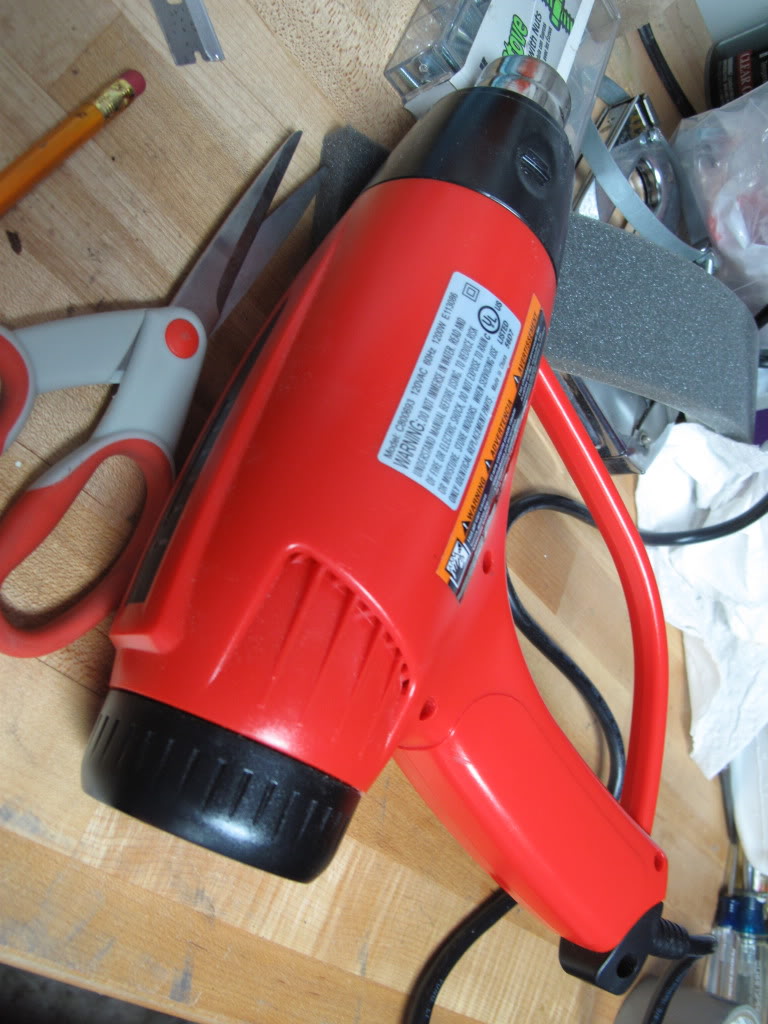
> Heat gun/blow dryer
> Squeegee
> Patience
> Stock taillights
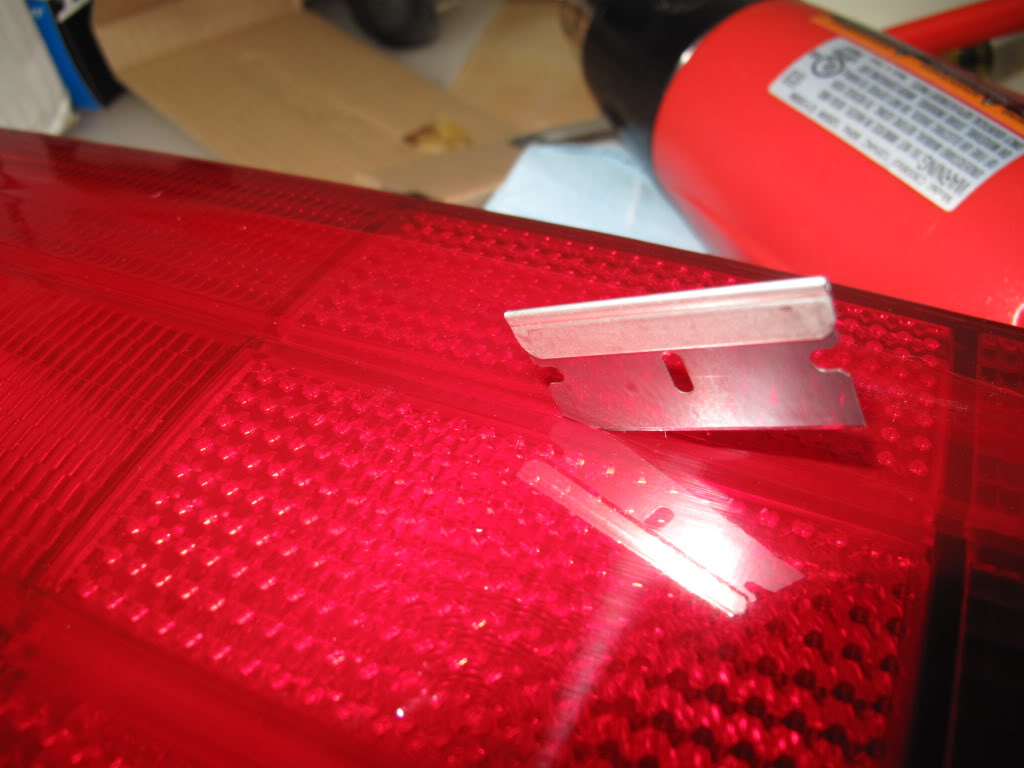
> Razor blade
> Degreaser
> Wash cloth
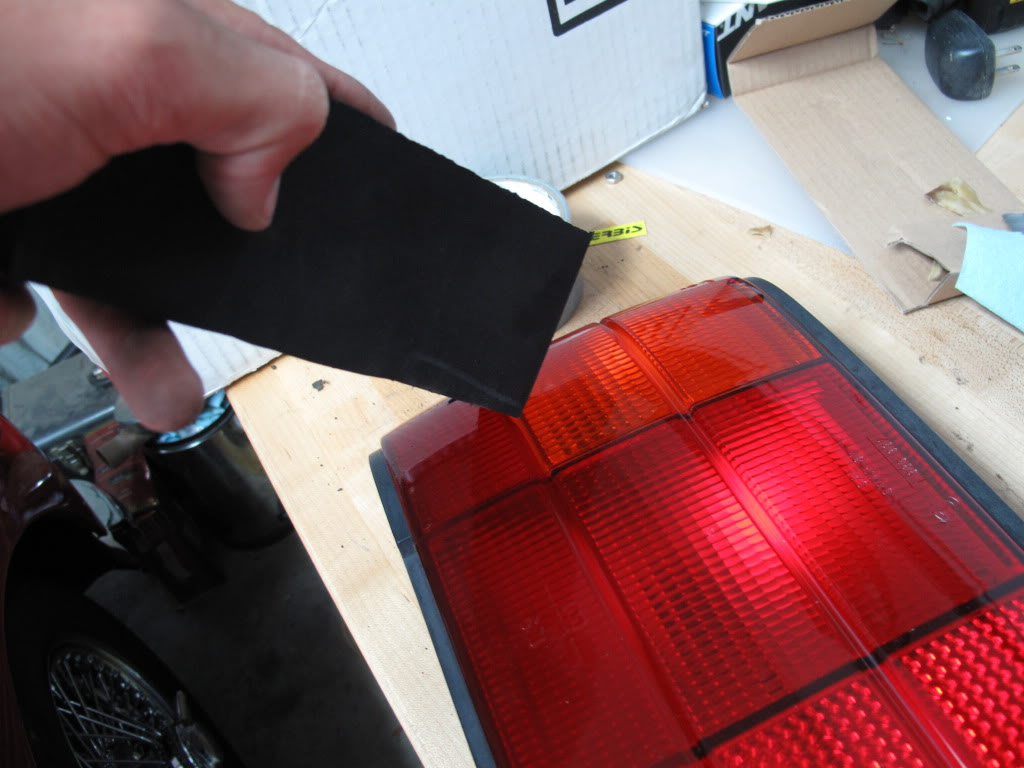
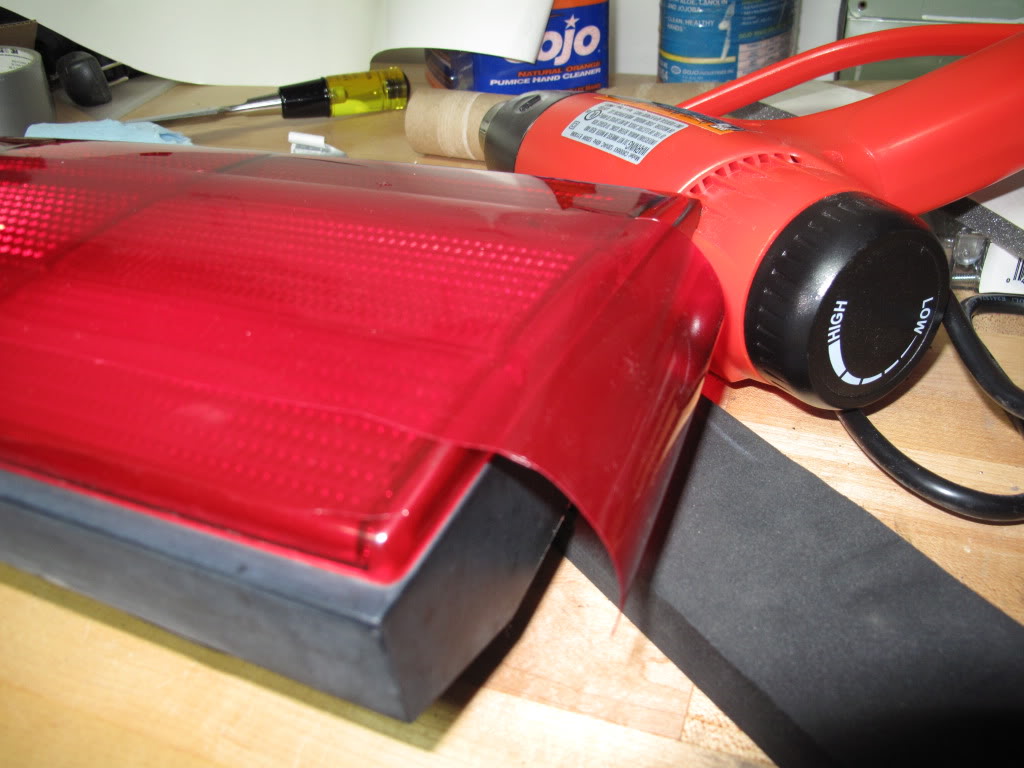
For my squeegee I used a piece of dense foam I had lying around. I should have used a plastic squeegee wrapped in cloth on the end for protection against scratches, but since I didn't have that lying around I improvised. It ended up working super well.
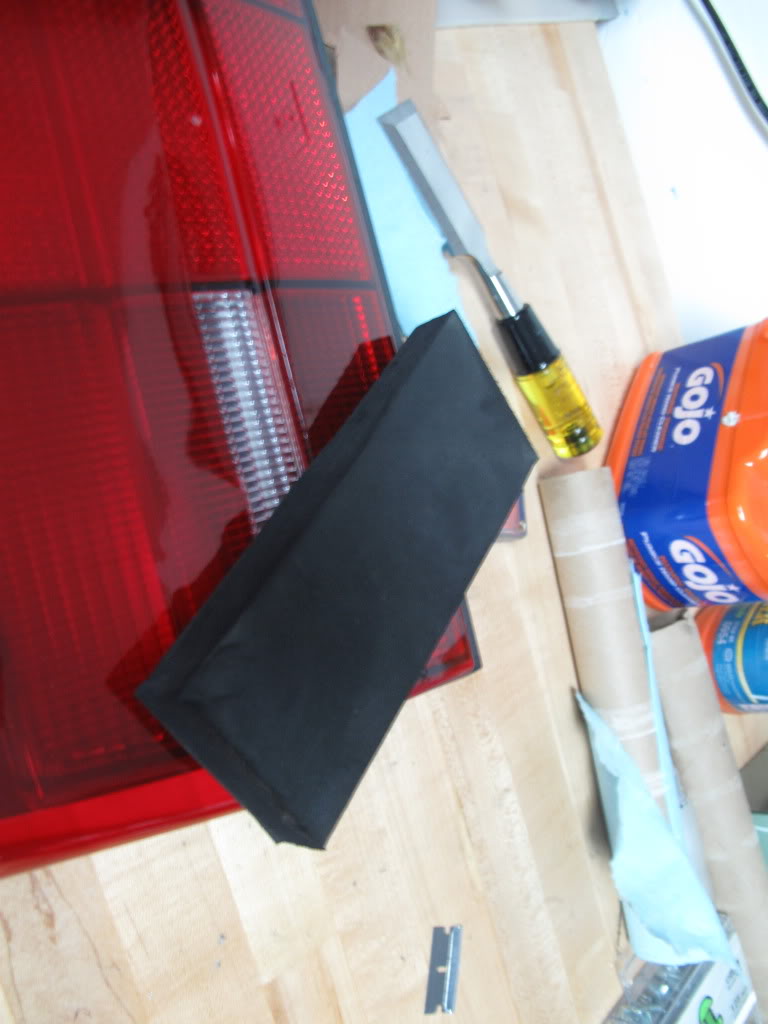
Make sure your razor blade is sharp. I used a brand new one so I wouldn't have any issues.
I did use a heat gun, I think they work a little faster then hair dryers.
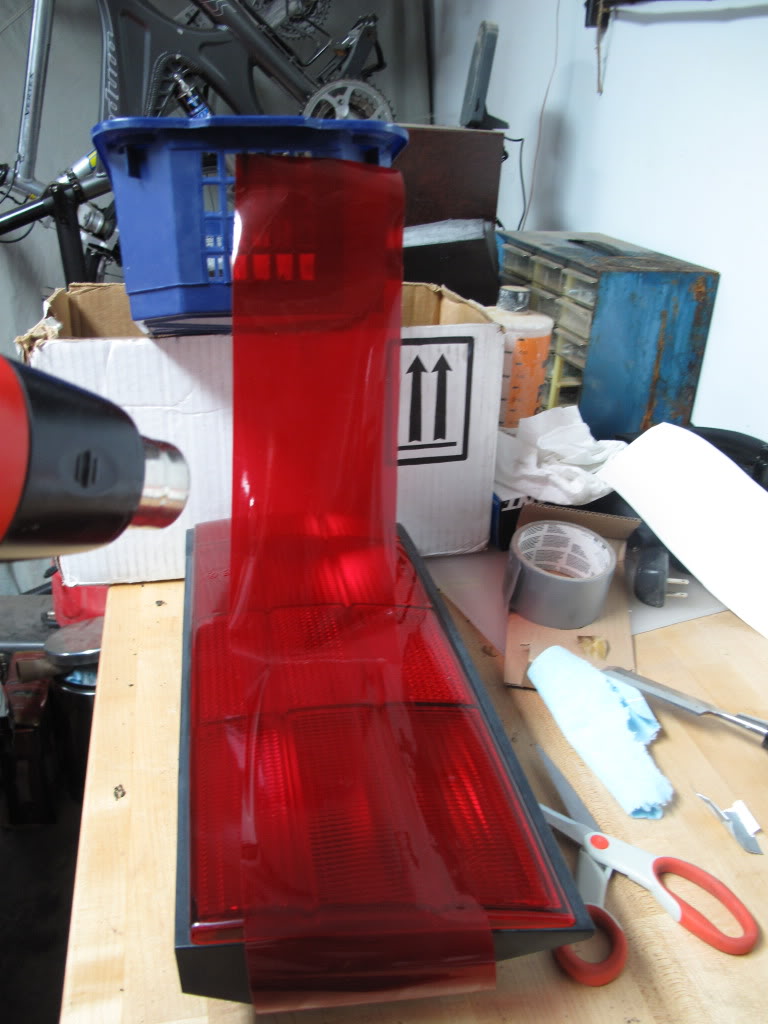
Before I tell you how I did it, I should tell you how not to do it. The first time around I tried covering the light in one solid piece of tint. It ended up being close to impossible. You will see what I mean when we get a couple steps in![]()
So if you don't like my way of doing it, sorry, good luck with covering it in one solid piece![]()
Procedure
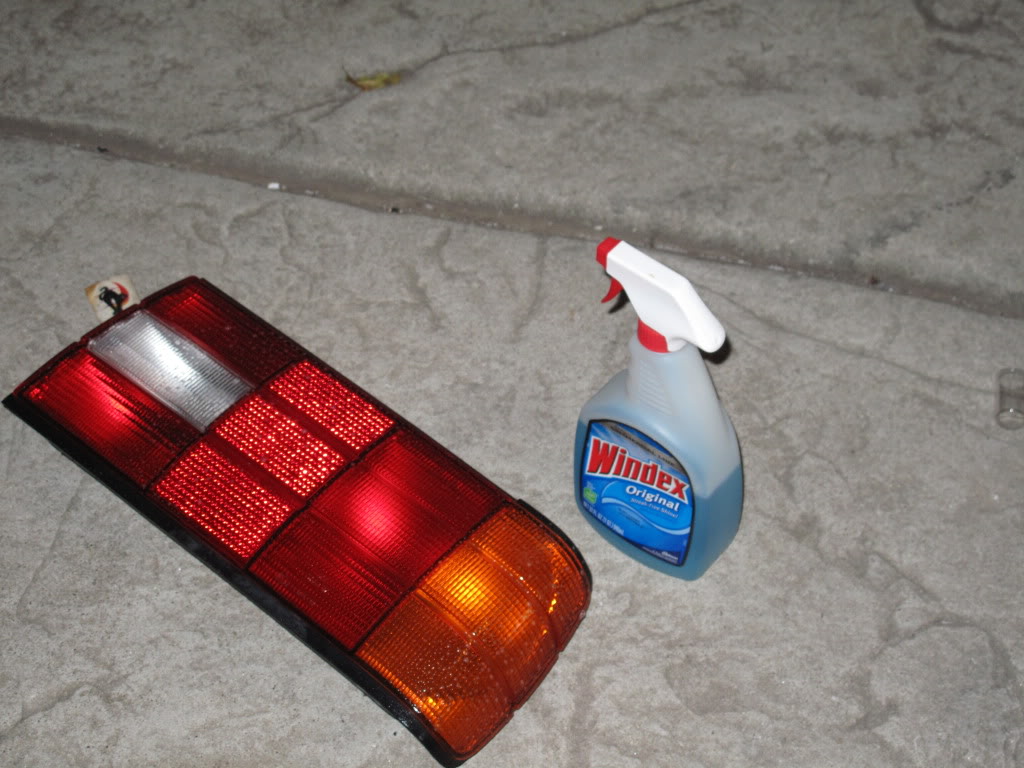
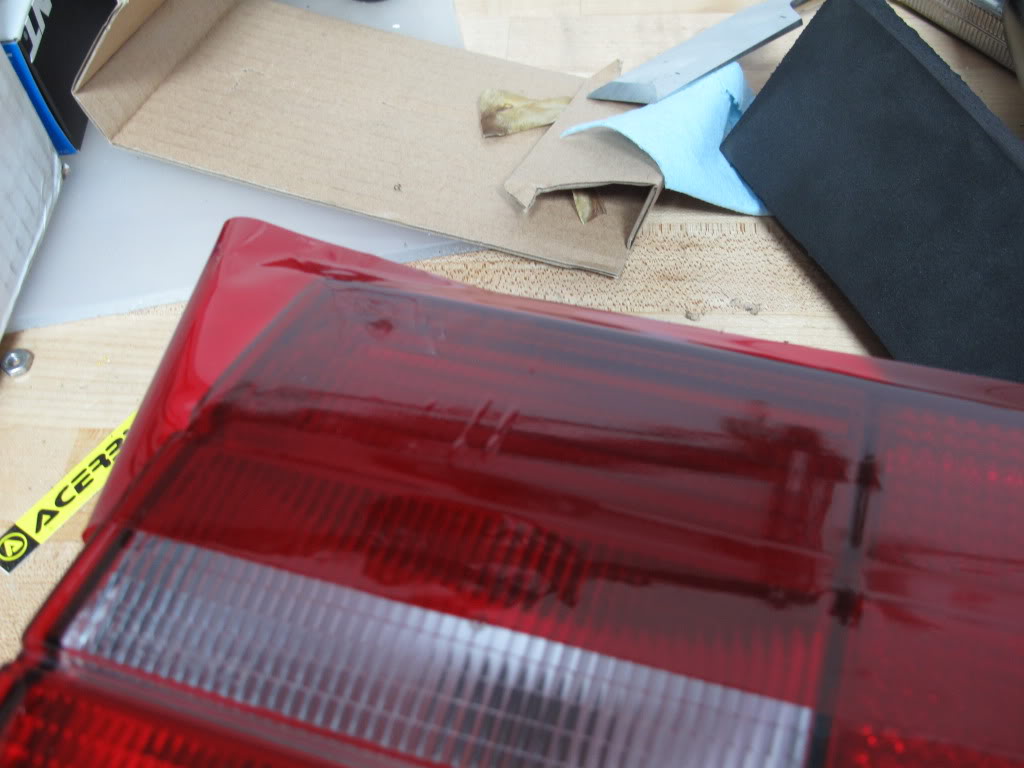
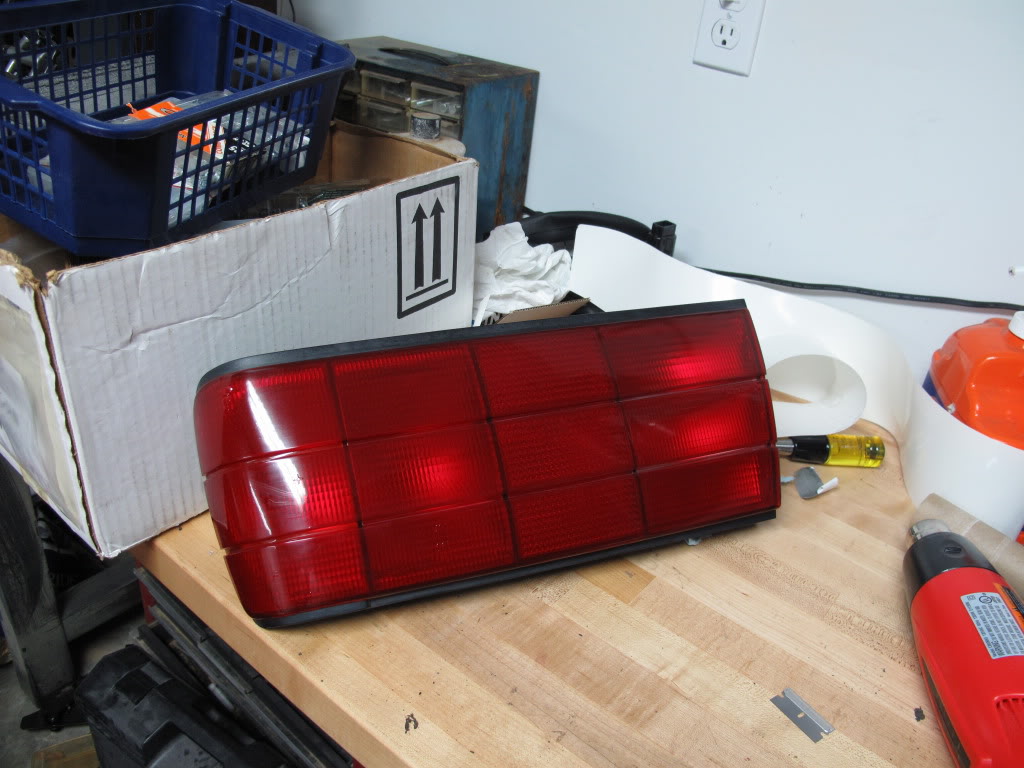
1. The first thing I did was remove the taillight from the car.

2. Once you have it removed, clean it. Use a degreaser/windex to get all the dirt/grease off of it. If there is anything, even a spec of sand, it will show through and give you a bubble! So make sure you clean it well.
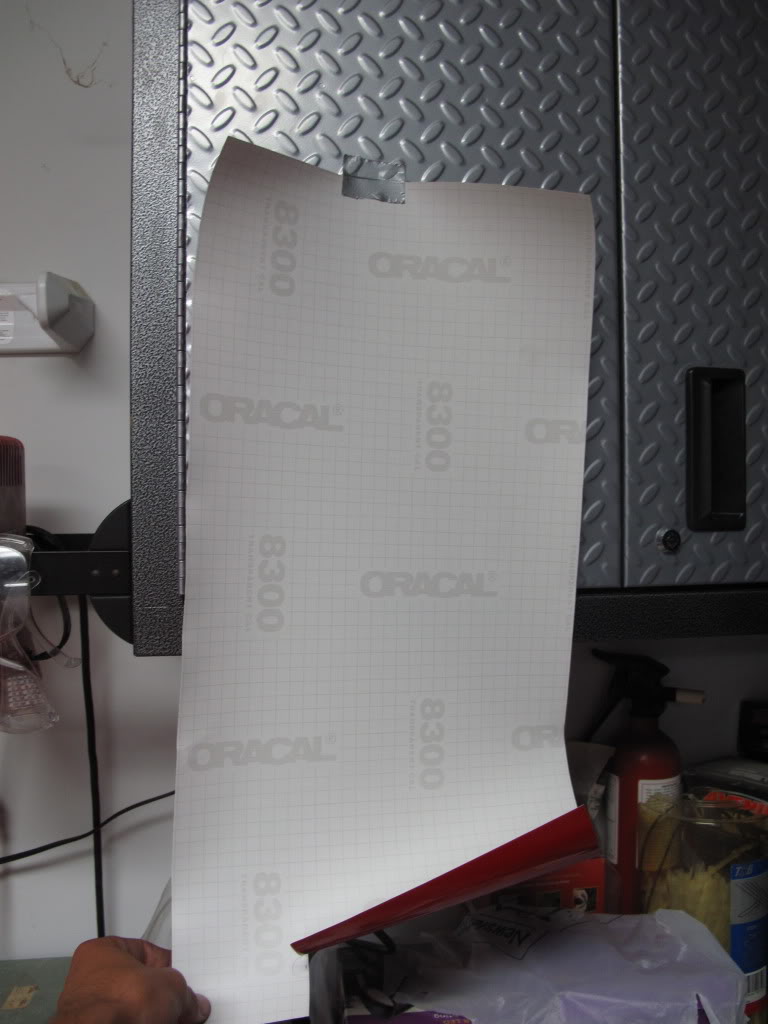
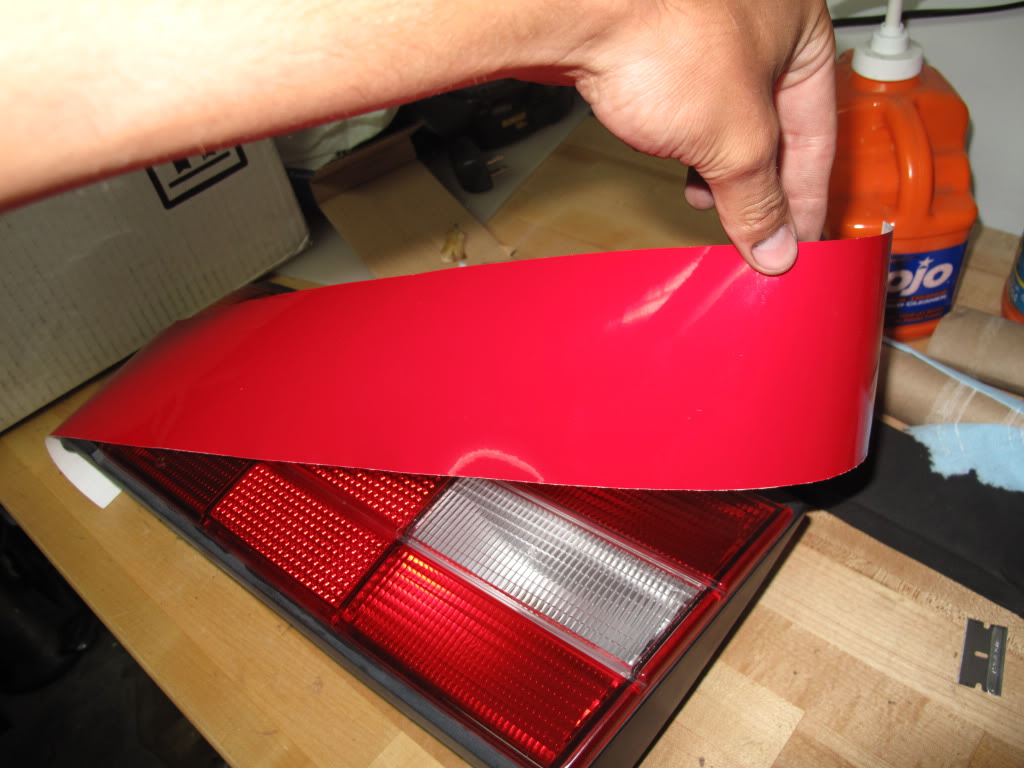
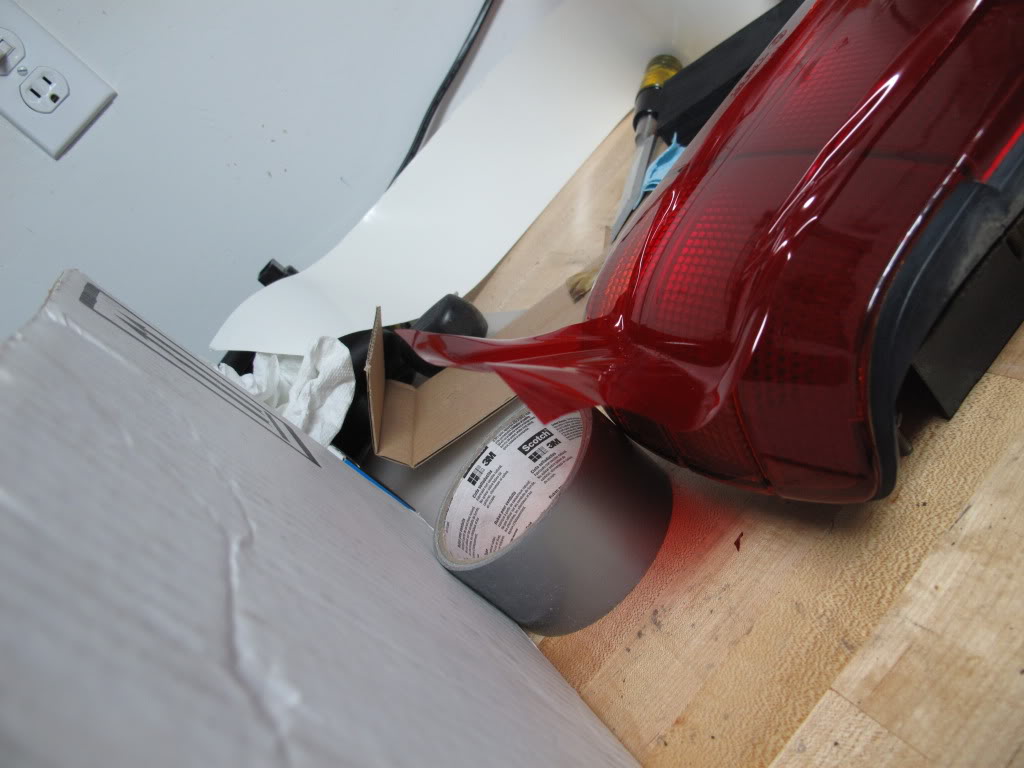
3. I ended up doing this alone, so I had to find ways to get around the roll of tint wanting to roll back up into its little roll. So I taped it up against the cabinet.
4. I then cut a 3.5" strip of the tint to cover the first section of the light.
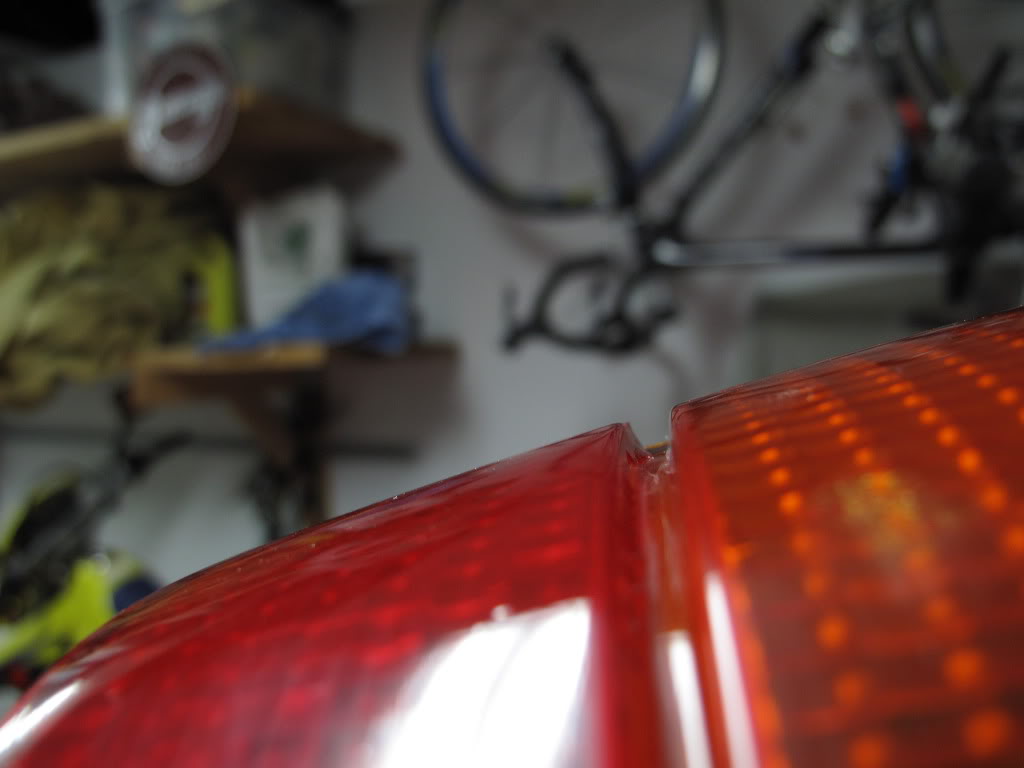
(by section, I mean where the light has little grooves in it. There are 2 grooves, and 3 sections))
5. Take the backing off of the tint so you have the transparent piece ready to be applied.
6. At first you will want to apply only about an inch of the tint to one of the ends. The reason for this is that if you try and lay the whole thing down at once you will get air bubbles everywhere and your end finish will look horrible.
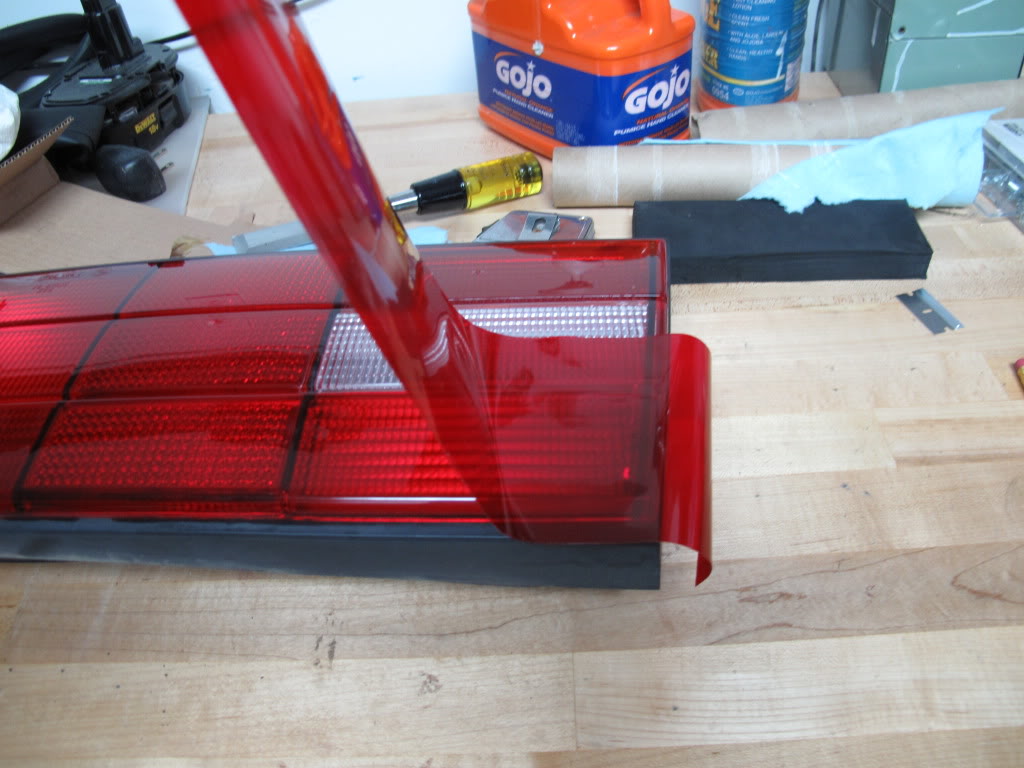
7. Heat up the strip that you are applying to the light. You will only need to heat up about 4 inches of the tint since it will cool off very quickly. Once it's hot you are going to want to take your squeegee and squeegee all the air out like so....
If there are any air bubbles don't worry. You can always peel the tint up and re-heat/reapply to get the bubbles out.
8. Finish that end until you get around the curve and make sure there are no air bubbles on that half that you just made perfect. I had to use Gojo as a weight, so the light wasn't moving around everywhere when I was squeegeeing. (this is a picture that I took after I was finished covering it, just wanted to show you how I did it)
9. Now it's time to go back to the beginning where you first lied the tint down.
There will most likely be air bubbles here. So just peel it up, reheat, and squeegee all the air out...
This is what it should look like now....

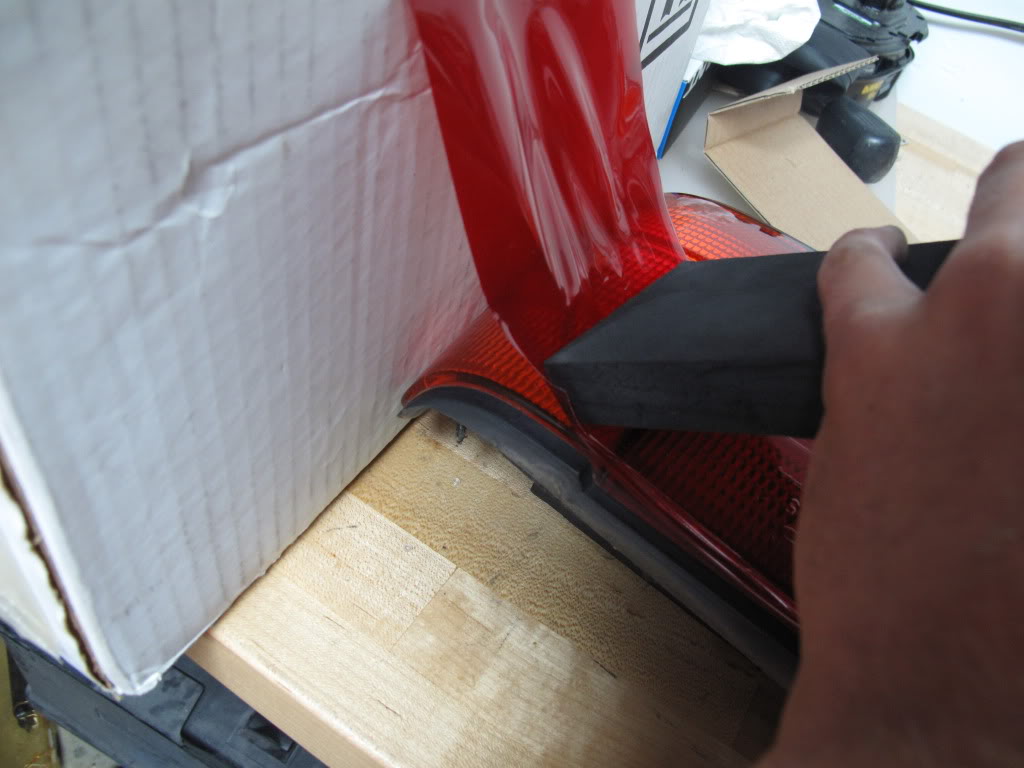
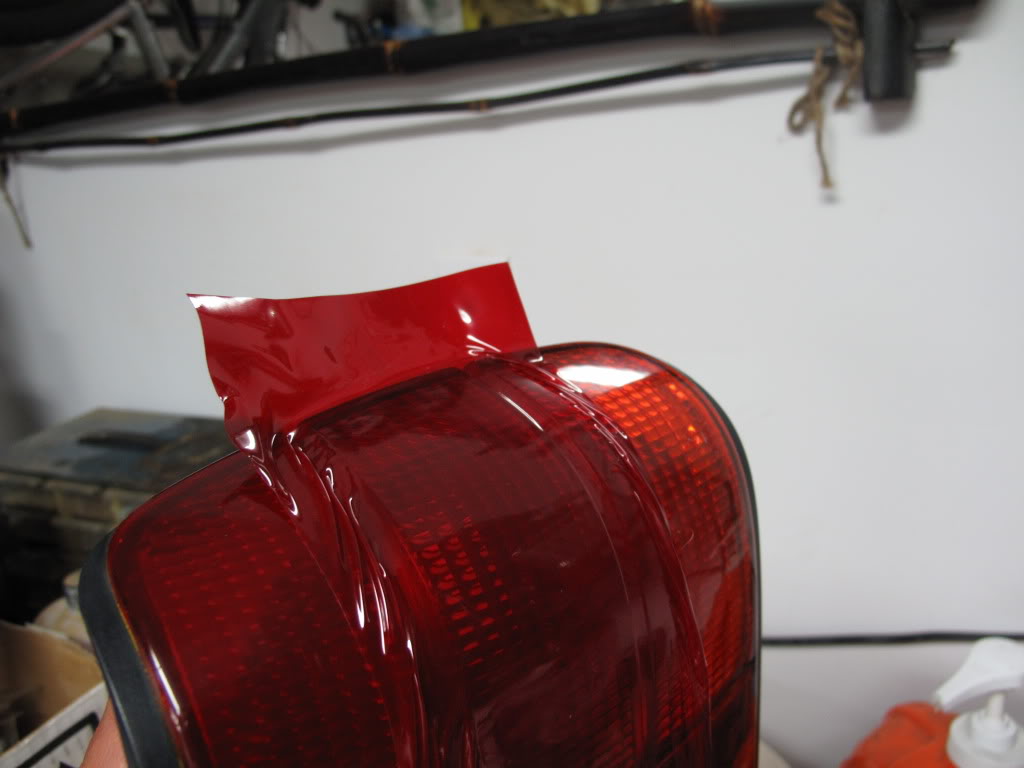
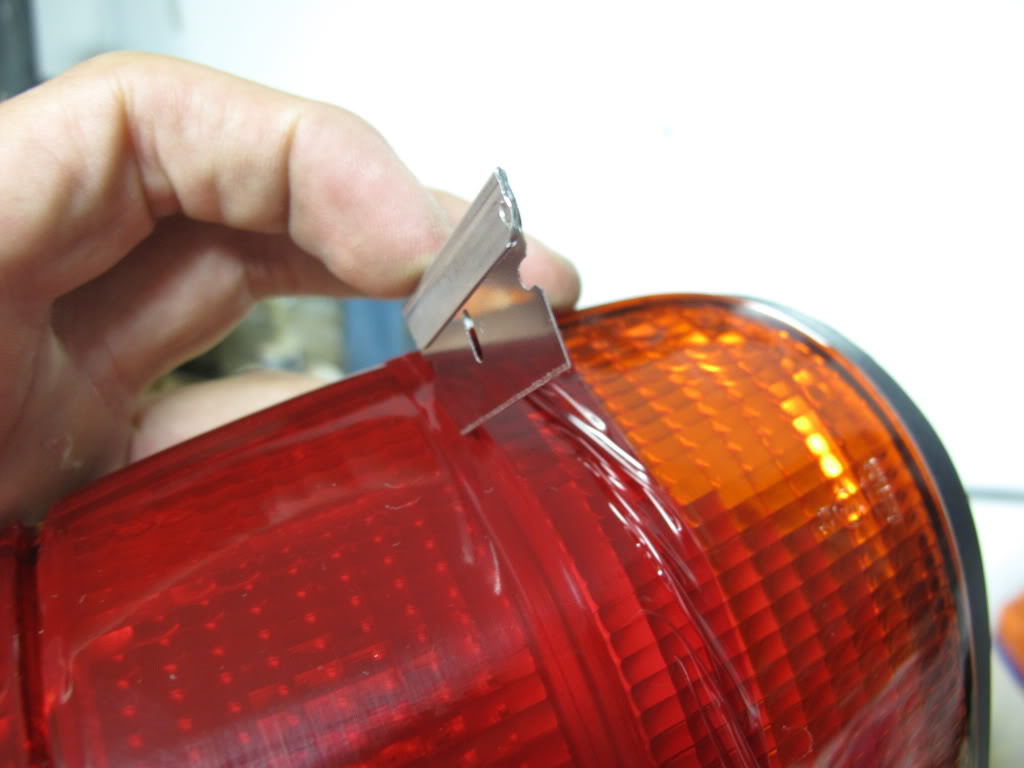
10. Now that you have the tint applied without any air bubbles, it is now time to trim the extra tint off. I used my trusty razor blade for this. I am cutting the tint at the divider of the sections of the light, right in the middle of the two, so it will fold over and not have an ugly edge visible.
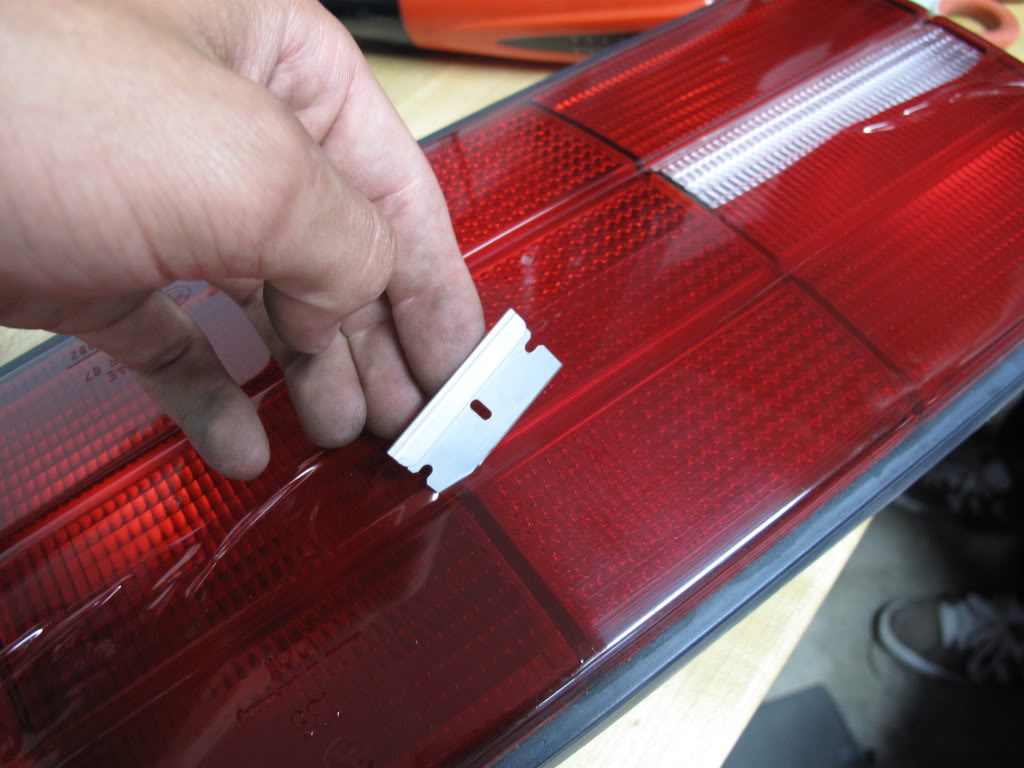
You should have about this much left over to wrap around that edge....
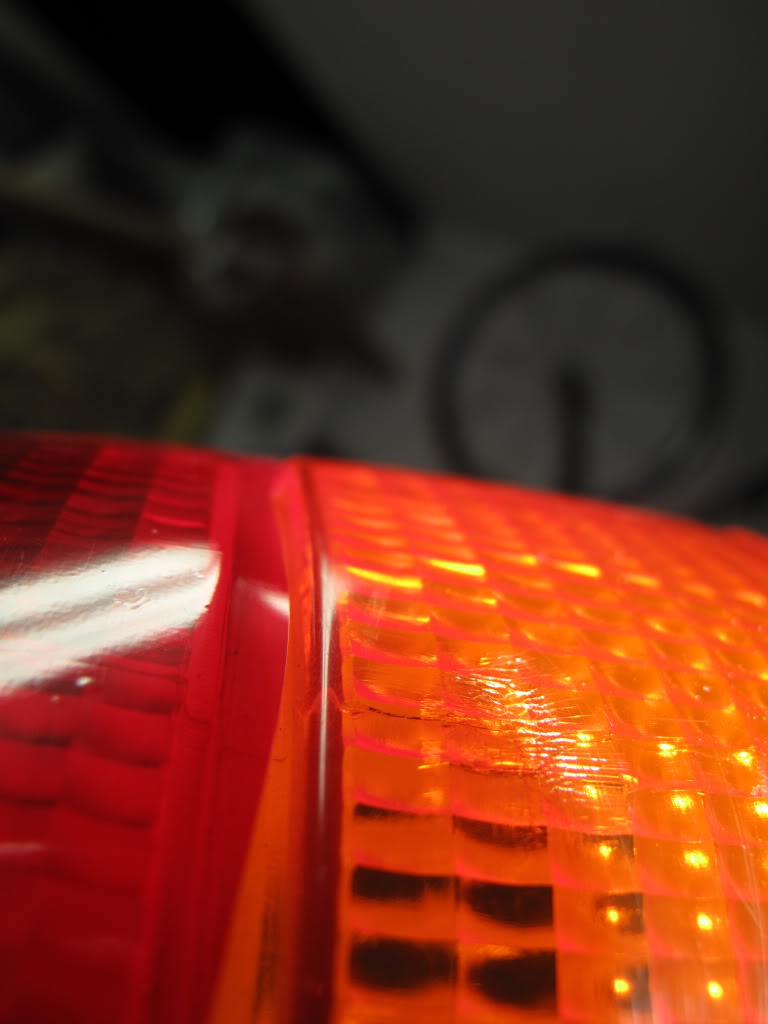
I used my piece of foam squeegee to get those edges in there nicely. The tint holds well if you give it enough pressure.
Here is what the edge should look like once it is tucked away
Go ahead and trim all the rest of the edges off and....
You are now done with this section of the light....only two more to go now!![]()
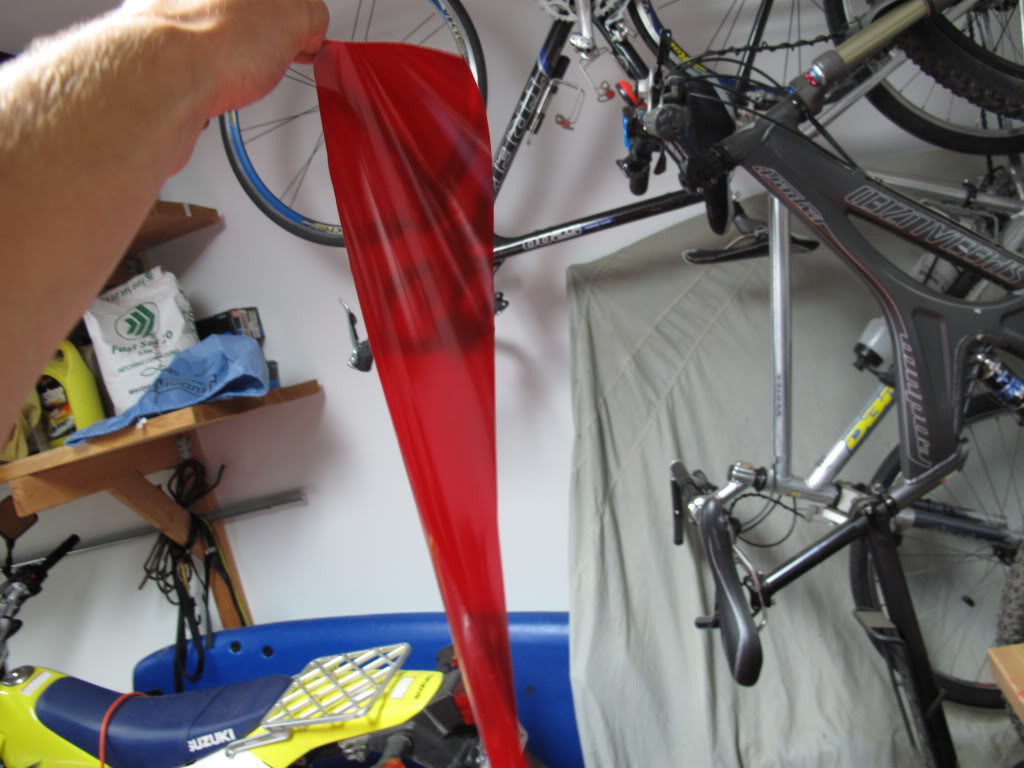
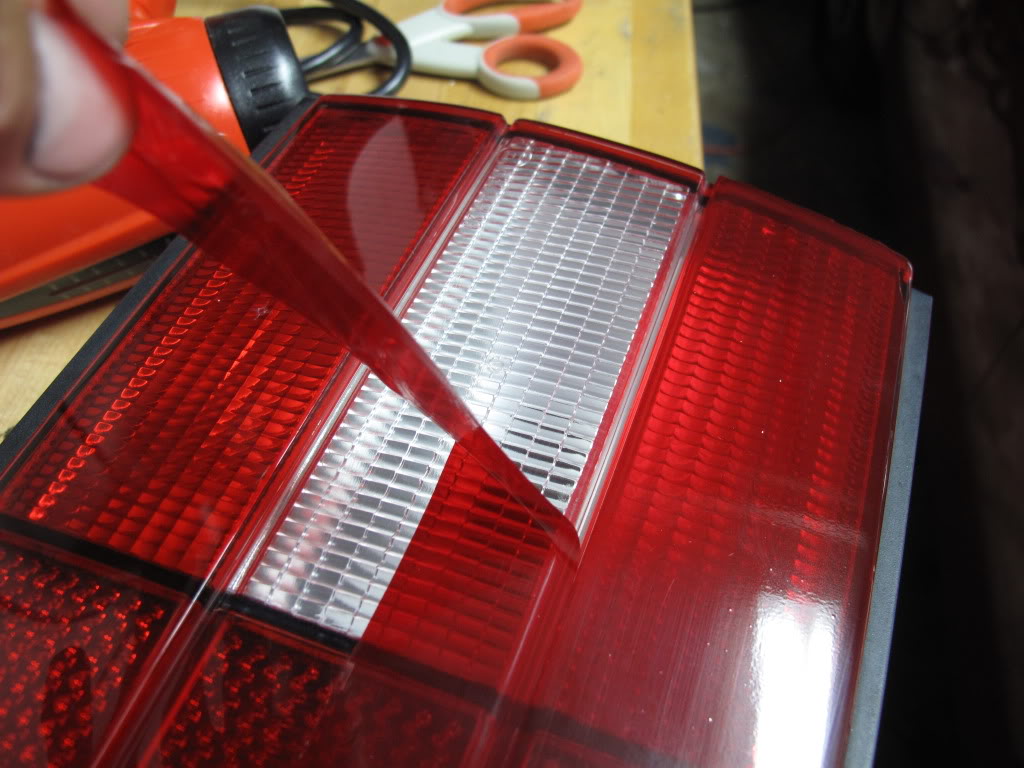
For the next section I cut a piece of 4"x24" tint.
Lightly lied it down just so it would stay in place.
From here on out it's pretty much the same as steps 1-10. I got a little better pictures though...it was hard to take action shots because I was by myself so I tried to get the best shots I could.
Here is me using the heatgun
Forcing the tint around the curve.....had to use a lot of heat on this one.
Got it around nice and smoothly
Finished the rest of it and....
Trimmed it up
Again, cut down the middle of the divider and fold the edge over
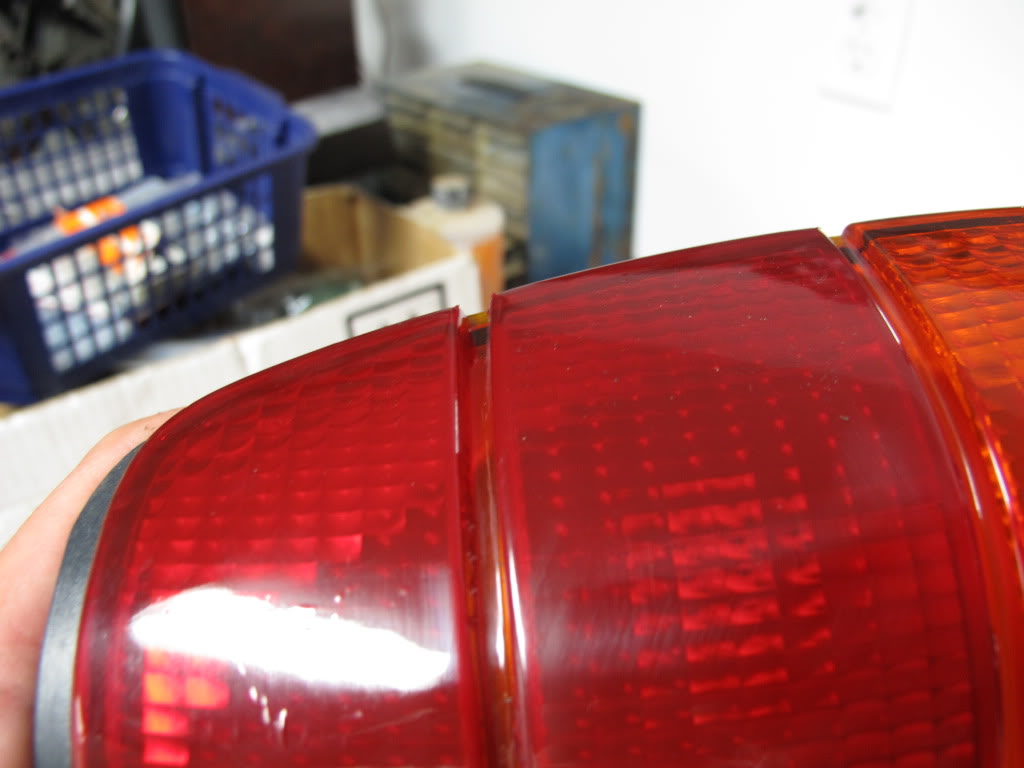
For the last section of the light you can pretty much repeat everything we just did....it's the exact same.
After doing one light, the next light will go a lot faster and smoother. You get the feel for it after awhile.
Here it is finished:
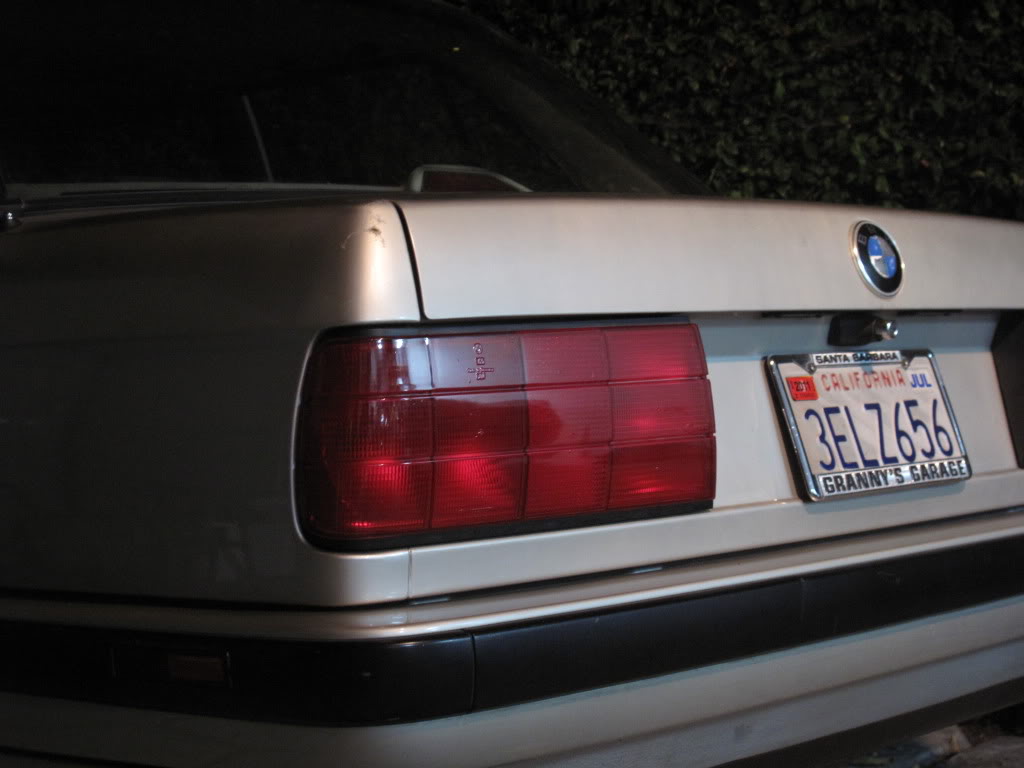
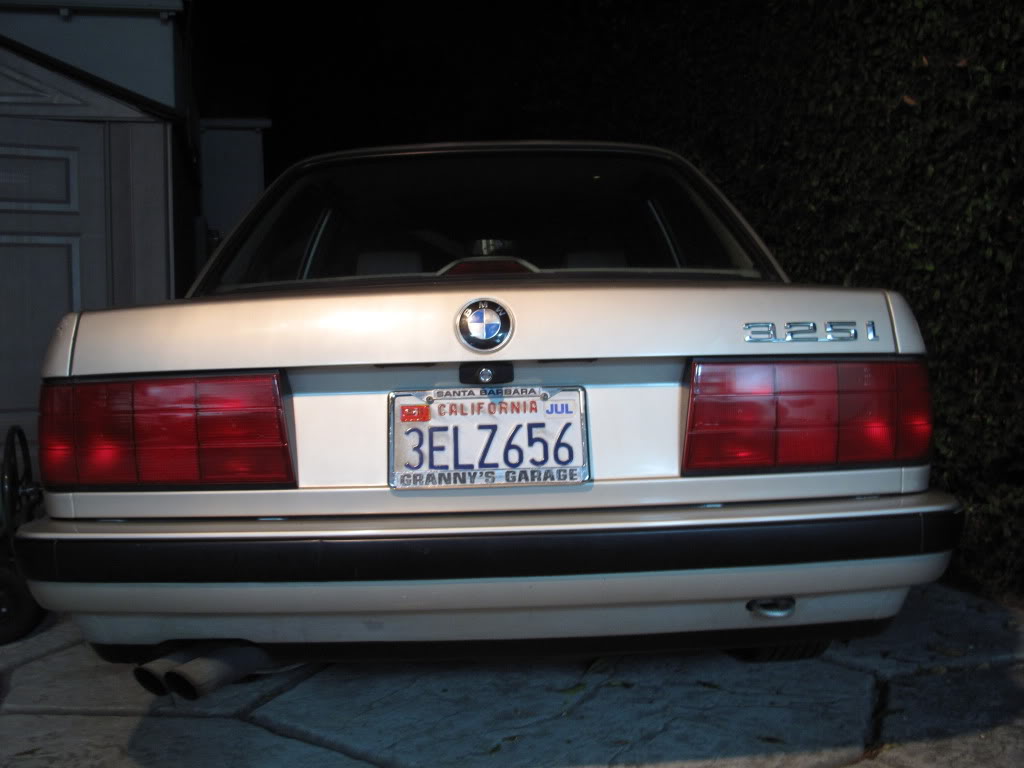
Before

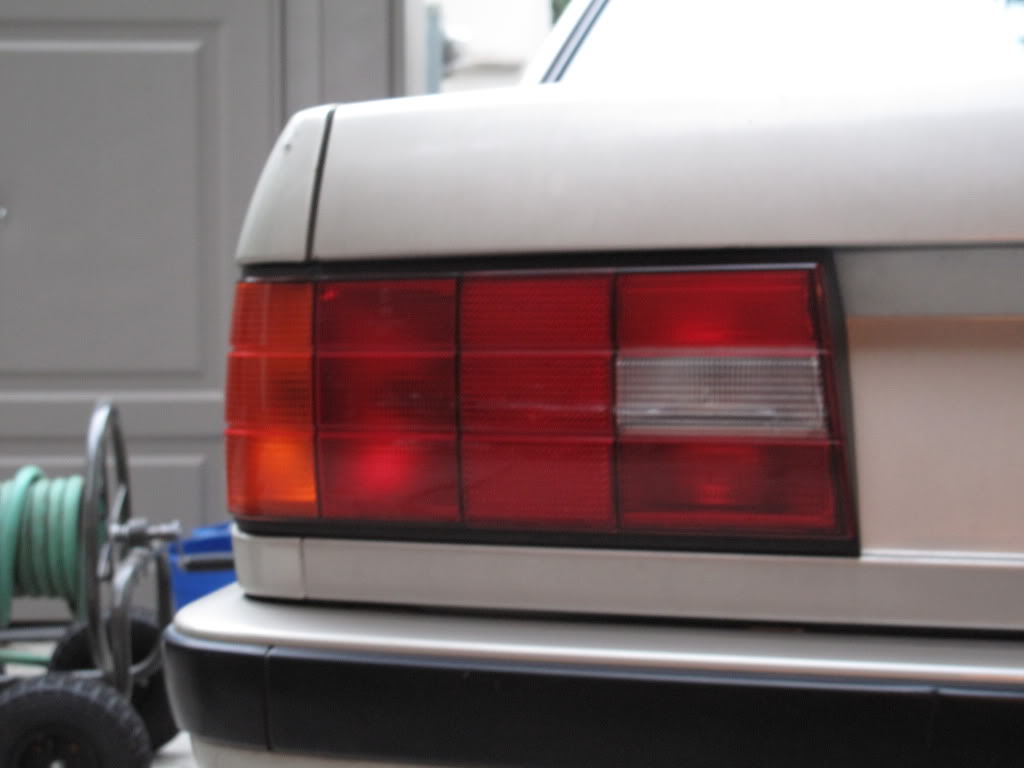
After