You must be logged in to rate content!
8 minute read
Timing Belt / Water Pump DIY - Step by Step Pictures
Compliments of 91greg325i @ r3vlimited.com
1-6-2010
I know there are a few articles out on the web about this procedure, but I figured it was time for a dedicated r3v thread on a timing belt DIY. This article is meant to provide a means for people with limited mechanical experience to save a few hundred dollars on a fairly easy repair. Here goes:
It is always good to keep organized along the way, have bags, tape, and pens handy if you want an easier time putting things back together.
Materials list:
8,10,13,22mm wrenches
32mm slim bicycle wrench
10,13,17mm deep well sockets
13,19mm shallow well sockets
Ratchets and Torque Wrench
3 in. extension
Phillips and Flat Head screwdrivers
3mm Allen Wrench
New coolant (optional, but recommended)
Timing belt
Water pump
Tensioner
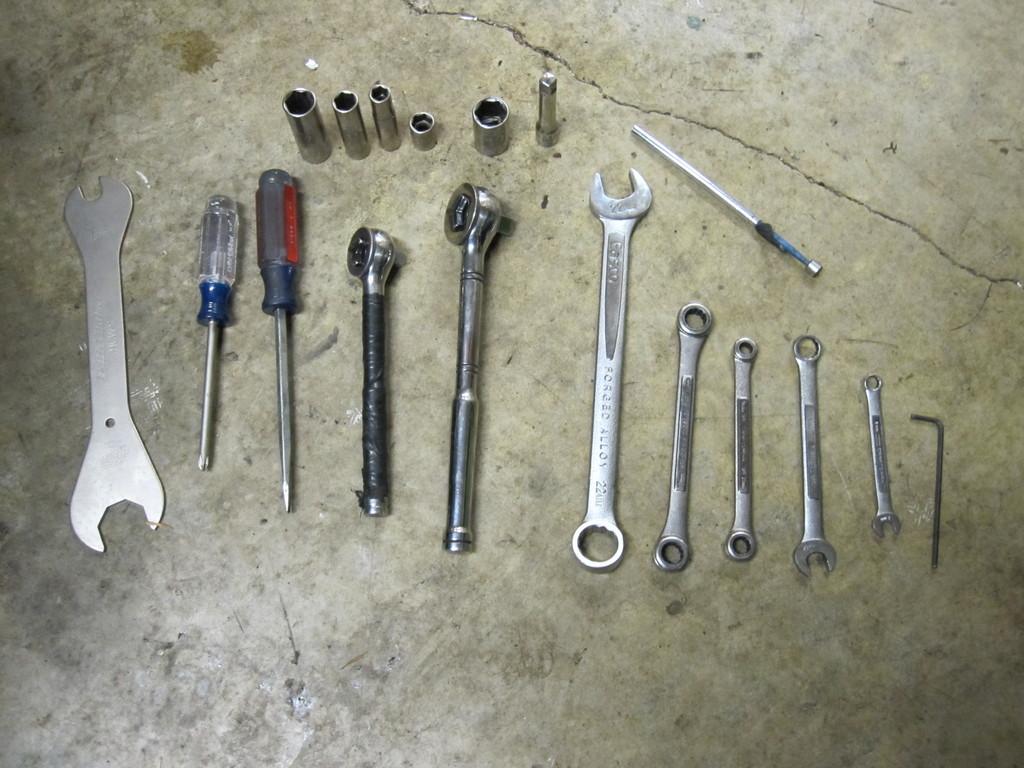
Note that these are all the tools we used. You may be able to use less, or may have to use more, but this is a good starting list for what we know will work.
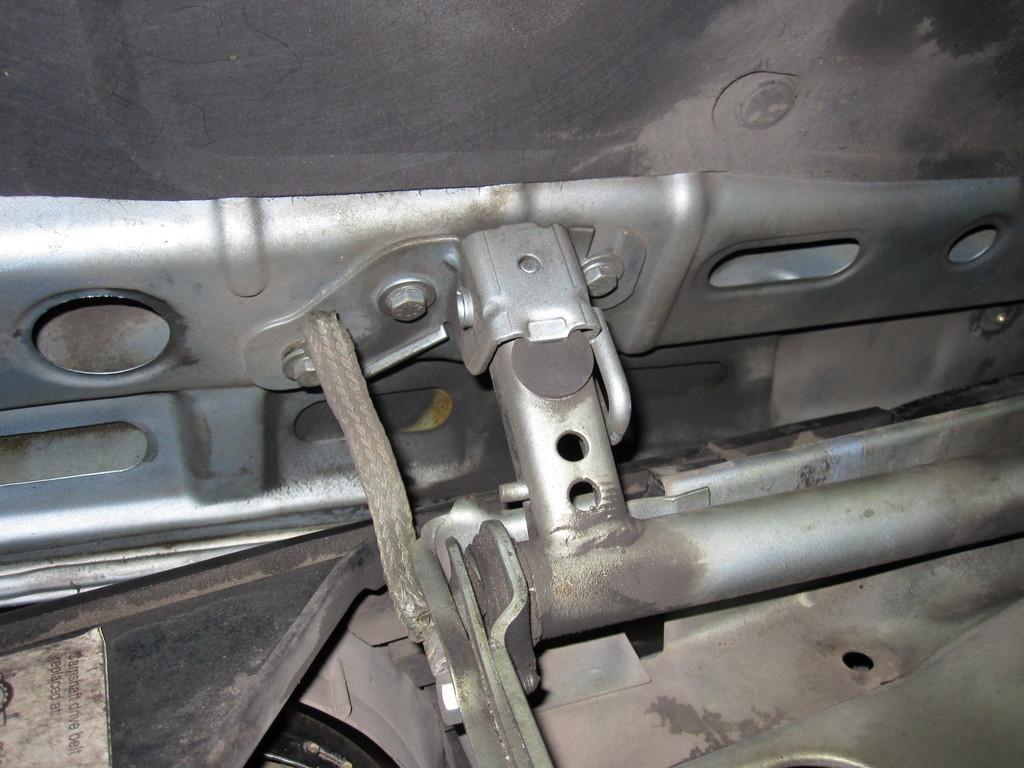
Step 1: Remove hood (optional but highly recommended)- Mark position of hood so reinstalling will be easier. There are 6x 10mm bolts, three on either mounting hinges. Also there is 1x 13mm bolt and 1 clip holding the hood strut to the body.
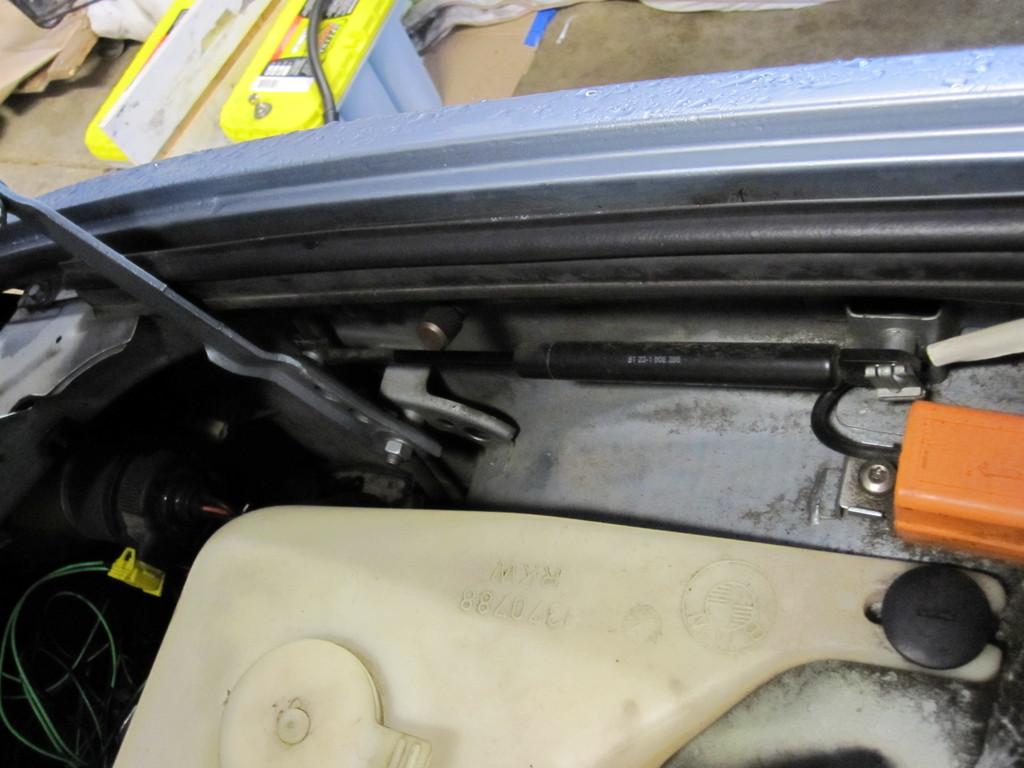
Step 2: Remove washer fluid line- you may need to empty or remove the washer reservoir. (1 flat head plastic screw)
Step 3: Remove plastic skidplate (unless you already have an aftermarket metal one, the procedure should be similar to the following)- Remove 2x 8mm and 1x 10mm fasteners per side. I couldn't get a good shot of this with my camera, but it should be pretty clear what needs to be unbolted. If you have any questions, feel free to ask them.
Step 4: Drain coolant from radiator- either Phillips head or 13mm plastic bolt. Be sure to relieve pressure by unscrewing the coolant reservoir cap.
Step 5: Drain coolant from block- 1x 19mm bolt. This will be messy. We haven’t figured out how to direct flow into a collection pan. (If you have any tricks, please, let us know!)
Step 6: Remove upper radiator cover- 2x 10mm bolts.
Step 7: Remove upper, lower, and overflow hoses from radiator (all hose clamps should be 6mm if stock). There are also 2 transmission lines if the car is an automatic that must be removed.
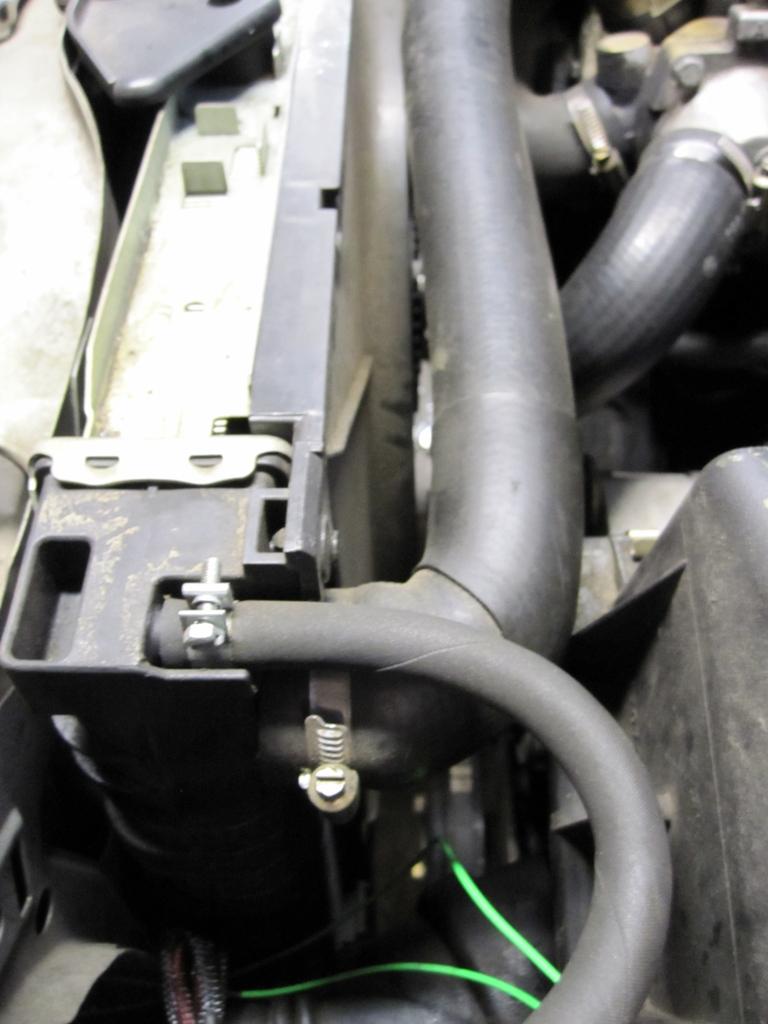
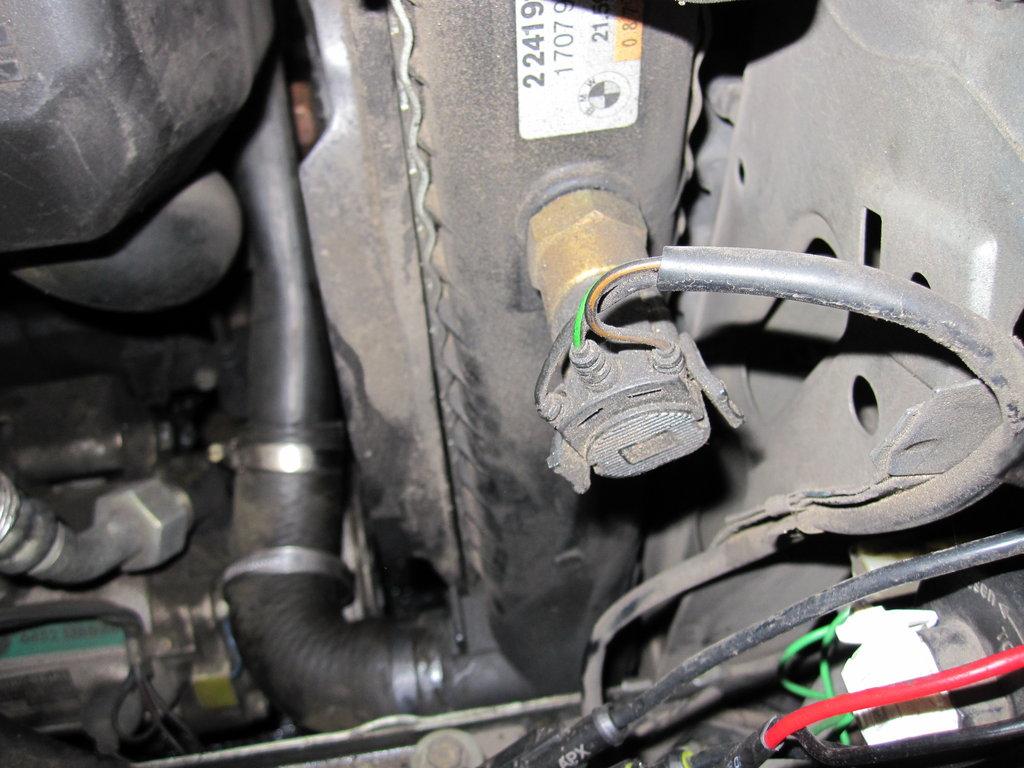
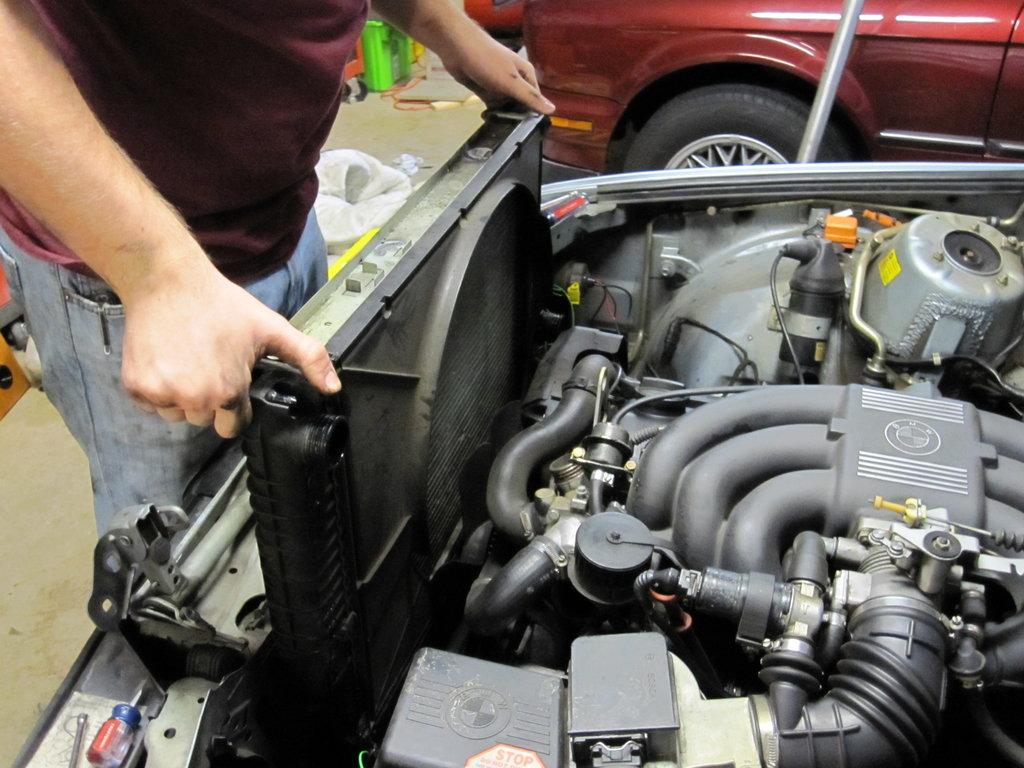
Step 8: Unplug radiator sensor and slide radiator out with fan shroud attached. (If the fan shroud cannot slide out, unscrew the radiator fan first and pull out as an entire assembly).
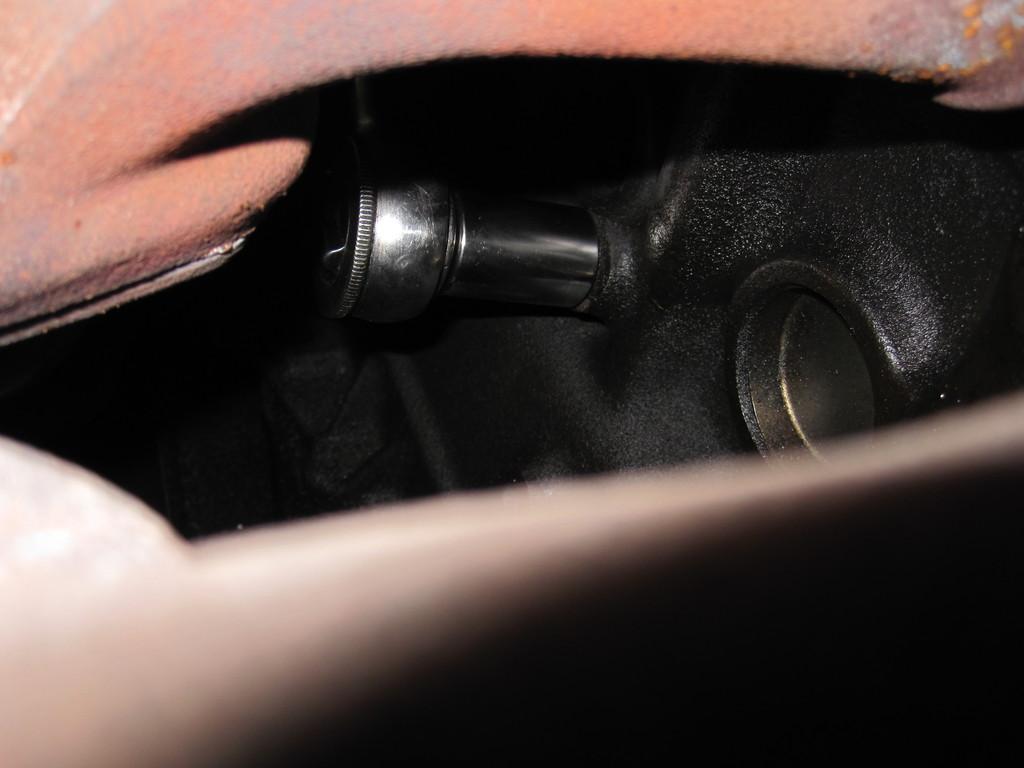
Step 9: Remove radiator fan- Use slim 32mm bicycle wrench for much easier access. THIS IS A REVERSE THREAD
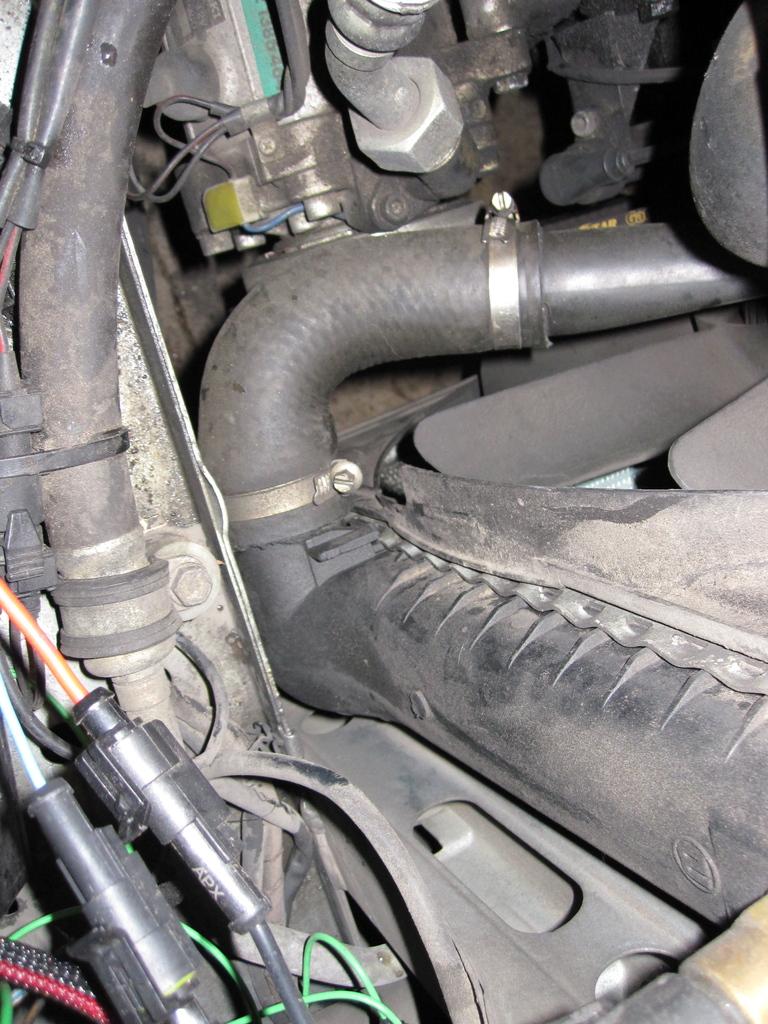
Step 10: Remove thermostat to lower radiator hose. 2x 10mm bolts.
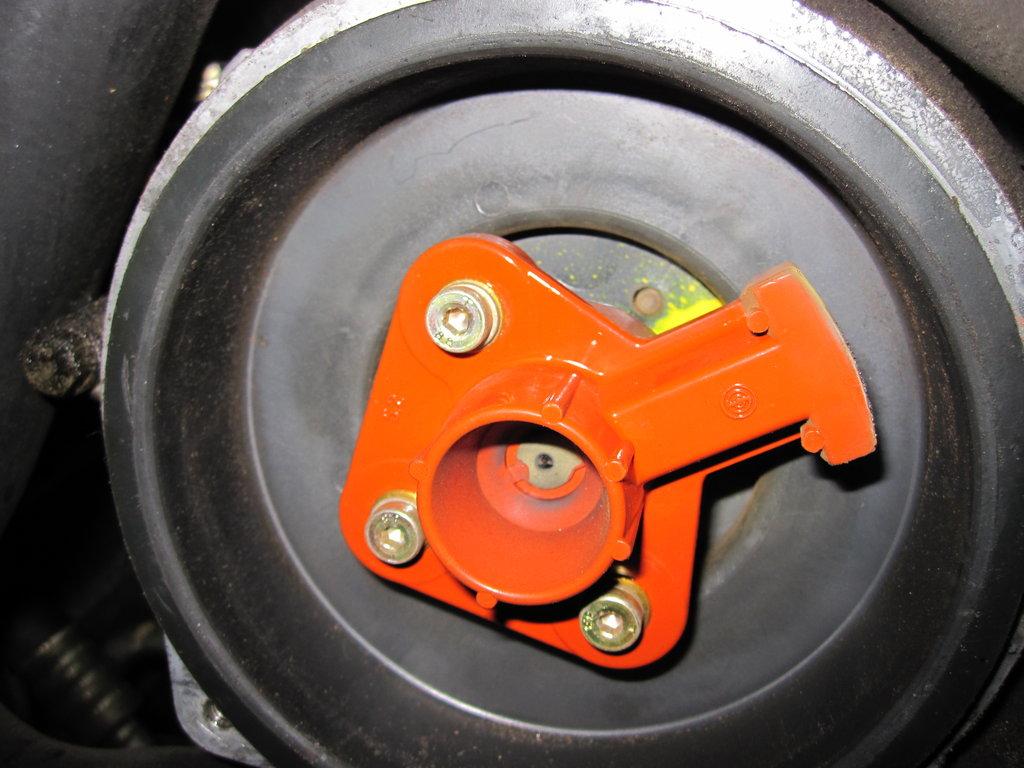
Step 11: Remove distributor cap cover and distributor cap- 3x 8mm bolts.
Step 12: Remove rotor- 3x 3mm allen wrench.
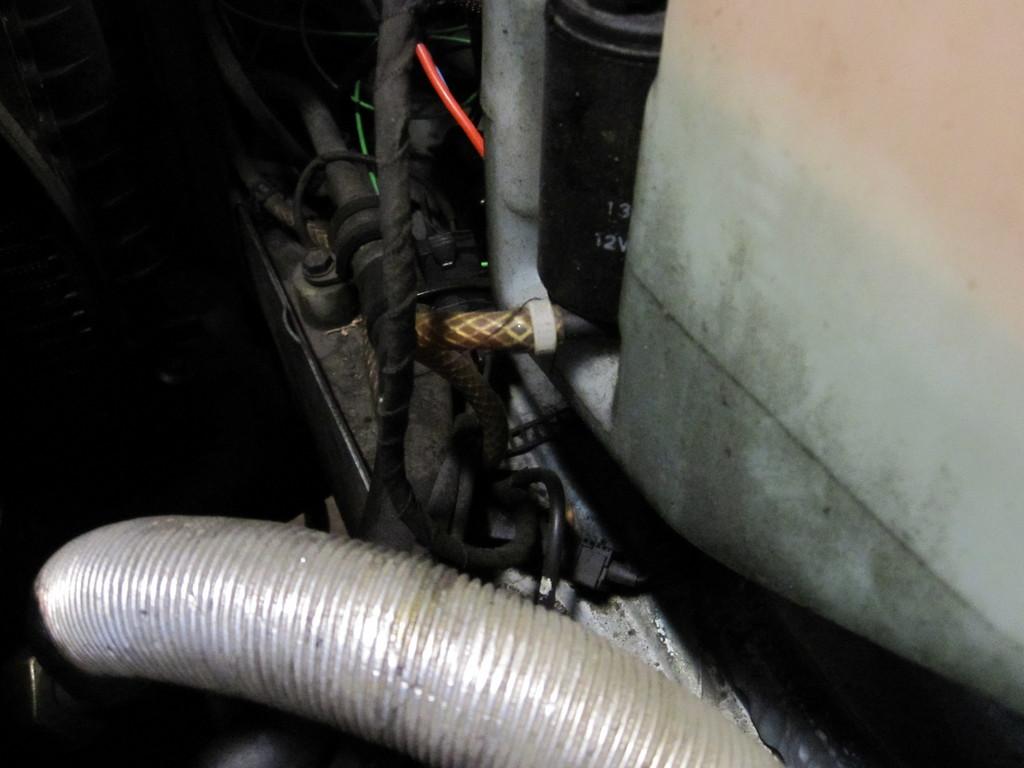
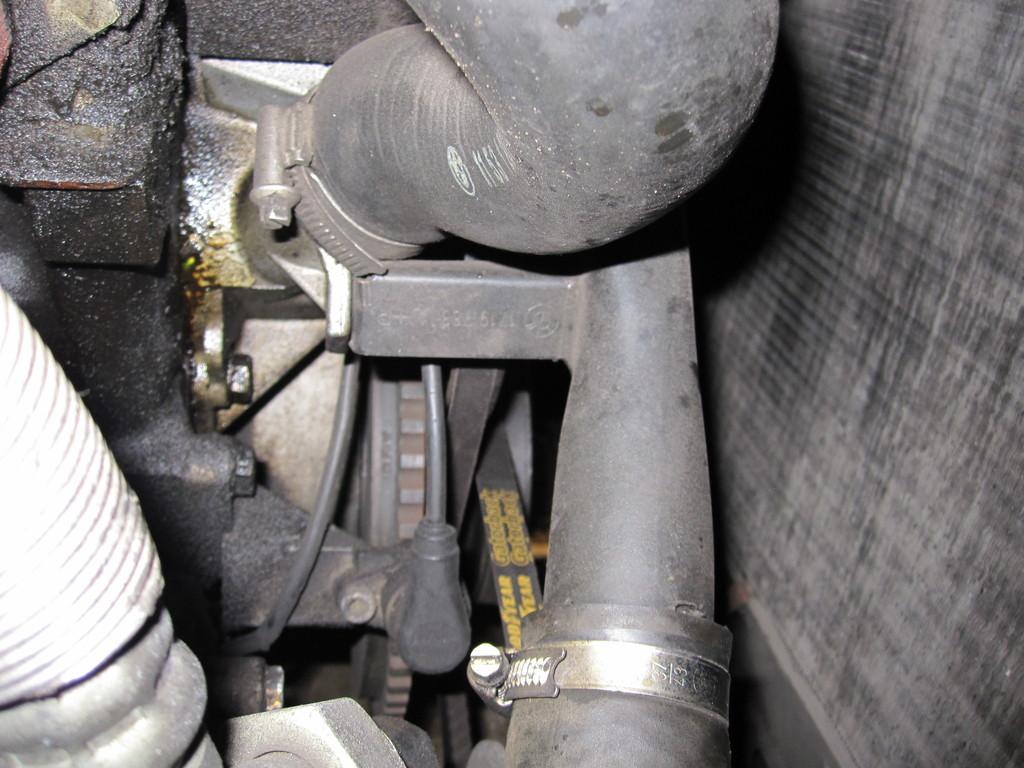
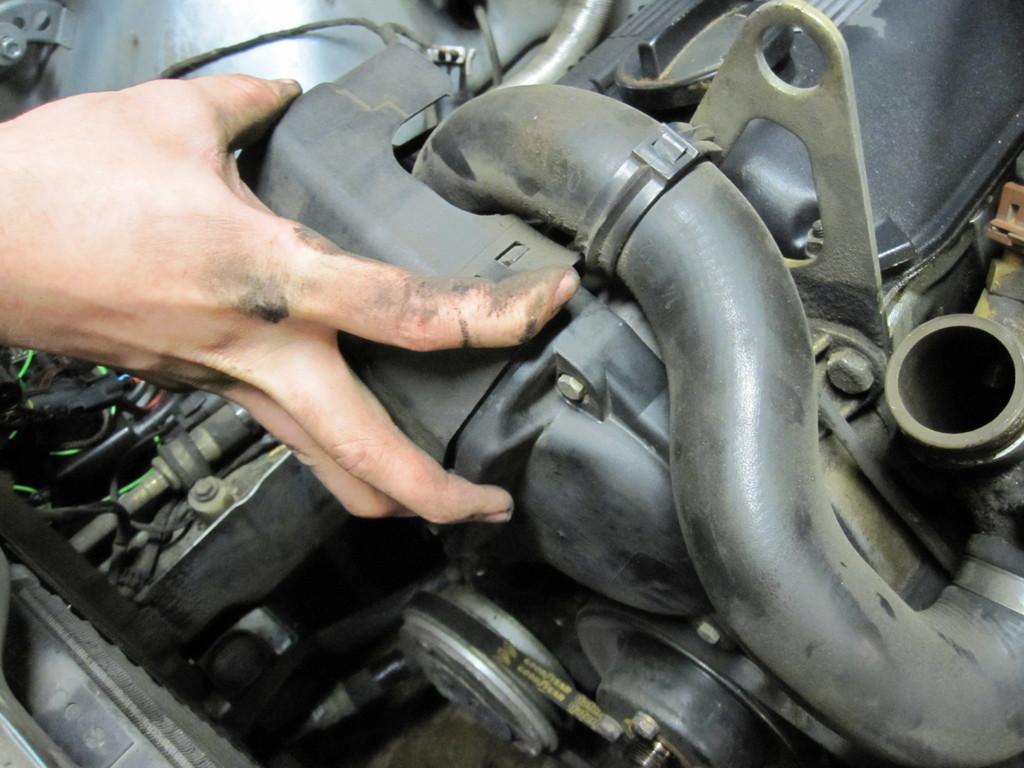
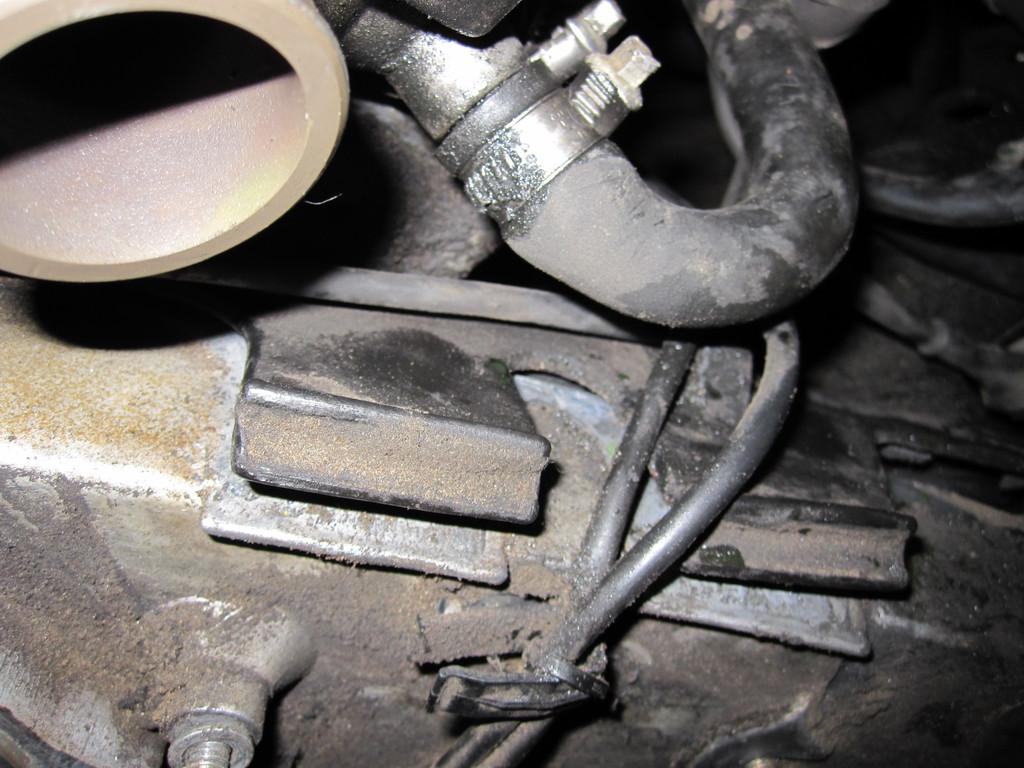
Step 13: Remove thermostat to water pump hose.
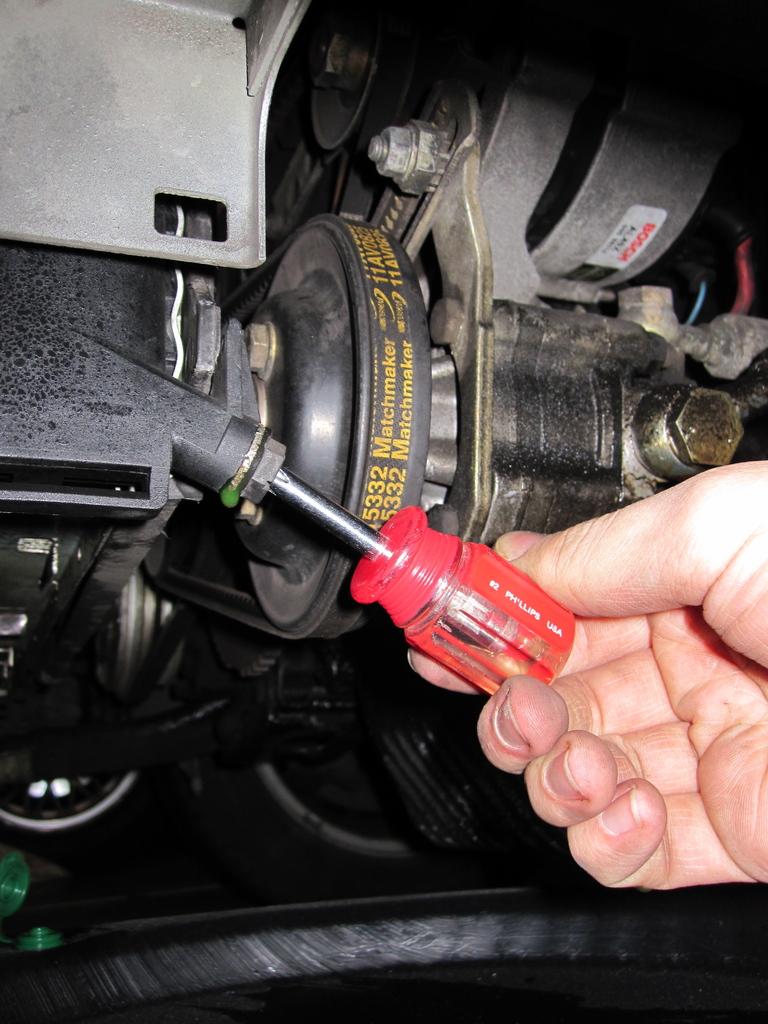
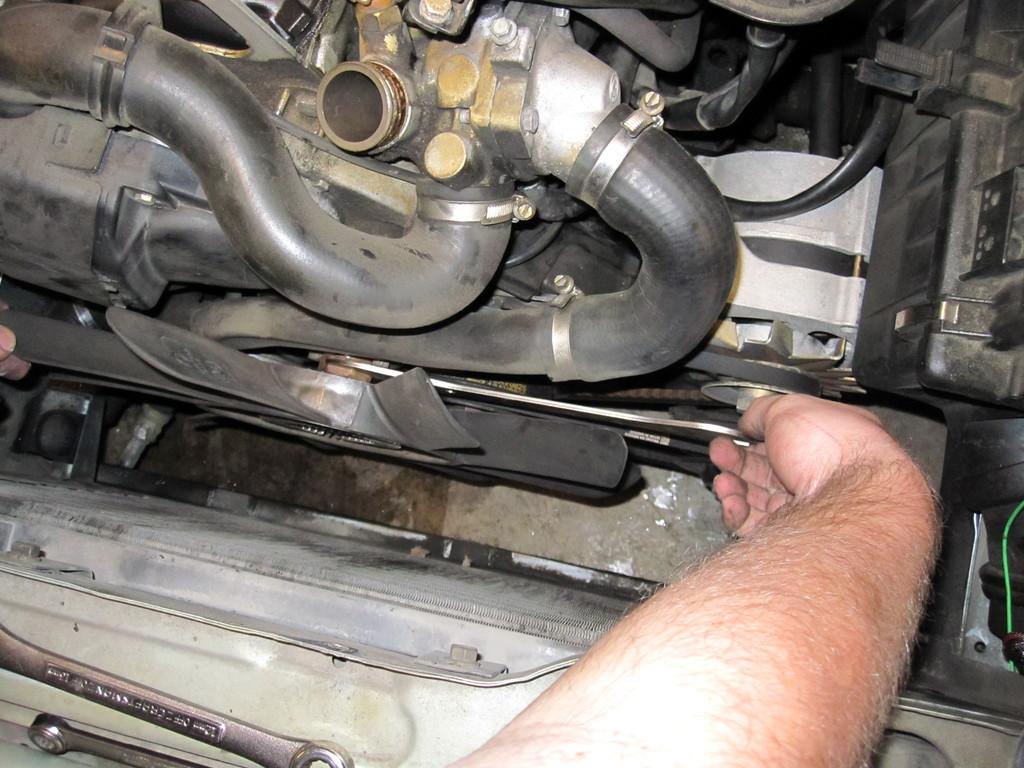
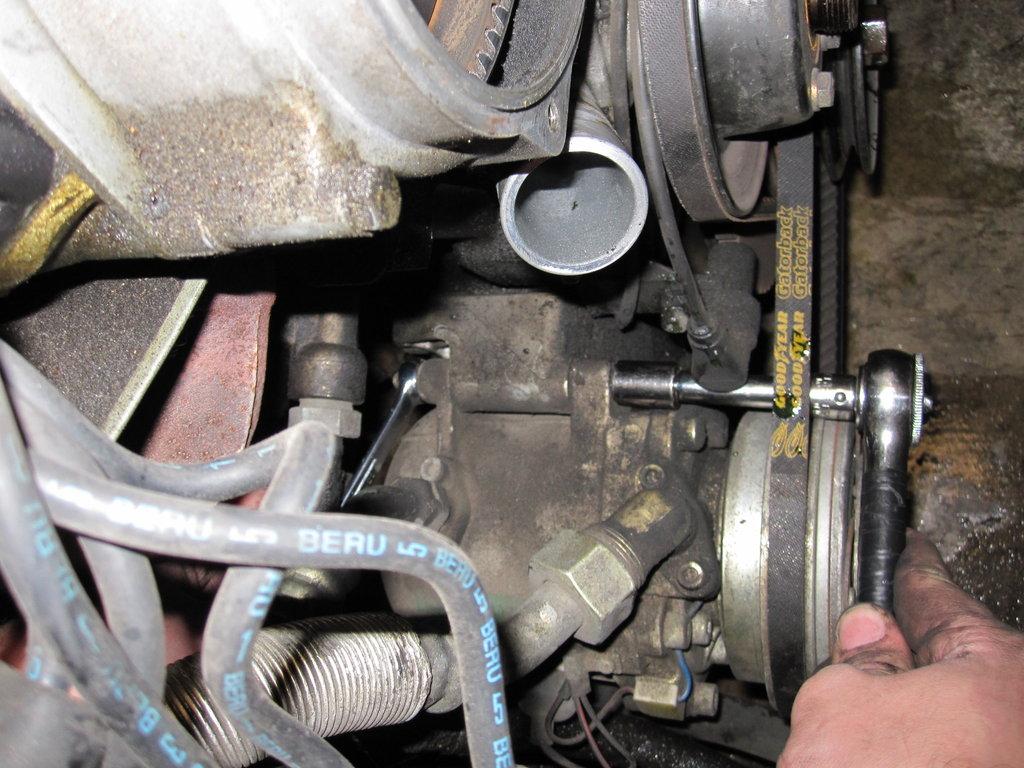
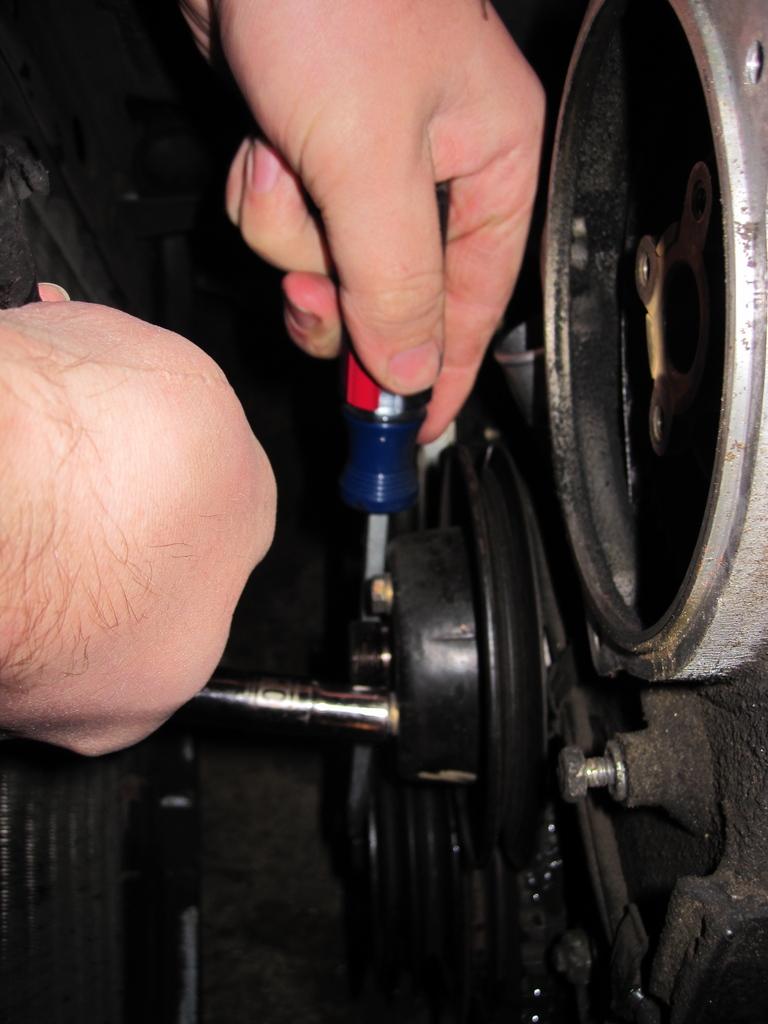
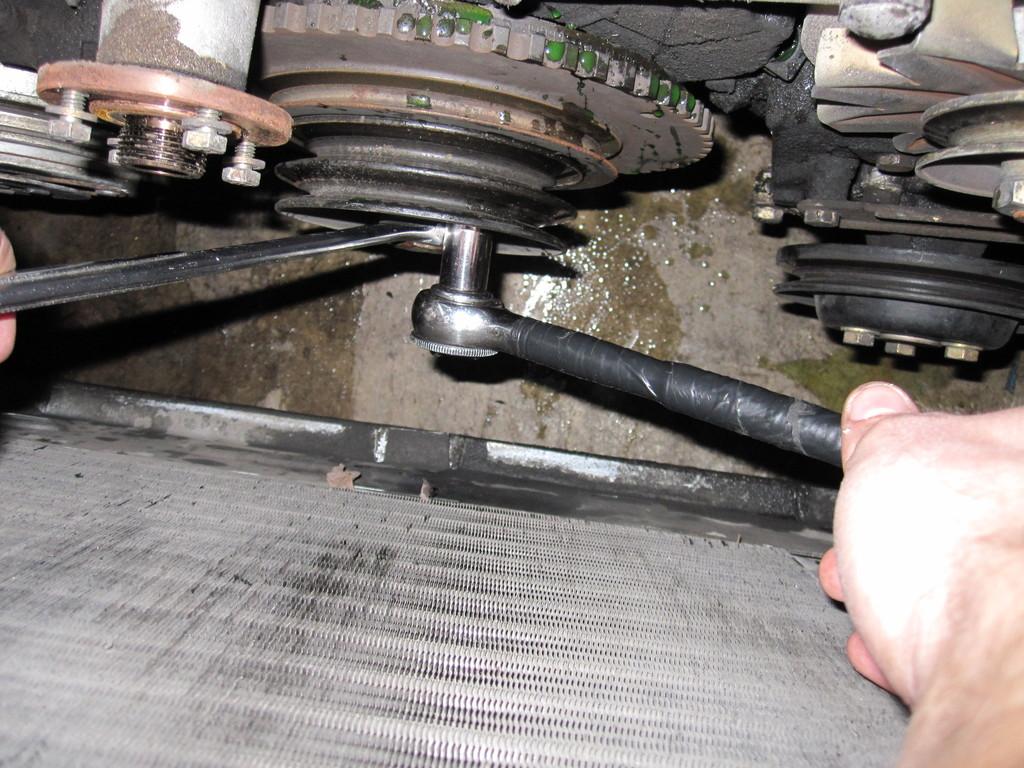
Step 14: Remove power steering belt.
Loosen all 3 bolts (2x 13mm, 1x 19mm)
Use bracket to move pump inward, loosening the belt.
Remove and label belt
Step 15: Remove AC compressor belt
Loosen 13mm bolt on top, and the 13mm bolt on the bottom backside of the compressor
Use the 19mm bolt to move the compressor inward along the toothed bracket
Remove and label belt
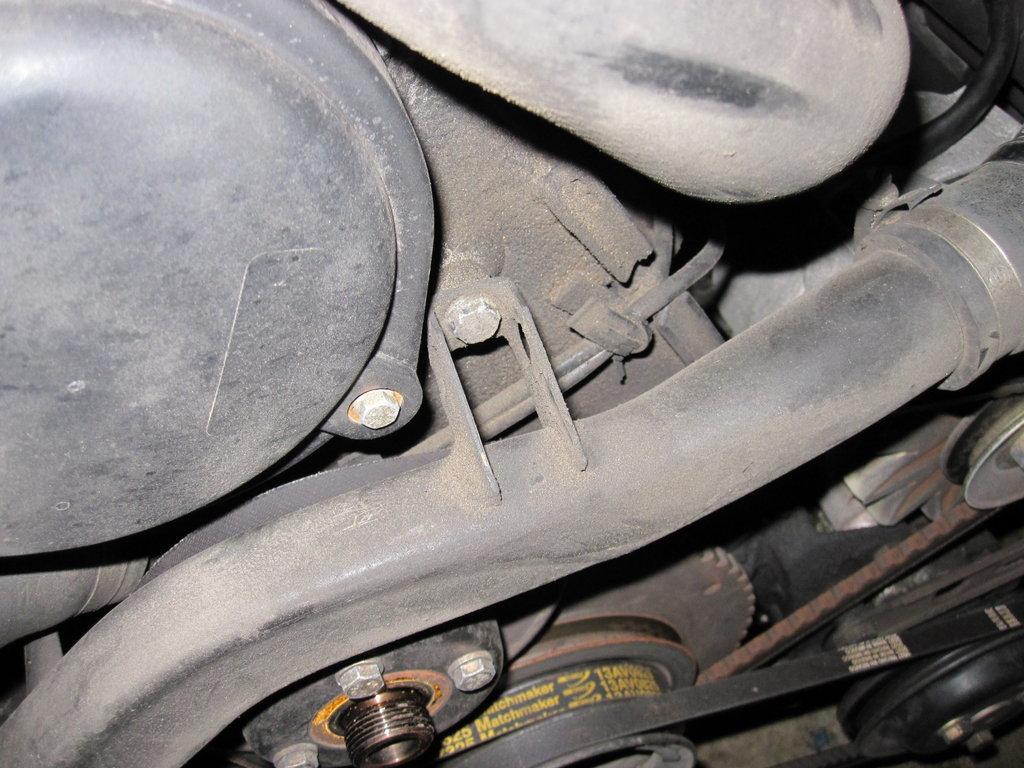
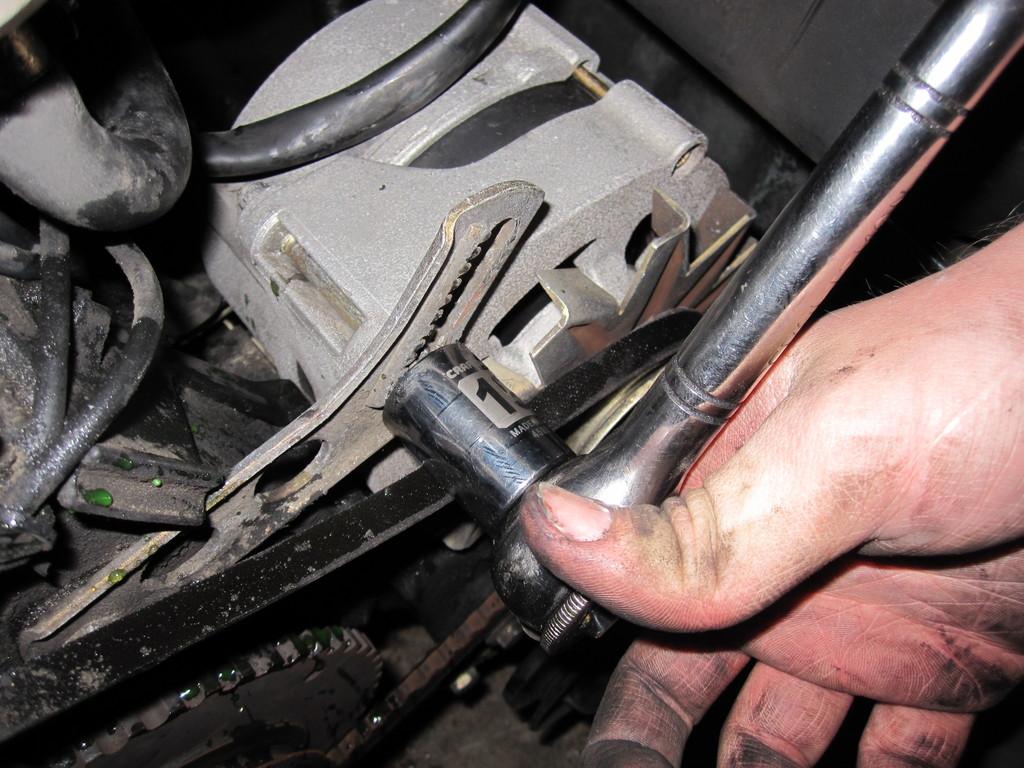
Step 16: Remove Alternator belt
Loosen 13mm bolt on bottom.
Use 19mm bolt to move alternator along toothed bracket.
Loosen, remove, and label belt.
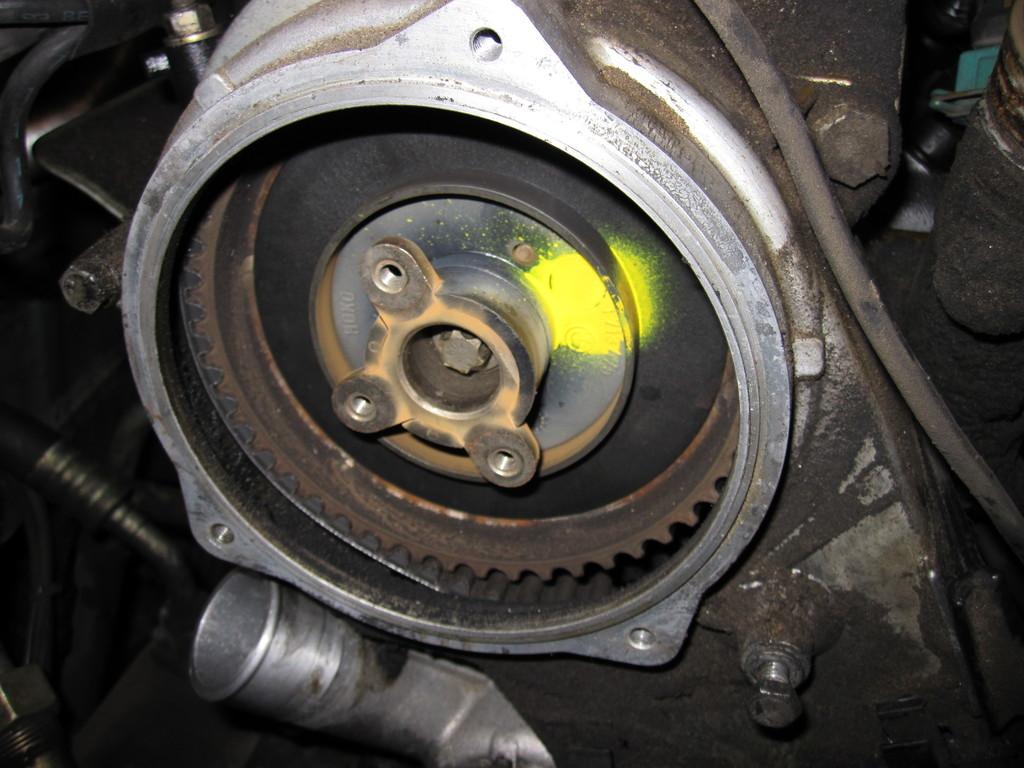
Step 17: Remove fan pulley- Use flathead screwdriver to hold pulley in place while loosening the 4 10mm bolts (rotating it each time).
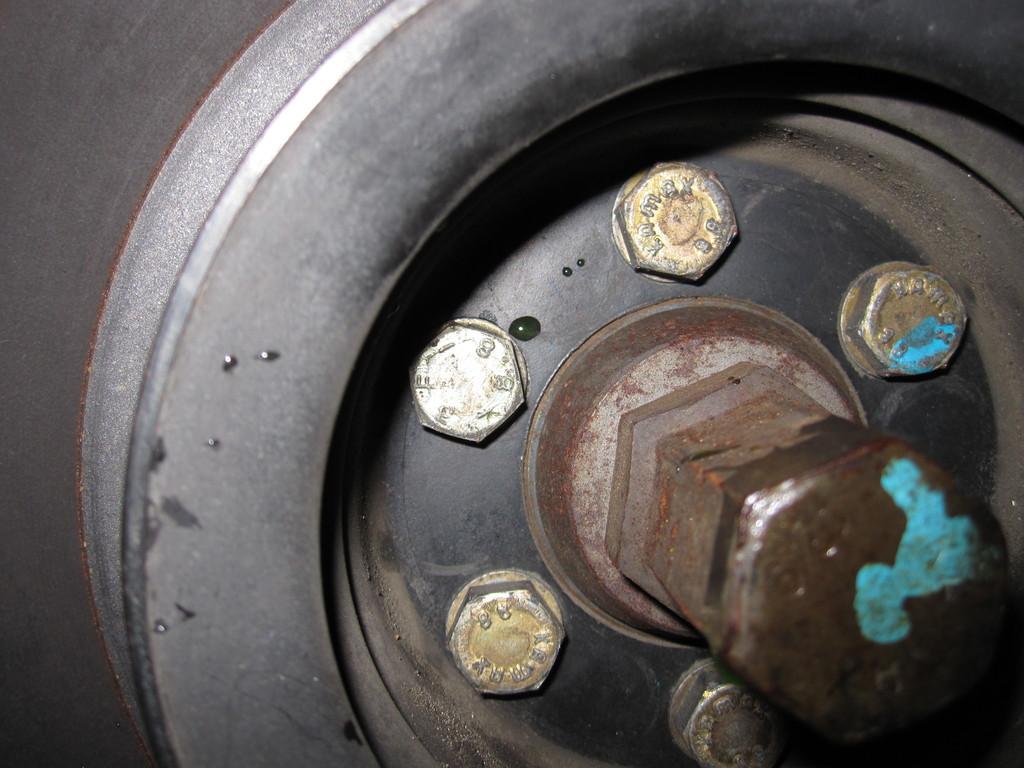
Step 18: Remove "crankshaft" bolts- Use 22mm wrench to hold crankshaft in place while you loosen the six 13mm bolts.
Step 19: Remove Crankshaft Pulley and Harmonic Balancer/Vibration Dampener
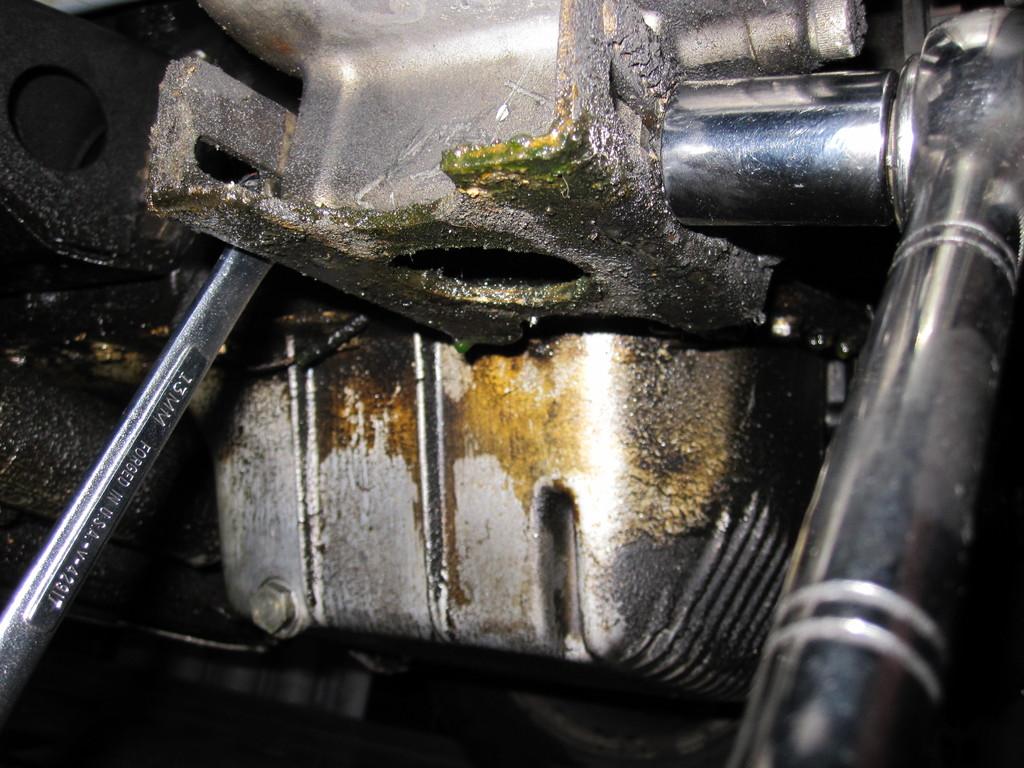
Step 20: Rotate alternator bracket out of the way by loosening the 13mm bolt holding it in place.
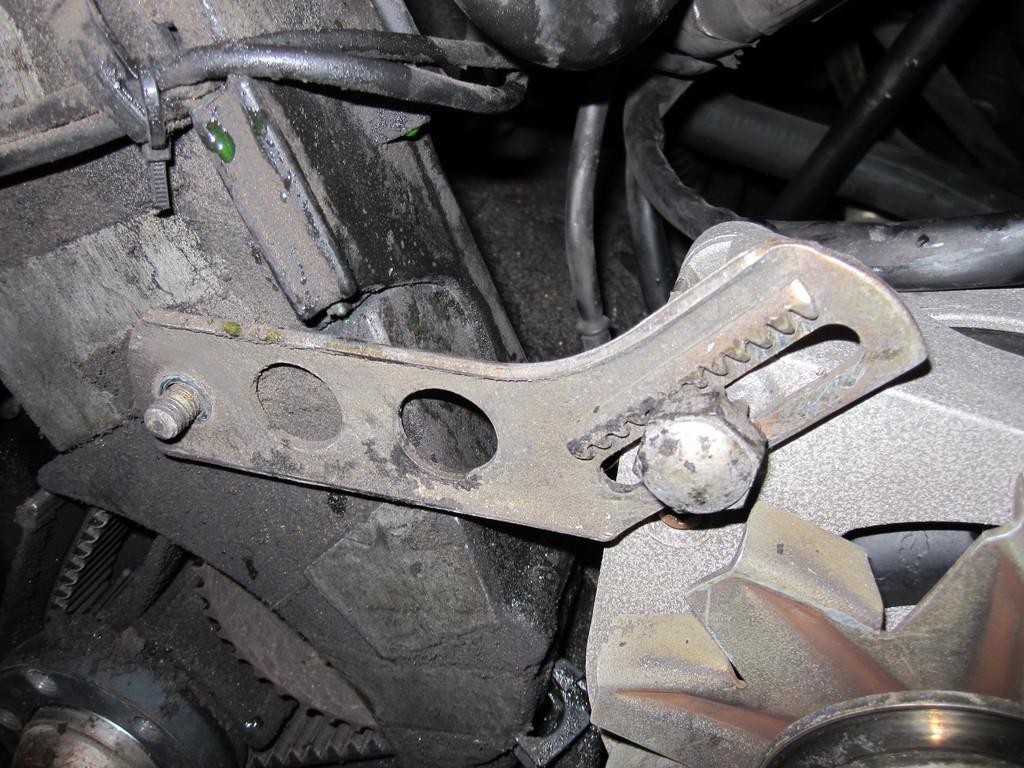
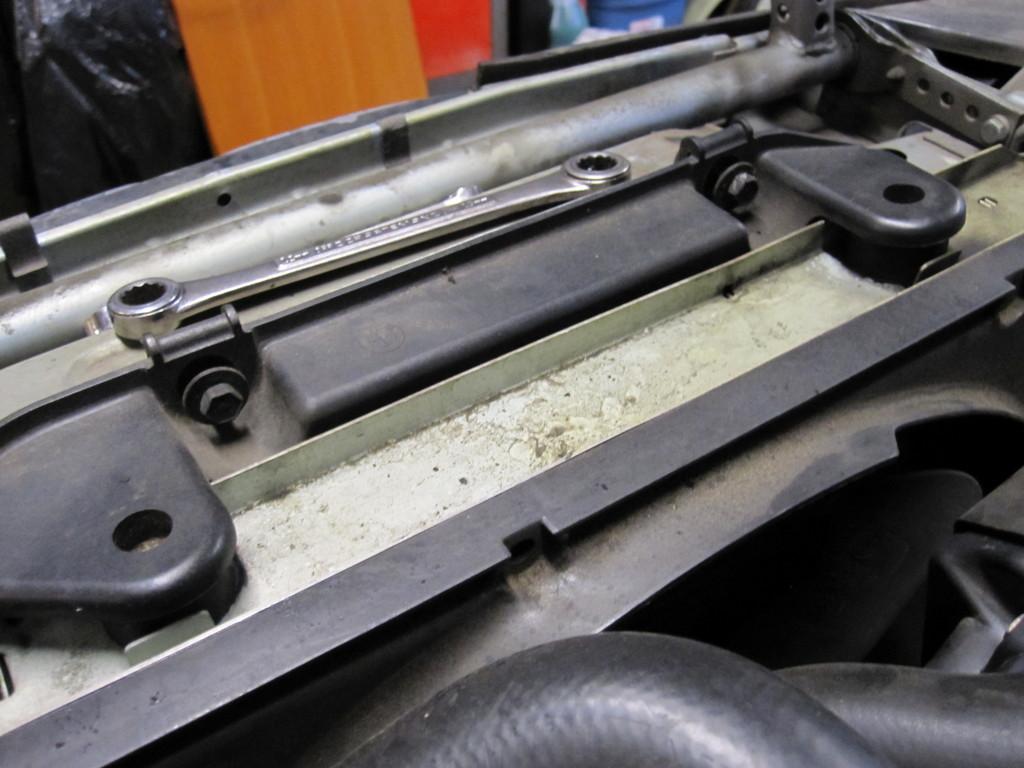
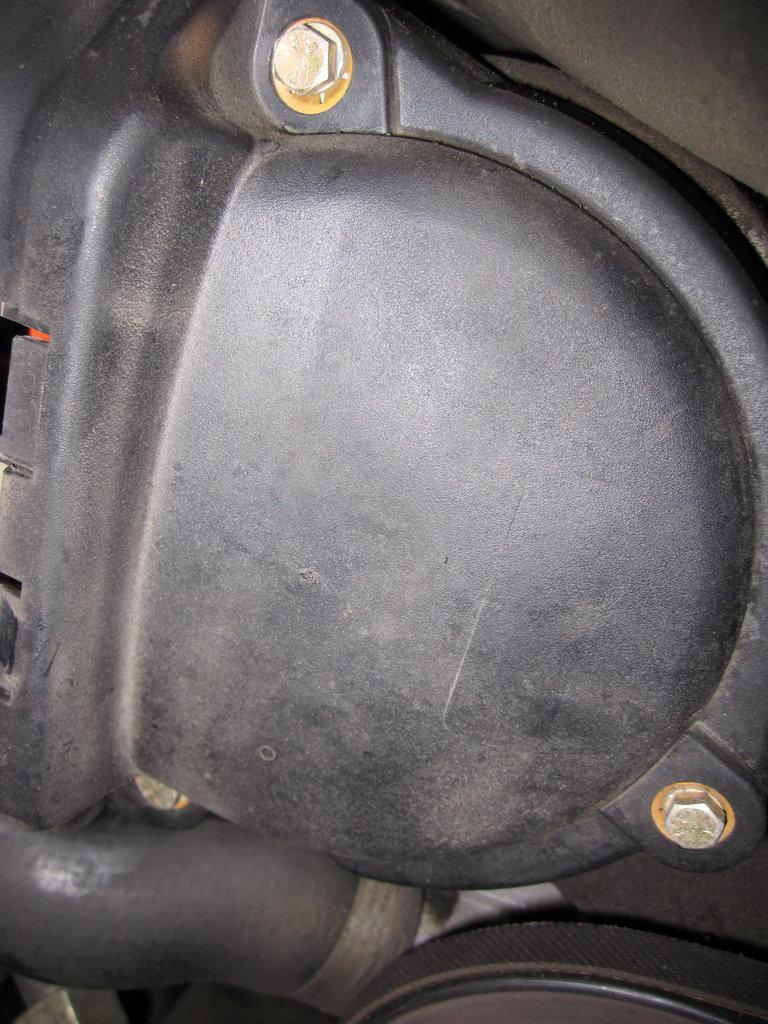
Step 21: Remove black plastic timing belt cover clamp (see picture, its a simple clip on black plastic piece. You may need to move a few wires out of the way)
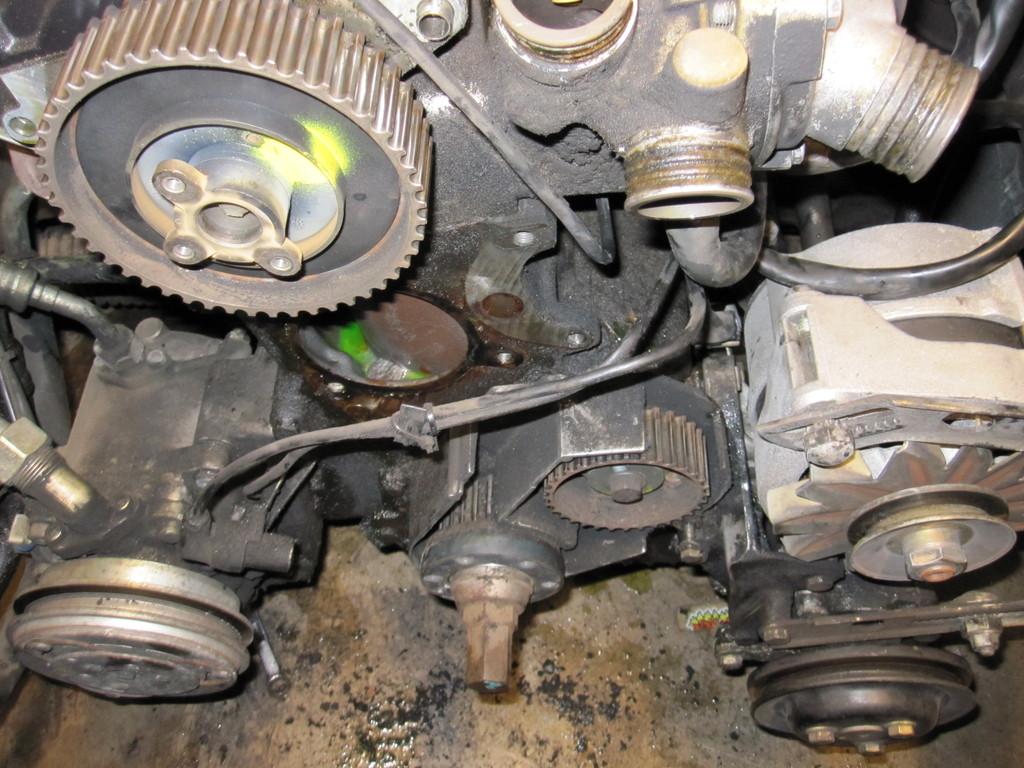
Step 22: Remove upper timing belt cover- 1x 10mm 1x 13mm bolts. (see the dirty bolts on the left and right? Those are them.)
Step 23: Remove lower timing belt cover- 1x 10mm bolt. The bolt is at the bottom of the cover, a little hard to see.
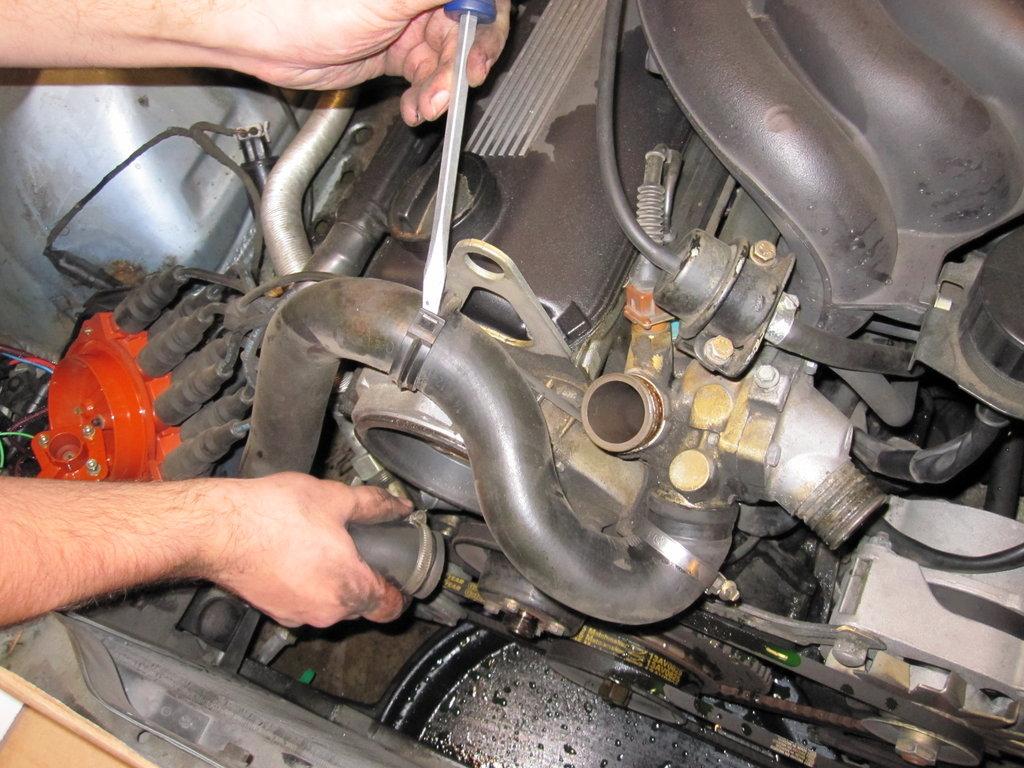
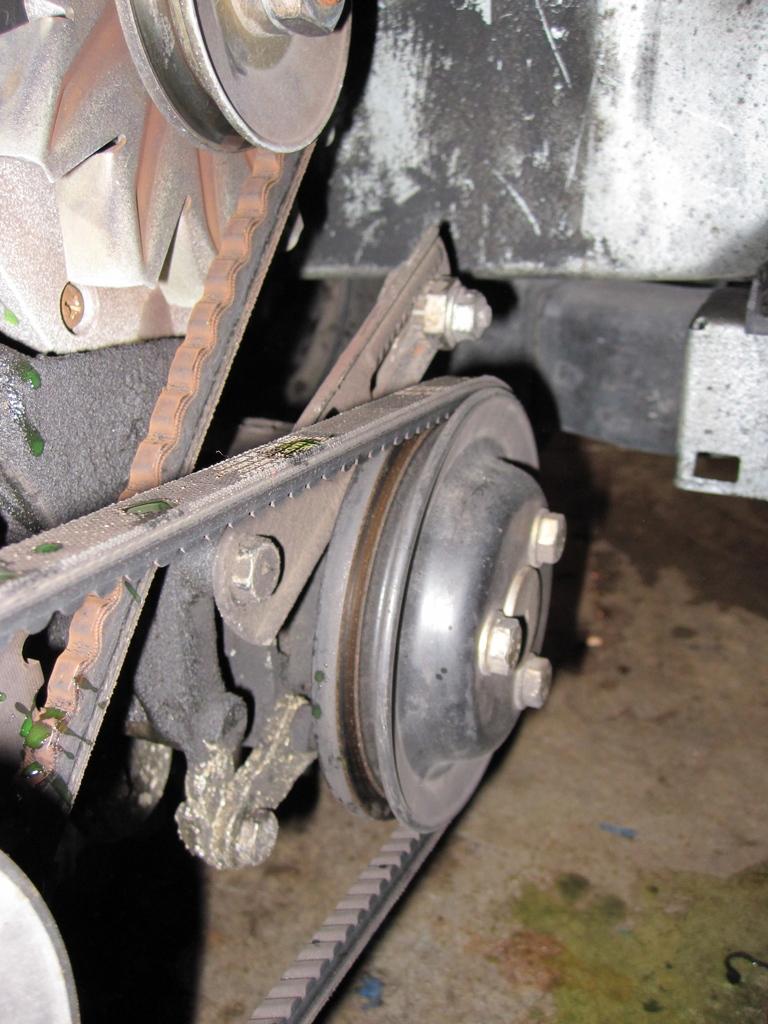
Step 24: Remove timing belt by loosening the tensioner, depressing it with a screwdriver, and taking the belt off.
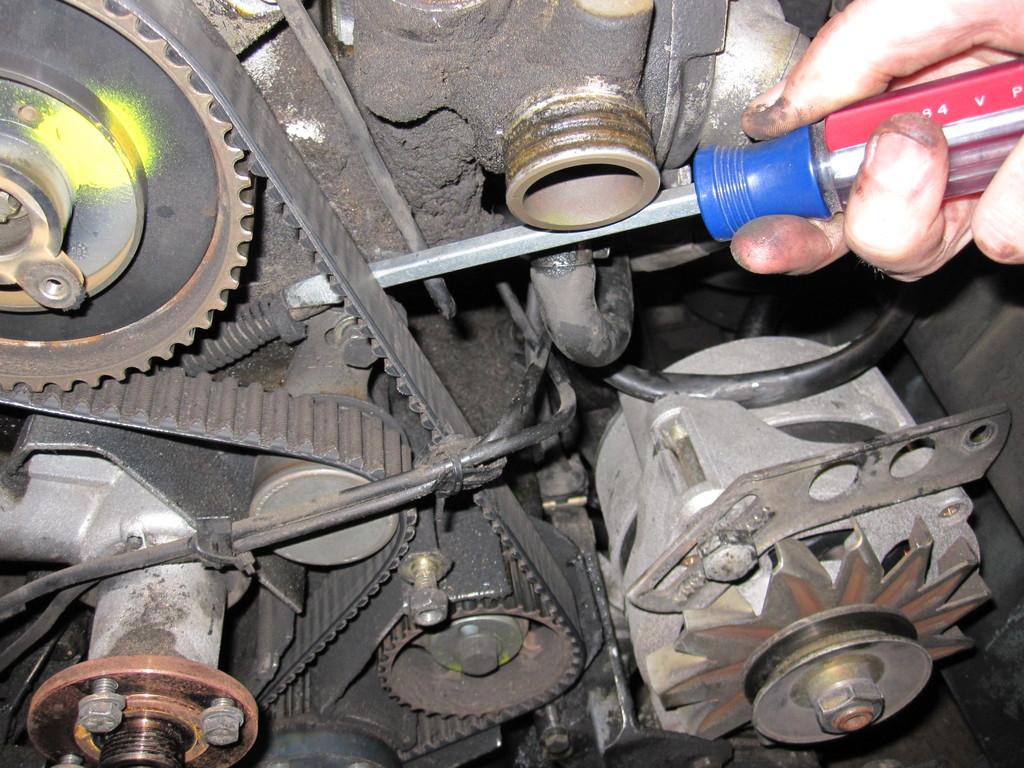
Step 25: Remove timing belt tensioner- 17mm deep well first, followed by 13mm bolt retaining the spring. (see picture above for tensioner bolts.)
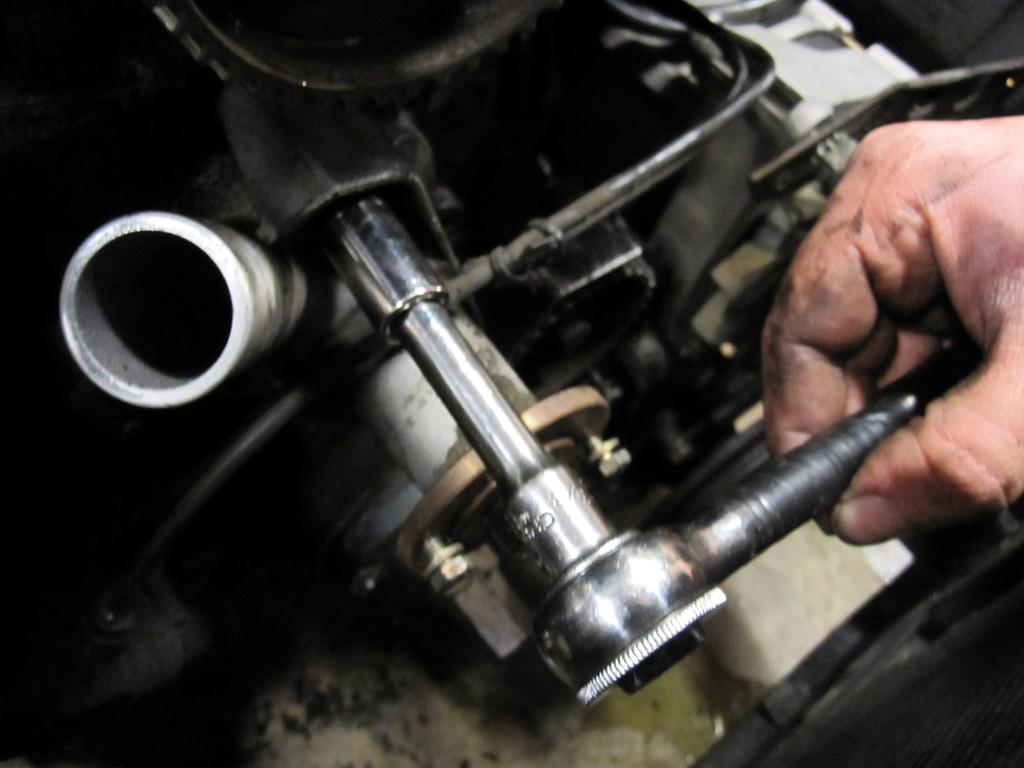
Step 26: Remove water pump- 3x 13mm bolts
Step 26.5: CLEAN. I highly recommend cleaning all of the exposed components that you can before moving on to reinstalling. It may seem trivial at first, but in the end, you will wish you would have cleaned more.
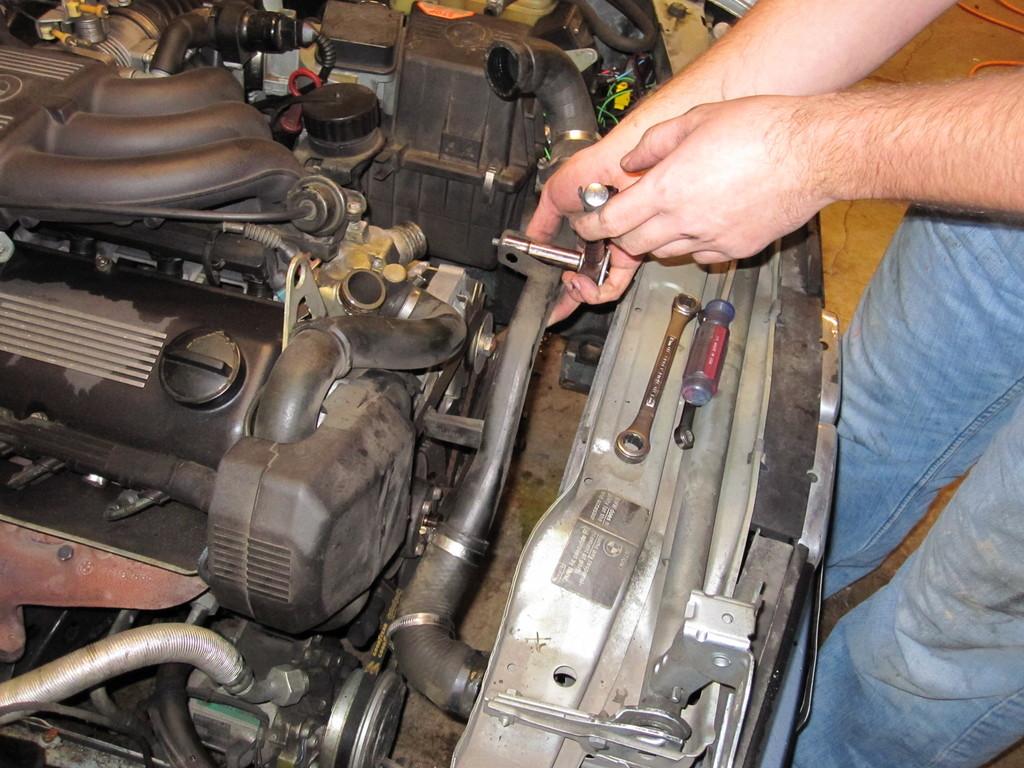
Step 27: Install new water pump/gasket. Torque to 80 in.-lb.
Step 28: Install new tensioner. Leave bolts loose.
Step 29: Install new timing belt- slide over tensioner LAST while compressing it. (picture from step 24 should explain this well). MAKE SURE to check that the camshaft and crankshaft are aligned properly. I have never had any trouble with this, but it is definitely a precaution to take before reinstalling.
Step 30: Installation should be reverse of removal.