You must be logged in to rate content!
4 minute read
Trunk net bag installation DIY
Compliments of GregW in Oregon @ bimmerfest.com
8-17-2008
I installed this yesterday. It is part of the Storage Package in some countries, but not in the US. Took just over an hour.
Parts needed:
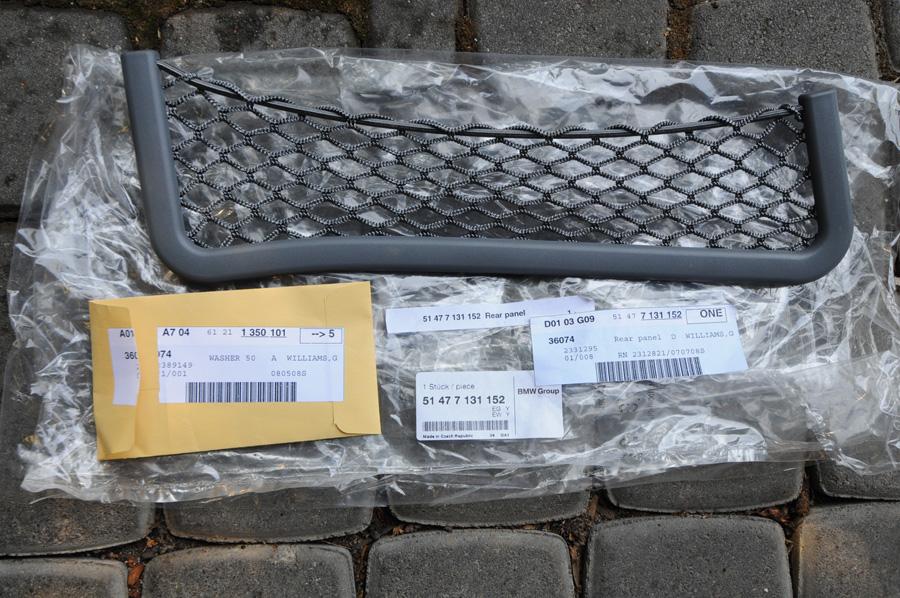
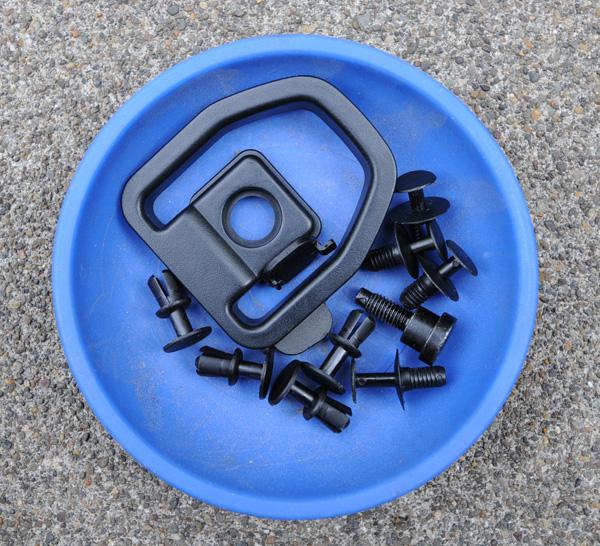
(1) 51-47-7-131-152 net bag, US$34.48 list
(5) 61-21-1-350-101 wave washer, US$0.72 list
Basic tools needed:
Flat bladed screwdriver and/or panel puller
Phillips screwdriver
5mm allen wrench
Drill w/ 5/16" bit
Needle nose pliers
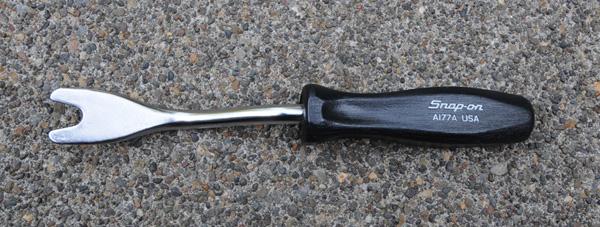
This is a panel puller that is useful for removing the plastic expanding rivets, but a flat-bladed screwdriver will do.
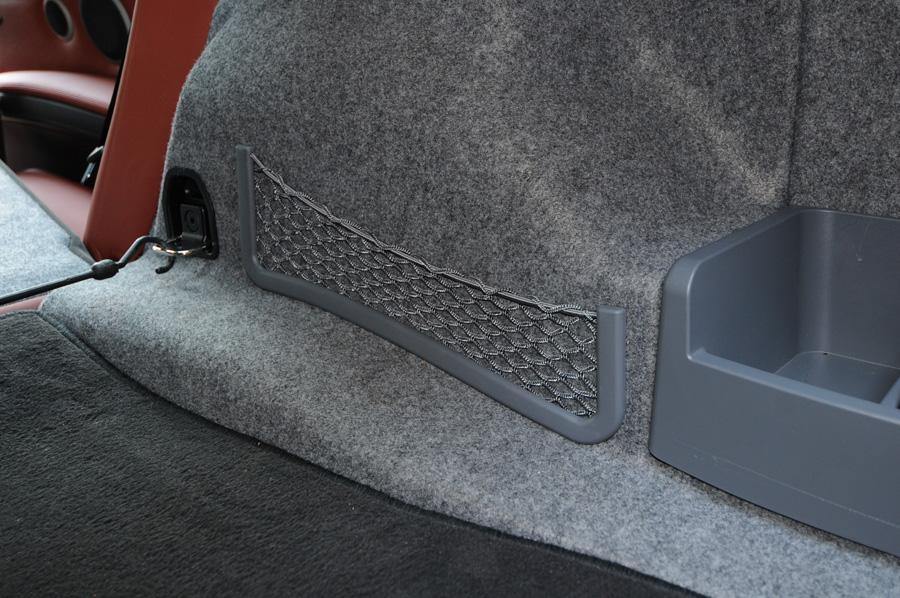
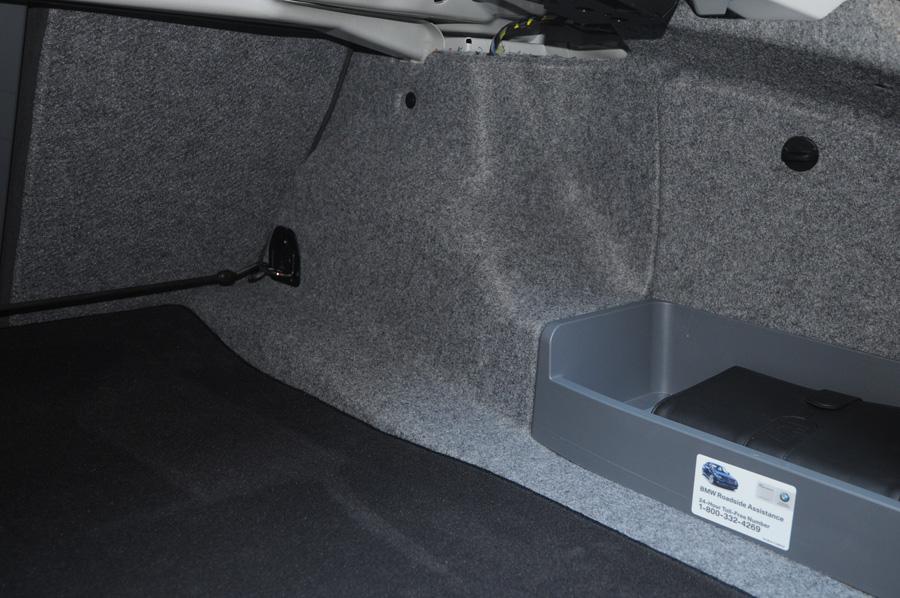
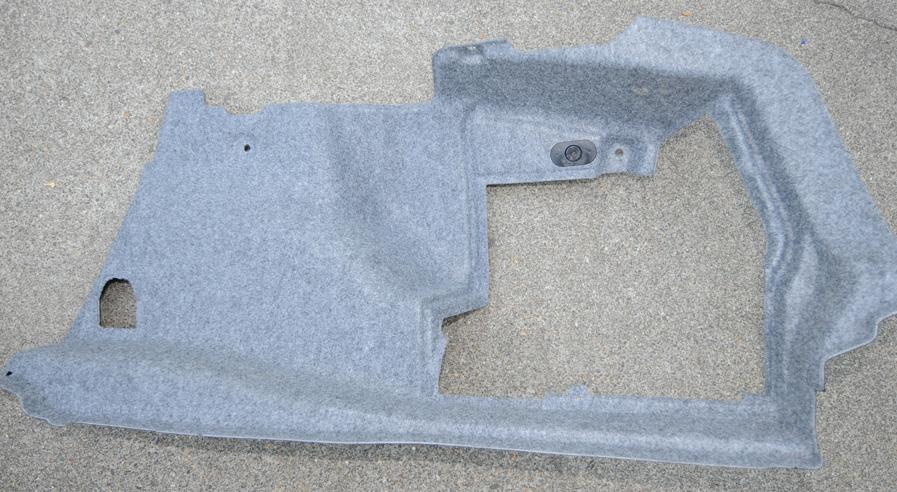
The net bag secures to the right trunk liner panel. Installation requires removing the panel. To remove the panel:
1. Remove the trunk floor panel (anf floor mat, if any) by lifting it out.
2. Revove the battery compartment cover by turning the latching knob 90 degrees and tilting the unit out at the top; lift out.
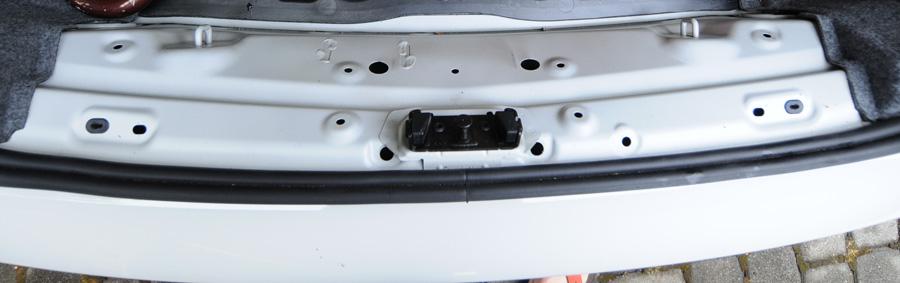
3. Remove the plastic loading sill cover: remove the 2 screw covers (one each side) by prying up on the front of each one; remove the phillips head screws under them; remove the 4 plastic excpanding rivets. Loading sill cover removed:
4. Fold down the right rear seat (or both for more light).
5. Remove the folding hook cover near the front of the side panel with an allen wrench.
6. Remove the 4 plastic expanding rivets (1 near front and 3 at rear) from the trunk liner panel. Remove the panel, carefully disengaging the front of it from under the rear seat side piece. Trunk liner removed:
Here are the fasteners removed:
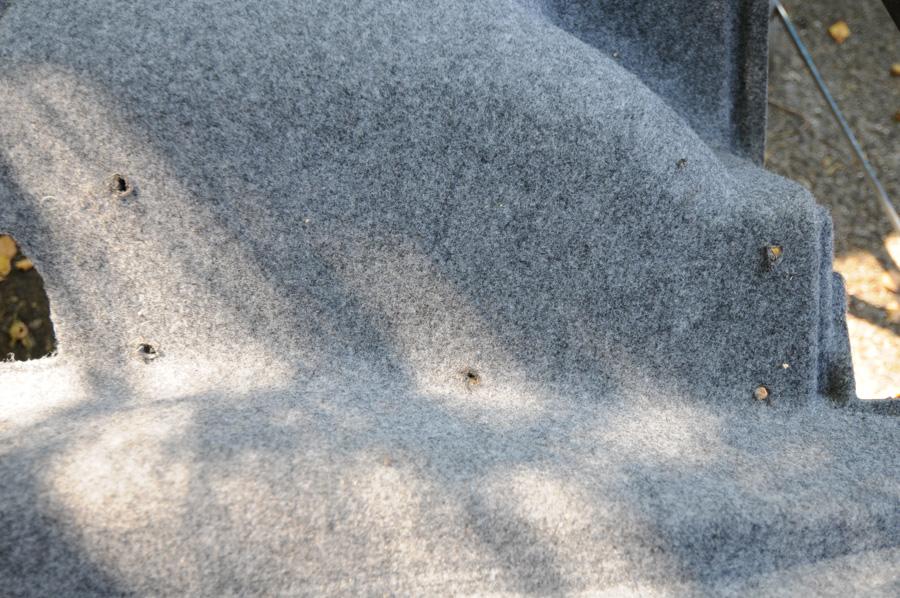
7. Place the net bag against the side panel in the proper location and mark around the 5 studs. Drill 5/16" holes in these locations throught the fleece-covered plastic panel. Clean up around the holes with a razor knife. Holes drilled:
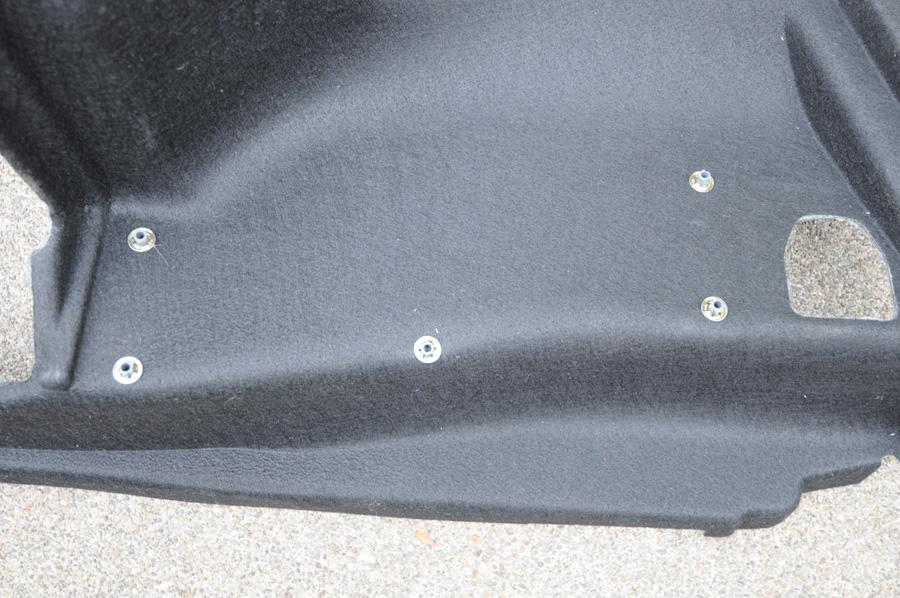
8. Insert the studs of the net bag frame through the holes and attache the wave washers from the rear. Note: prebend the wave washer grip tabs with needle nose pliers or other tool. I used a socket just smaller than the OD of the washer on a handle to force them over the studs (hold against solid backing when forcing on). Washers installed:
9. Reinstall the trunk side panel, loading sill cover and battery cover. The trunk weatherstripping must be worked over the sill cover and trunk panel flanges.
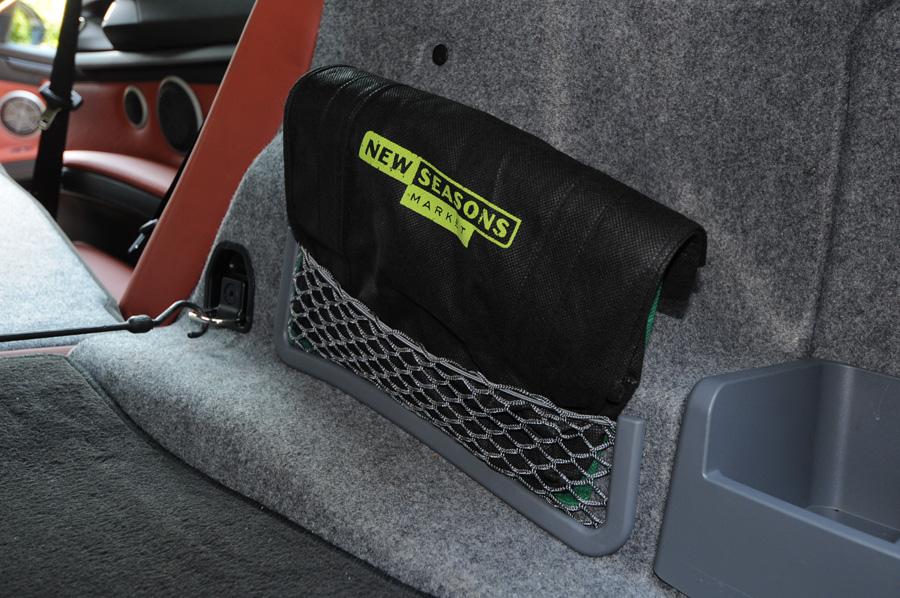
The completed project (perfect for those reusable shopping bags, a camera, etc,):