You must be logged in to rate content!
7 minute(s) of a 87 minute read
6-5-2011
6-5-2011
Speaking of plugs.. one thing to watch out for..
When the block originally arrived, I took all the plugs out and threw then in a ziplock, to prepare the block for machining. After the block prep was finished, the first assembly step was the plugs, and I simply matched the plugs up with the correct size threads, and screwed them in.
When I put the timing chain on, I noticed that the plug I put in the priority main oil galley, was just about touching the back of the timing chain.
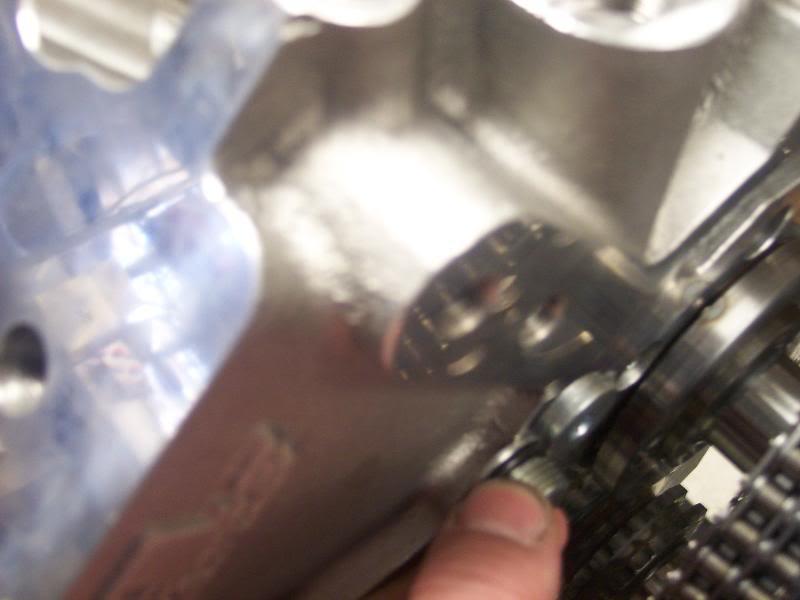
At first, I though "man, am I going to have to grind that plug face".. but then, after thinking about it, I came to the conclusion that considering the thought and design excellence that was put in this thing, there is no way they missed that..
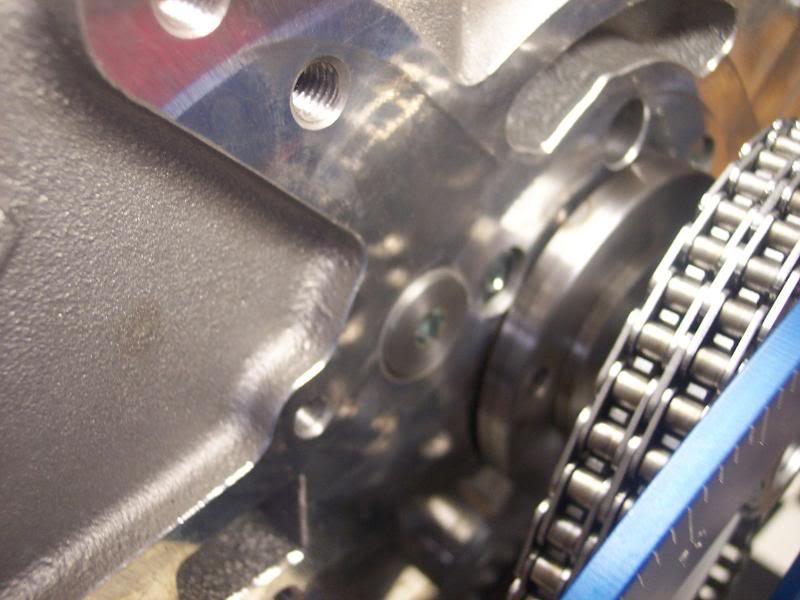
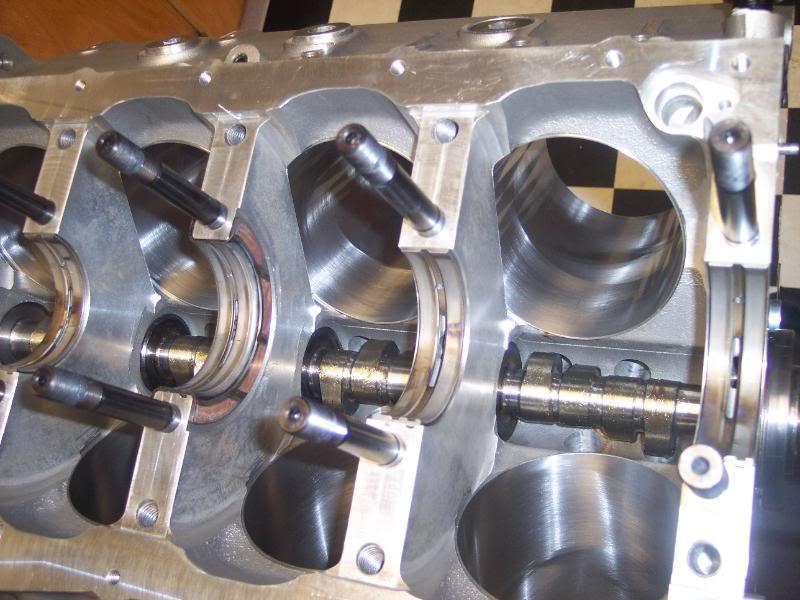
Sure enough, I put the correct plug in the rear of the block, you can clearly see the thin-head one in the driver side lifter galley at the back of the block in the above pictures..
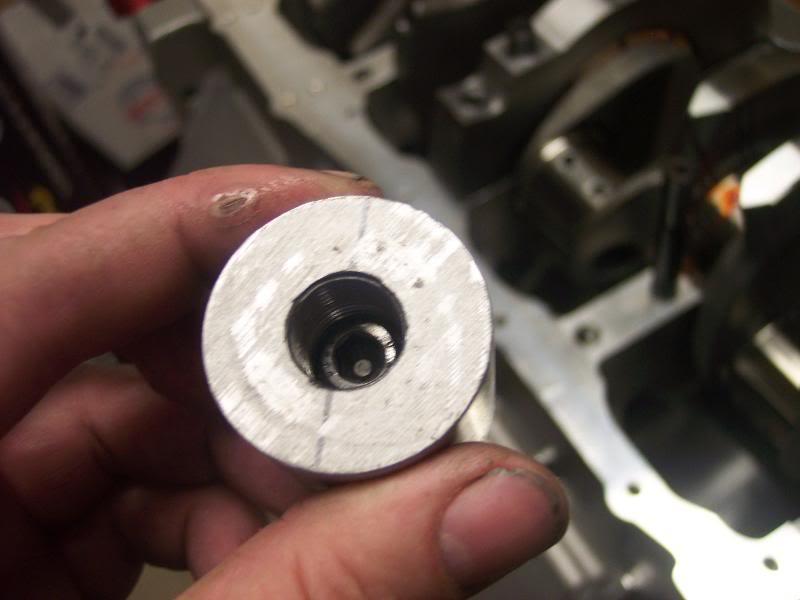
Here is the comparision.. the plugs are identical, except for the head thickness..
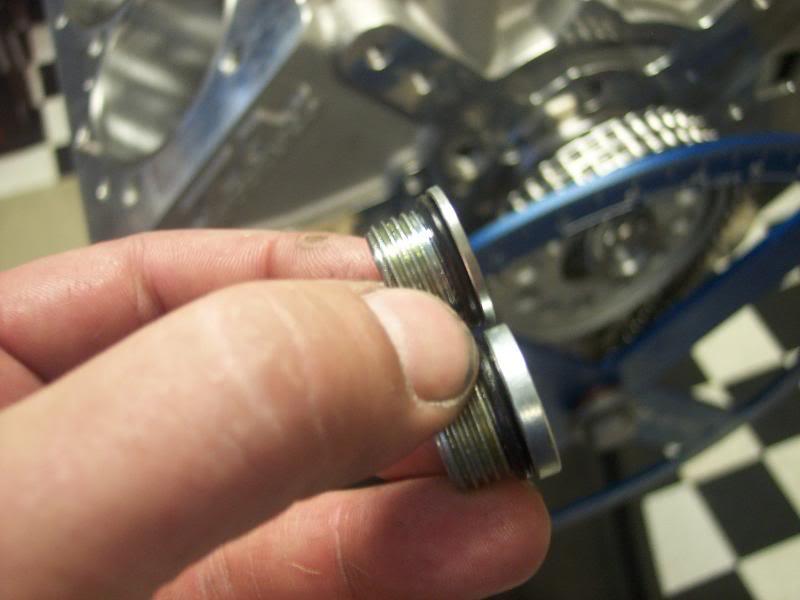
With the proper plug in the hole, there is plenty of timing chain clearance.
Easy mistake to make, make sure you don't!
JW
6-5-2011
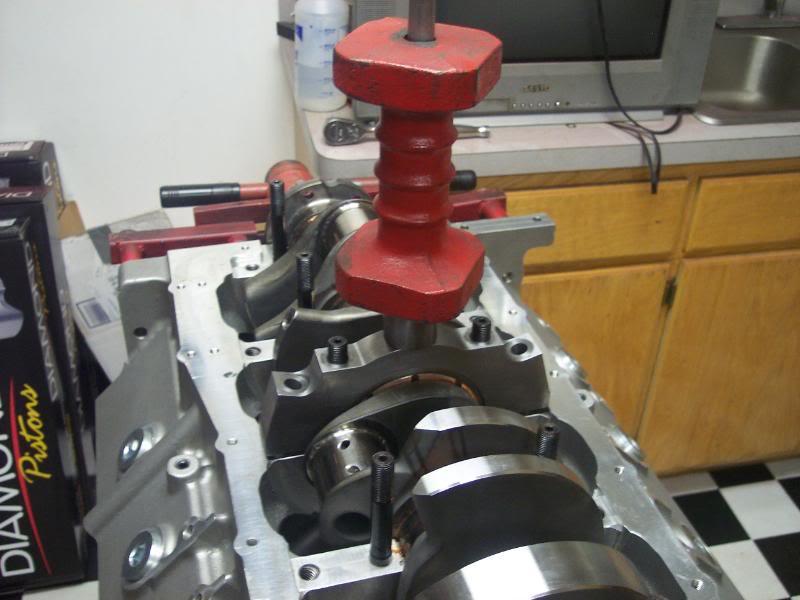
Crank install..
Let's back up a bit, and talk about hanging the crank in this thing. Or as I was referring to it "assembling the jewery"..
First off..
I selected a Federal Mogul Race bearing set for this one, as I felt this was the best bearing for a motor that is not going to come apart often, going several hundred passes, between freshen ups.
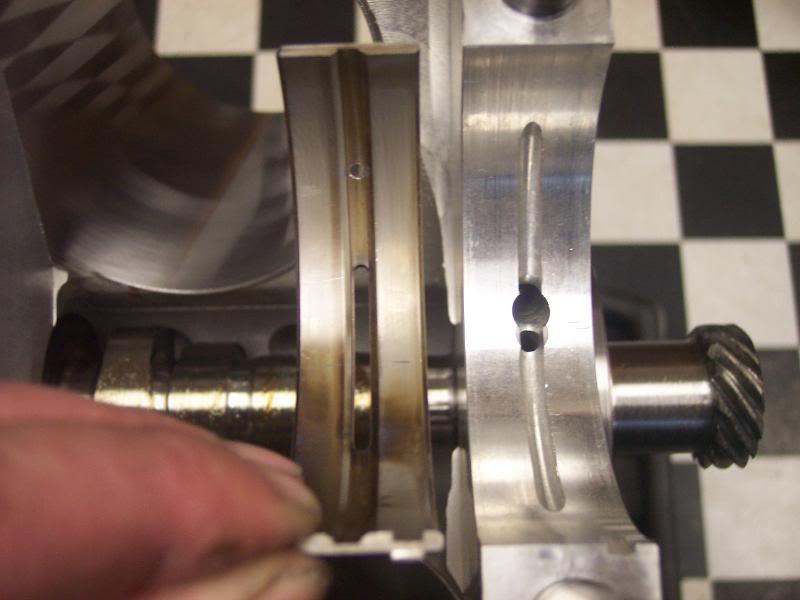
It's a very nice bearing, with a big oiling slot, and a 3/4 groove.
Because I had the groove available in the housing, behind the bearing, I then drilled 1 hole in the oil groove, so oil can enter the bearing from the rear, and not be affected by the spinning crankshaft, which tries to push the oil out. No hole was required on the other side in my opinion, as that same centrifugal force will pull the oil out of the main slot, and push it in that direction.
Now, I did several cap fits on this thing, checking out the fit and sizing of the bearings, as well as the rear seal. One thing was evident, from the very first time I took a main cap off.
Wow.. are they tight..
I used the pry slots on the side of the cap, and carefully worked it off, but the interference fit of the cap, makes it difficult, if not nearly impossible, to "cock" the cap, to pry it out like that..it need come straight off, and then straight back on. I put the #2 cap on once with a brass hammer, and I can tell you that there is very little chance you will be able to keep the bearing half in the cap, beating on it with a hammer. And this is not a "beat on it" piece of equipment, at least not if your walking upright with the rest of us.. ![]()
Now, apparently this is not an uncommon situation for an aluminum block, and one of my machinist suggested a solution. There is a 5/16-18 hole tapped in the center of the cap, and that can be used to relatively easily remove and install the caps.. with a big axle-pulling slide hammer.
Sounds crude, but actually works really slick, and it's the only way to work with these caps.
You need to build an adapter, and I would encourage TA to make these available.. it's actually pretty simple.
A 1.5" diam piece of hot rolled steel, 1.5" long. I located the center, and drilled thru the entire thing for a 5/16 thread.. but before tapping it, I then drilled thru 2/3 of it with a 37/64 drill, which was the size for the 5/8-18 thread on the shaft of my axle slide hammer. I then tapped the 5/16-18 side for a 1" allen bolt, and threaded the other 2/3 of it for my slide hammer.
Pictures tell the story better than words..
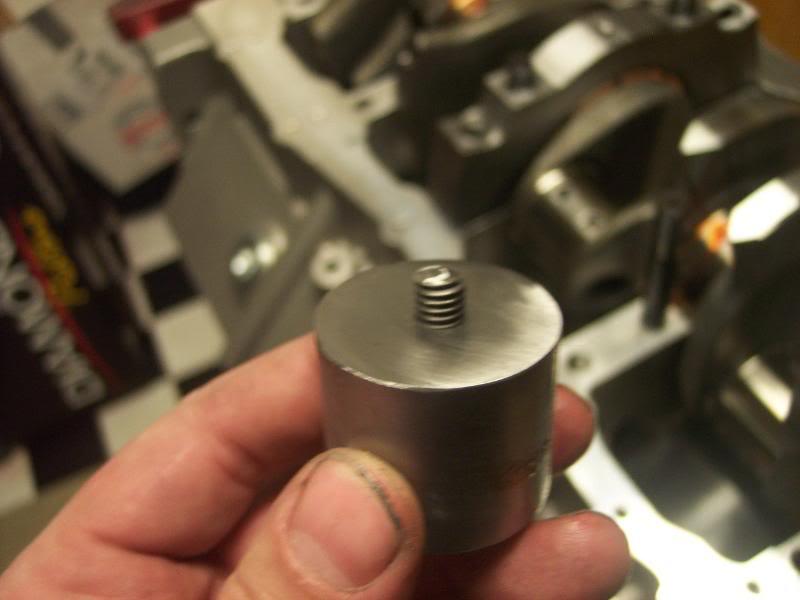
The adapter is then tightly screwed onto the cap..
And then you tightly screw on the slide hammer..
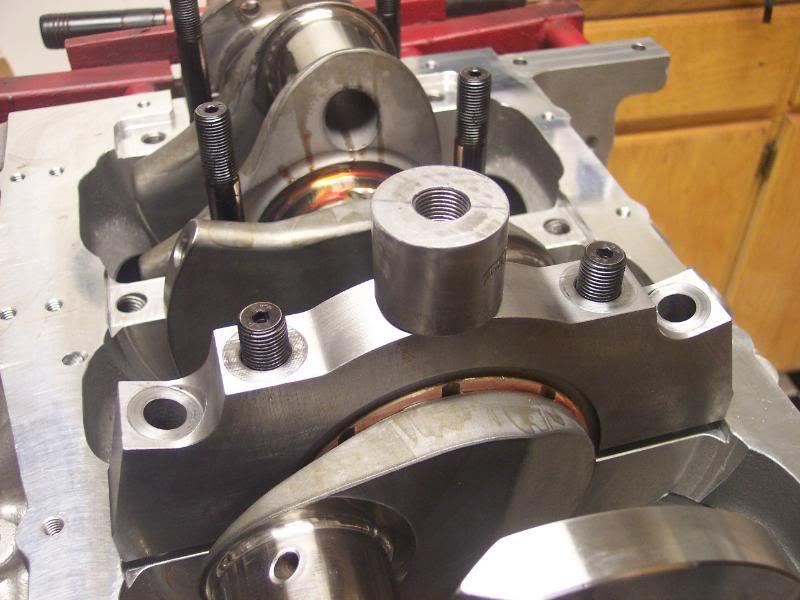
This gives an excellent, stable platform to drive the cap on and also to remove it, straight.. It worked perfectly.
Setting the end play.
Be prepared to spend some time here. Measurements indicated that I had basically zero end play, with the bearings out of the box. So off to the solvent tank we went, with a piece of safety glass, and a sheet of 600 wet dry, for some careful, and time consuming sanding of the thrust surfaces of the center main cap.
After installing the center main, I got the magnetic base dial indicator out, that I have used on a hundred BBB builds in the past, and stopped dead in my tracks when I turned and looked at the block.. hey, that thing is not magnetic..
so it took a bit of thinking.. ![]()
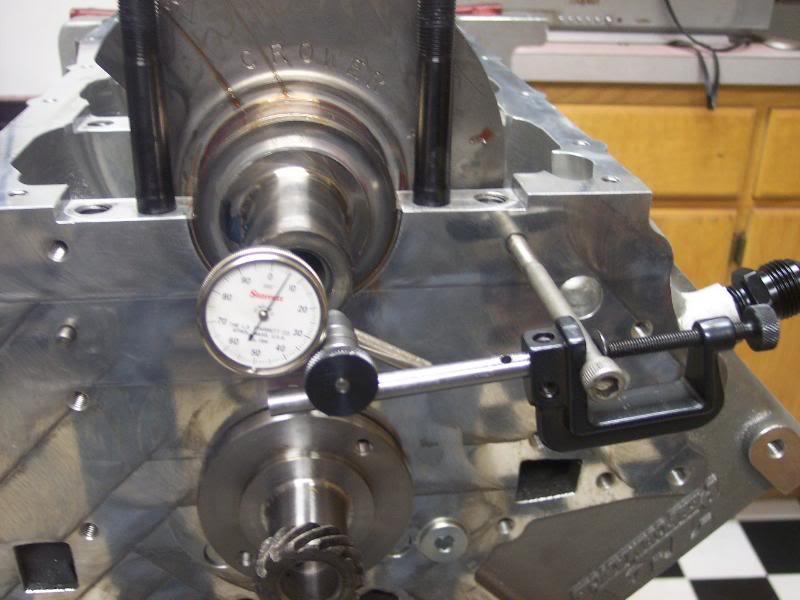
This one is a bit touchy, keeping the end play while installing the caps, so I advise that you check it, every time you put a cap on. End play was set at .007. When I see this motor again this fall (after it's 200 passes), I will be looking closely at the thrust surfaces on the cap and block sides of the center main, to determine what, if any, influence the alum block vs steel cap, has on the thrust bearing.
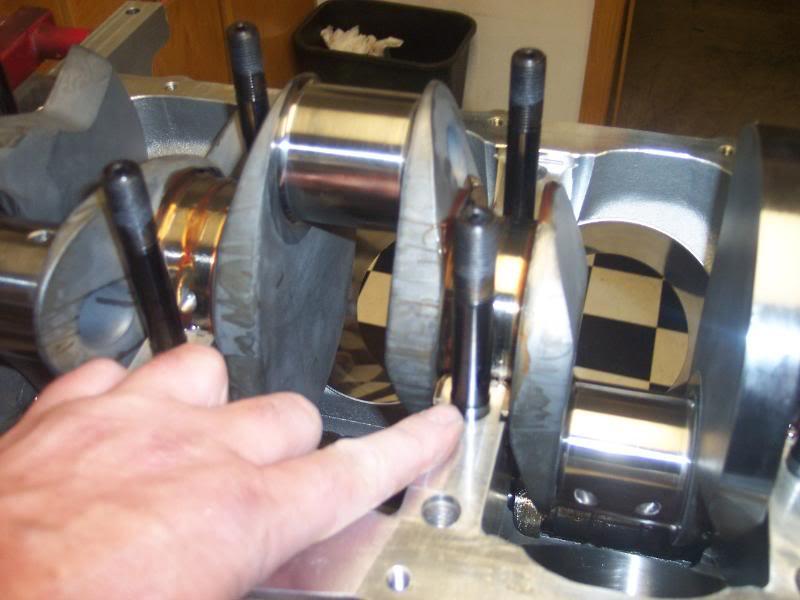
One thing to note.. the main caps do not register on the block, like an iron block does, but actually the alignment process happens between the cap and the stud, you can see the raised area for that interface in this picture.
The other thing that became evident, was that there is a requirment for a short bolt in the passenger side bottom bolt of the timing cover. You have this much thread, before it hits the outer stud of the front main.
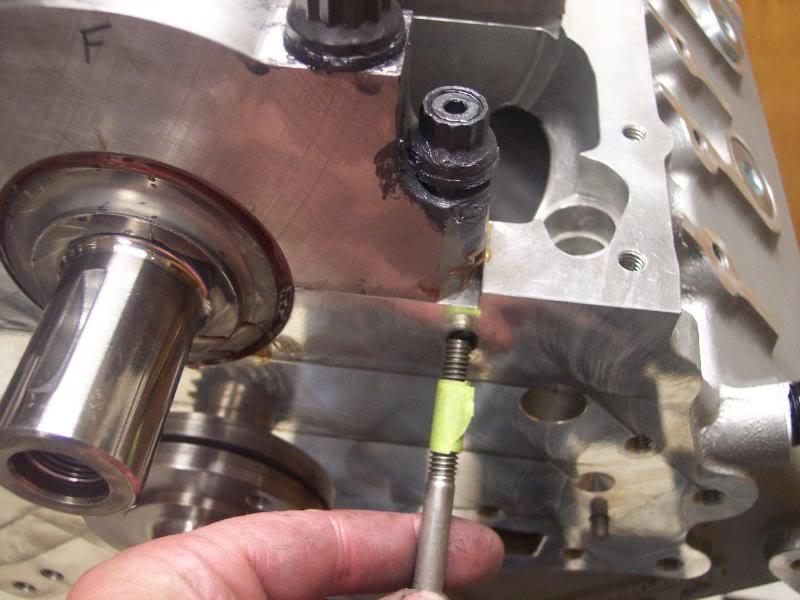
JW

Awesome build, amazing you can get so many passes at 750 horsepower. Nice job!
Posted by stevegolf on 3/13/21 @ 3:45:39 PM