You must be logged in to rate content!
3 minute read
DIY Eibach Pro-Kit Install (with pictures)
Compliments of efme @ ctsvowners.com
2-25-2013
Tools needed:
-jack stands
-2 floor jacks
-7/8" lug wrench
-socket wrench
-11/16" socket
-3/4" socket
-13/16" socket
-10mm socket
-13mm socket
-5mm allen wrench
-channel locks
Front (thanks to HotRod-Realtor for the initial instructions)
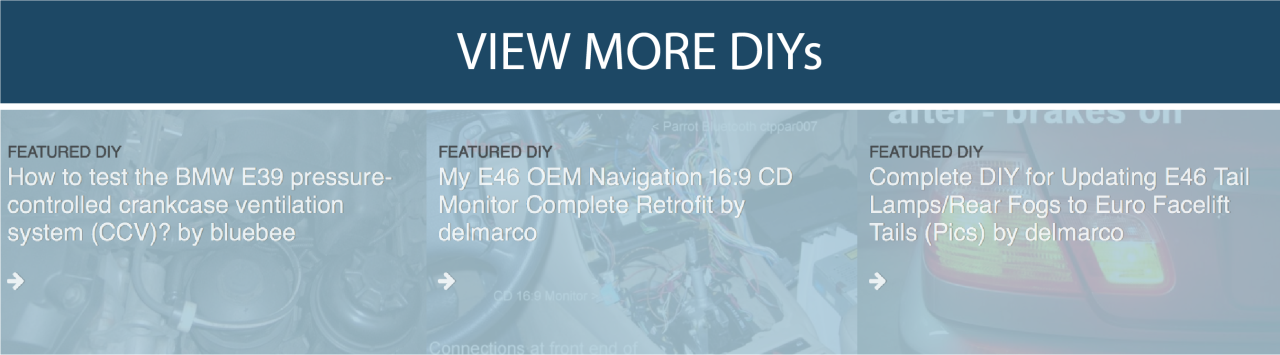
1)Pull off the electrical connector at the top of the shock.
2)Remove the 11/16" nut under that connector.
3)Remove the second 3/4" nut under that one.
after steps 1-3:
4)Remove the 2 ABS 10 mm bolts that hold the sensor in and the wiring harness
hold down on the spindle.
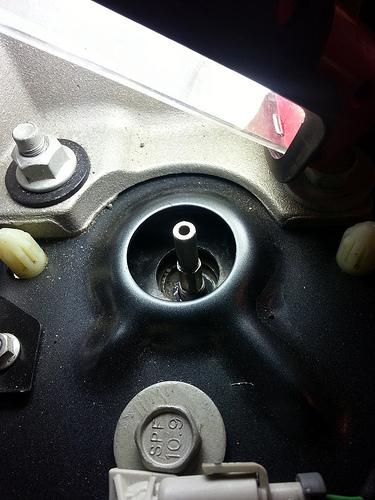
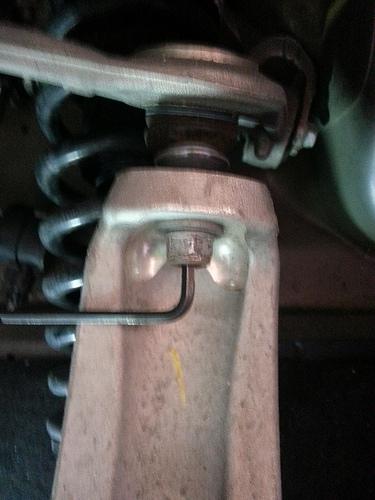
5)Remove the 18 mm upper control arm
nylon locking nut. use a socket to get it loose but once it is loose, you will need to use a pair of channel locks or a 18mm wrench to loosen it. Once the bolt is OFF, pop it off the upper control mount. BE CAREFUL it will but a sudden loosening of the spring
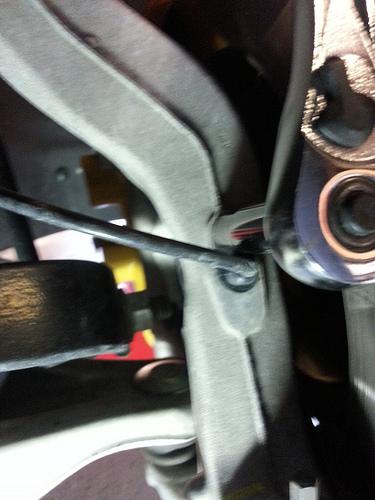
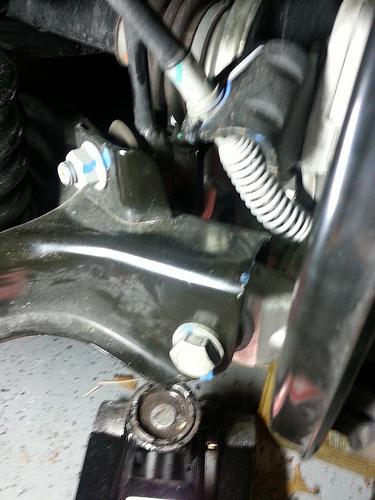
6)Remove the two 13 mm bolts that hold the bottom of the shock to the lower control arm

7)Simply slide the shock and spring assembly out. It is really easy this way and you do not need a spring compressor
Reassembly is pretty straightforward.
8)Cut your bumpstop (OPTIONAL)
9)Remove the dust cap
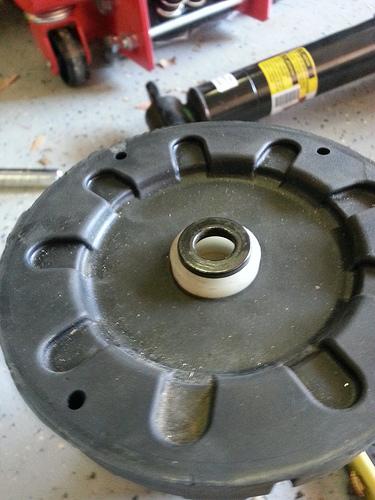
10) Install the new spring
11)pay attention to the black washer that sets down on the shock shaft. It has a bevel that faces down. and it should fit snugly into the white nylon sleeve
12)Slide the shock / spring assembly back in place.
13)Install the two 13 mm bolts in the bottom of the shock.
14)I used a small floor jack to push up on the bottom of the lower control arm
to help install the 18 mm nut on the upper control arm
ball joint.
15)Reinstall the ABS sensor
and two 10 mm bolts.
16)Reinstall the two nuts at the top of the shock and hook up the mag ride electrical connector. Make sure that nylon nut is 100% tight. This was a pain in the ass for me. If it is not tight, you will clunk over every bump.
Rears:
Instructions after I get some clarification.
I hate this:
the A-arm is secured OVER the bushing bracket so it would not "just drop" like other instructions.

Nice list to do DIY!
Posted by Diggymart on 10/10/19 @ 11:51:45 PM