You must be logged in to rate content!
5 minute read
ZL1 Lid Install
Compliments of hornetraider @ ctsvowners.com
11-15-2014
I see a lot of threads with people curious about how hard the install is and whether or not they can do it for themselves. I tried to document my install as best I could so that I could post it up on here for those of you on the fence about installing it.
Before anything, I have to give a huge shoutout to IrishC6 for not only doing a quality milling job on the lid so that I could fit it under my stock hood, but for helping me with the install and letting me use his garage.
Thanks to my good buddy AP3X as well.
1. Acquire a lid. You can get it from GM parts
direct for $301 shipped I believe.
2. For those of you with a stock hood, you're going to need to get your lid milled.
3. Acquire fittings and hoses (for those of you that decided to tap your lid.) I used the following parts.
http://www.summitracing.com/parts/sum-220087b
http://www.summitracing.com/parts/sum-220047b
http://www.summitracing.com/parts/sum-240010b
2 of each of the fittings, and that hose should be good.
4. Open your hood. Remove all of the beauty covers.
5. Remove the strut brace. There's two bolts on each side.
6. Remove all 16 or 17 bolts that hold the lid down. I forgot how many there are.
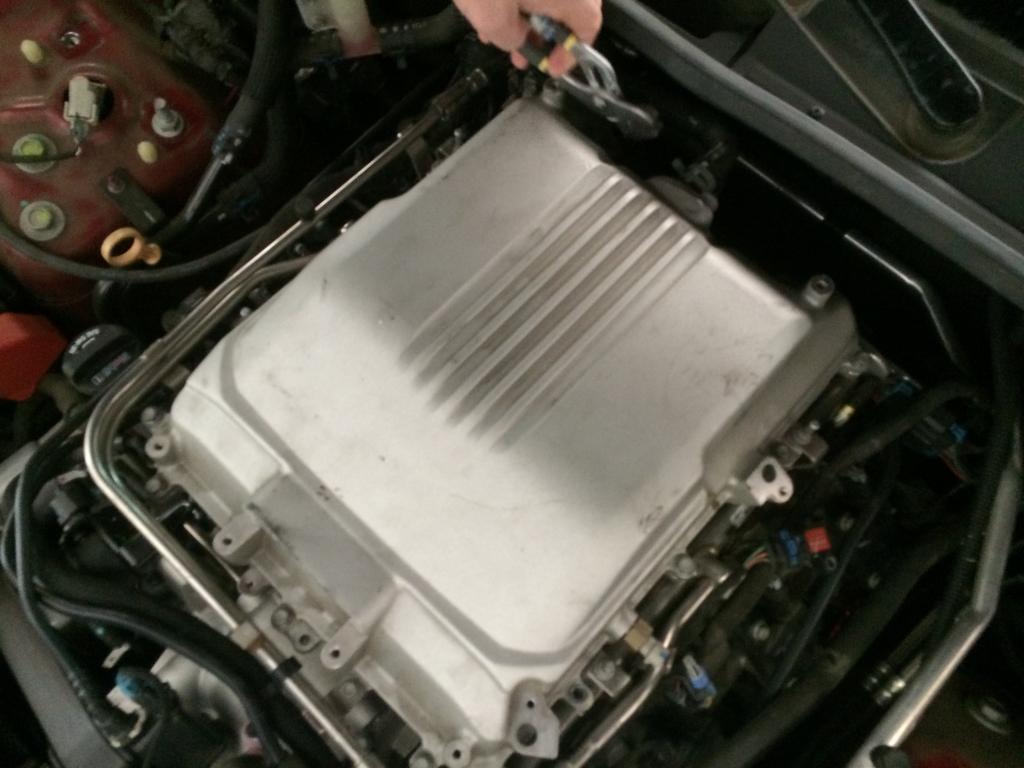
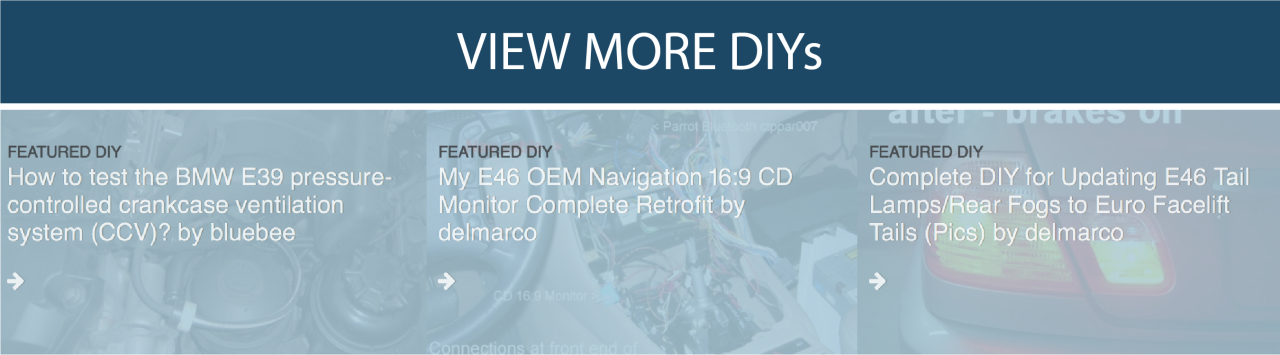
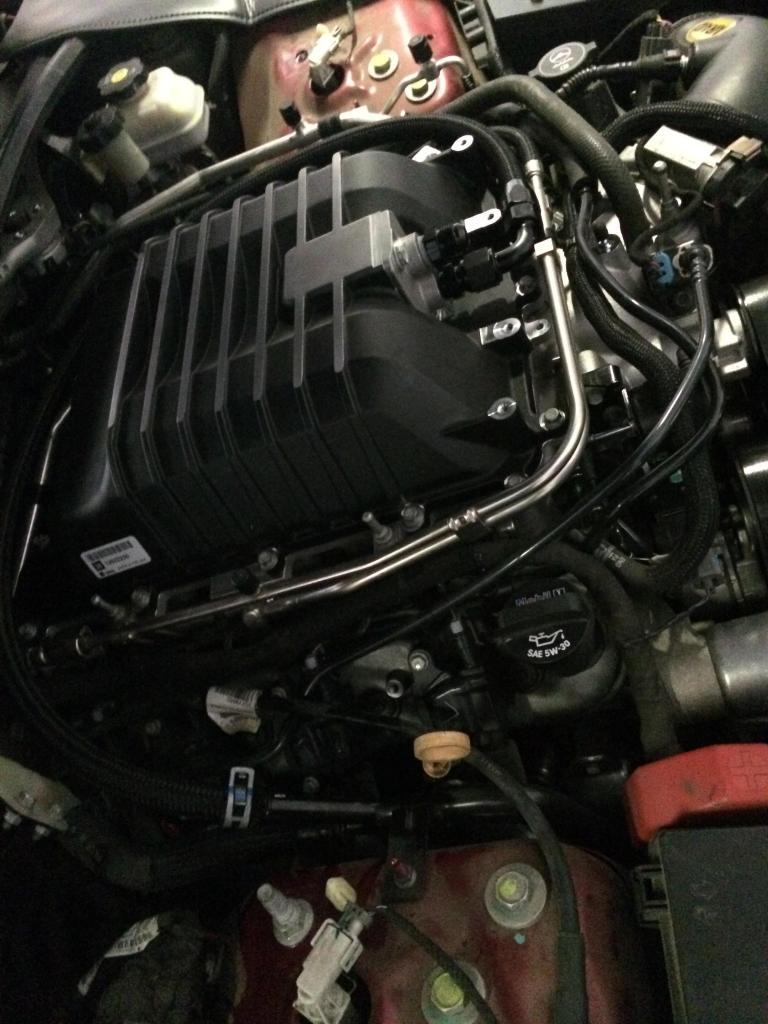
7. Remove the three sensors to the right of the lid (if you're looking into the engine bay from the front of the car). I guess driver's side would be an easier way to say that. The middle one you simply pull the tab and pull out. The outer two, you'll need to remove the bolt holding each in place. It'll pull out. You can see in this pic the lid is propped out.
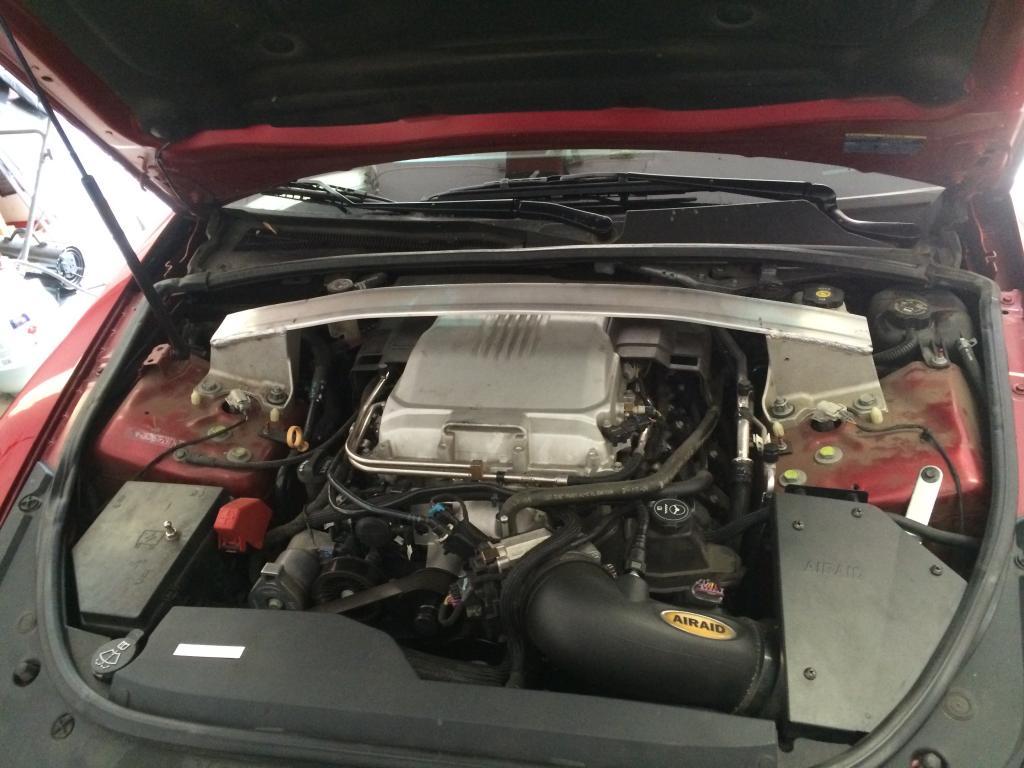
Unclip the two hose clamps in the back of the car and carefully remove the two coolant lines.

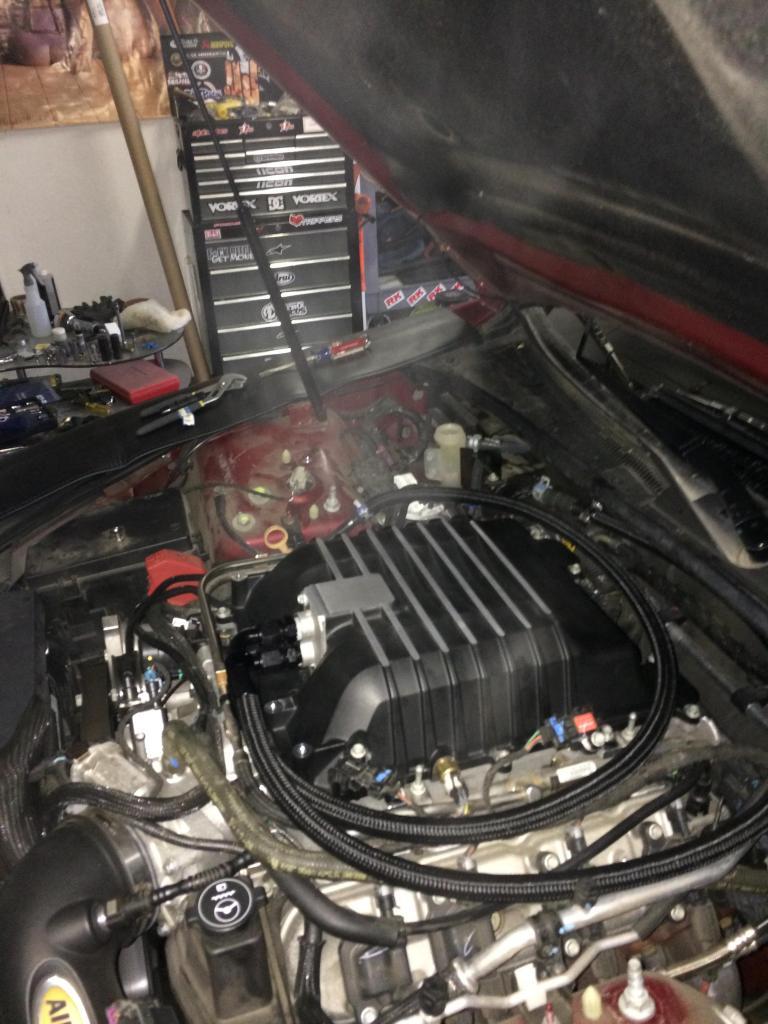
8. Remove the lid.
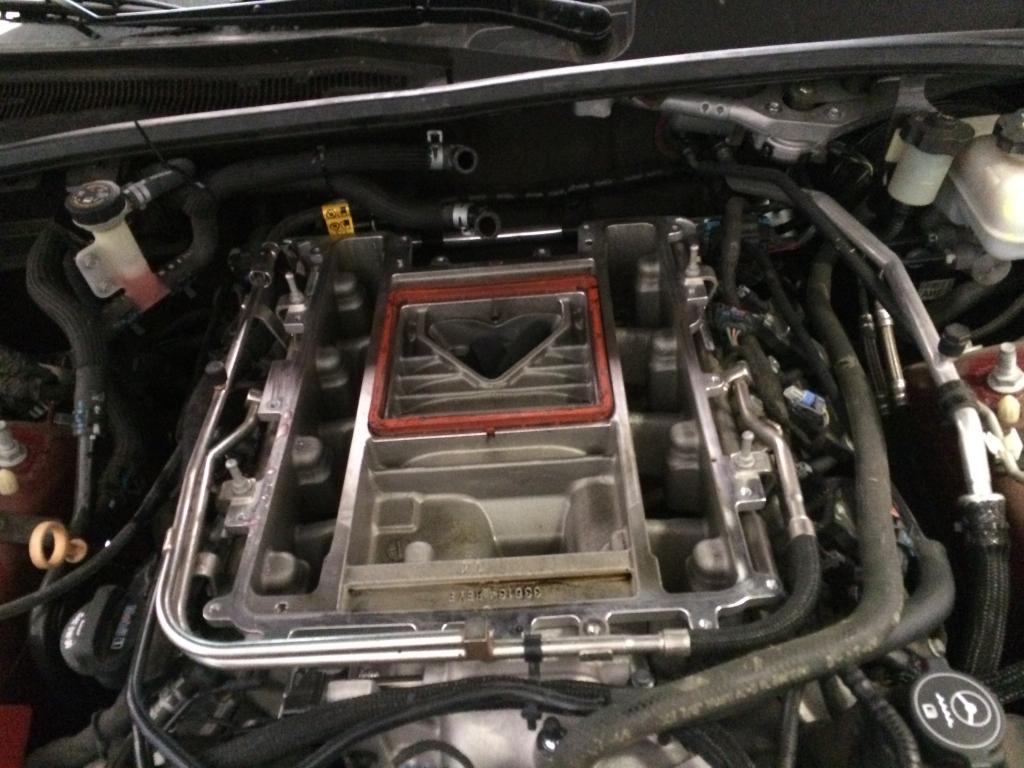
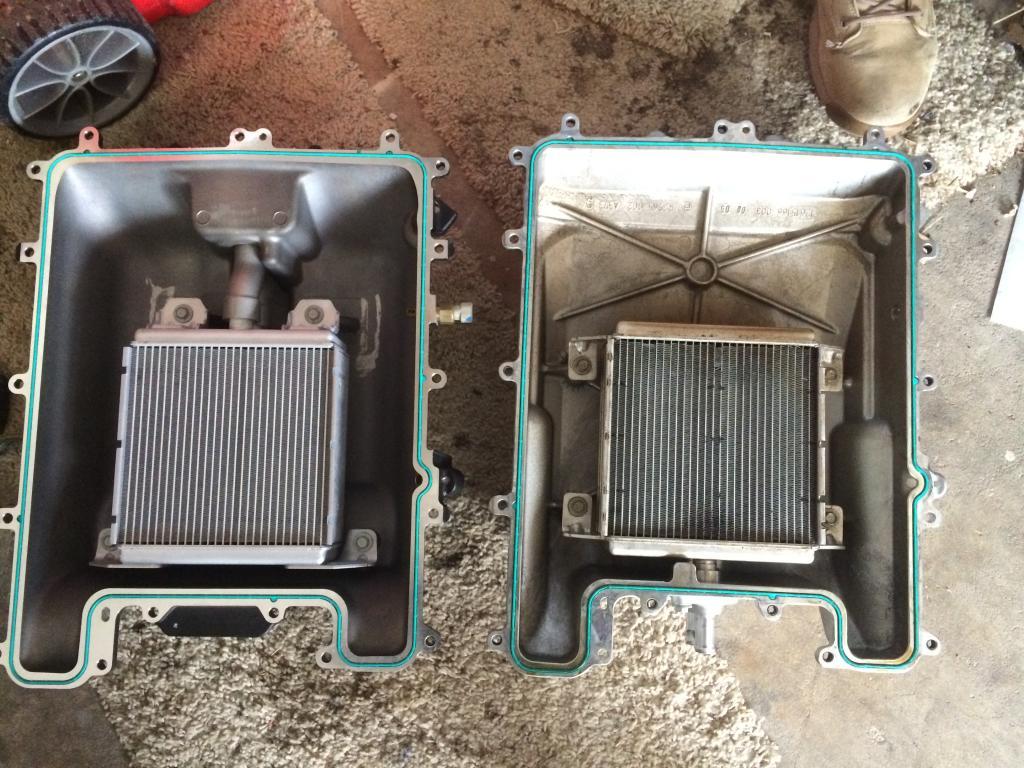
Here's a comparison of the two. Stock lid on the right, ZL1 lid to the left.
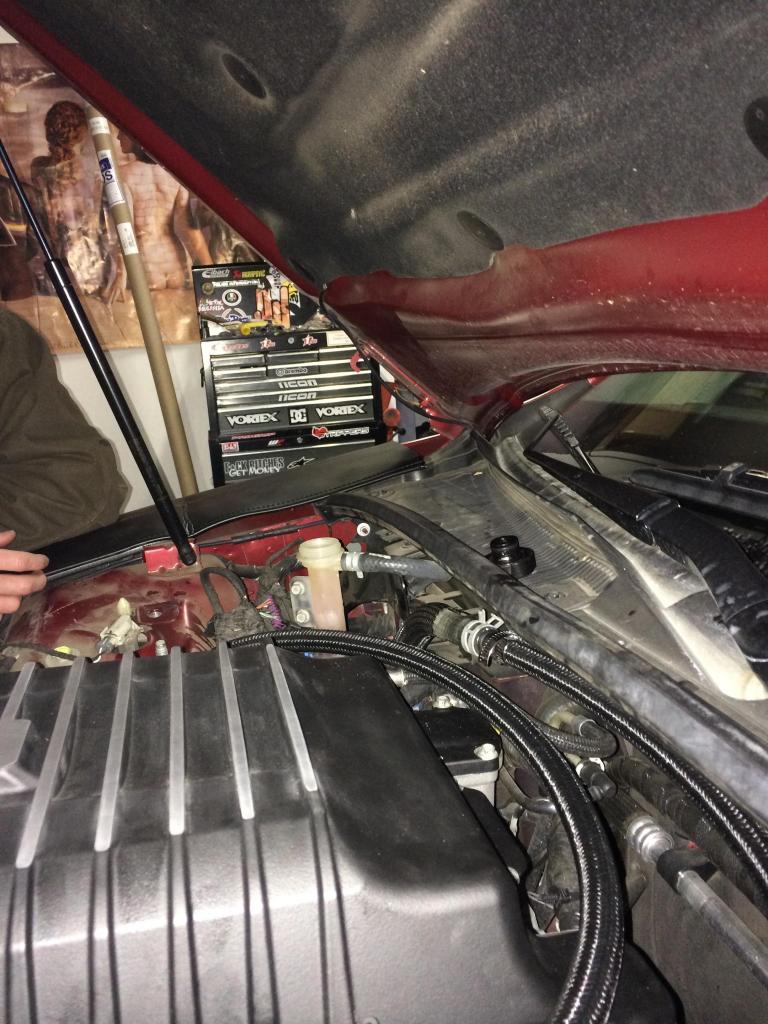
9. Place the new lid on.

10. Tighten all the bolts on at 44 in/lbs. Then re tight at 88 in/lbs. Use the same star tightening principle as you would on a tire. There's a diagram on here somewhere that shows you exactly how to do it. If I find it I'll edit it onto here. Make sure you re-attach all of your sensors.
11. Route your lines however you desire. Plenty of different ways to do this.
12. Start your car. If you're sloppy like me, watch as all the spilled coolant gets burned off.
13. Unscrew the coolant reservoir
tank and let the system burp out any air bubbles.
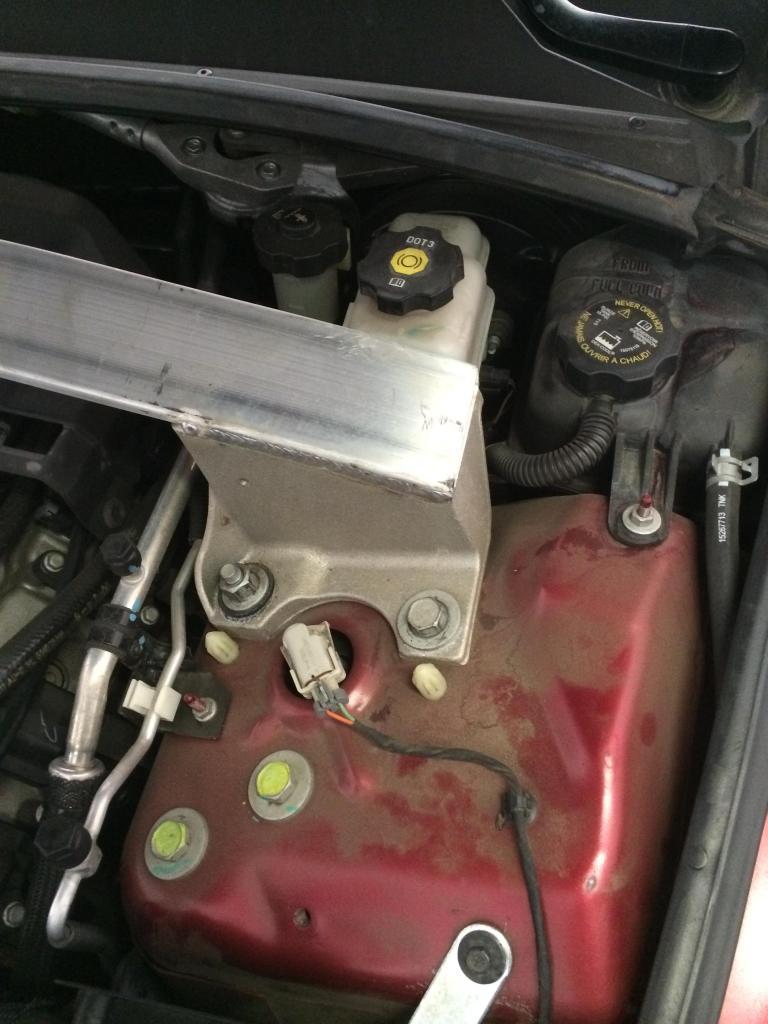
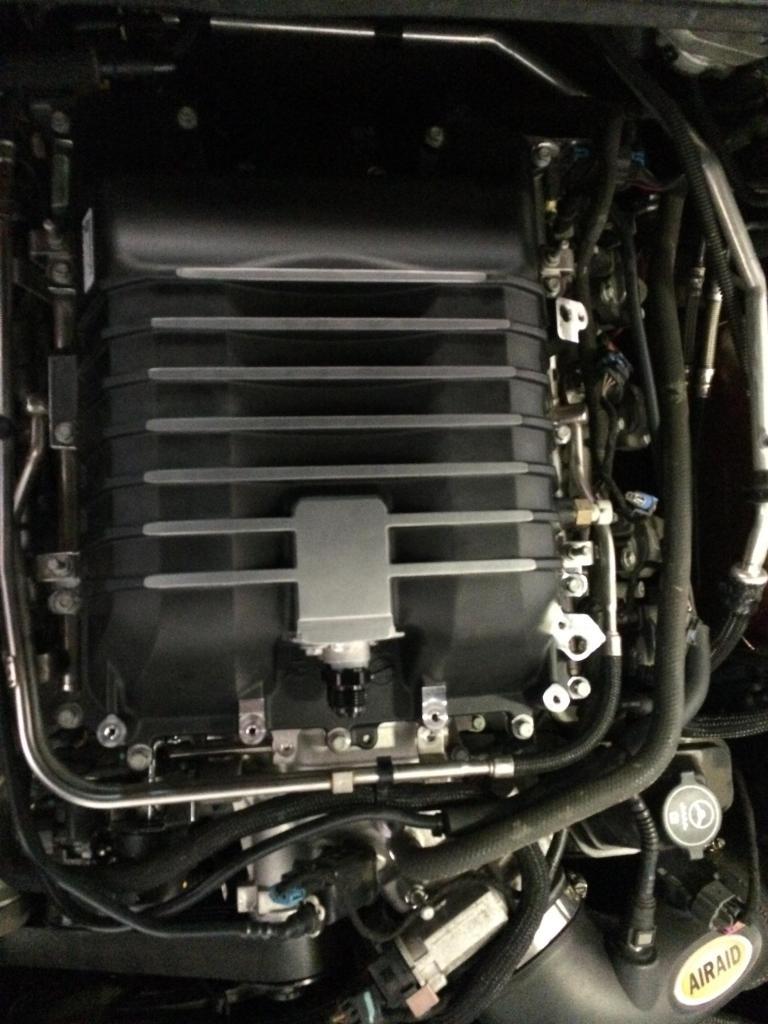
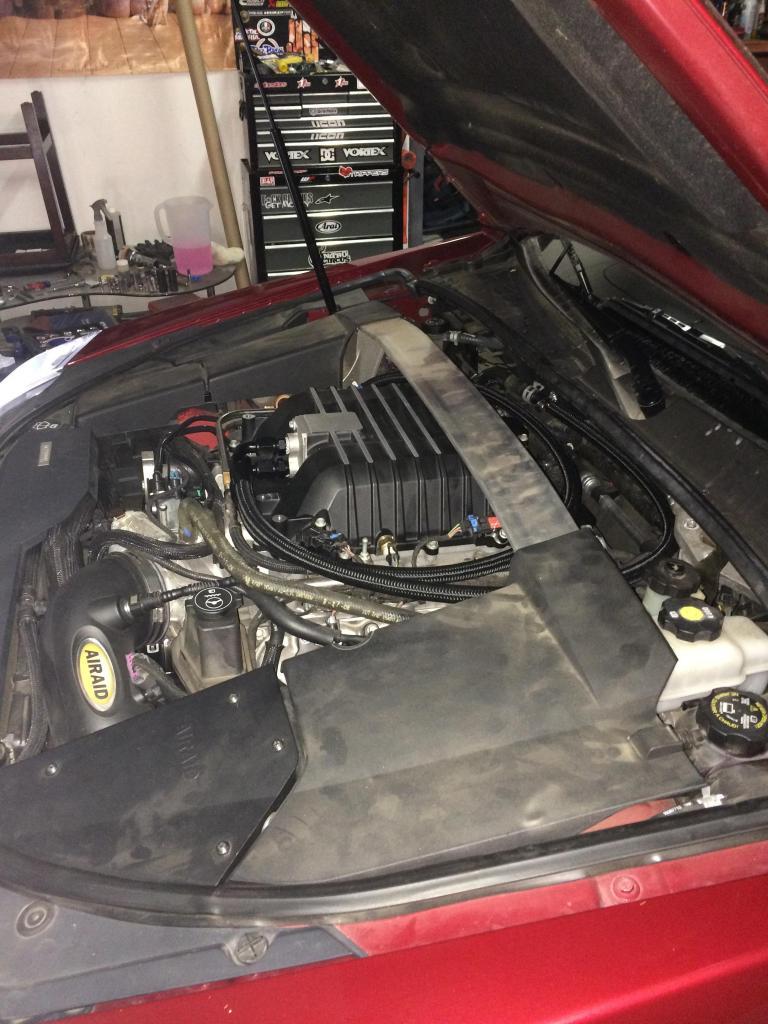
14. Enjoy your badass looking engine bay.

Good diy!
Posted by Diggymart on 5/2/20 @ 6:45:33 PM