You must be logged in to rate content!
7 minute(s) of a 107 minute read
3-5-2009
LQ9 6.0L PT88 w/ Truck Manifolds in an FBody Build
Compliments of 98Z28CobraKiller @ www.ls1tech.com
*****Please note that I am copying and pasting the main posts on here from a local site that I am on more frequently. I started that thread Over a week ago so this first page is in a sort of time laps mode  ******
I have officially thrown in the towel on the nitrous. With 4cyls running 8's and 9's on the street, I figured that there must be something to this new fangled turbo stuff. I decided to dive in to these new and unchartered waters (for me atleast). So without further delay, here come the pictures.
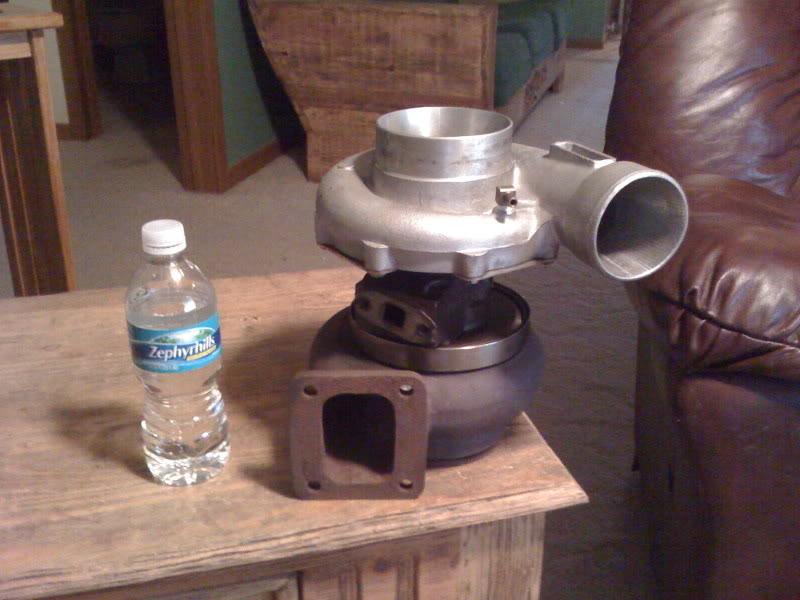
Star of the show will be this PT88.
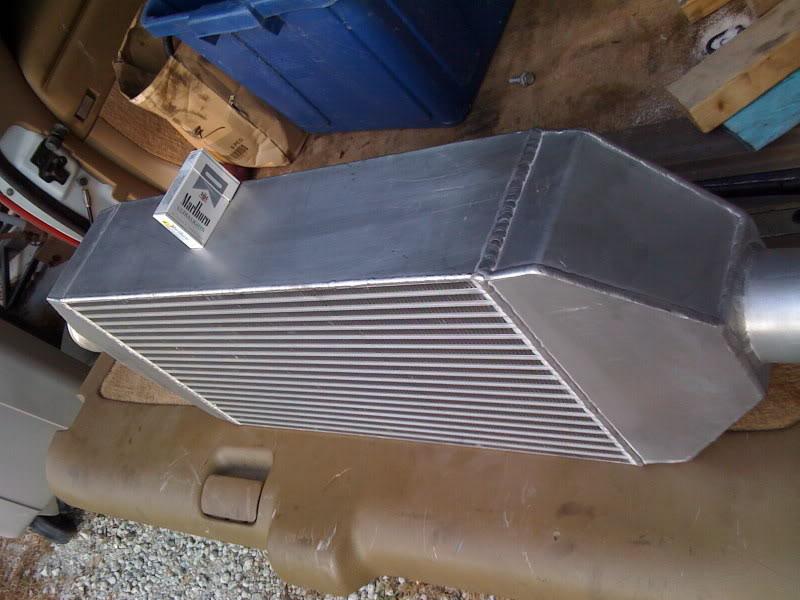
Costarring will be this massive Air to Air intercooler with a 24X12X6 core. (Thanks BMR Tech)
I will be going backwards a little in of motor and cubes. I will, for the time being, be running a pretty much bone stock LQ9 (Cast Iron LS1 6.0L) long block. I picked one used and just threw it in. This was done for 2 reasons.
1) I don't know **** about tuning a so if I **** up and blow something up, it's not the end of the world.
2) It was cheap and will help to greatly reduce the down time on the car.
Once I get the low boost tune (wastegate spring) ironed out, I'll throw some rods and pistons in there and turn it up. No more forged cranks for me for a while. Pretty much everytime that I have blown my motor, I have managed to ruin my forged crank. There are lots of guys with over 1000hp on the stocker so I will be giving it a chance.
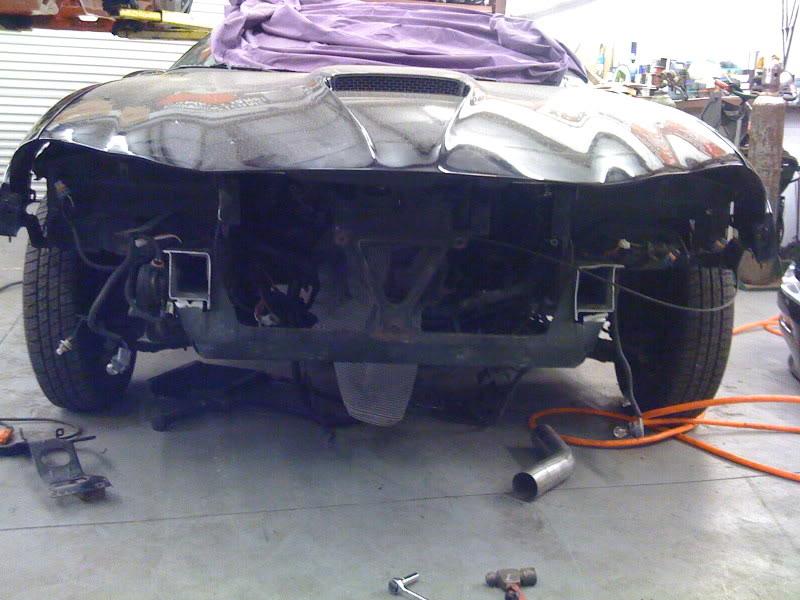
Pictures of getting started.
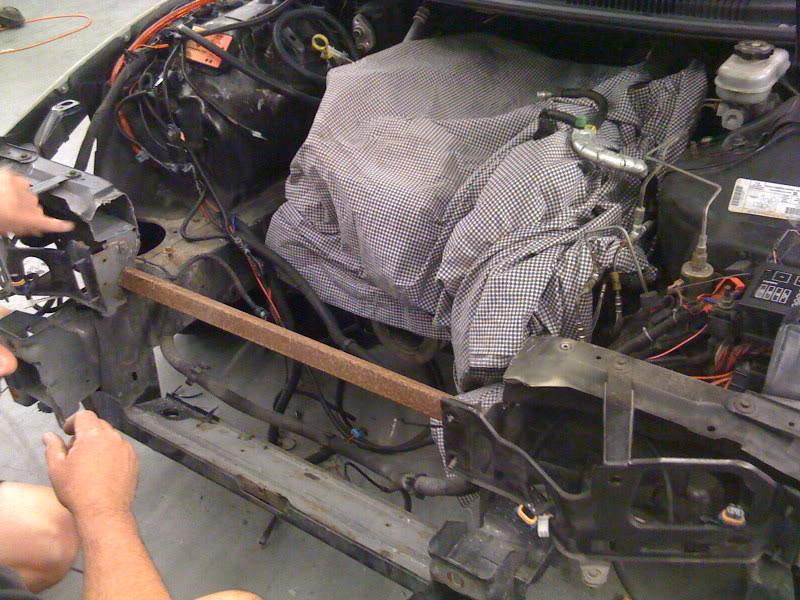
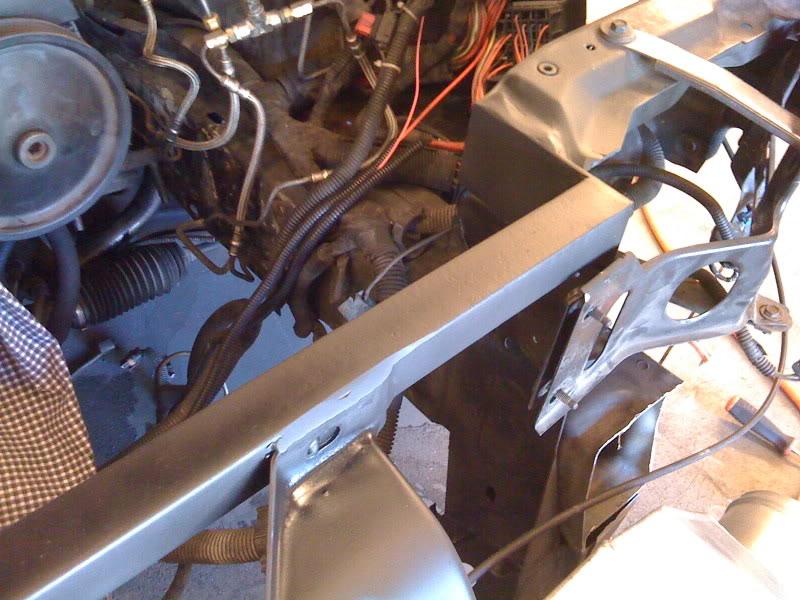
we cut out the radiator support in order to make some space for the turbo. The bar running across the middle is just being used as a spreader in case the gap wanted to close in a little until he welded in the relocated support.
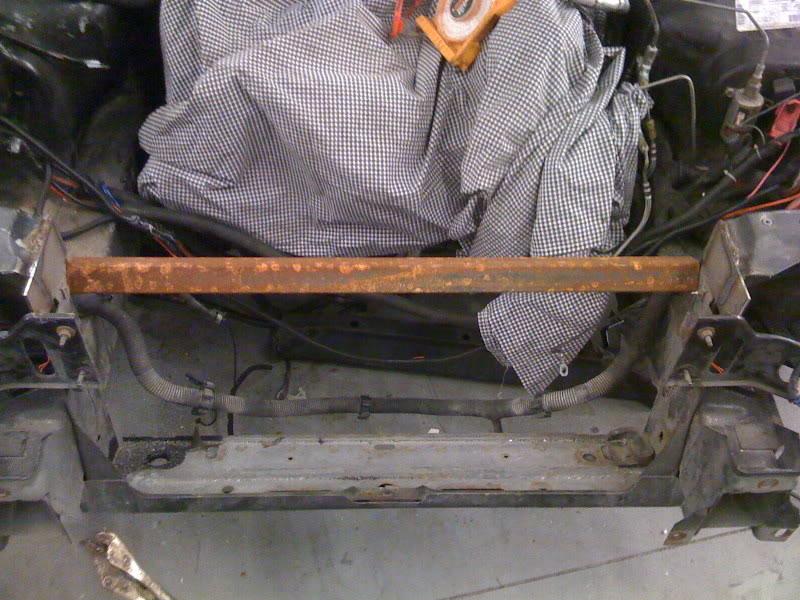
Then he welded some caps that come out a little forward for the new support. Again, the rusty bar is just a wedge.
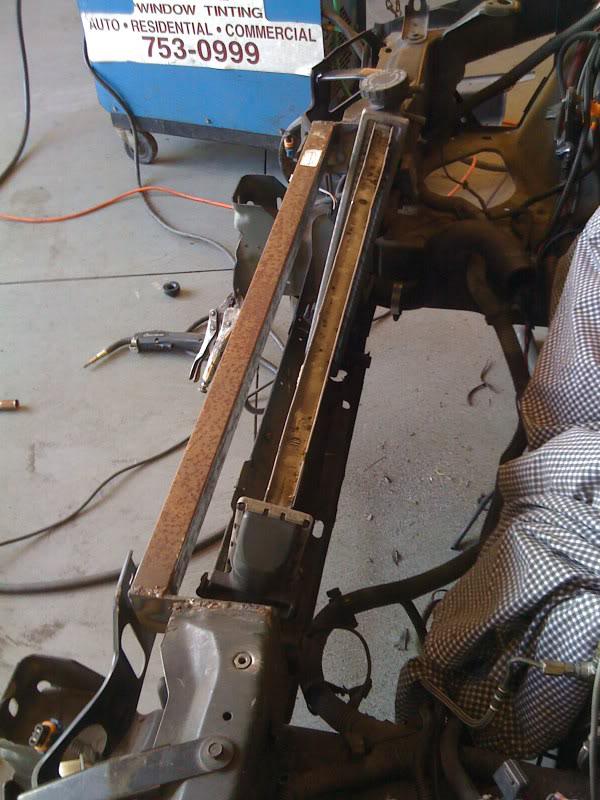
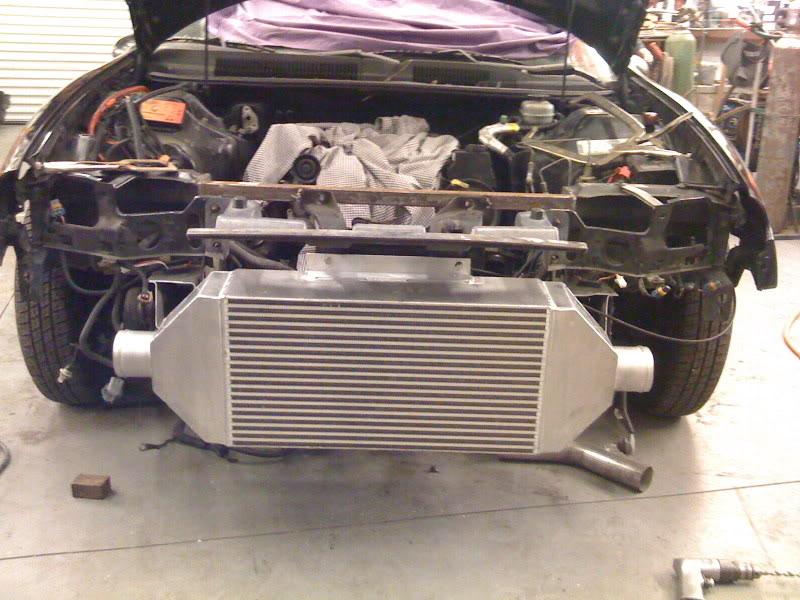
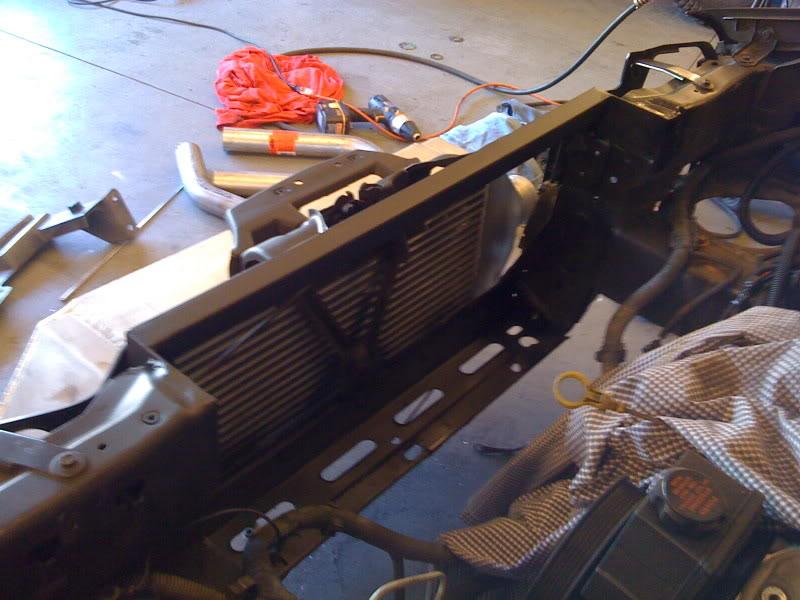
Here it is with the support in place and the radiator sitting in the hole. Between the radiator relocation and the use of pusher fans on the front, you get an extra 5 inches or more of clearance.
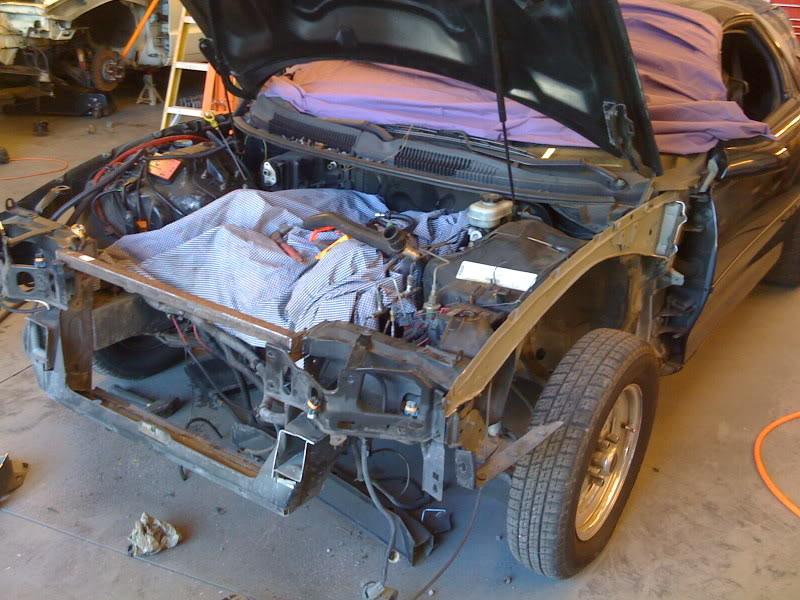
Due to all of the additional weight from the turbo, intercooler, piping and the iron block, I am trying to remove some weight. I cut the horns of the front for the bumper supports, the extra metal behind the fenders that we aren't sure what it does, and am in the process of removing the A/C.
I got my flow matched 80# high impedence injectors today from FIC Injectors. They came with a flow sheet (matched) and 2 of them flow about 4 CC's more marked for the notorious #7 & #8 cylinders.
Oh, and I also got my truck manifolds today. Flanges are running behind.
I also sent out the FiberTuned intake to have the divider plate removed which was causing most of the flow restrictions. They are also going to brace it up a little for the boost as I heard from another tester that it was flexing a bit at about 15 psi (which I wont see until I get some rods, pistons, and my heads on it). If you're curious as to what I am talking about. The answers are here http://www.ls1tech.com/forums/genera...-pictures.html
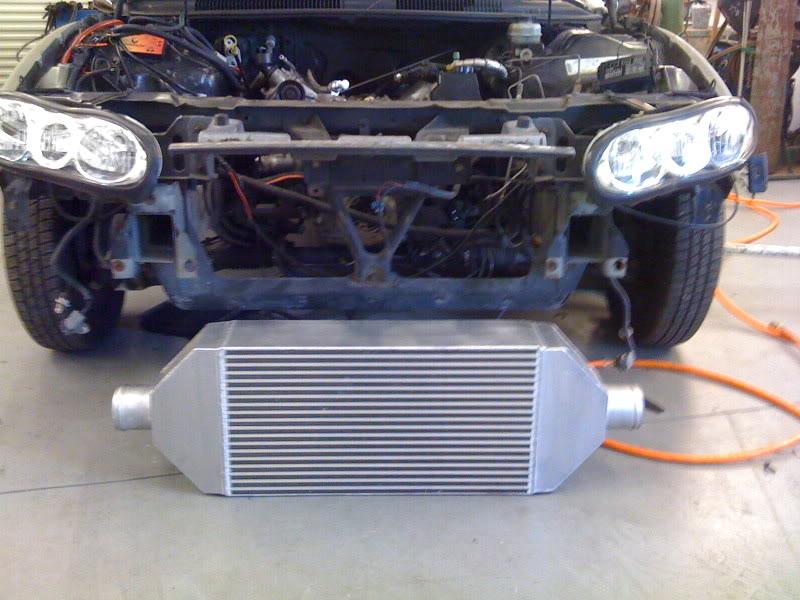
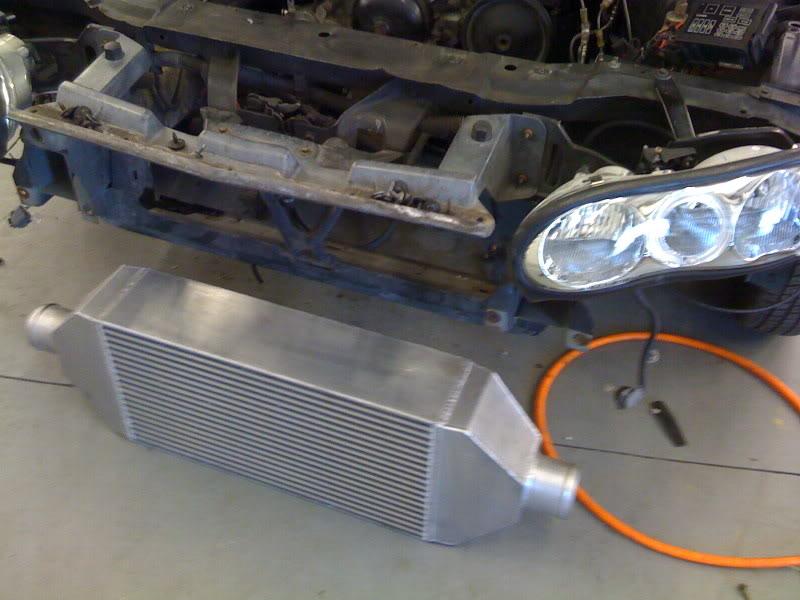
Bolted on the truck manifolds and bent the power steering and brake lines out of the way on the driver's side. Mocked up the intercooler so I can get some tabs welded on it at another friend's house with a TIG welder. Looks like it will be easy to mount without adding too much bracketry and **** to the nose.
Made some progress yesterday. Put the fenders back on and got the hood aligned good with the bracket that holds the latch. In an effort to keep the fabrication down to a minimum, we decided to mount the intercooler (top bracket) to that bracket so we had to make sure that one was in the correct spot after reassembly. Bolted the intercooler on top, measured and welded some plates to the bottom radiator support to reach the bottom of the intercooler. It is very sturdy.
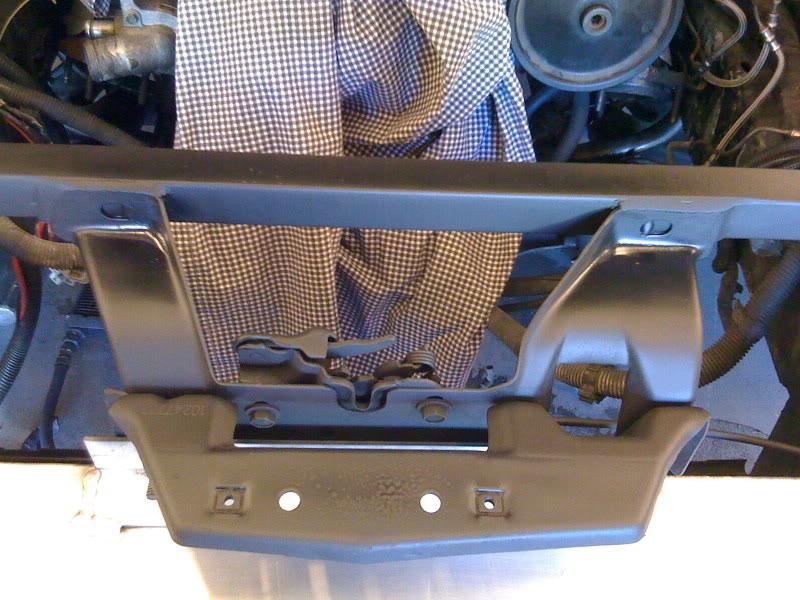
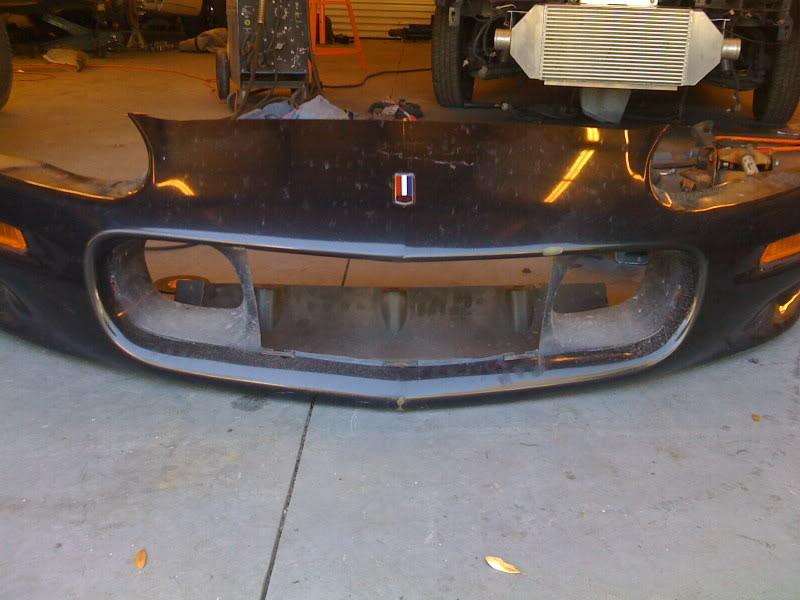
This morning I went over there and ground down the welds, sanded, painted the bare metal and cut the front of the bumper cover for better airflow.
Just got this stuff last night and now we can get started on the hot side.
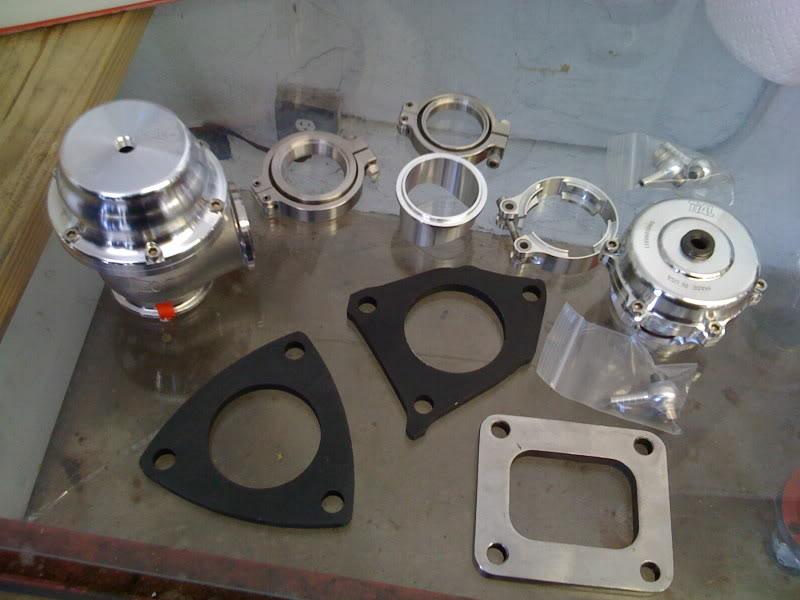
Going with the Tial 50mm BOV (Q) and Tial 44mm Wastegate.
3/5/2009
We got the hot side all tacked together. What a pain in the *** that was. Measure cut measure cut measure cut trying to get all the mandrel bends to line up without being able to bend any pipe.
Here is the center section with the T4 flange. Basically it's a u-bend 2 1/2" cut in half, filleted and turned back on itself.
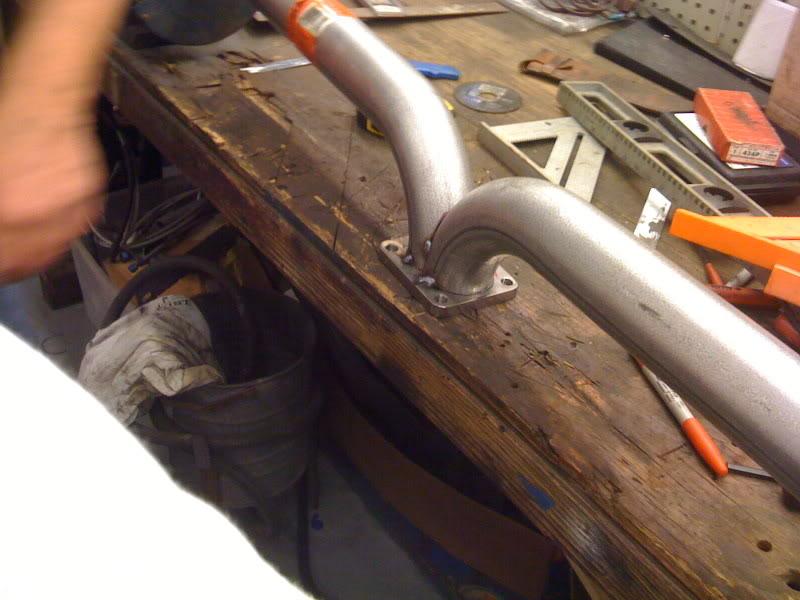
Here it is almost all tacked up missing the drivers elbow.
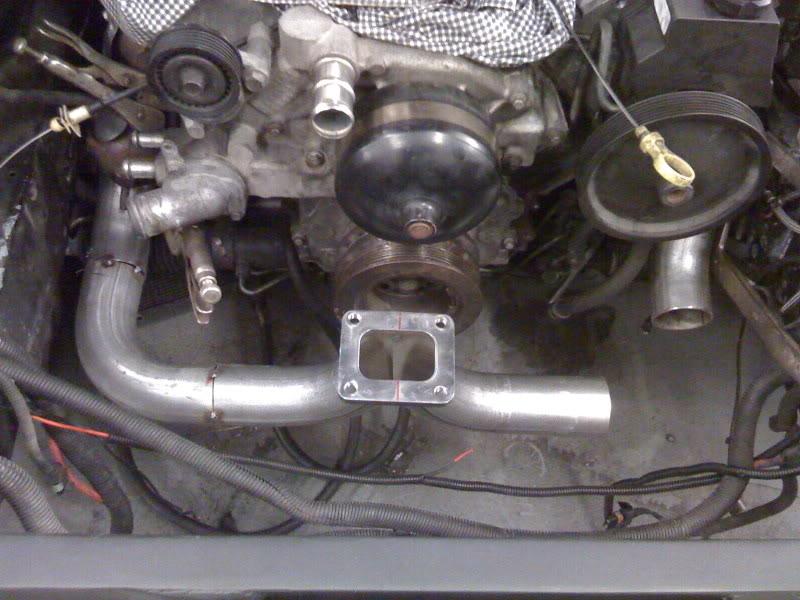
All tacked and ready to be welded up on the bench.
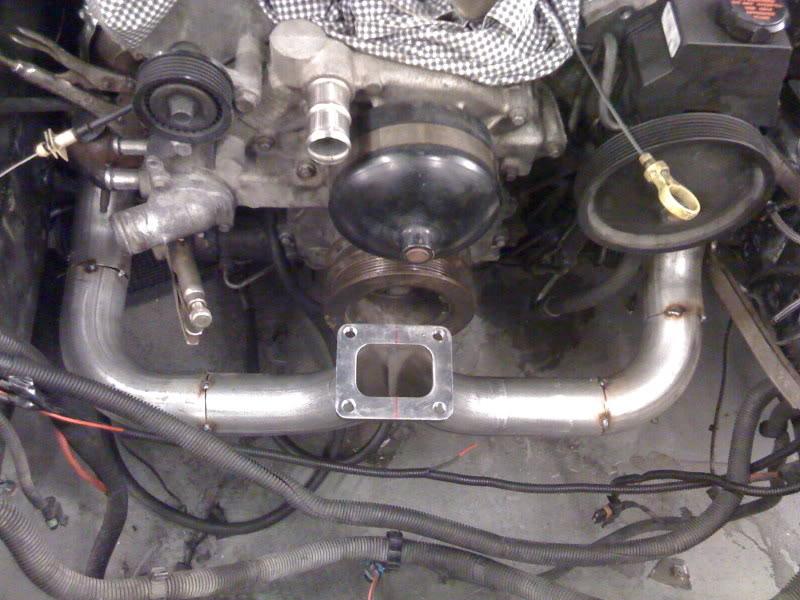
Most of the other front mount single turbos that I have seen have the exhaust side aimed at the side. I found that the passenger side manifold came down so far that I wouldn't be able to take advantage of the turbo k-member and would have had to route the down pipe between the motor mount tower and the block. By flipping it the other way, I can easily fit a 3 1/2" down pipe and might be able to squeeze a 4" pipe thru there. Any thoughts?