You must be logged in to rate content!
4 minute read
Tick Master Cylinder Installation for a 99 Camaro
Compliments of 99ssChevy @ www.ls1tech.com
First, I am not a mechanic and never have claimed to be. So when I drove up and talked to the the guys at Tick Performance about the Master Cylinder for a 1999 Camaro SS, I was worried if I would be able to do it. I read the forms for a long time looking for pictures for assistance and came up empty handed. My brother and I took on the challenge today. I also had my camera ready to take plenty of pictures. The installation went very smooth except for when we went to open the bleeder and my brother dropped the socket in the bell housing. The good thing is since we are going to remove the bell housing, I am going to replace the clutch while I am in there. Good thing we know somebody with a lift. Looks like I will be calling Tick Tuesday morning about their monster clutch kits. I have plenty of pictures of the install and they will be forth coming when I get back home to up-load the pictures. I hope this post will help some other people out there install their master cylinder one day.
Travis
This is the Location of the Master Cylinder inside the car, Right behind the clutch.

You have to take off these 2 nuts to loosen the master cylinder from the fire wall.
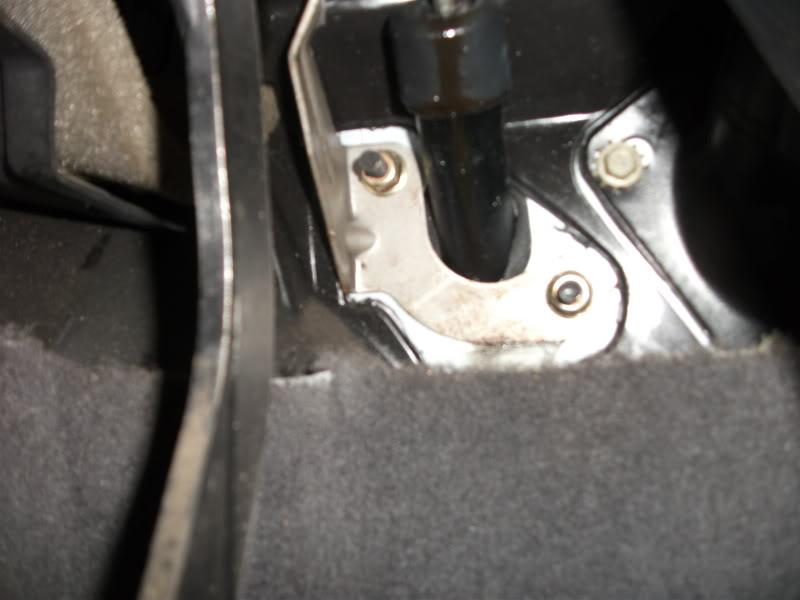
Clip to remove off the clutch pedal. Sorry its blurry
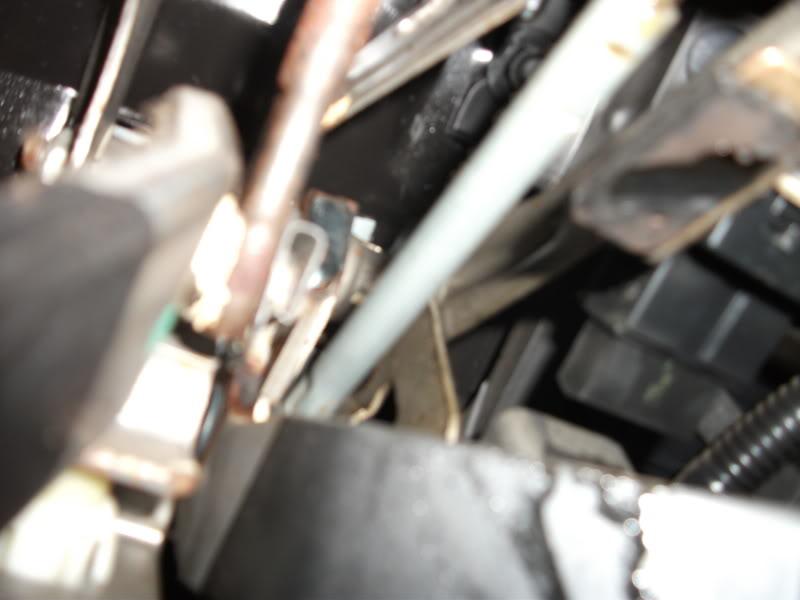
Hydro Line to remove off left (drivers) side of Transmission. To remove take 2 flat head screw drivers and push in the white part and pull line out. The bleeder screw is about 2 inch's above this. It will take a thin walled 7/16th socket in 1/4 drive. Be very careful and not drop the socket into the bell housing (my brother dropped it in mine)
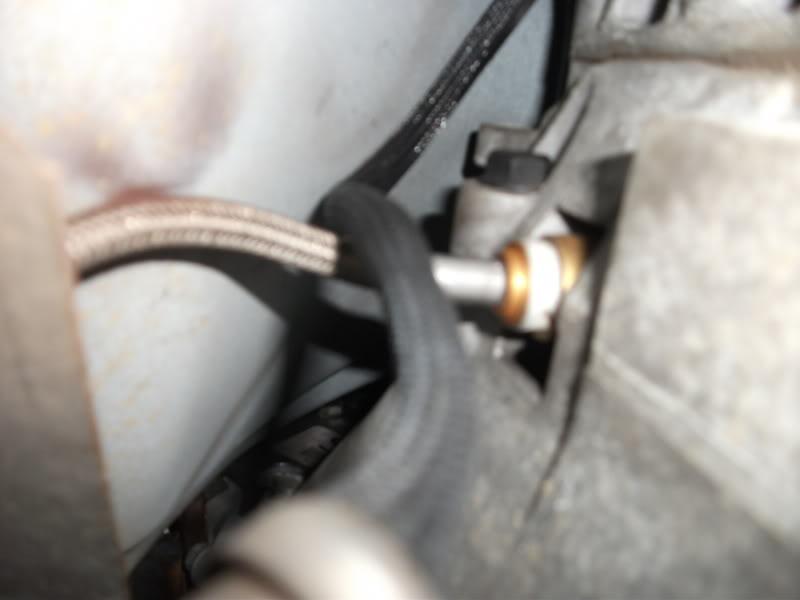
Hydro line and Heat shield. 7mm bolt heads

After Hydro Line removed from Transmission
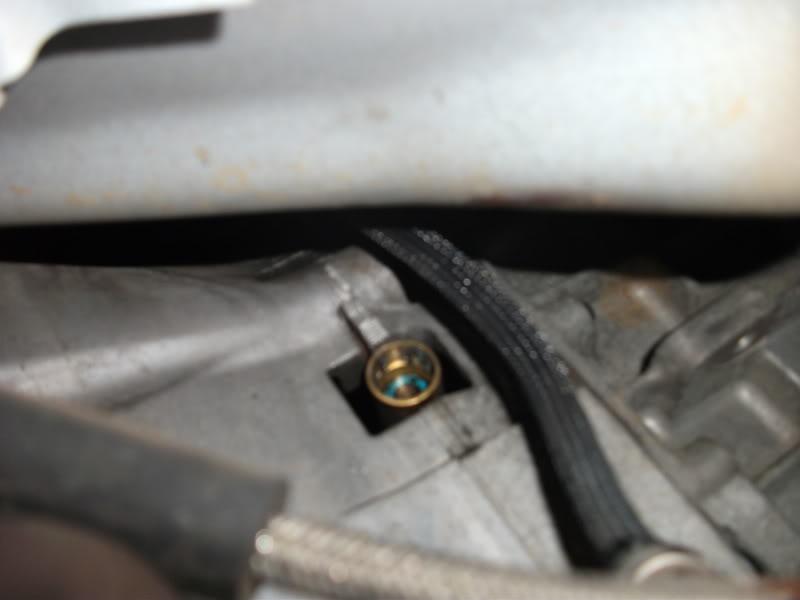
Removed Heat Shield
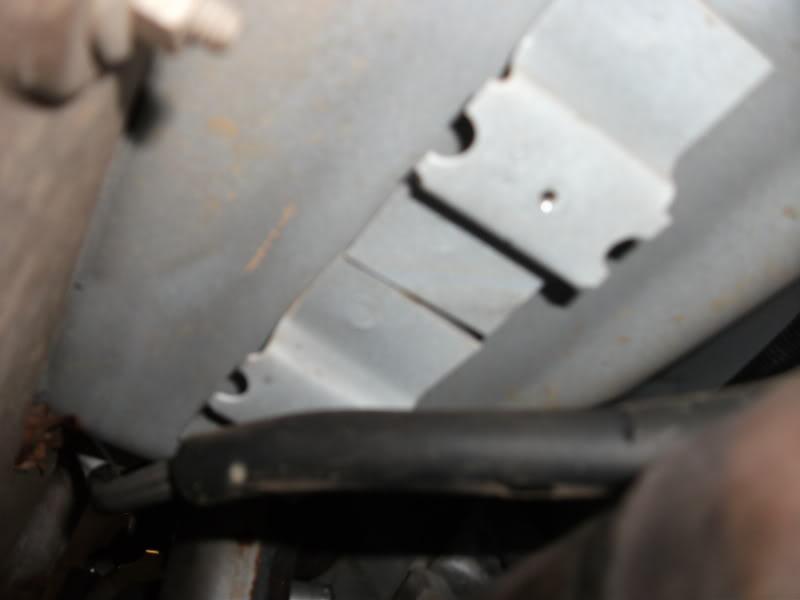
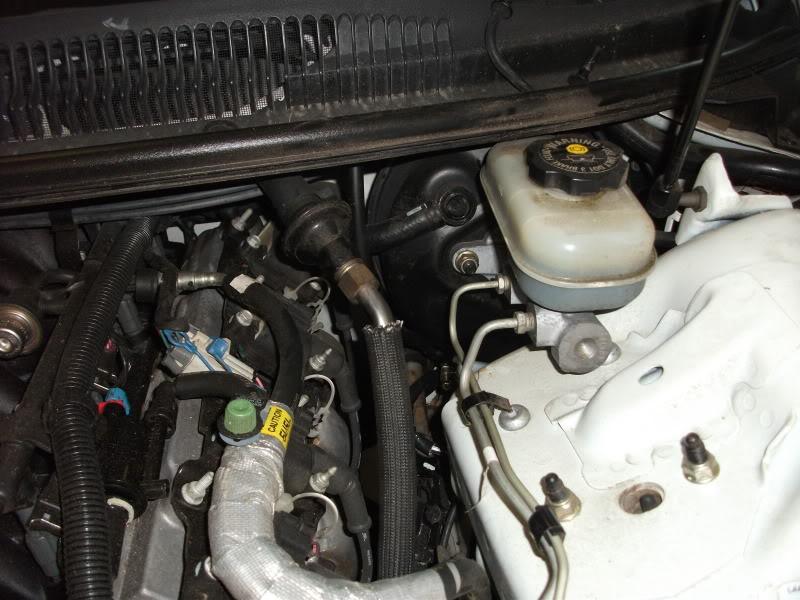
Location of Master Cylinder topside. Its tucked under the Brake Booster. You can just see the braided Hydro line
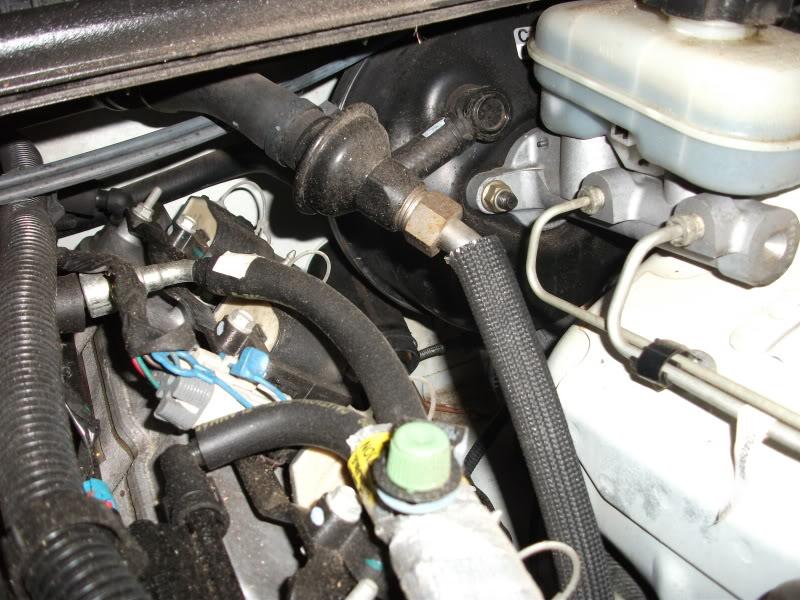
Close up of Factory Master. Notice the wire loom that's in the way. Hard to move around
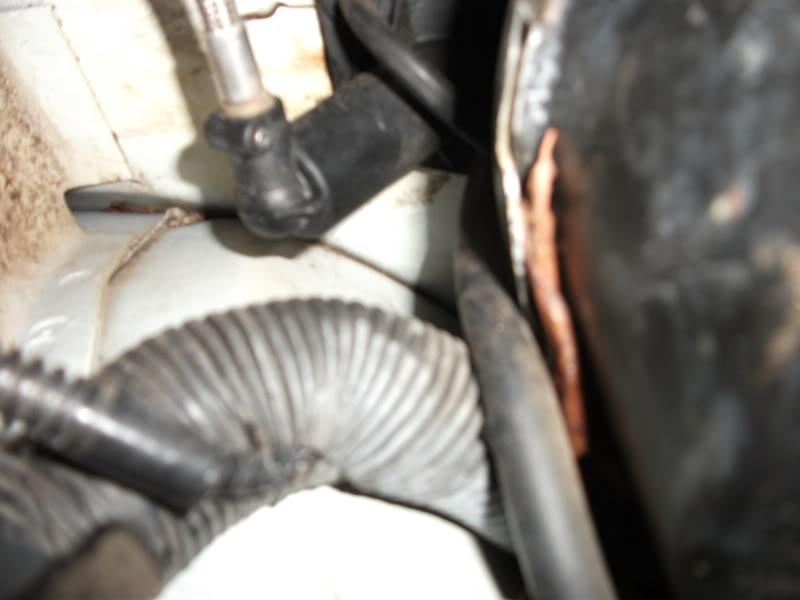
Just another close up

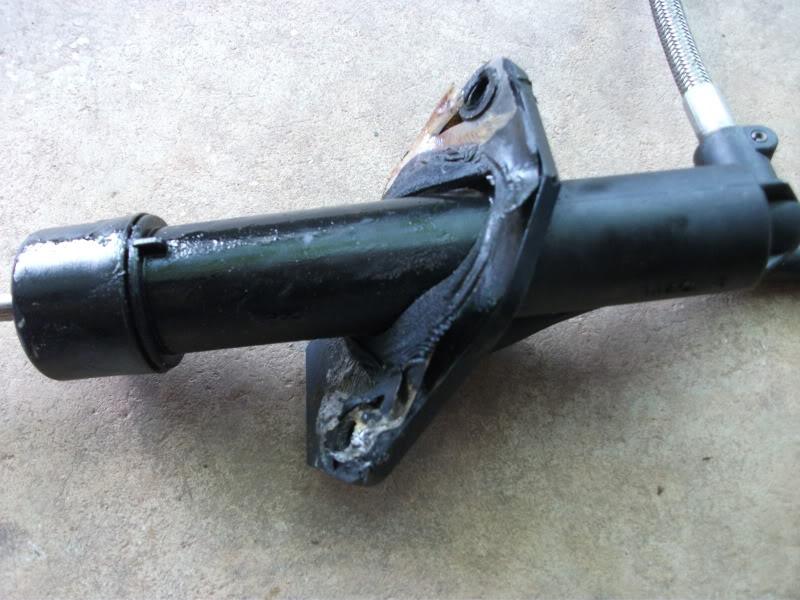
This is the differences between the factory and the TICK Master. Yes mine was leaking
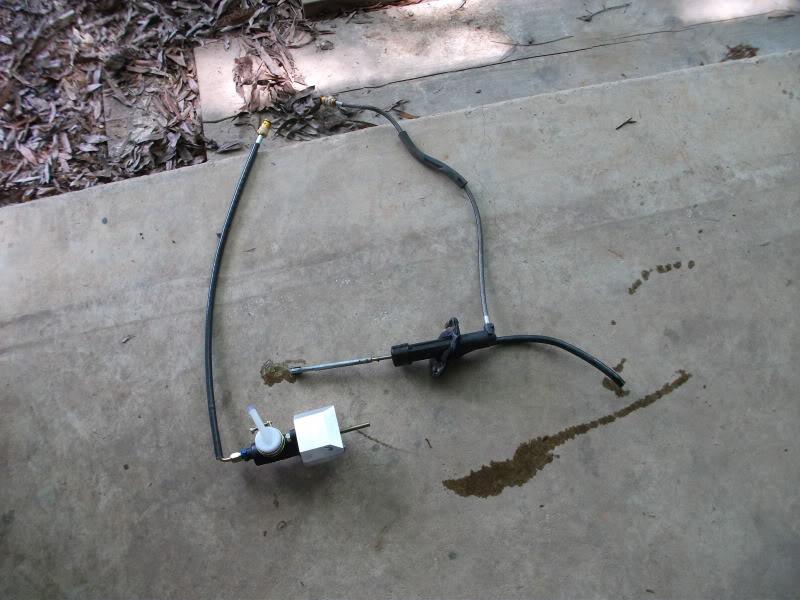
Close up of my Bad Factory Master
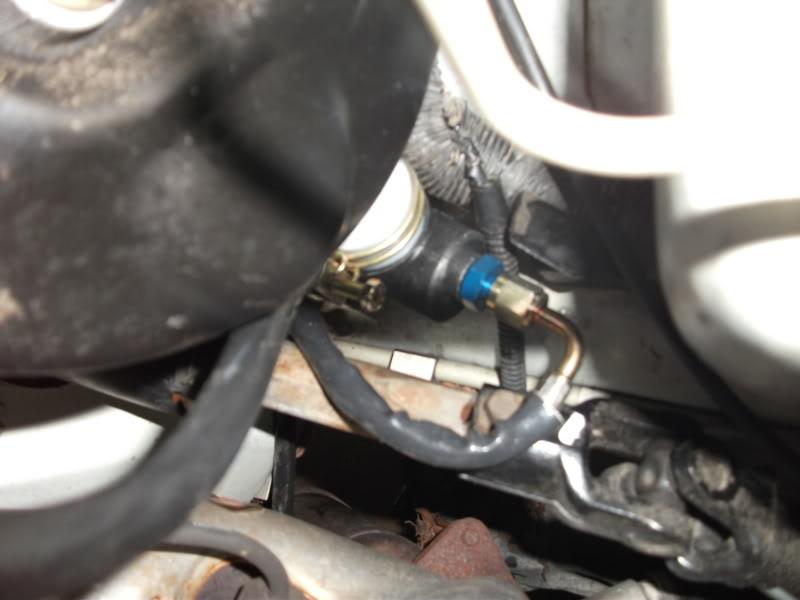
Close up of TICK master almost in place. This is the hard part. It will take patience cause its a blind spot. Also notice the wire loom in the way. You will have to move it out of the way per the instructions
Installed and Tucked away
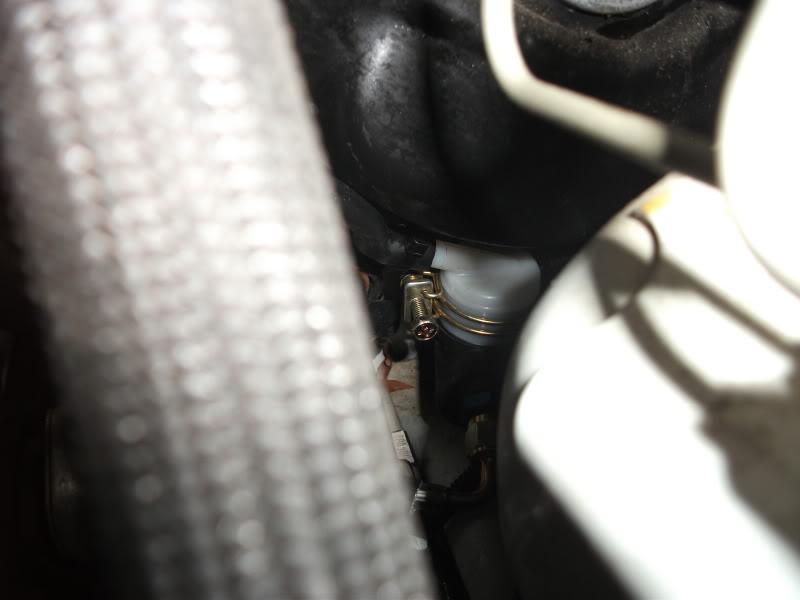
Top side view after installed. When this picture was took, I had not crawled back under car to route the Hydro Line
