You must be logged in to rate content!
2 minute read

88-94 CAVALIER INSTALLATION INSTRUCTIONS
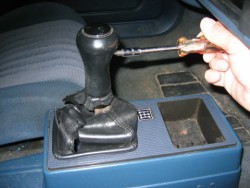
1. Remove handle with # 10 torx. Remove 2 phillips screws from well.
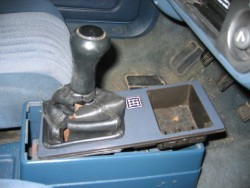
2. Slide front up and forward. Lift console cover from shift lever.
3. Remove 4 screws from bottom plate. Remove old shift boot.
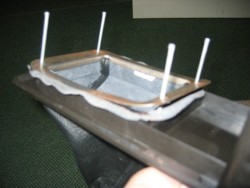
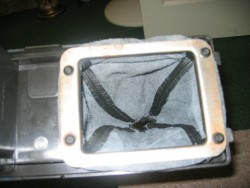
4. Install the new boot with the wider spaced wholes to the rear. To hold the new boot in place use # 8 finish nails. Slide the bottom cover over the nails and replace the screws one at a time. Bend a small arch in the cover so that the sides will make better contact with the boot. Use needle nose pliers to pull the boot tight as you start to tighten the screws.
5. Reinstall the console cover. Pull boot top down enough to install the shift handle.Tighten # 10 torx screw and 2 phillips head screws.
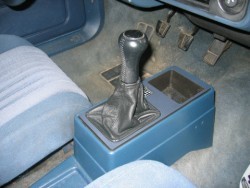
CONGRATULATIONS - YOU HAVE SUCCESSFULLY INSTALLED YOUR NEW LEATHER BOOTS!
Useful tip
You have installed a product made out of genuine leather. As you know, to maintain a leather product in good condition, you should take care of it. We suggest occasionally (every 4-6 week for example) applying some leather conditioner/UV protector to keep your leather from drying up in the sun and cracking.
Redline Automotive Accessories Corp. will not be held liable for any labor, incidental or consequential damages of any kind. Proceed at your own risk.