You must be logged in to rate content!
3 minute read

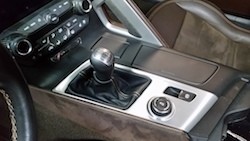
CORVETTE C7 INSTALLATION INSTRUCTIONS
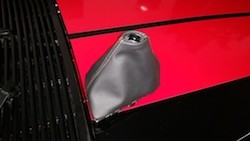
1. Set the electric brake off before you start this procedure. Put the car in 4th gear. Turn the boot counter clockwise and pull it down, remove the T25 torx screw. Pull of the shift knob.
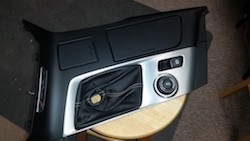
2. Remove the drivers' sidepanel of the center console. It clips via spring clips to the center console. Start at the front and remove it.
3. Remove the console around the shifter. Lift it up, one corner at a time, starting with rear left corner. Tilt it up carefully and disconnect all wire connectors. They are secured with tabs, you need to squeeze the tabs to get the connectors to release.
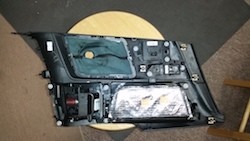
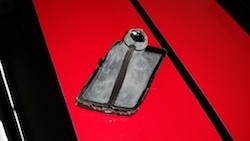
4. Remove the boot from the center console. It's held with tabs.
5.Flip the boot inside-out to reveal the grommet holding the collar of the boot in place. Remove it. Remove the inside trim piece and set aside.
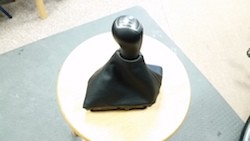
6. Remove the factory boot (unstaple from the frame. Put the new boot on, either glue it in (Amazing GOOP, 3M Super 77, contact cement - all will work) or staple it in if you have access to a stapler.
7. Put the trim piece inside the collar of the new boot, and secure with the grommet (or, for best results, replace the grommet with a small zip-tie.) Test-fit the boot against the shift knob.
8. Put the new boot inside the center console assembly.
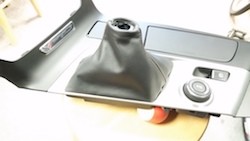
9. Reinstall the center console. Make sure to connect all electrical connectors. Replace the console sidepanel.
Useful tip
You have installed a product made out of genuine leather. As you know, to maintain a leather product in good condition, you should take care of it. We suggest occasionally (every 4-6 week for example) applying some leather conditioner/UV protector to keep your leather from drying up in the sun and cracking.
Redline Automotive Accessories Corp. will not be held liable for any labor, incidental or consequential damages of any kind. Proceed at your own risk.