You must be logged in to rate content!
6 minute read
Rear Camera Installation w/Pics
Compliment of wbond @ 200forums.com
This is a follow up to the lockpick installation thread.
http://www.200forums.com/forum/9-chr...on-w-pics.html
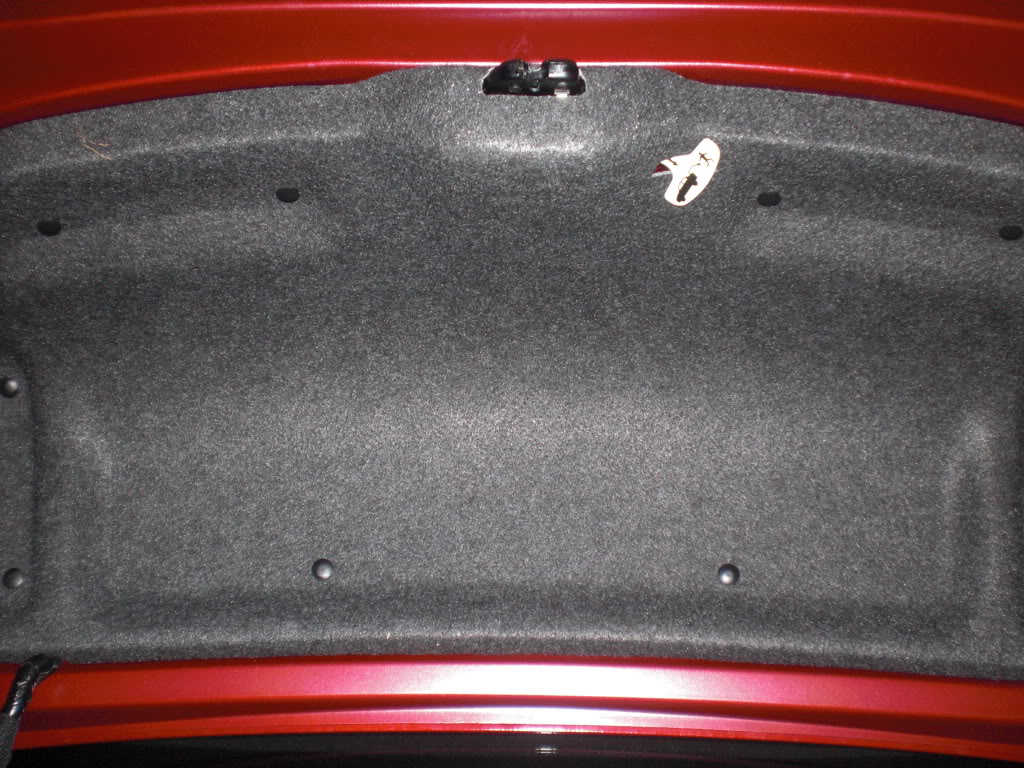
First you will need to remove the decklid insulation pad. I believe there are 10 push pin xmas tree clips holding this on. I used a cheap trim tool set from Harbor Freight to remove these.
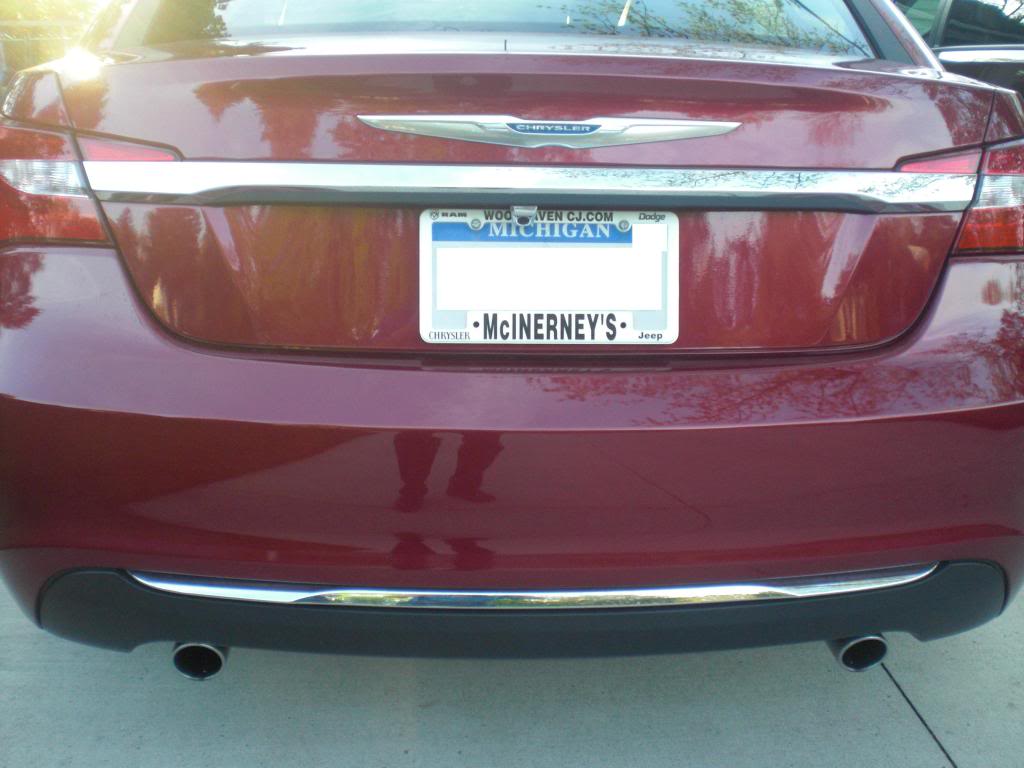
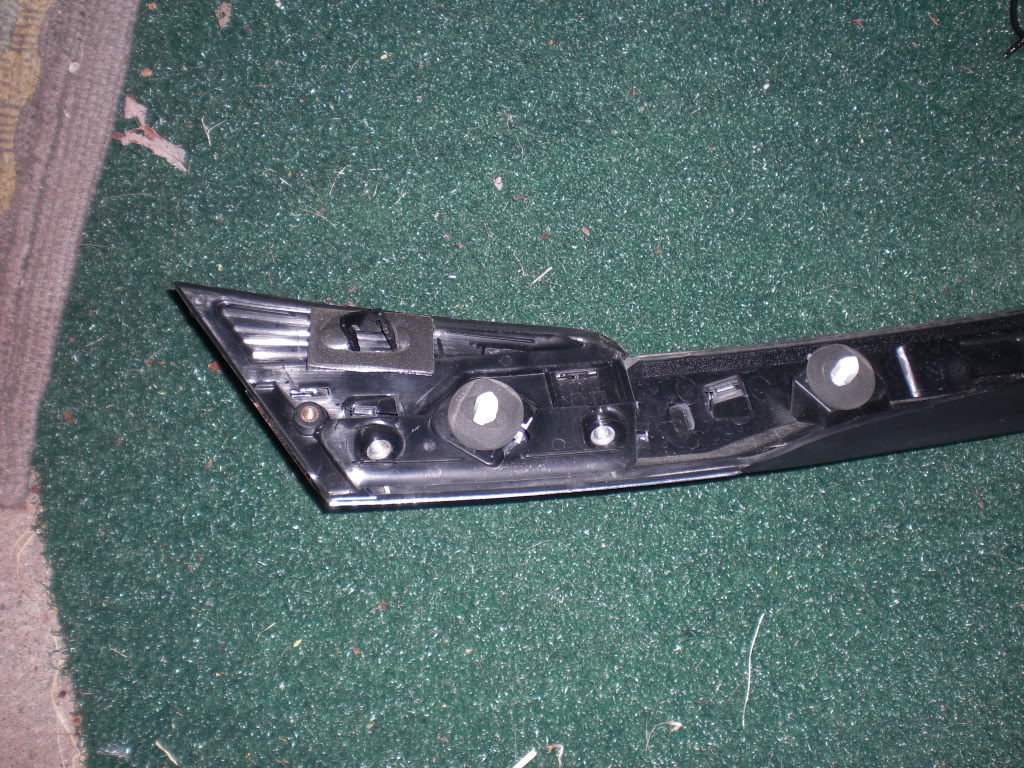
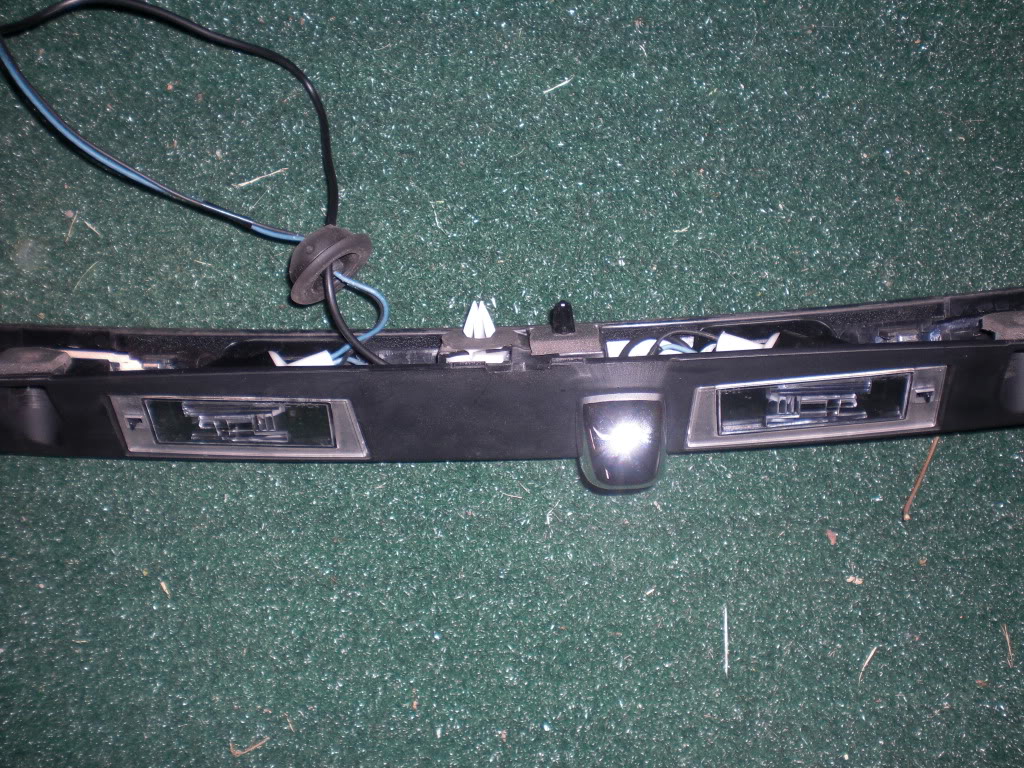
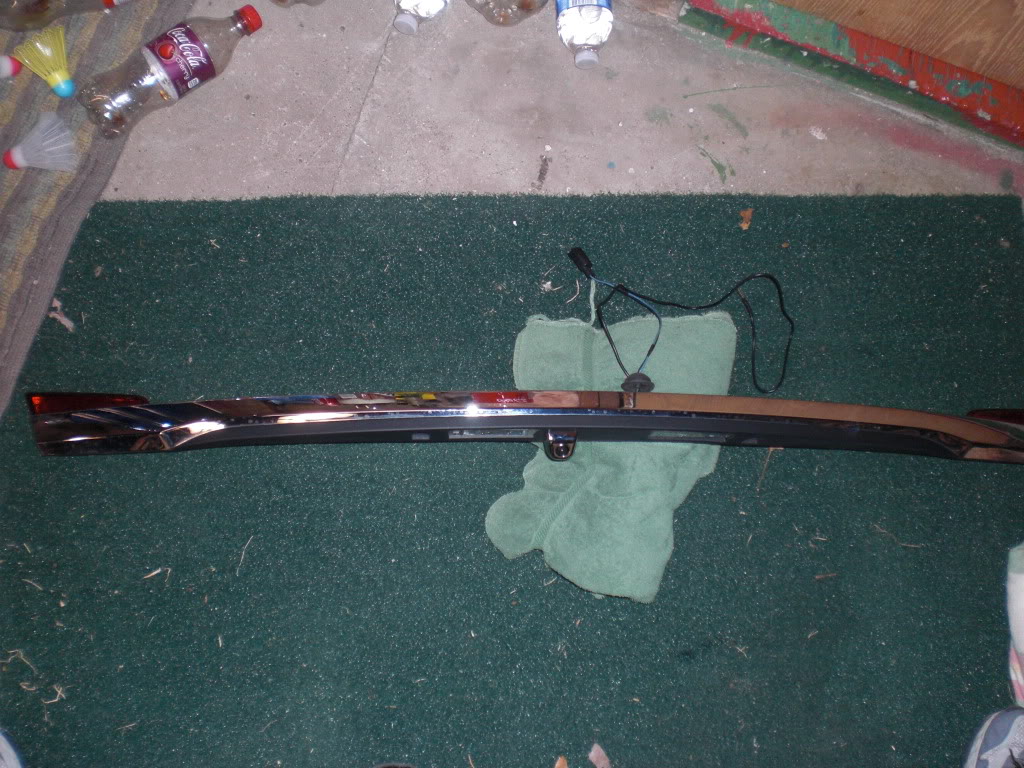
Once this is removed, you will need to remove the chrome trim piece that goes across the vehicle on the decklid. (This is where the license lamps are.) There are eight clips across this piece. There are three at the outboard ends of the piece and then two in the middle between the license lamps. All of them need to be squeezed together from the backside in order to remove this. Note: when looking at the backside of the decklid, you will see two white square shaped clips, do not remove these. These are for the screws that hold this piece on. The assembly line operator was kind enough to never install these on my vehicle so I didn’t have to remove these first). Then you will need to disconnect the lamp connection and remove the grommet where this wire passes through. The piece can now be fully removed from the vehicle
Three clips at each end.
Two clips in the middle
Fully Detached
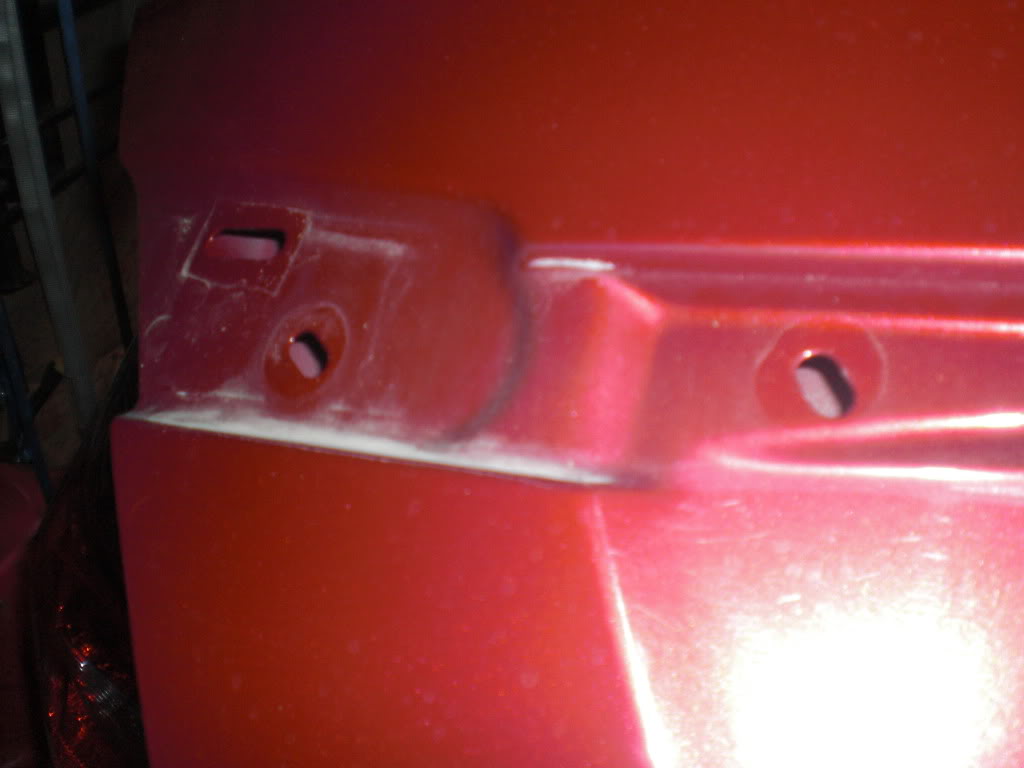
Outboard Decklid Holes for Exterior Trim to Attach to
Center Decklid Holes
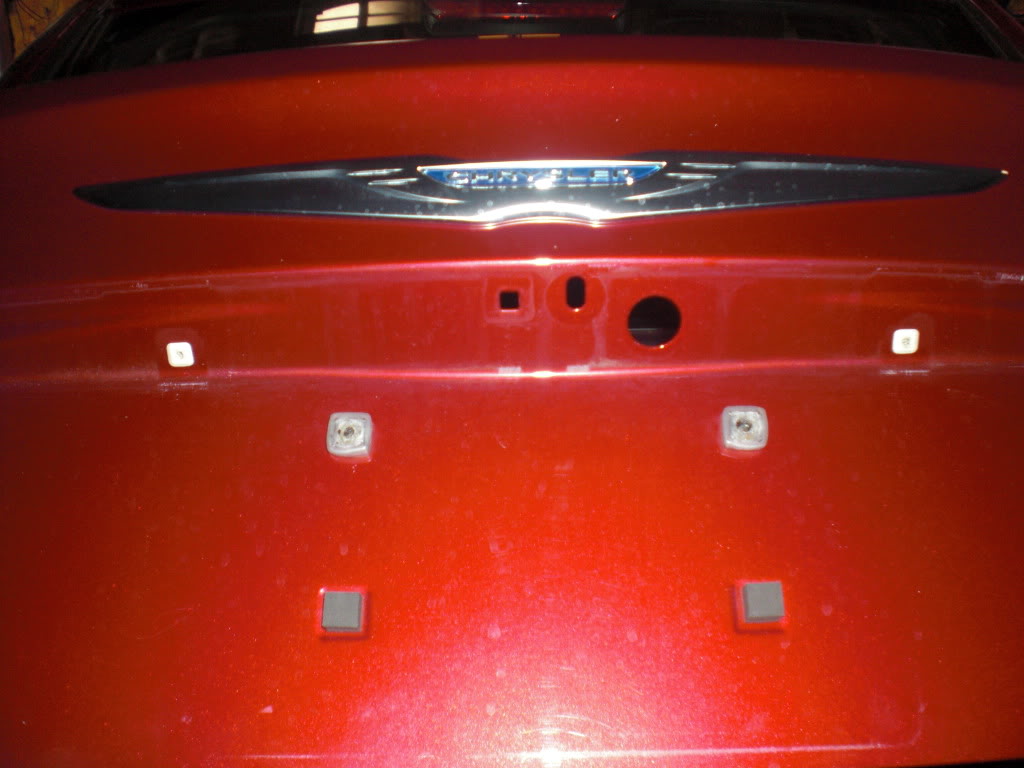
I placed my camera between the two license lamps. For my camera, I had to drill a hole to pass the wire and bolt through to secure it to the part. Then you will need to poke a hole through the grommet to pass the wire inside of the decklid. Make sure this a smaller hole than the wire so the grommet will still seal. In the pic above, you can see the camera mounted to the exterior trim piece. You can now reinstall this piece back to the vehicle, first pass the wires through the opening, then reinstall grommet and reconnect lamp connector. Now you will need to tape the backup camera wire along the main decklid harness. When you get to the sleeving that hangs down in the trunk (Excellent design BTW, NOT) you can open up the sleeving and place the wire inside. Now your wire will be at the top of the inside of the trunk. You can route the wire behind the padding along the driver side of the vehicle and down to the bottom of the opening in the rear seat.
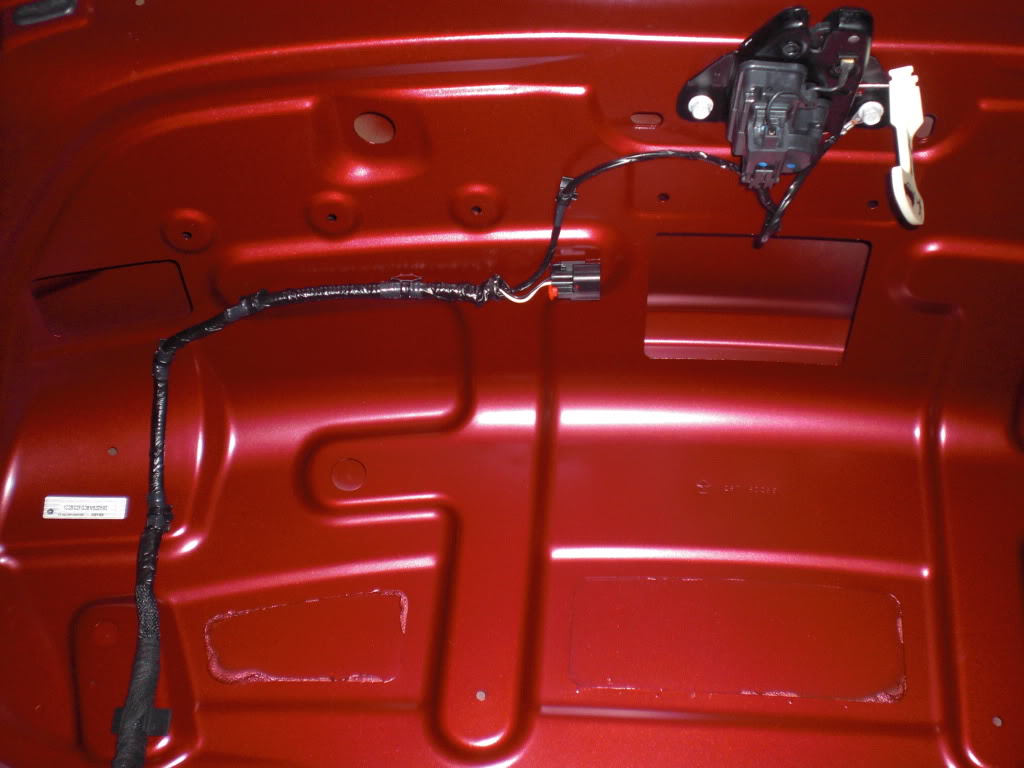
Decklid wiring
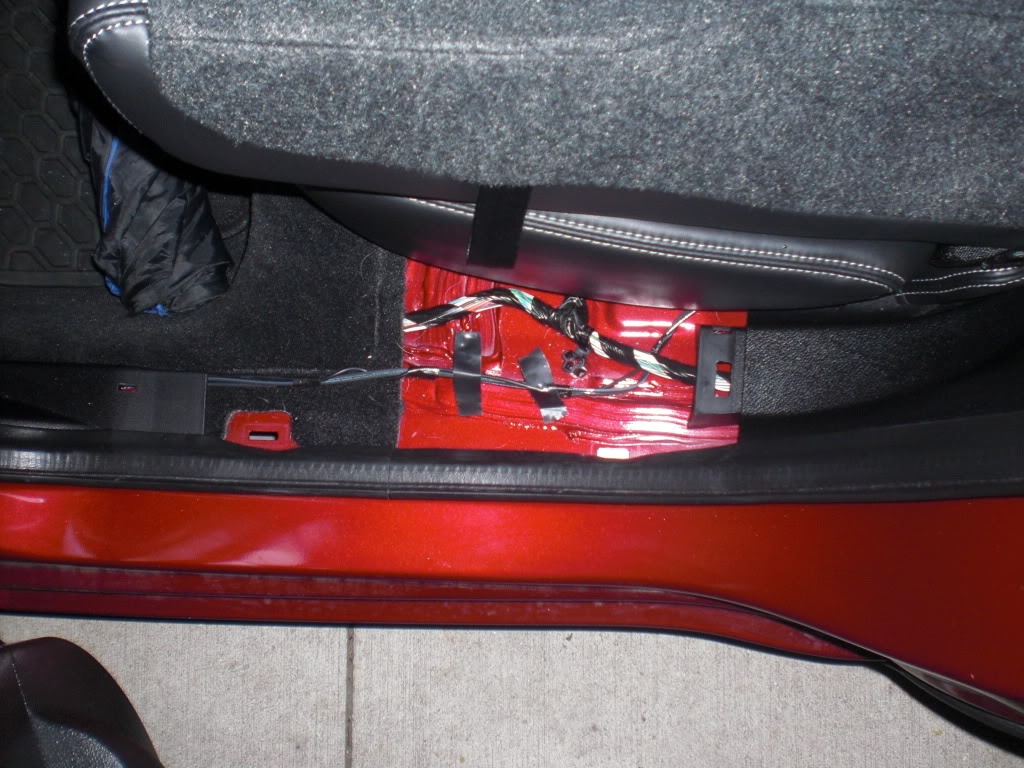
You can now reattach the decklid installation pad. I used new clips for this since I had them. They should be a standard 6.6mm xmas tree push pin. Laydown the rear seat and you will be able to continue routing the wire to the front of the vehicle. Tuck the wire under the trim piece near the side of the rear seat. Then I removed the rear scuff trim. This piece has two clips that hold it to the body. You should be able to pull this up by hand.
Routing along rear scuff trim
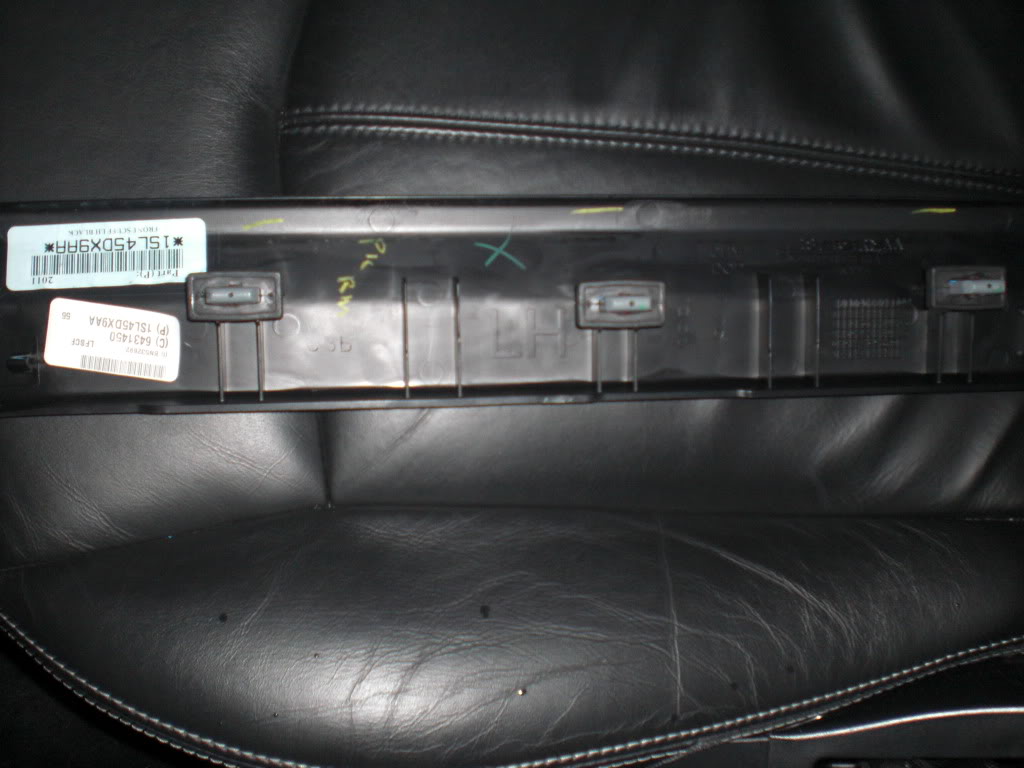
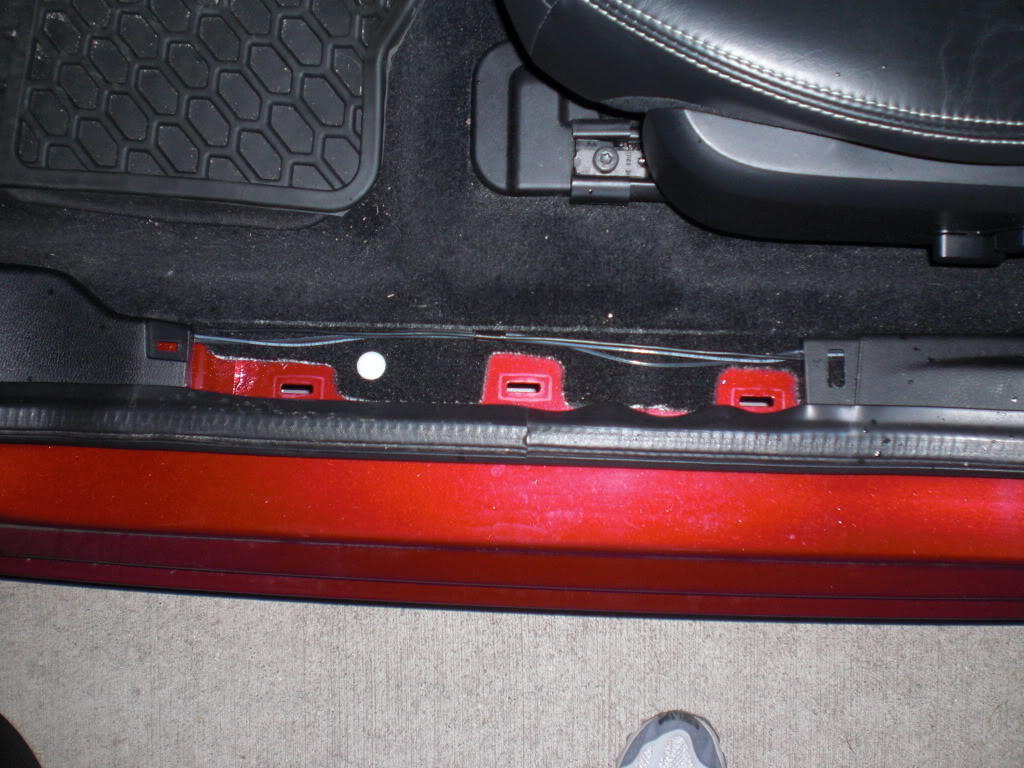
Continue routing the wire forward, tucking it under the B-Pillar trim (piece between front and rear seat). When you get to the front seat, remove the front scuff trim. This is held on by three clips that hold it to the body. You can pull this up by hand as well.
Clips on front scuff trim (Back looks the same)
Routing along front scuff trim
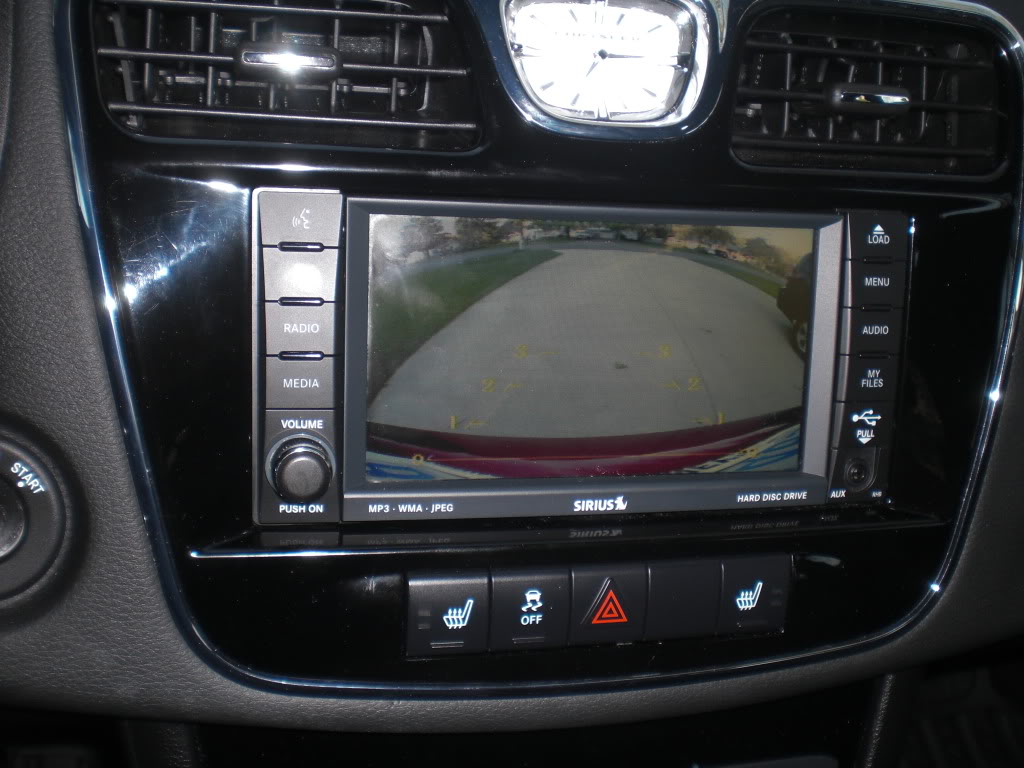
Now the wire is at the footwell area, continue tucking it under the trim in this area. I then routed my wire vertically to follow the main body harness wiring and then inboard towards the radio. I then connected the yellow video input to the lockpick and the power and ground wire to the lockpick wires. Reattach the scuff trim pieces and you are done.
Pic of the rear camera in action.
Rear Camera Mounted