You must be logged in to rate content!
8 minute(s) of a 16 minute read
8-22-2018
2013 300S Subwoofer build
Compliments of midknightskie @ 300cforums.com
6-26-2013
First off if I am posting this in the wrong place MODs feel free to move.
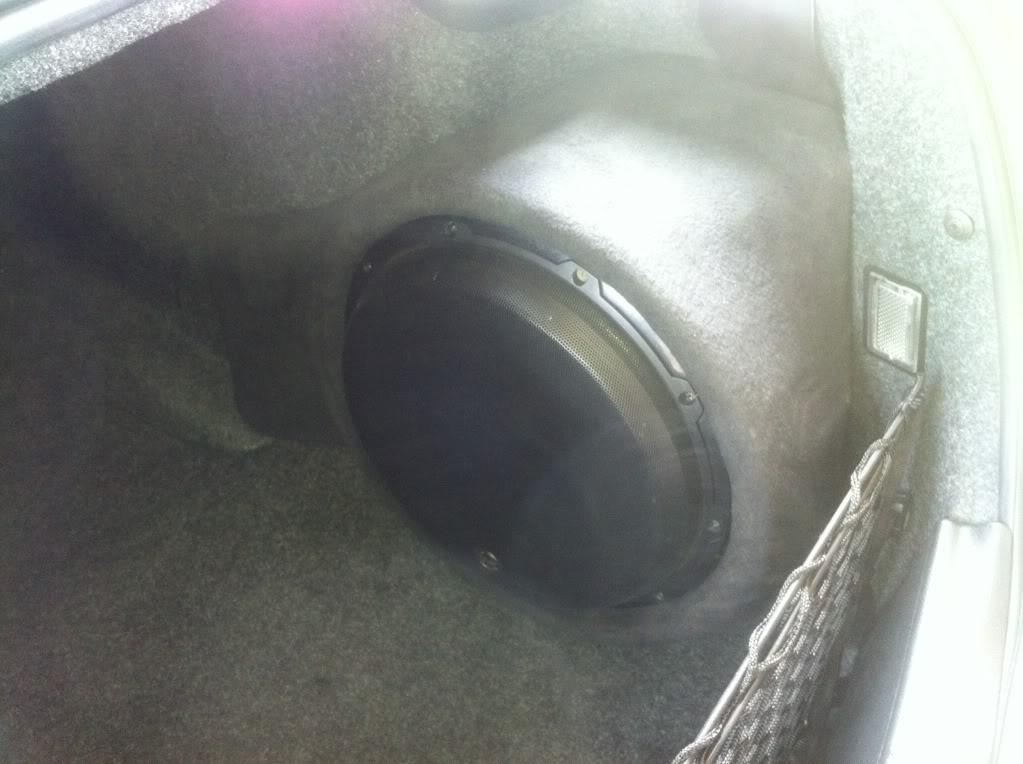
So I have the Beats audio system which to me sounds like the best stock system I have heard to date. But for me I felt like the sub was a little small; also I could not hear it unless the back seat was down. So I decided that 1 JL 12W6 would correct that, so below is what I installed.
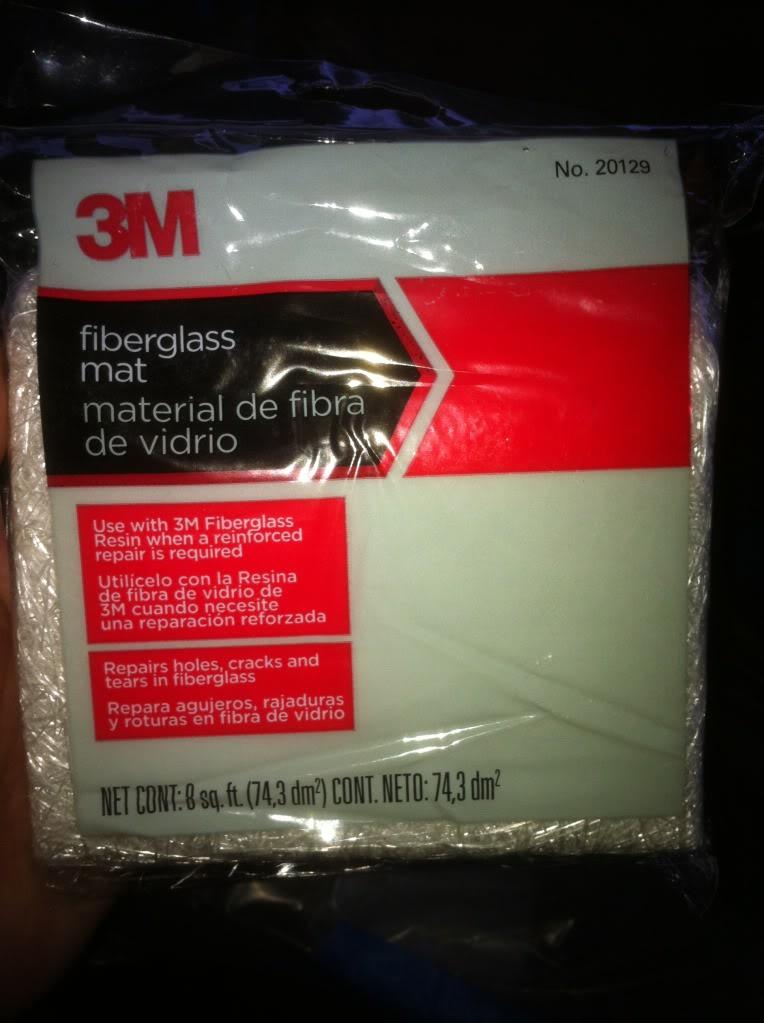
I used the fiberglass matt pictured below about 6-7 layers and fiberglass Hawaii brand laminate resin. For your final coat of resin you will want to add surfacing agent to the mix. This will make sure the surface is easy to sand and not be sticky. Also be sure to follow the mixing directions carefully and use a respirator when sanding and mixing; your respirator should have an organic vapor filter. And if you don't already know a carpenter's dust mask makes the concentration of whatever you're trying to keep from breathing stronger than if you didn't wear a mask at all.
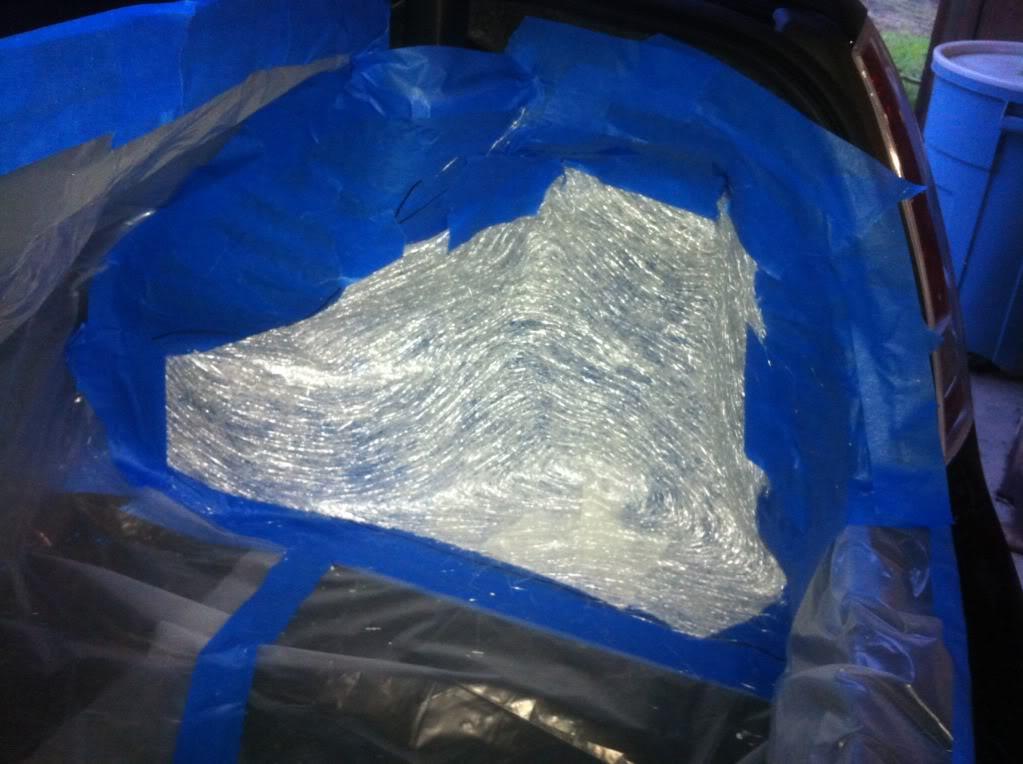
I started by masking the slot where the stock sub locks in, I wanted to be sure this was in the form when glassed to help keep the sub in place.
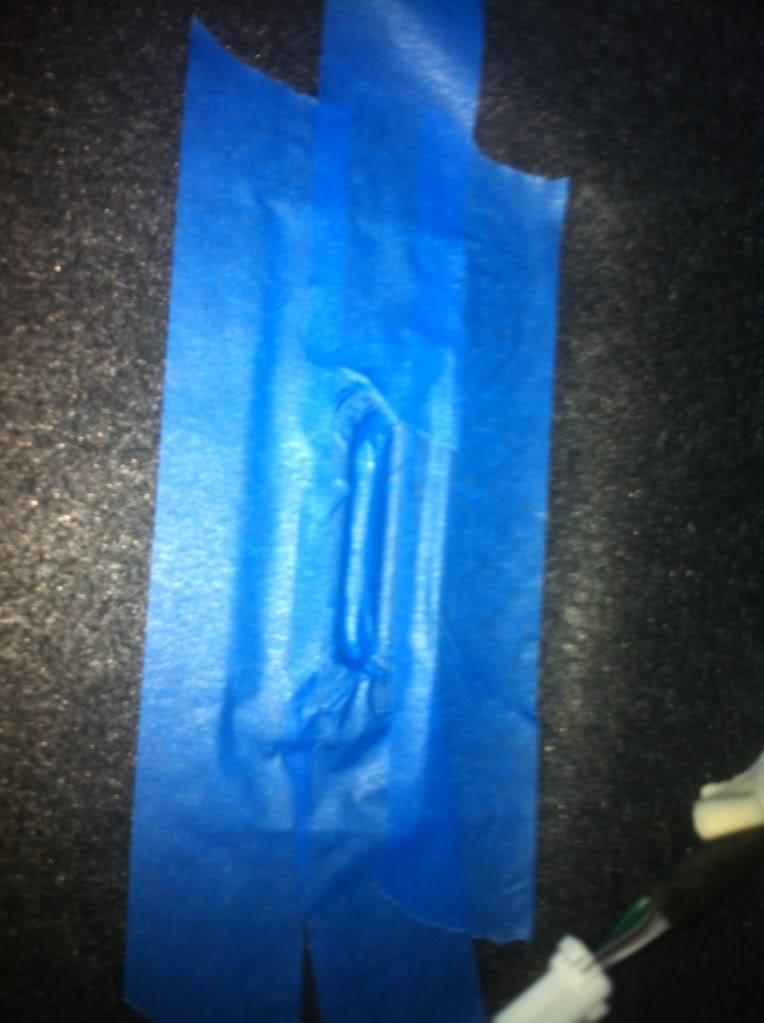
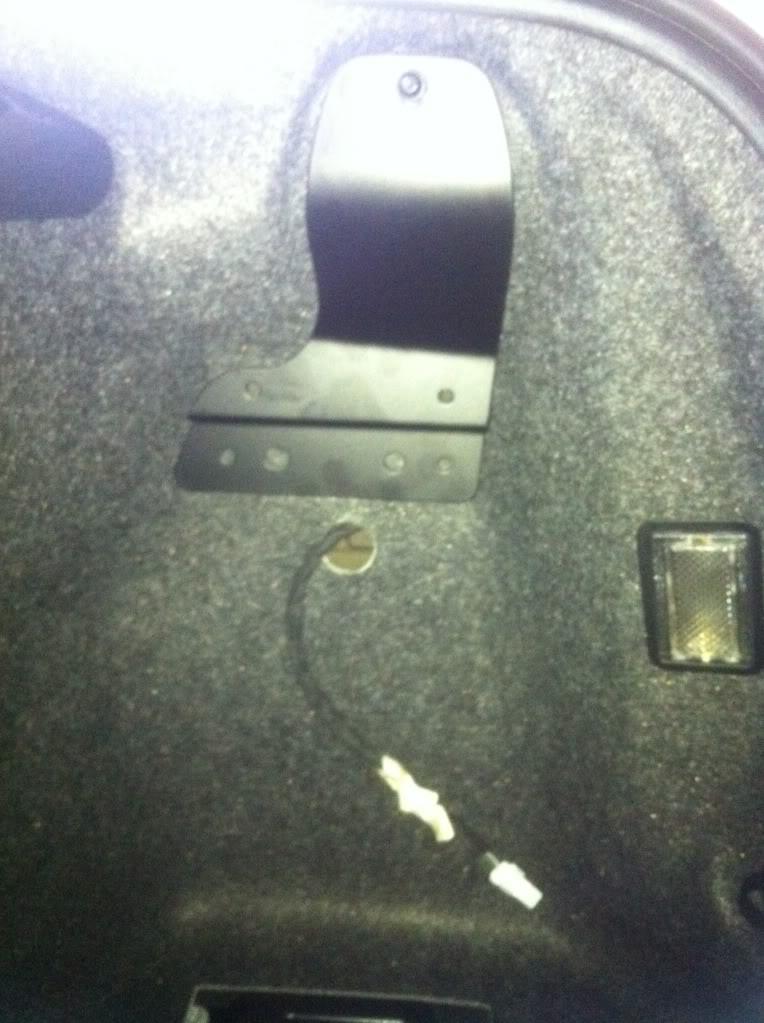
I removed the bracket from my stock sub and mounted it in place then masked over in the next step.
Next I masked an area a little bigger than the box I wanted to make. TIP- When masking start at the bottom and work your way up this creates a surface like a roof repeat again and then complete.
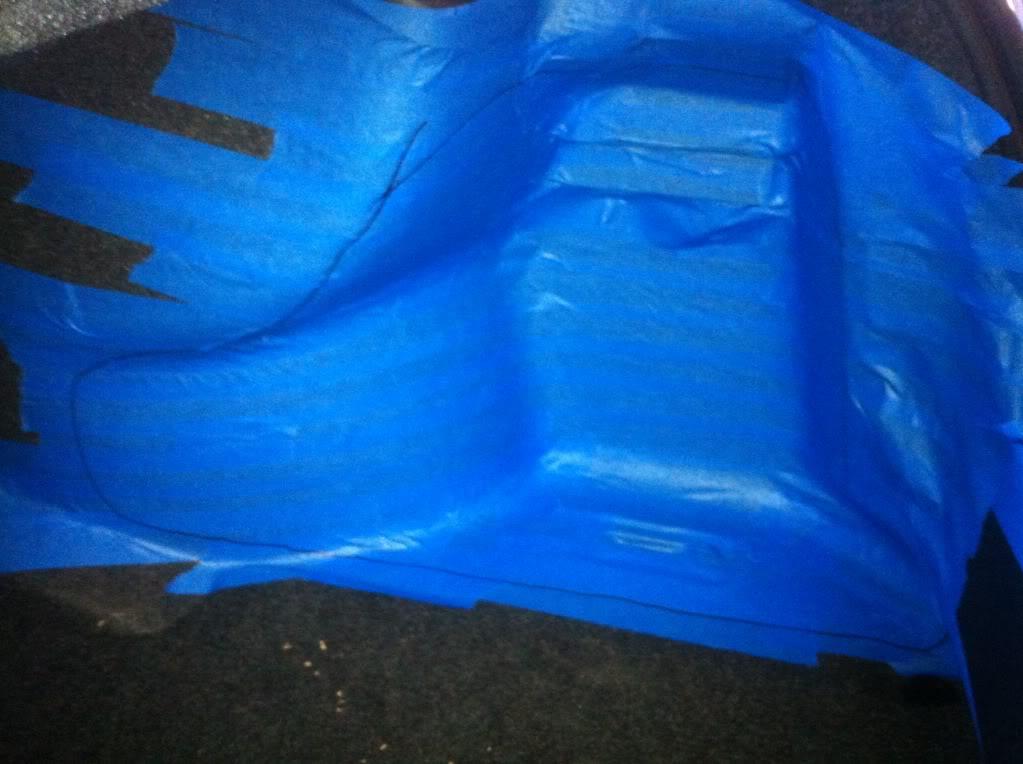
I Then sealed the entire trunk with plastic sheet that you can get from your local hardware store for a few $$. TIP- The better you seal your trunk the better chance you have of NOT getting the fiberglass fumes in your car for a few weeks; also DO NOT use anything but easy remove painters tape as a strong tape will tear you rubber seals.

I cut the glass matt to fit and held in place with a few strips of tape. Now mix enough resin to do just the area, repeat 3 more times being sure to let the resin set in-between layers. And you can remove the box once dry; then do the last 2 layers out of the trunk.
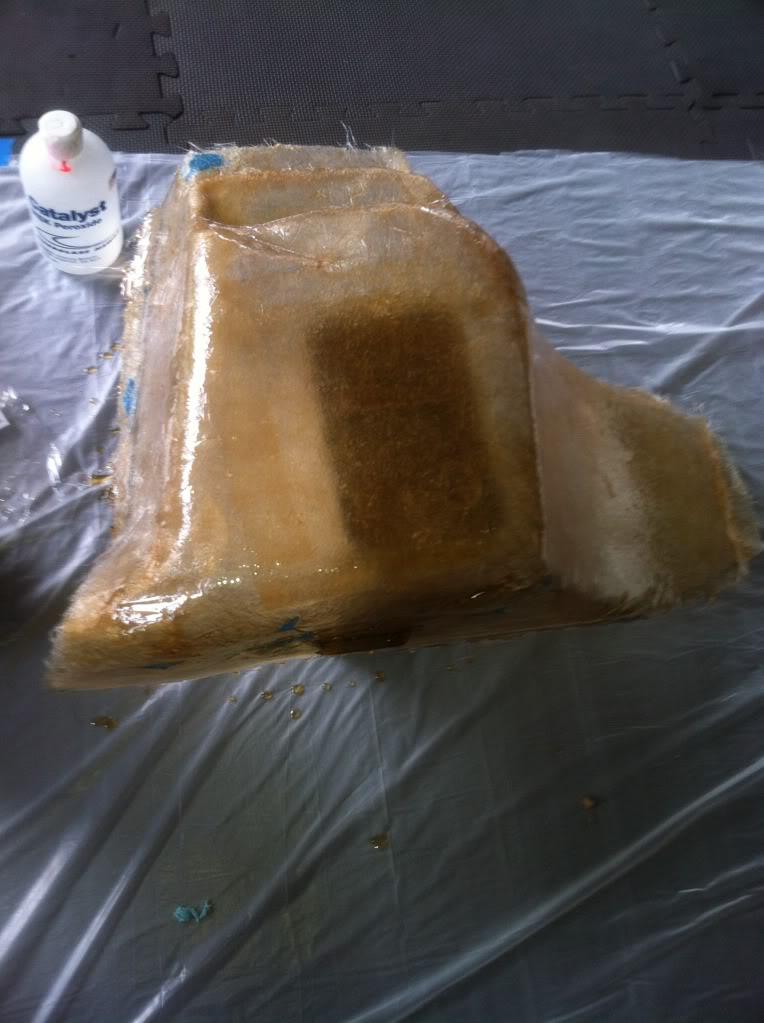
Once this half is dry I trimmed to thin frayed edges.
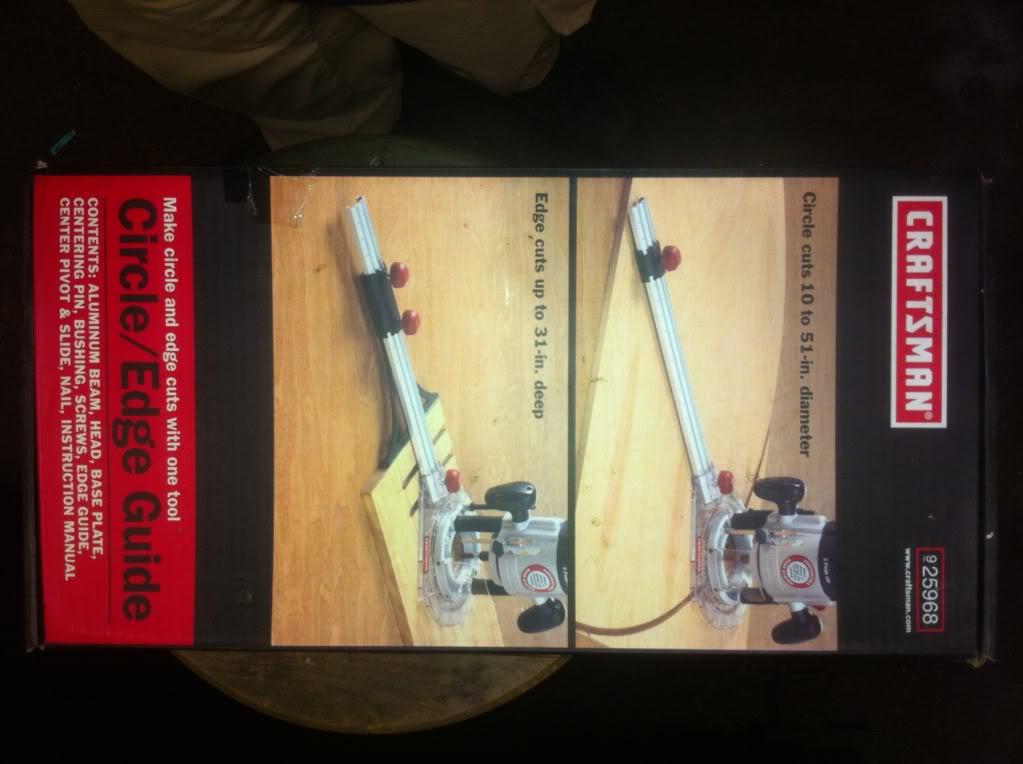
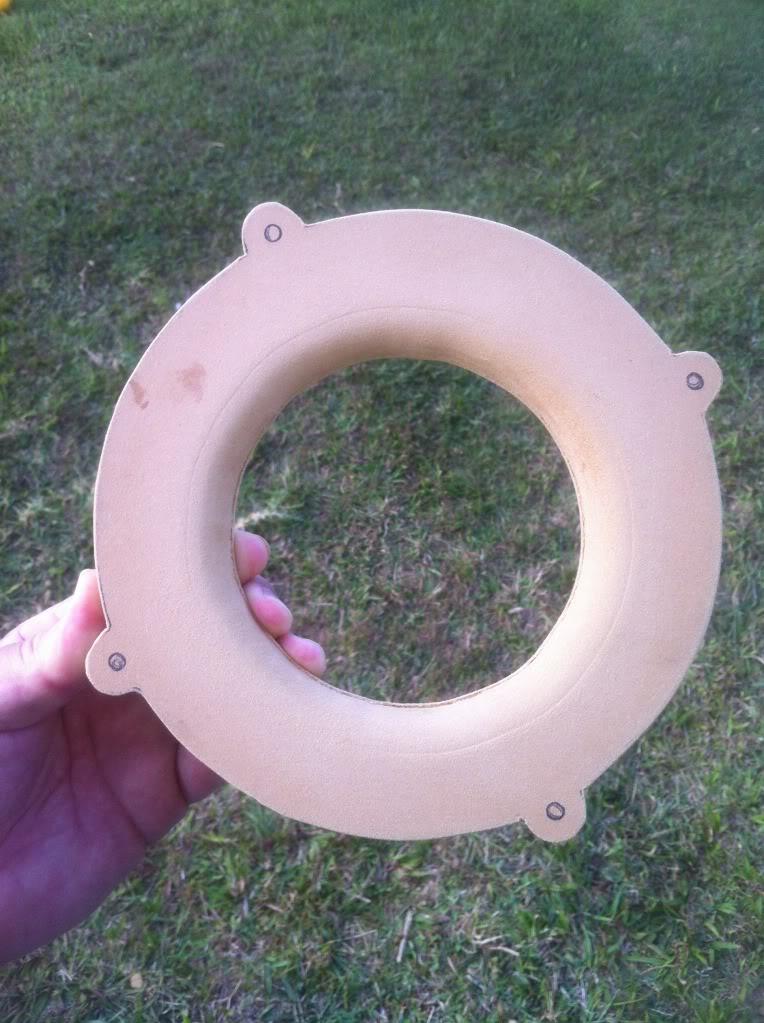
Next I needed to create a mounting ring, you can buy these but no shops had them near me. I needed a few tools a router with straight cutting bit and a circle jig.

I start by cutting a 1 1/4" thick ring out of 3/4" MDF. (I bought a 4'x4' from depo). TIP- make the outer cut first or you will find yourself having to free hand cut.
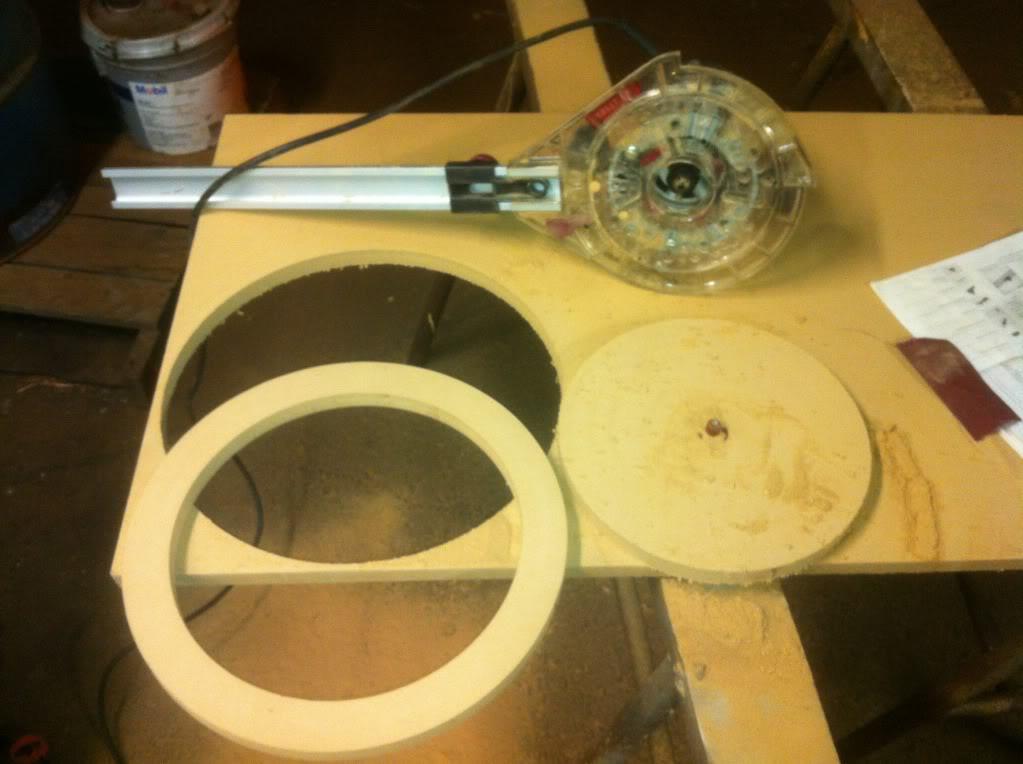
Next I cut a second ring to create a recessed look this ring was 1/2" wide. Secure these two rings with glue and a few finish nails.
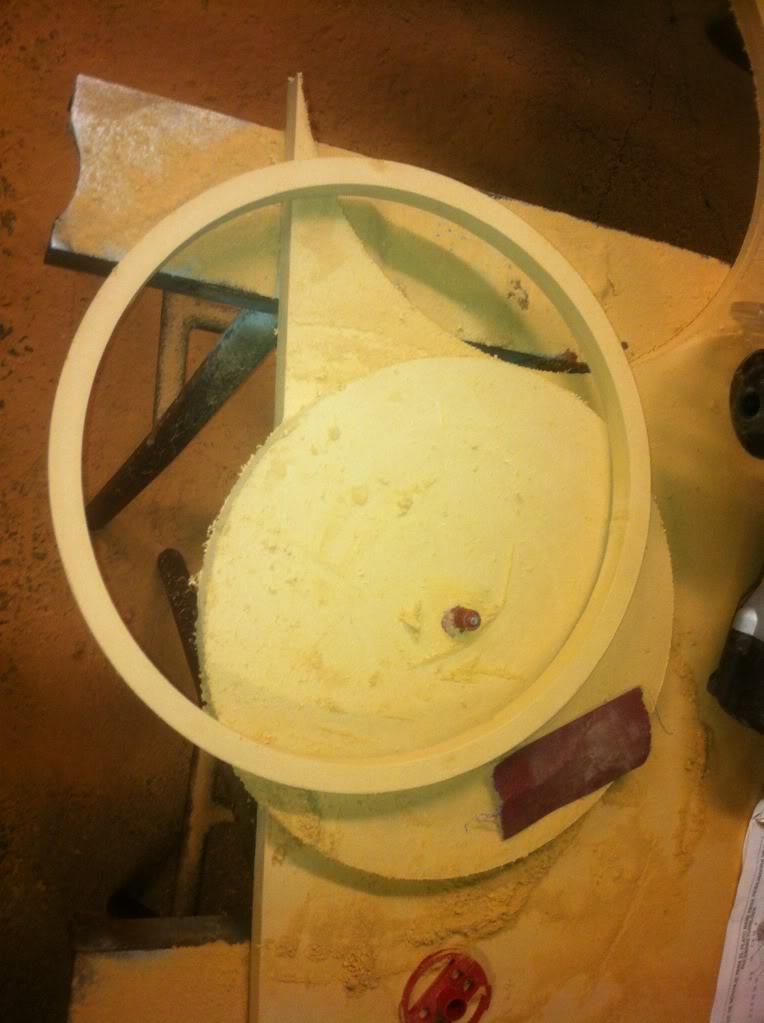
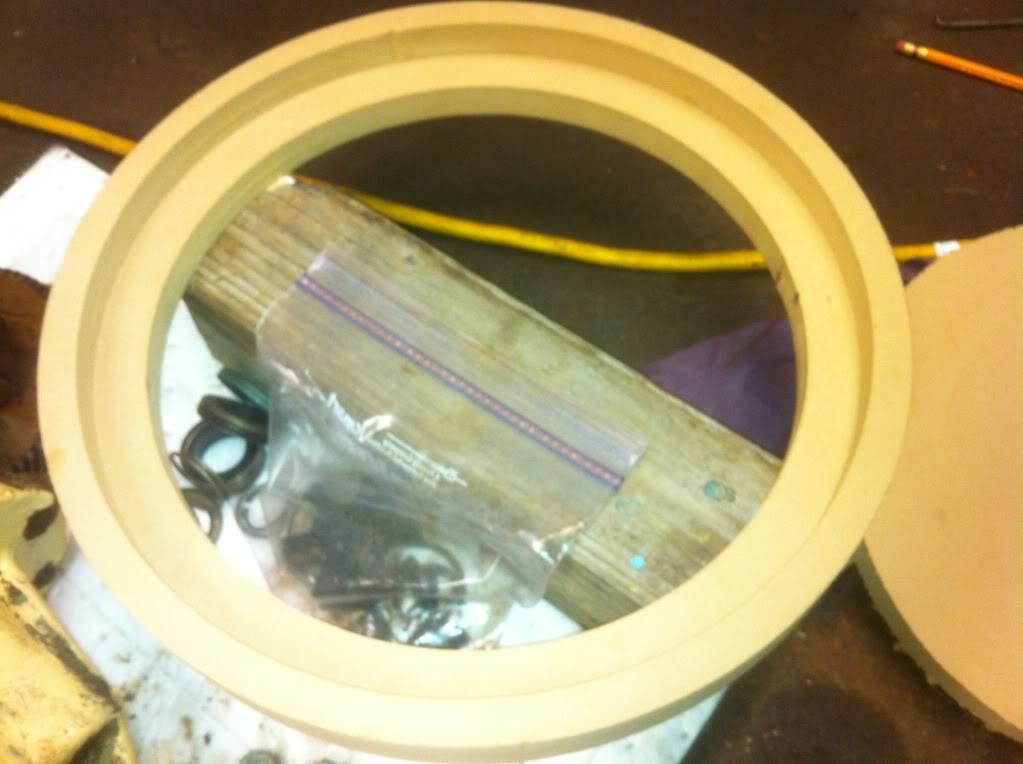
Here is what you should end up with.
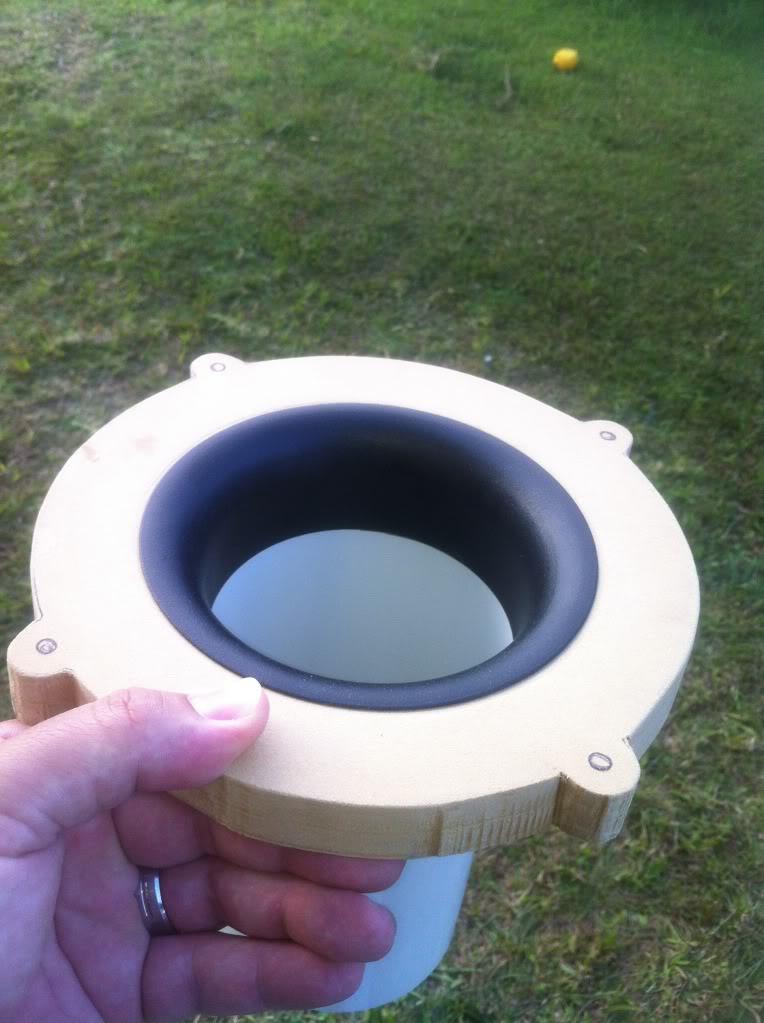
Ok somehow I missed or lost a few pics, but what I did next was cover the face of my sub in cling wrap twice. I then mounted the speaker in the ring and sat it in the bottom half of the box. Now VERY IMPORTANT you need to prop the speaker off the bottom with a block at least 3/4" of an inch so the vent on the rear of your speaker has room to properly work. I went 1 1/4". Next I stretched fleece over the whole thing (2 layers at once). Then secured it in place and soaked with resin. This is where you will be glad to have 1 gallon of laminate resin, I will tell you now when you think you have put enough resin on you are wrong. Once this dries overnight you will need to lay resin on the inside front of box as the resin most likely will not have soaked completely through before setting up.
Now that you have done that you will need take a few hand fulls of matt and pull them apart mix in resin and stuff on the backside of the ring. This will strengthen the ring for holding this heavy speaker. You should end up with the pic below.
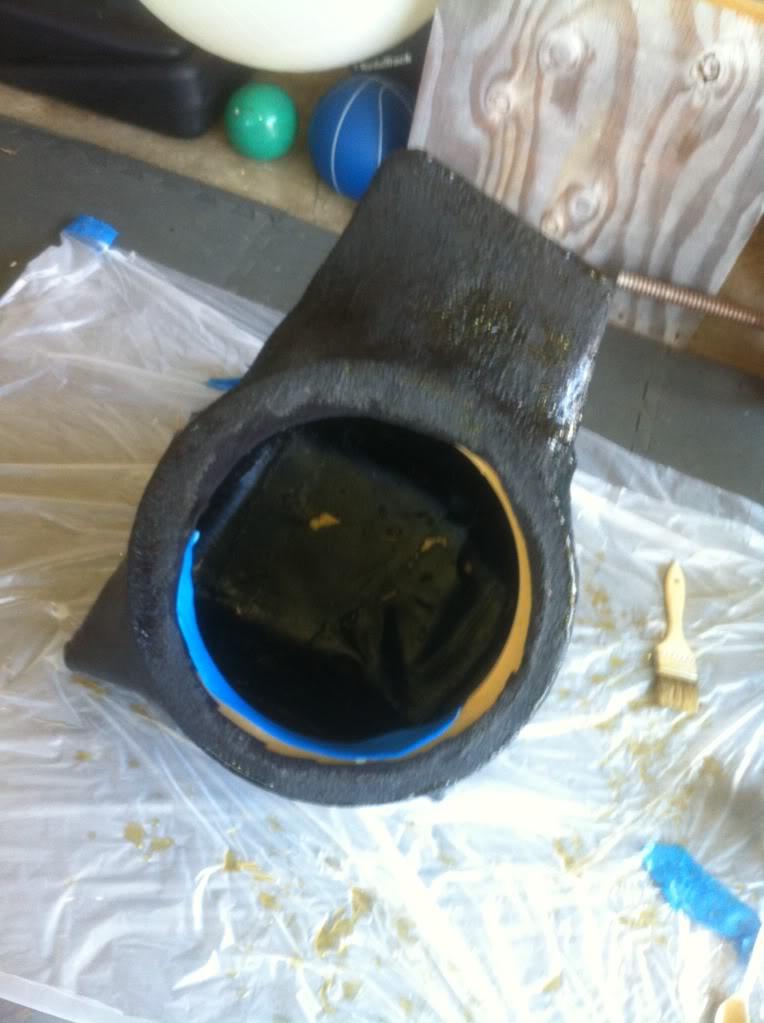
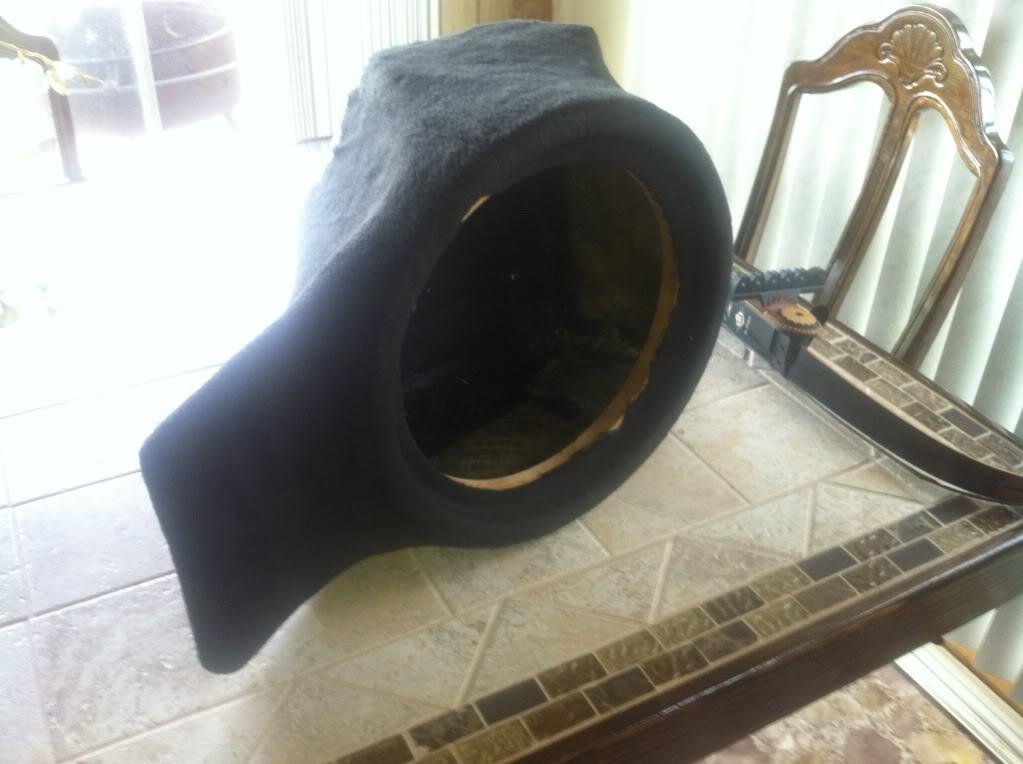
Now I filled in any low spots with light weight easy sanding body filler and sanded down, then I covered with the black fleece I used to form the front half. I also took the bracket from the stock box drilled holes into box and mounted with new hardware.
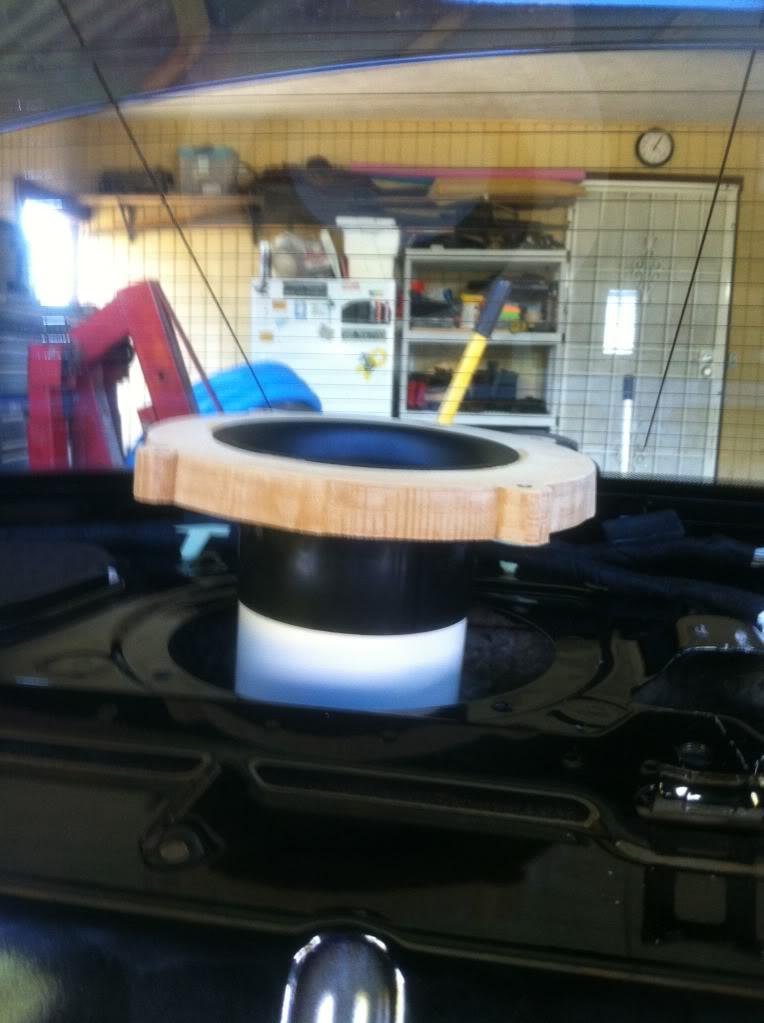
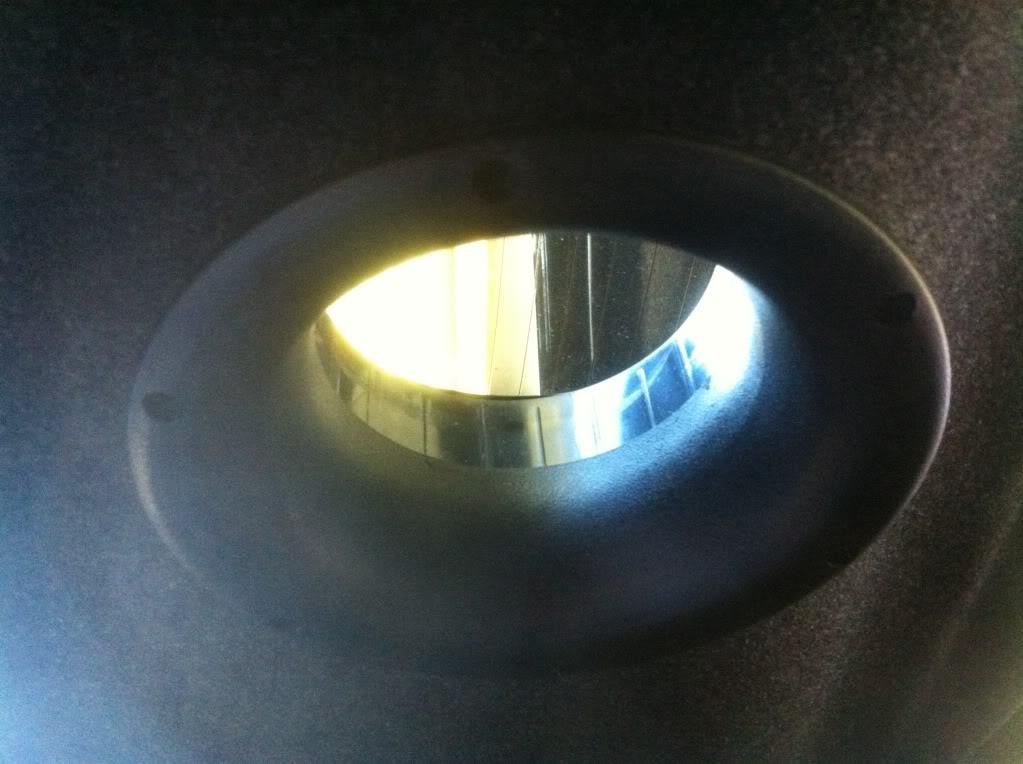
Now I needed to correct the issue of a muffled subwoofer with back seats up. I purchased a port this one Xscorpion AP4.10 AeroPort 5" Molded Enclosure Port It will need to be cut to about 4 3/4" from inside face to inside face. Yours may differ in length need so measure.
I removed the rear 8" deck sub and using a heat gun I removed the plastic gill from it and used it as a stencil. Cut it with a jig saw and used a 1/2" round router but to flush mount the port.
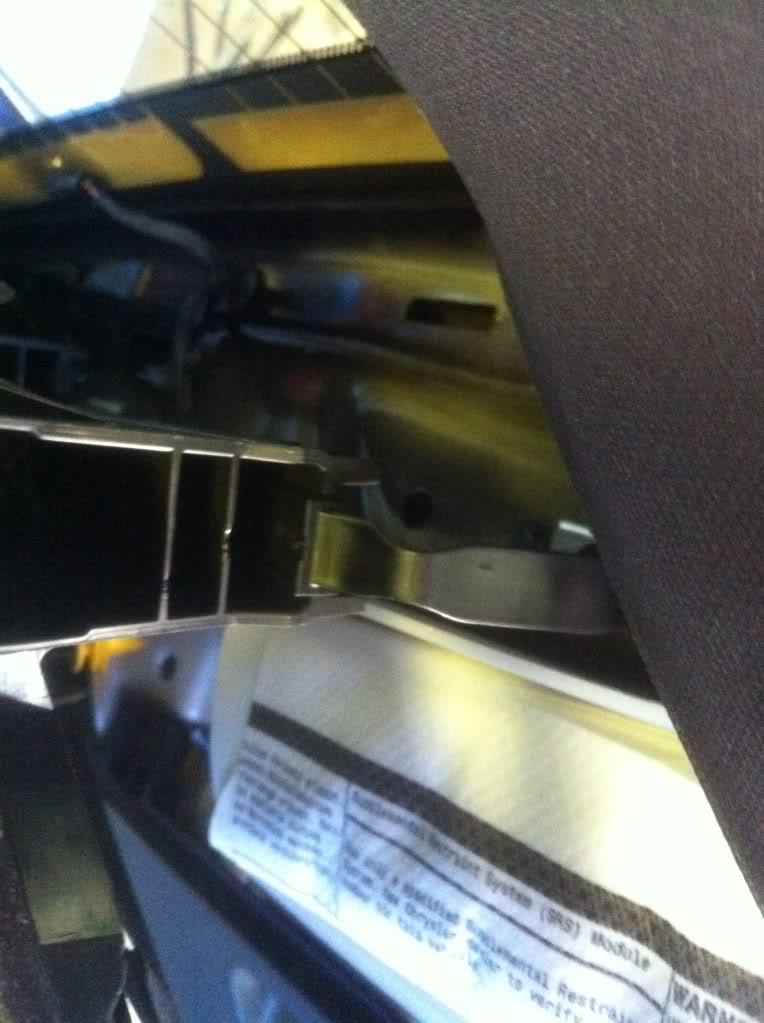
I removed the upper side panels for easy access to the rear deck. These just pop out and the top pop rivets have a tether. WARNING- there may be an air bag behind this panel be careful!
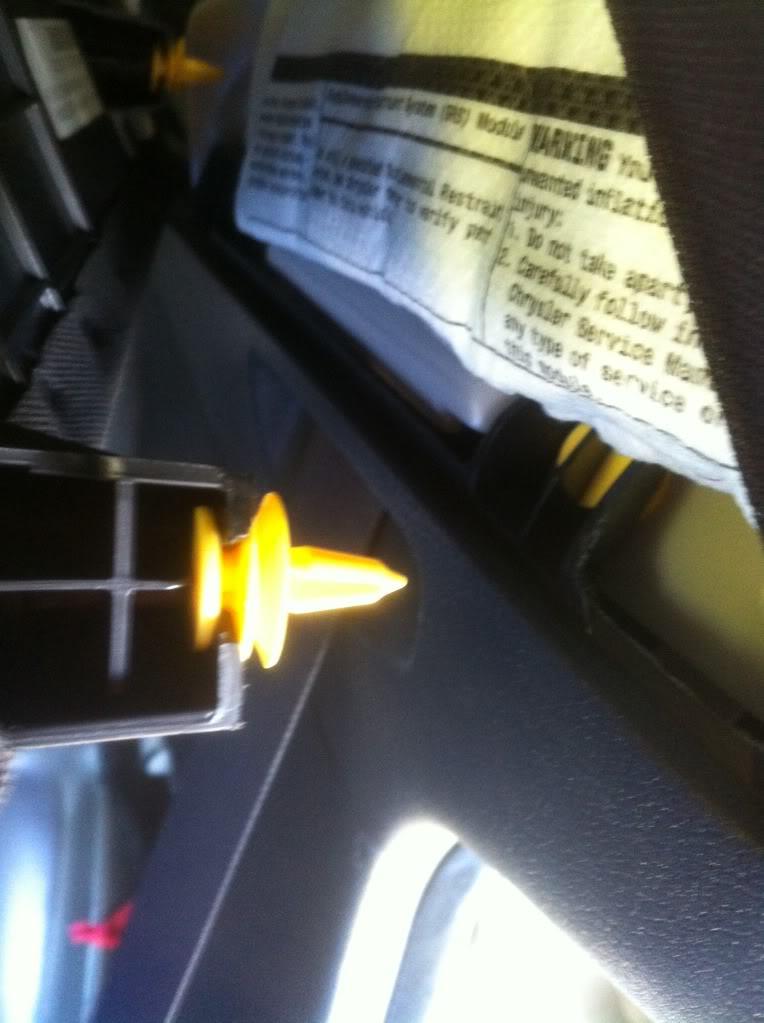
This is the tether don't just yank on it.
I sat the port in its spot and centered it by measuring from 4 sides; I then reached in and used a pen to trace my cutout.
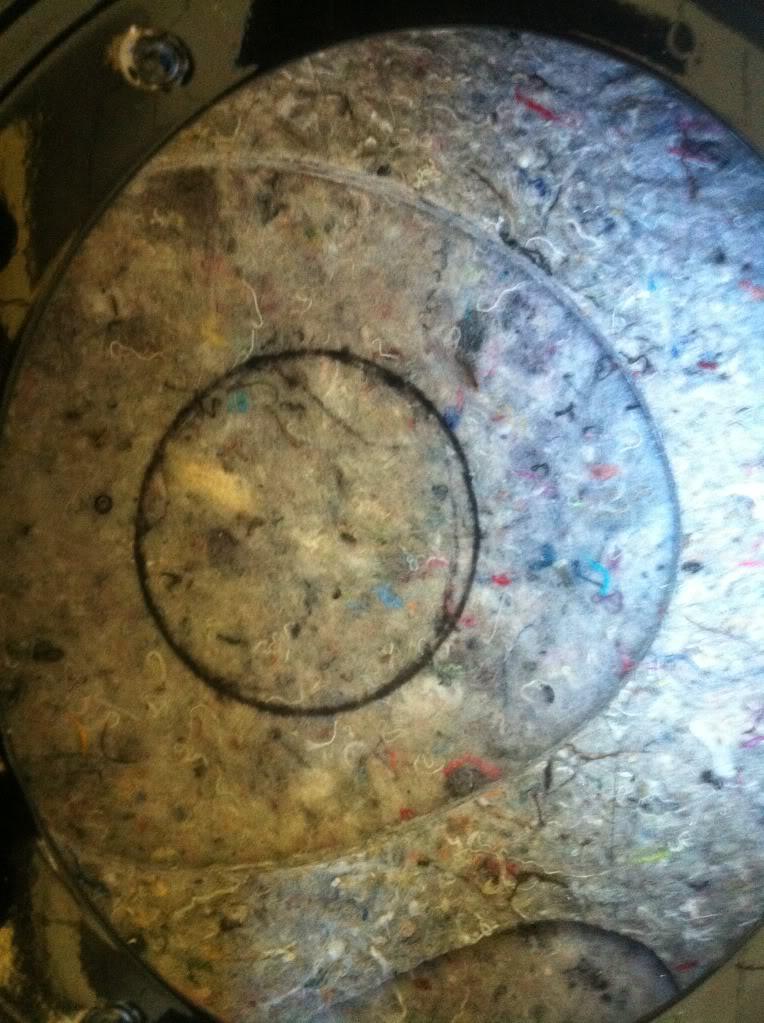
Now you can take this moment to measure for a final cut.
Once cut mount the bottom then the top. And be sure to lightly glue together I mean LIGHTLY as you may need to remove in the future.

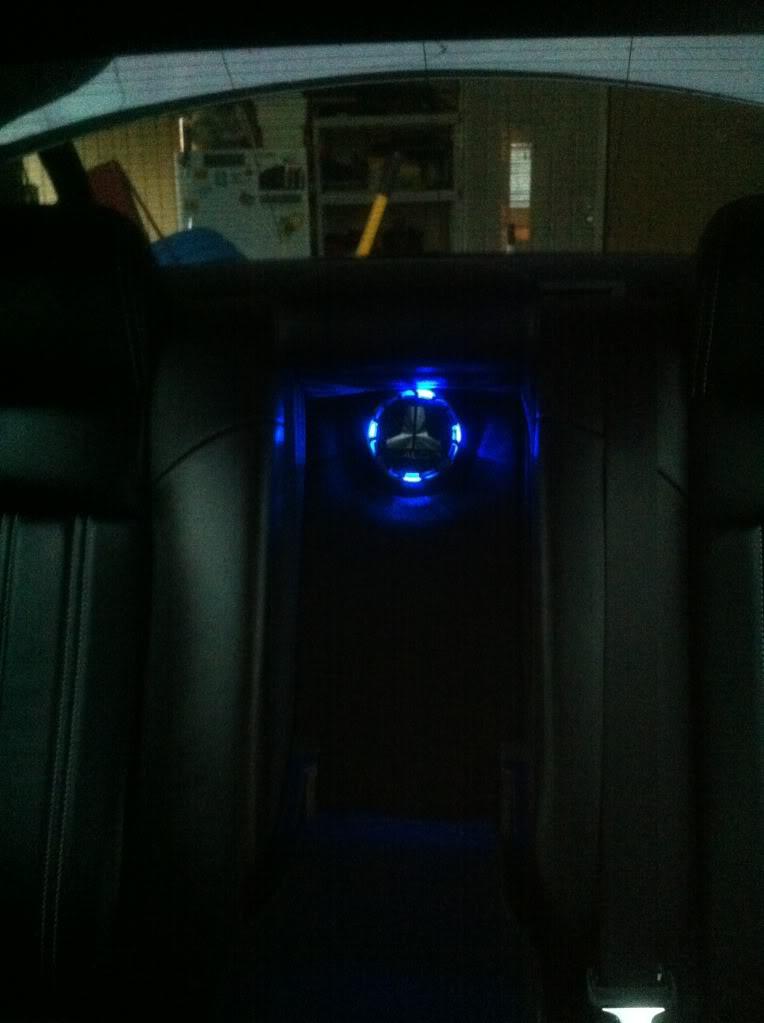
Once I was done I wanted something to set apart my set from the rest so I made a JL badge mounted in my back seat pictured below. If everyone enjoys this how to and wants to see another on this badge I will make one.

Great detail!
Posted by Diggymart on 1/6/20 @ 6:45:07 PM