You must be logged in to rate content!
16 minute read
Procharger Install w/Updates
Compliments of WA2FST4U @ challengertalk.com
6-4-2013
Day 1 - Fedex left a note on my door that I have a really heavy package waiting to be picked up. 
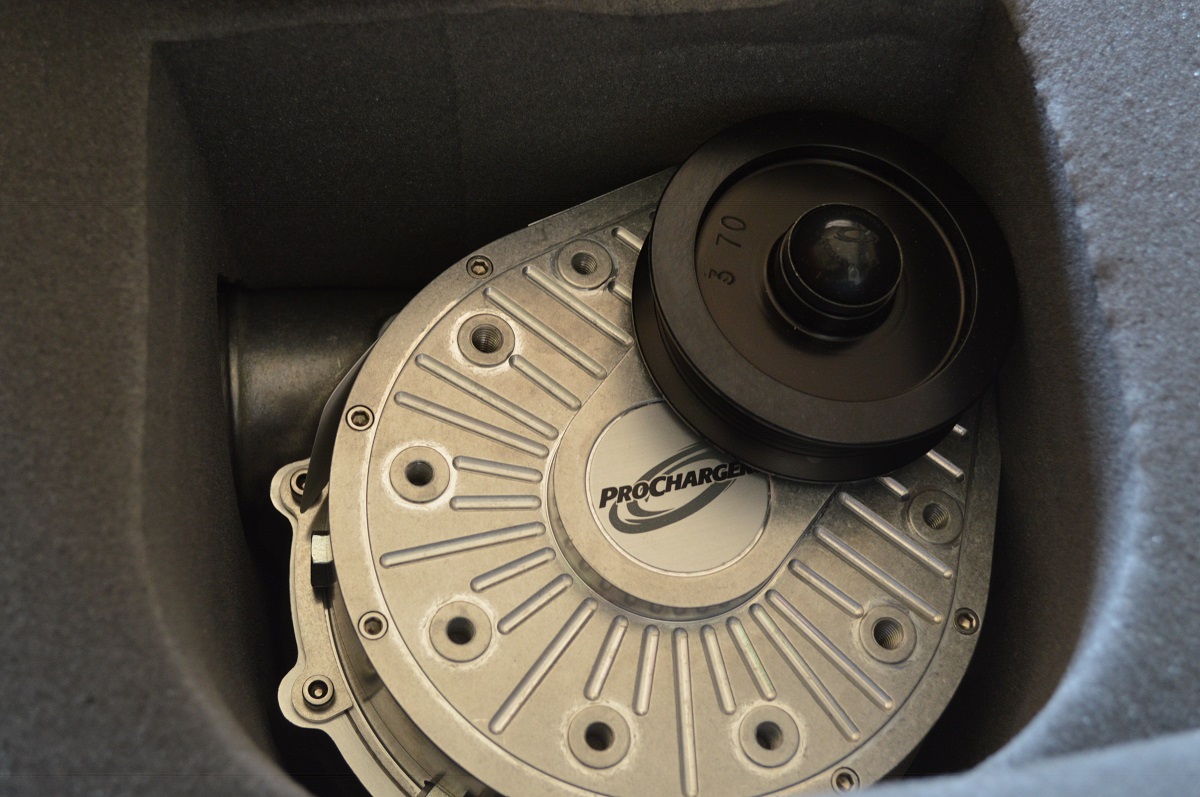
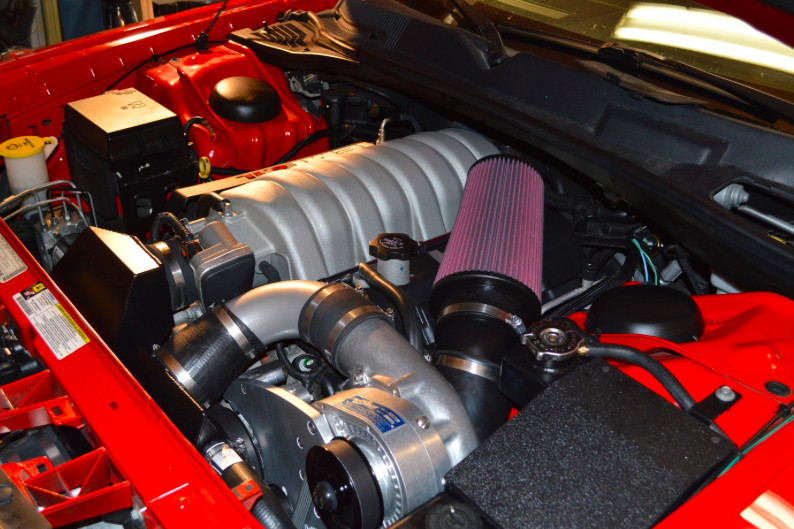
Kit details: Procharger HO Intercooled Complete Supercharger Kit 08-10 Challenger 6.1L SRT8 w/Helical Gears
I've mentioned this in another post regarding the decision to go with Procharger. I've only installed Vortechcentri-type SC's in the past (5-6 installed on Mustangs), but decided to go with Procharger this time. The reason is the complete package with an air-to-air intercooler. I ran my '06 Mustang GT (504rwph) without the IC connected at a road course. In two laps I was done. temp was at 250*. Then a couple weeks later, I connected the IC and went out again. 20 minutes of punishing driving, the water temp was at 205* (didn't climb above 200* until the last two laps). So, I was sold on A2A. Vortech didn't have a similar kit (not a fan of the water cooling) so it was an easy choice.
After reading the instruction .pdf many times, I feel confident in at least knowing the general needed to start.
Will add more here with pictures, experience and pitfalls.
6-5-2013
Day 2 - Fedex was able to deliver the package today (signature exception) successfully and my wife reports it is now in the garage.
Time-lapse webcam software installed on laptop and will be setting up a stable platform before Friday to let it run during the install.
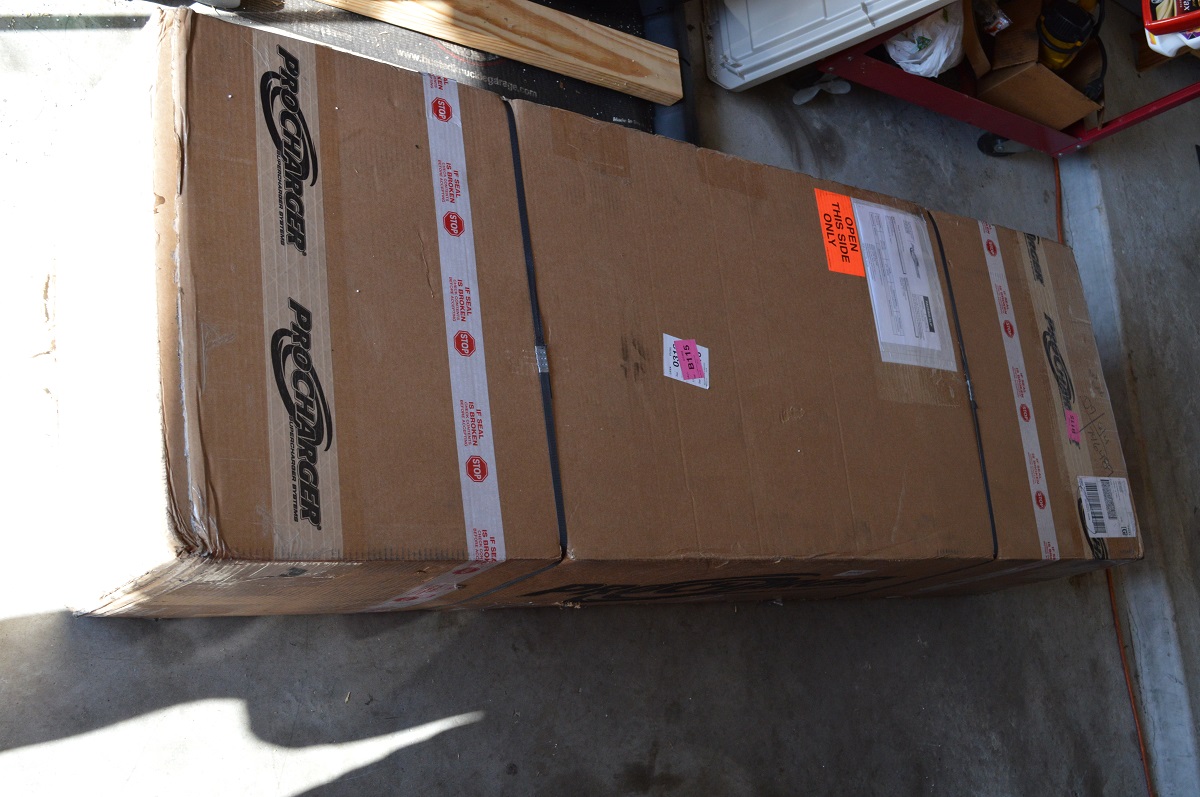
Didn't realize how BIG the box was going to be and when I got boxes this evening... wow!. Thought there might have been two smaller boxes.
I must say and by looking at the pictures below, they really did a nice job of packing it all!!!
My wife however, wasn't really convinced that there were SC parts in the brown bundles! Thought I had something going on the side!

Getting the time lapse stuff setup and ready for the install (starting on it Friday evening). If anyone has any questions, please let me know and will try to cover it with pictures and/or video.
6-7-2013
Head unit: P-1SC-1
Great information regarding the canned tune vs. dyno tuned! Plan is to get it up and running to have base numbers and then hit the dyno for a conservative (daily driver) tune.
Thanks!!
Update: time lapse gear has been setup and tested. Will be starting on the this afternoon!! More pics and videos to follow.
6-8-2013
Ok, going to skip ahead before posting the full details.
99% done at this point. But, something I'm not clear on is the tune. I don't see one in the new inTune for the Procharger.
I did see in the install manual that I have to send them a file and then they send me a tune. Is this correct?
BTW... install had some ups and downs for sure. Will share in detail.
 Hopefully the 2500 time lapse frames over 15 hours will produce a cool 40sec. video.
Rig: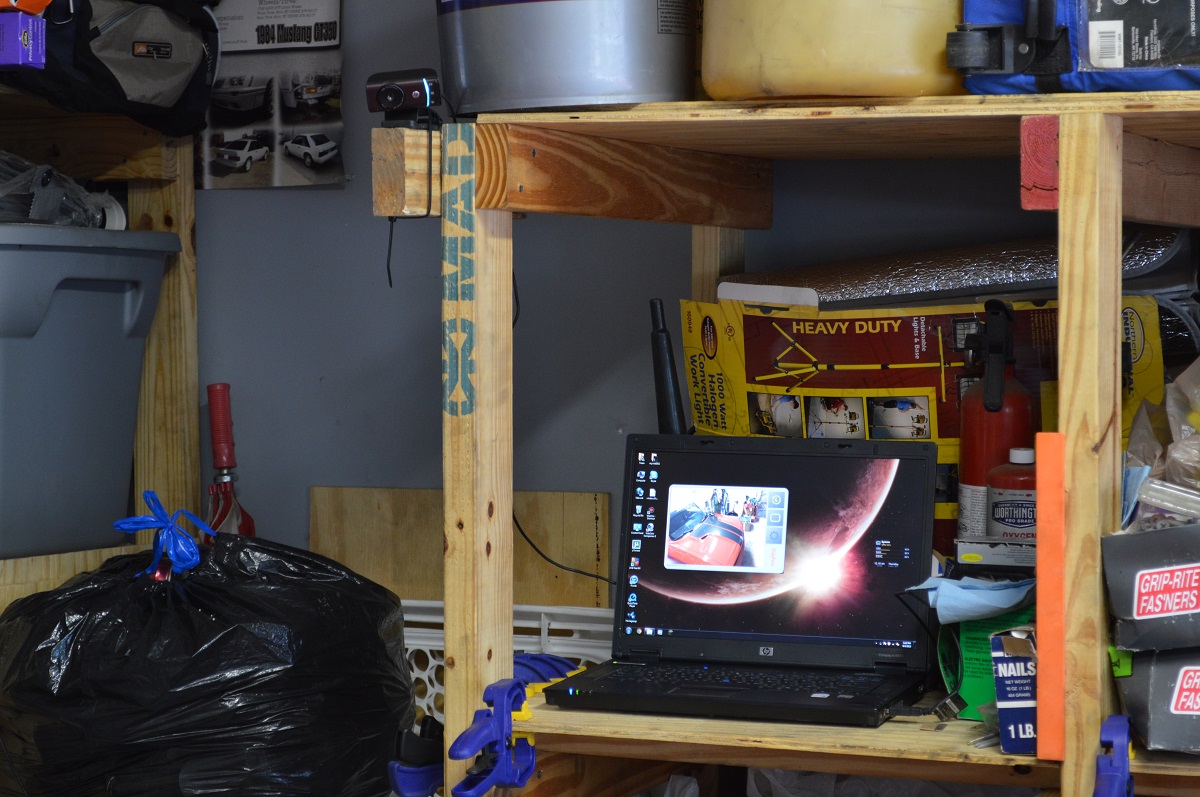
6-9-2013
Will hit upon problem areas during install.
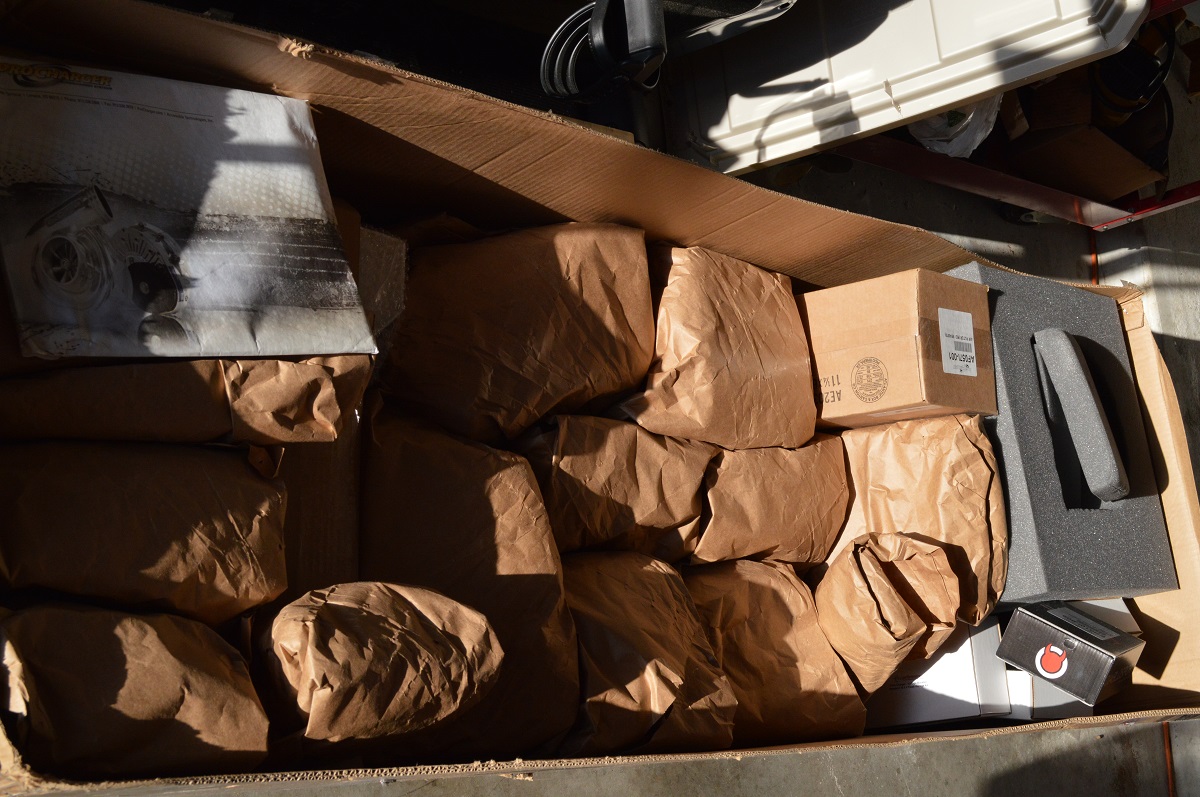
First things first.. the Procharger kit came in a very nicely packaged box! Everything was super organized and wrapped to protect. I was able to lay out the packages by order of "need".
1. Getting the front fascia off wasn't terribly difficult, but the upper inside 10mm bolt was a challenge for me. I have ratchet type wrenches. I don't see another way of getting them loose otherwise. If you have long thin arms and small hands - I don't like you! (j/k)
2. Dropping the radiator down almost all the way to the ground was very important in order to get to the crank bolt and pin install. I had to drain (in ziplock baggies) the coolant and keep a bucket under the car during this process. I would say two quarts of fluid came out. This turned out to be beneficial when it came time to replace the reservoir since all the coolant drained out into the ziplocks. (I didn't reuse the old coolant)
3. Pinning the crank pulley isn't for the faint hearted. I clocked mine at 11 o'clock to make it easier to drill since the radiator was angled in front of the pulley.
Make sure to measure and use a guide marker (yellow tape)


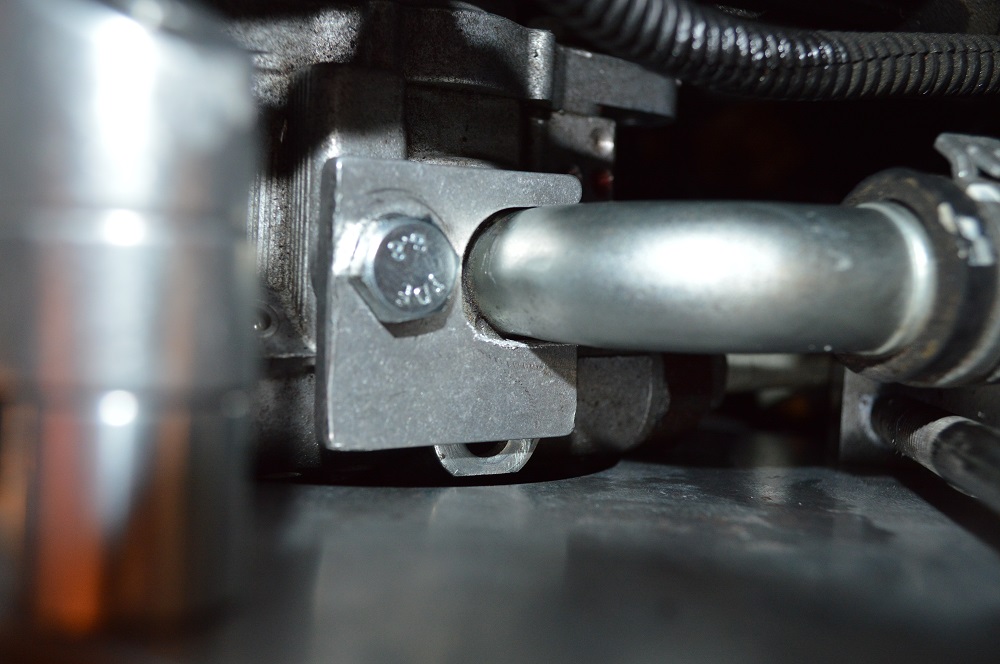
4. Power steering Hose!! OMG... this was one of the difficult and repeated attempts along with wasting a lot of time trying to fix. From the install manual "Remove the SHCS (socket head cap screw)from the power steering return hose with a 5mm hex bit socket. Rotate the power steering line and install the retaining bracket (3DDPS-001) as shown with a 13mm socket." First, I didn't see a 5mm hex bit socket at all, so I remove the exiting bolt that was securing the hose to the P/S pump.
****When I tried to rotate the hose per the instructions, the exiting hold-down bracket extended over the edge of the pump and the S/C main bracket would NOT go on at all. I didn't realize this until after the fact when the P/S fluid leaked out in large quantities. After a few attempts, I altered the retaining bracket and exiting hold-down bracket (along with buying several new O-rings).
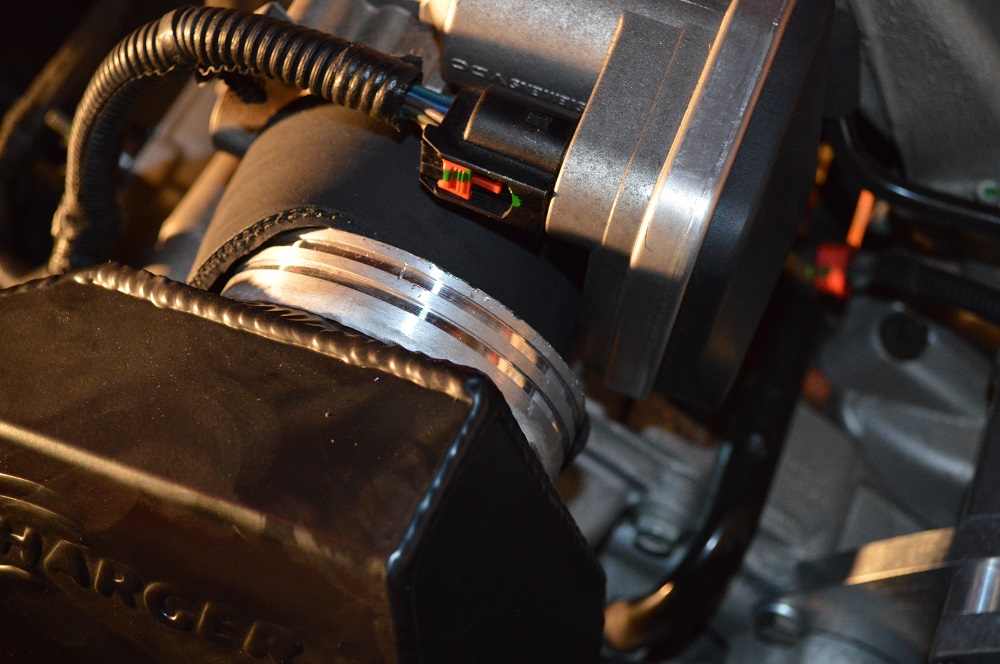
5. Intercooler air boxes. The intake one was a royal pain in the a$$!!! My suggestion is to keep the intercooler loose so it can move away from the intake as the box is slid into place. Oh but BEFORE you install the intake box, install the grommet and remove the intake air temperature sensor from the connector and install it into the grommet!! Trust me, you will be sorry if you don't. It was hard enough getting the intake/airbox into place once.. but when I tried to install the IATS, the grommet popped into the intake box and almost wound up going into the intercooler!
If you don't leave enough slack, you are left with a wedged in piece that takes some prying, cursing and persuasion to get it together!
6. Coolant reservoir - the overflow is routed down behind the driver side headlight and free to dump to the ground. I didn't realize this and have a catch can ordered.
7. Wiring - take your time and do it right the first time. I used a lot of solder and shrink tubing.

NOTE: The Wiring Diagram (Figure 13) - the orientation of which way the fuel pump is opposite if you set the manual down in the trunk and look at it. Guess I was up way too long and should have called it a night sooner. I swapped the pink and yellow wires. The car will NOT start.
Just waiting on the Tune now. The car will run but in limp mode due to the 2bar module installation. Good enough to check all the connections, but don't try to drive it!
Overall, it wasn't too bad. Took my time and spent time with the family. That and was also on-call for work which interrupted me quite often. Downside is that I have to drive my son's Mustang to work tomorrow and maybe Tuesday (until the tune gets e-mailed). 
Don't forget - SRT8 takes 16 spark plugs! Yeah, yeah yeah.. I'm used to Mustangs!  New plugs installed and gapped to .032.
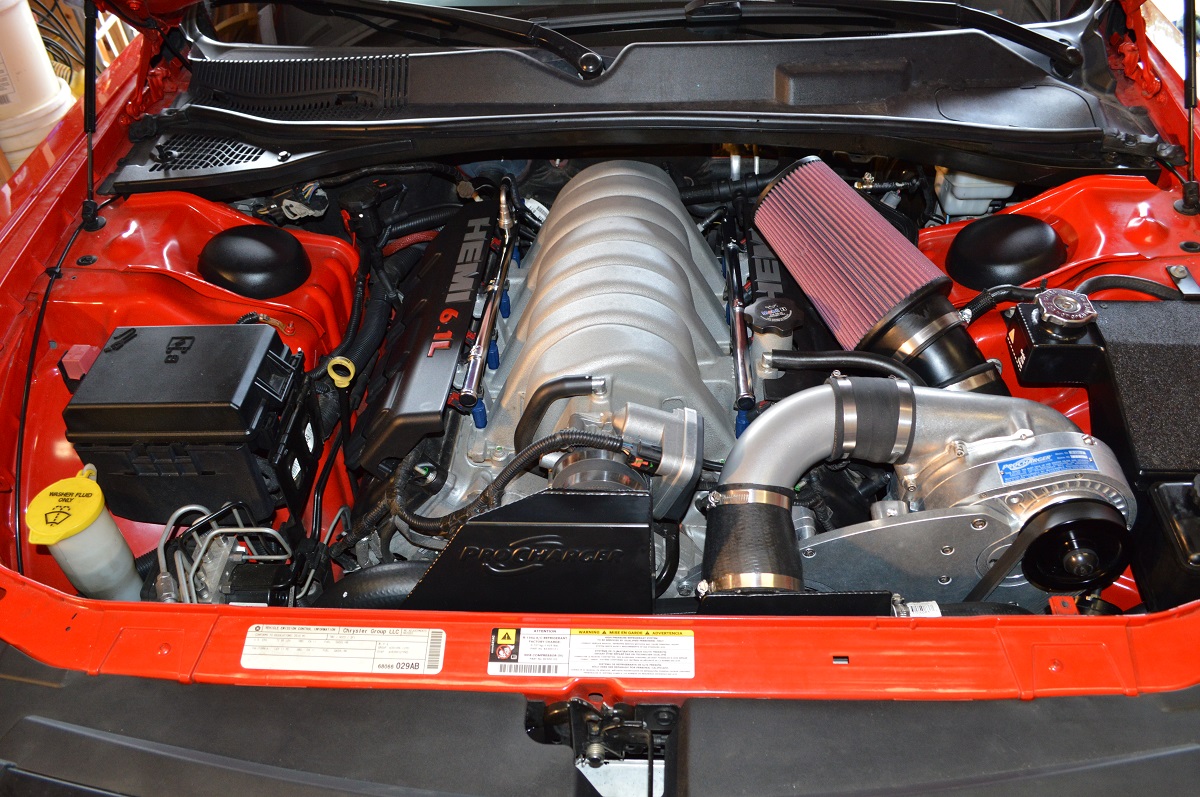
Here is the entire install in a minute. Enjoy!!
Challenger SRT8 Procharger install time-lapse - YouTube
6-10-2013
Tune just arrived via e-mail!!!! Will be able to finally post some "on the road" feedback this evening.
Will elaborate more in a follow-up post but wanted to at least give a fist impression.
NO TRACTION!!!! I thought the Motivos held their own with stock power and felt confident that they would do well with the Procharger. Not so much and will take some time to change driving habits.
Even with the underperforming canned tune, the car is a beast!! The boost comes on strong off idle and seems like it will never stop building boost. 7psi doesn't seem like a lot but my guess is after a custom tune, it will feel like a lot more. The super loud wooooooosh sound when chopping the throttle after WOT is addictive!!
If I had to guess how much at the rear wheels, I'd say 480-500rwhp just by the sheer fact it feels very similar to my old 06 Mustang GT with a Vortech (504rwhp)
Hope to get a custom tune ASAP.
6-11-2013
Thank you!! Great information on the catch-can. I actually ordered a red one. It has a 1qt capacity and will be mounting it behind the driver side head light out of sight.
Not that I think the car will overheat, but the comfort factor knowing it's there in case something terrible goes wrong and won't have coolant lubricating the pavement.
Ran it hard yesterday for a bit on my second test run after the install. Water temp = 185*
Thx!! The time lapse video really doesn't do it justice.  This is the first ProCharger install and on a car
I'm not familiar with at all. Good thing there were some videos out there with some general information. However, most of them glossed over the tough and time consuming parts.
Highly recommend doing the install if possible. I learned tons about the car and now well versed in many parts of the engine compartment that was definitely in the "unknown" department.
The last touch (will add pics) was to install the ProCharger license plate bracket. "Blown and Intercooled".. might be a tad pretentious though.
Now I just need to find some glowing red mean eyes that I can attach to the front of the intercooler that get brighter as the boost builds.
7-18-2013
Haven't made it to a tuner yet. Still deciding on which one to go with in the Houston area that has the capability/software to tune the Diablo/inTune setup. I've heard of several doing it via e-mail as long as you have a wideband gauge..etc.
I know without a doubt there is so much more power to be had just by the way the car reacts and drives while WOT.
Since it's my daily driver, I don't want to get too crazy with it, but still want to see what the canned tune is producing before the custom tune. I'm sure it will be dramatic!
80-130mph is stupid fast (on a closed course) even with 8lbs boost.
Hope to nail down a place to take it soon!! I'm anxious to see the numbers before/after.
7-27-2013
<<<>>>
Forgot to post this update a couple weeks ago.
If you have a 6.1L SRT and go with Procharger, please look at your power steering pulley to see if it has 5.7 stamped on it. If it does, you will 1. have to modify the main bracket or 2. replace the power steering pump with a 6.1.
How do I know? Well, the bracket will not fit flush and cause the belt to wear unevenly or throw a belt if not caught in time.
I got a hold of Procharger and they were super nice and willing to go that extra mile to make sure I got what I needed. Will try to get some pictures posted up to know what to look for during the install. However, the easiest way to tell if you are going to be in trouble right away is looking at the P/S pump pulley.
Guess Dodge was using whatever parts at the time and yes, the 5.7 pump will work stock, but not with this type of application.
Hope this help someone before finding out the hard way.
10-26-2013
5,000 mile update:
1. Changed the SC fluid at 3,000 miles - no issues there and is straight forward (lots of work to remove it, drain and fill (I wanted to remove it to make sure everything else below the SC was still good (it was)
2. Overflow tank developed a small pin hole. Procharger replaced the entire OF tank free of charge! New one has been installed for 2,000 miles
3. Install issue. The intercooler was rubbing against the condenser and guess what? Yeah, put a hole right in it and I had to take the entire front end off again to replace the condenser. $129 for the part. $75 for freon + vacuum pump (neat little pump that uses a compressor)(was able to pull 29hg/in with it) + AC manifold gauges (love Harbor freight down the road 30miles!!) New condenser is in and I used a rubber hose cut in half to wedge between the IC and Cond. Works like a champ!!
4. Bypass valve fluttering. Noticed on the dyno that building boost wasn't coming as easy as I should it should. Instead of a whoooosh sound, it would make a fluttering sound when lifting off throttle (even with no boost). It was fluttering so bad the hood was shaking. Found the plunger was going too deep and allowing the pivot point to actually go around to the other side and get locked into place. A 3mm-4mm washer at the bottom of the cup (took the BPV apart) did the trick. The diaphragm opens all the way but will not go past the pivot point. Road test confirms this thing is super scary in 1st and 2nd gear. It builds boost super fast now (up to 8lbs) and whoooooshes really loud when off throttle.
Used a local tuner and after a couple of months, we have what we think is a really great tune. 529rwhp/496rwtq @ 8psi.!!!
Daily driving this thing is a pleasure. My Vortech equipped Mustang was no where near as fun or reliable. Now that the issues have been resolved, I'm looking forward to many more miles of 500+rwhp/tq ear-to-ear grinning fun!!
Maybe it's my license plate bracket (Blown and Intercooled) that keeps a lot of "lets see what ya got" away or just the intimidating look/stance of the car. Either way, it's bliss.
10-27-2013
On the dyno:
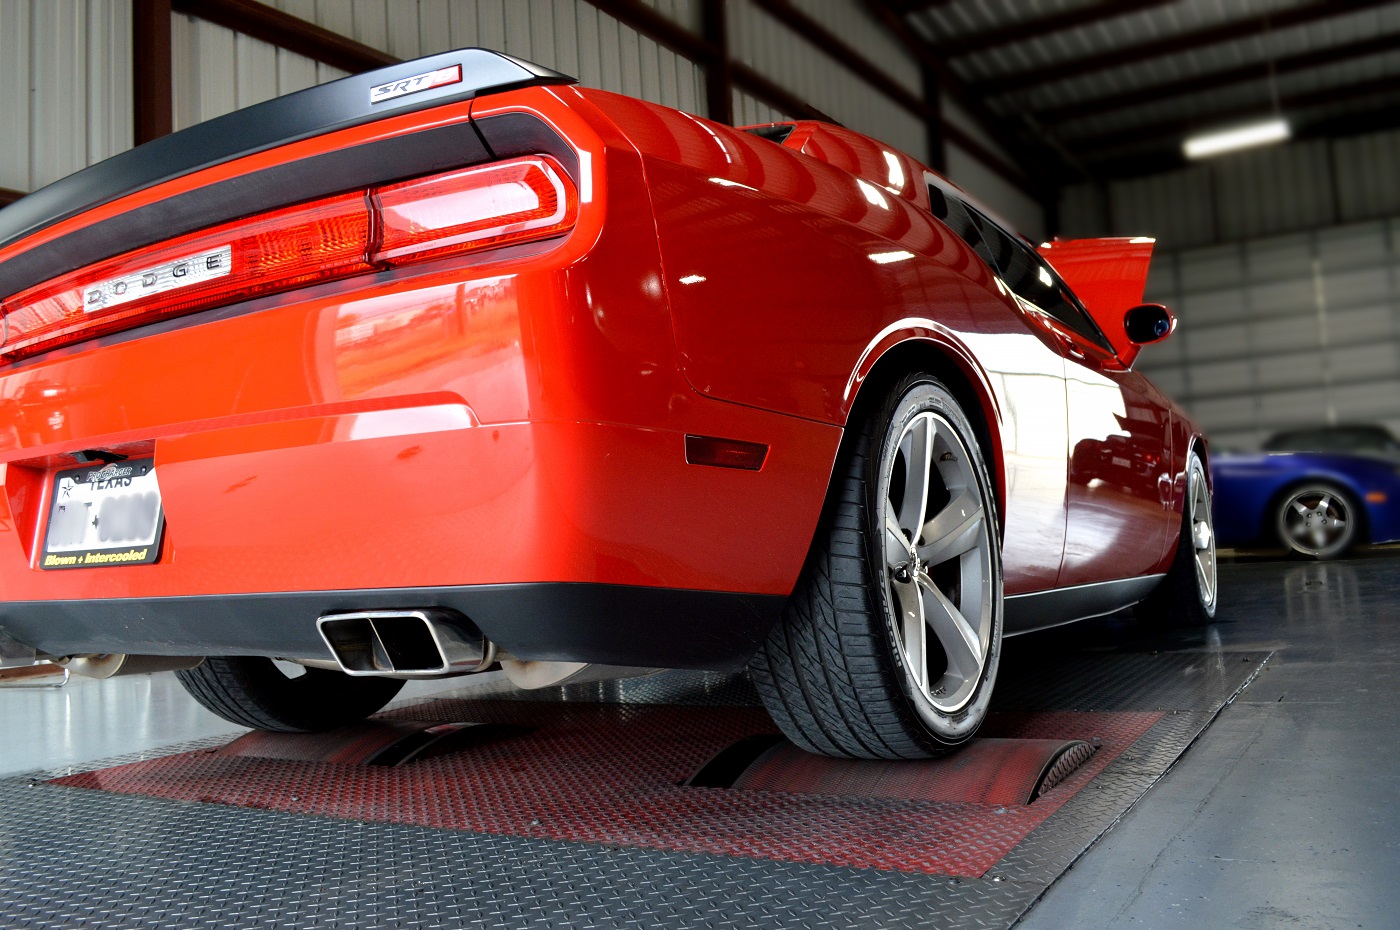
529rwhp/496rwtq
11-16-2013
Ok, take one to try and capture some BPV and SC sounds. Didn't work out real well, but thought I'd post it anyways. 
http://www.tek-racing.net/BPVTakeOne.wmv (8.5meg)
Was able to get YouTube to work:
Take II should be much better.
BTW.. the Procharger has helical gear set.
**Closed course and professional driver**