You must be logged in to rate content!
10 minute read
Diy center bezel removal for painting
Compliments of Eimer123 @ dodgeforum.com
8-15-2010
OK Here we go.... This will be posted in steps.. as i am trying to be as detailed as possible.
NOTE: This is for a 2005 SLT 4x4 some steps may be slightly different.
Tools needed to remove from truck
- 9/32" wrench or stubby #2 Phillips screw driver
- Small Flat head screwdriver if you have stubby fingers like me
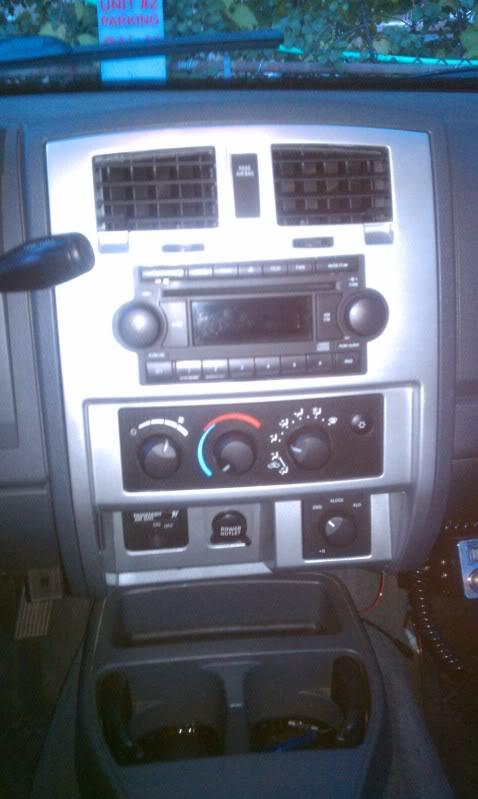
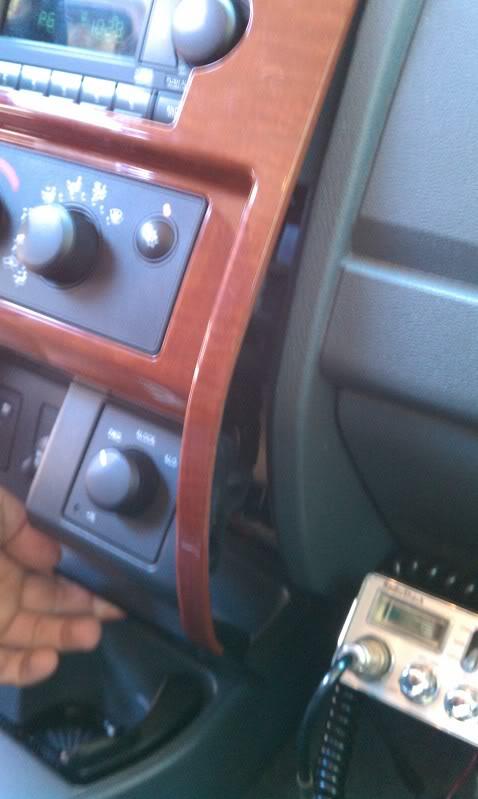
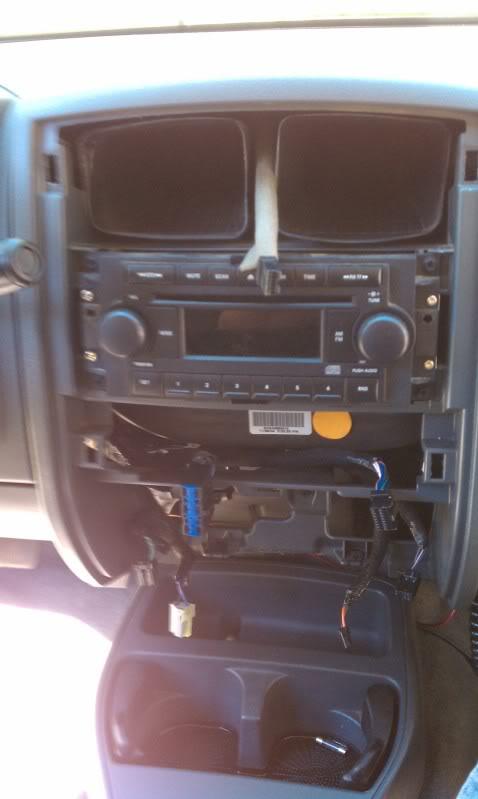
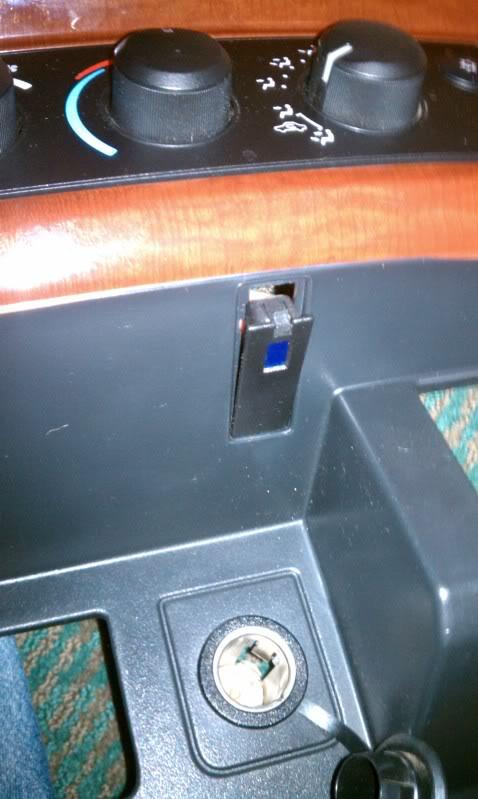
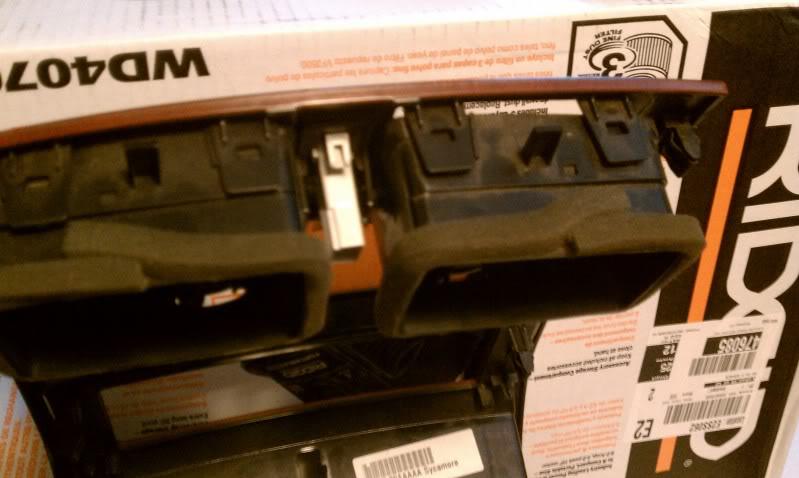
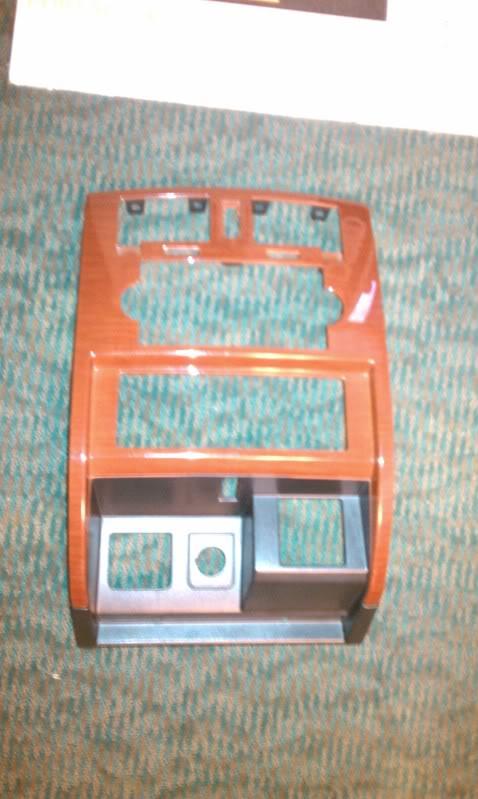
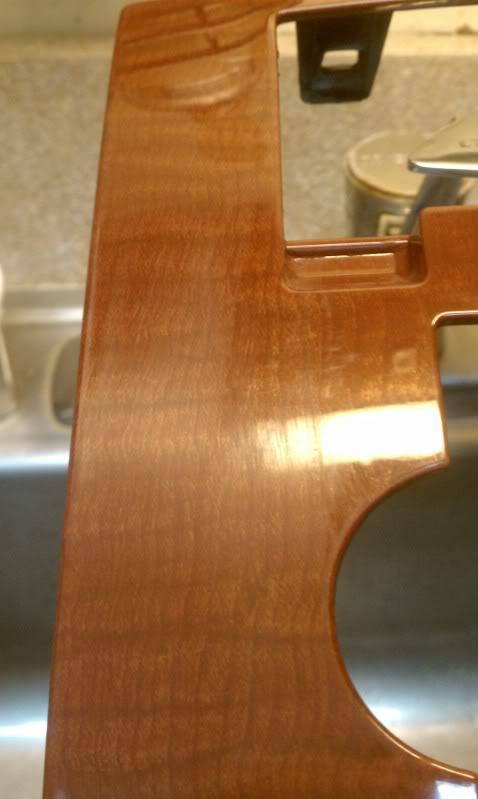
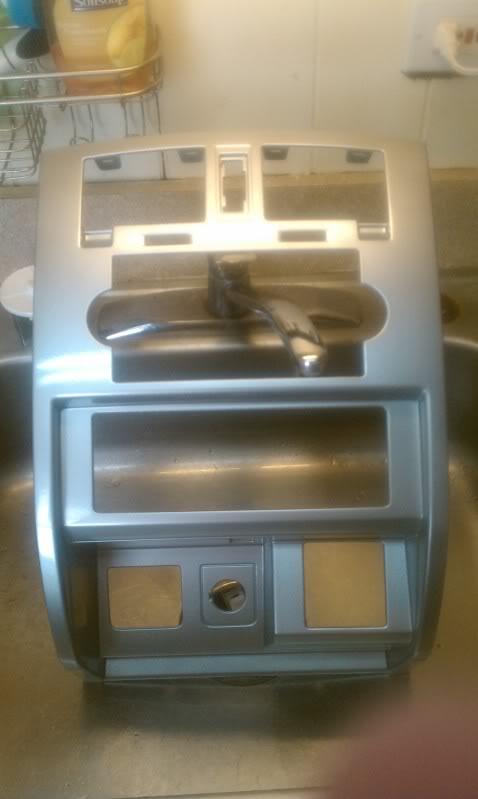
This is what you start with
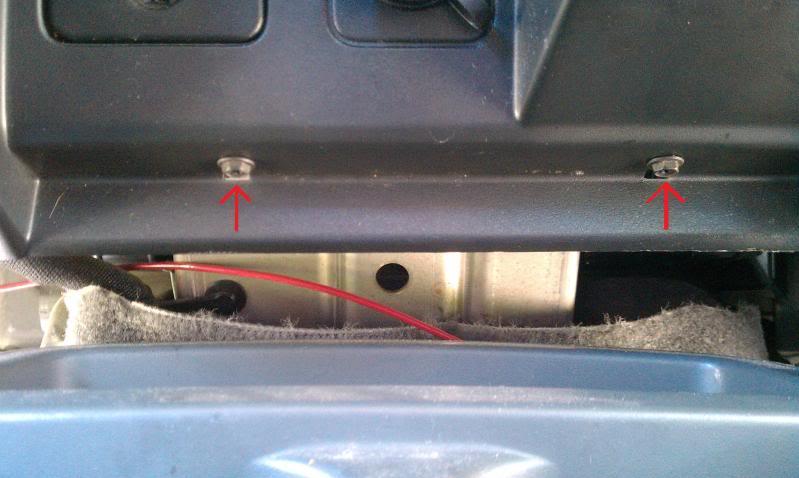
Step one: Remove two screws at bottom of bezel. (Use 9/32" wrench or stubby #2 Phillips screwdriver).
Step two (part a): the bezel is held on by two screws at the bottom and 4 spring connectors. First set of 2 are located left and right side center on the A/C and Control *****. Second set is located Left and right side center on the two top vents.
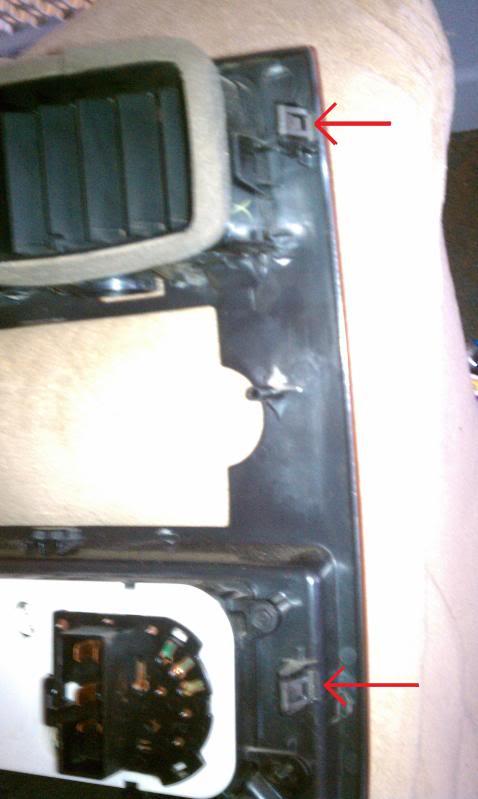
Step two (part b): Carefully pull from the bottom to pop out the springs clips in the center of the bezel.
Step three: Carefully keep pulling until the upper spring clip pops out.
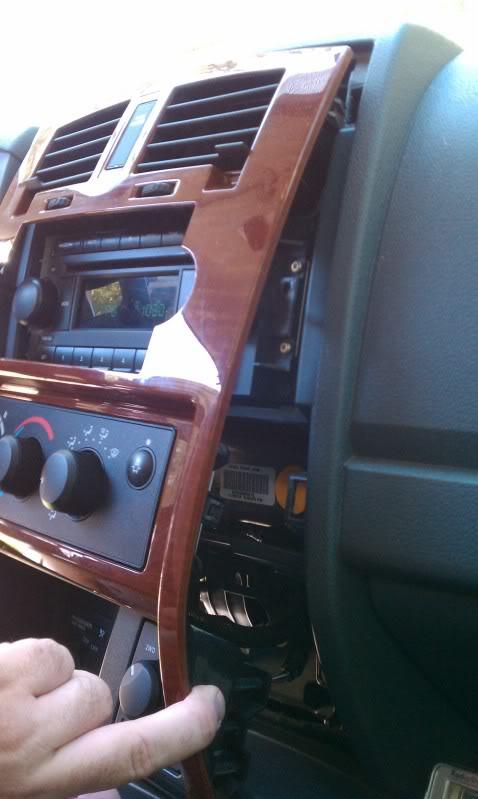
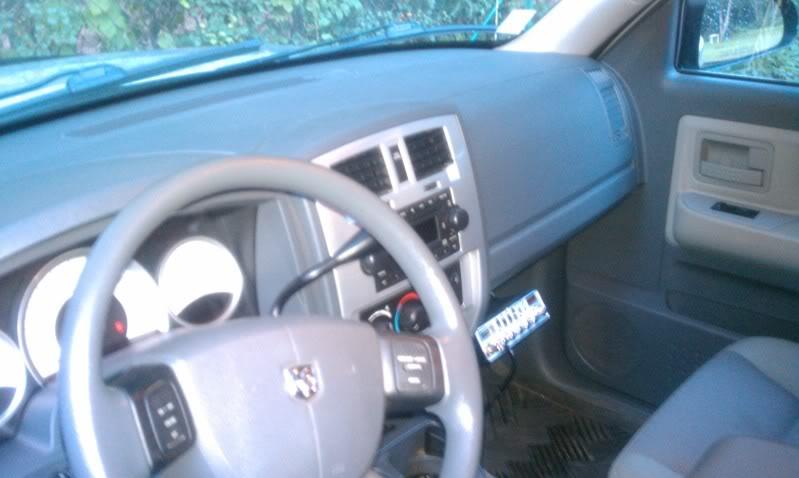
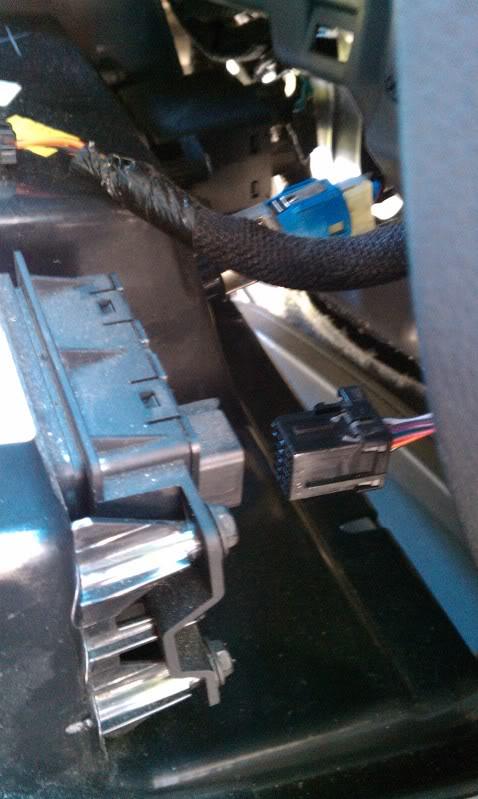
Step four: There is two tabs at the top of the bezel so carefully pull the bezel downward to slide them out.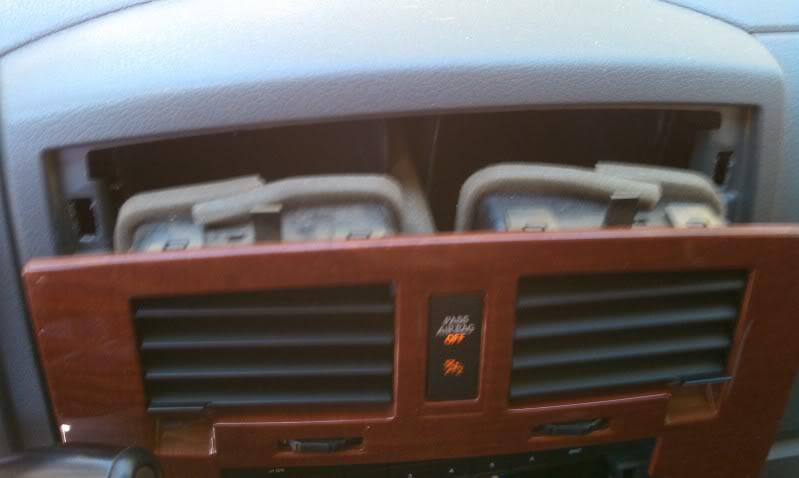
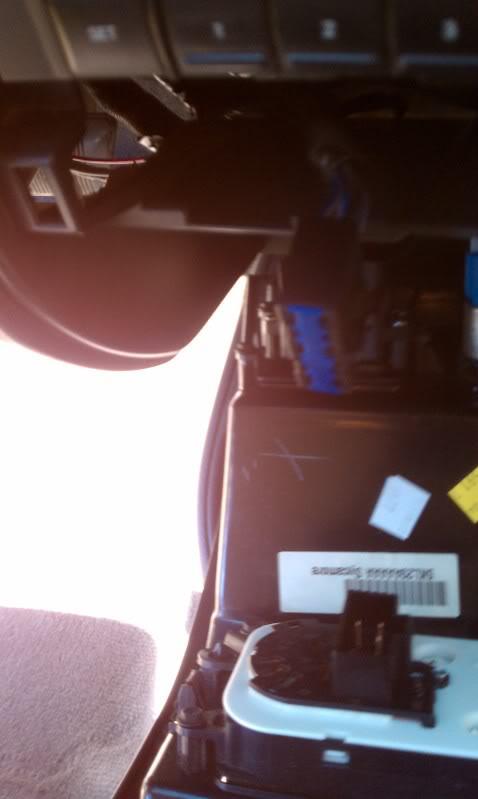
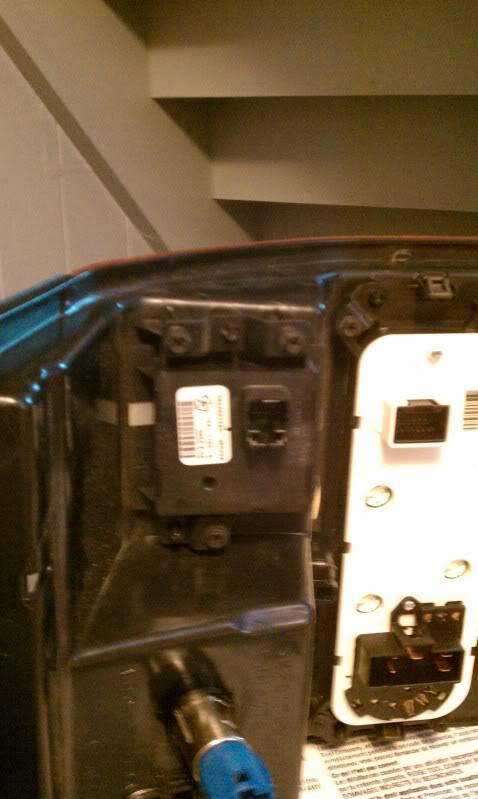
Step five: Unplug the passenger seat belt sensor light. Push in small tab and carefully pull out (do not pull on wires, pull on connectors).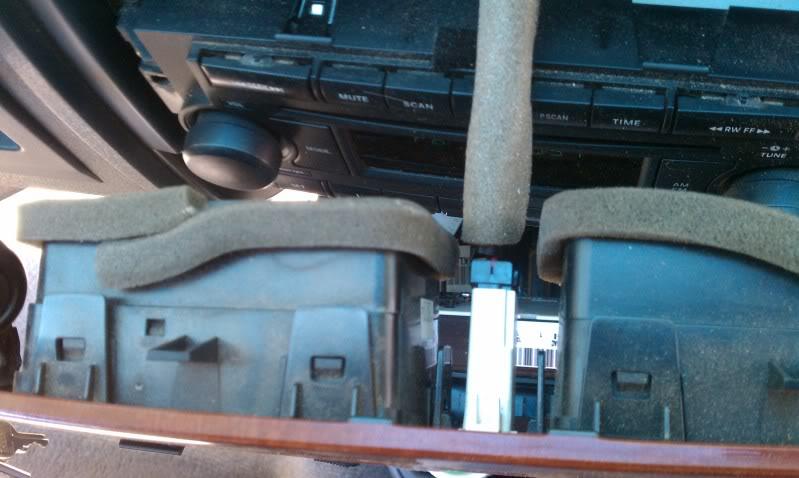
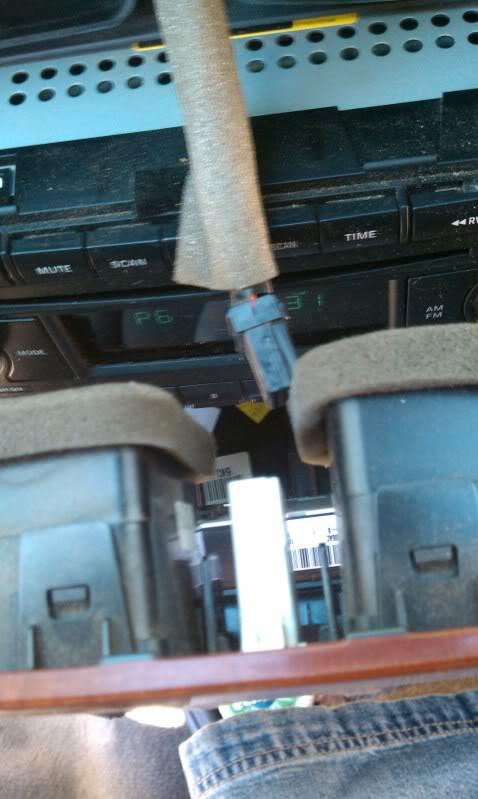
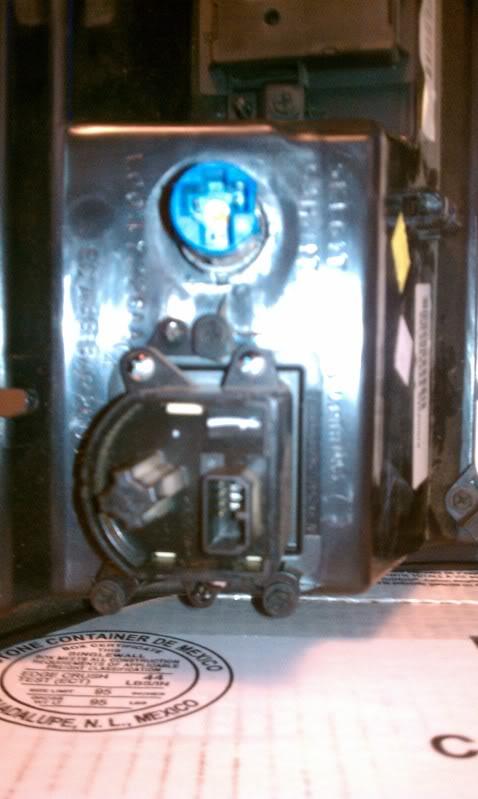
Step seven: Disconnect Fan/heat/baffle connector. Push in tab on the side.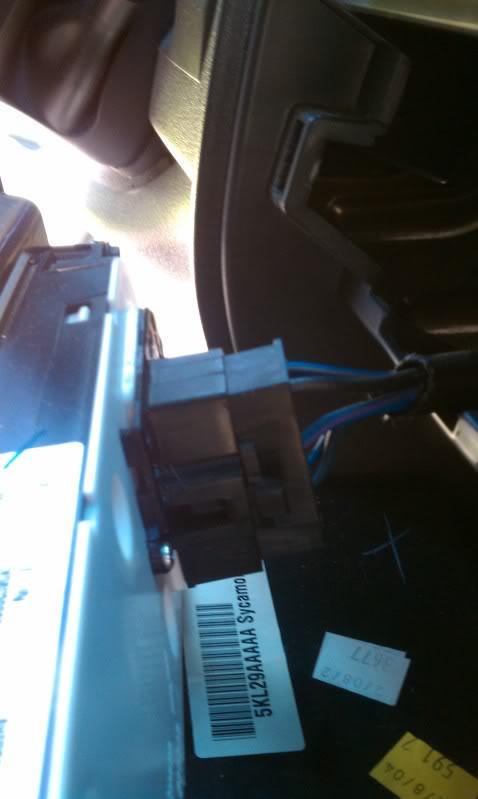
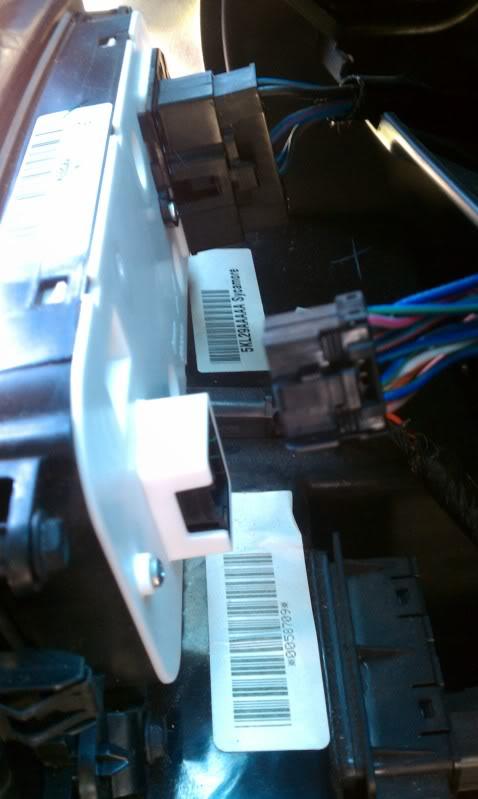
Step eight: Disconnect 4-wheel drive connector. Small tab on far side of photos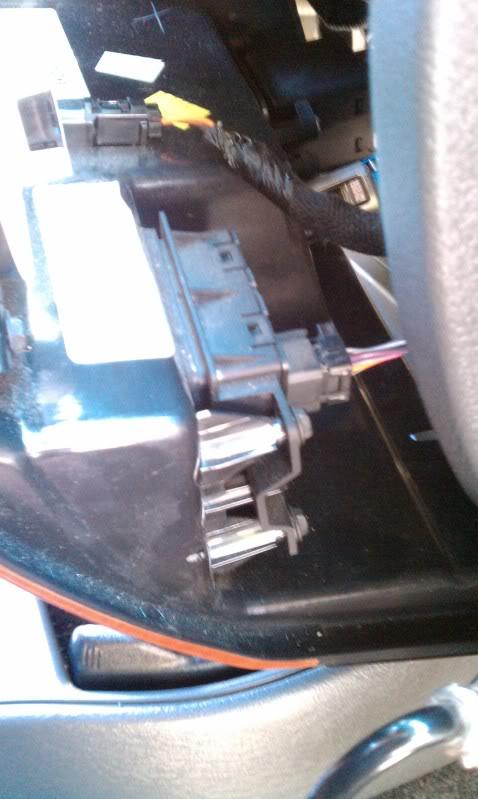
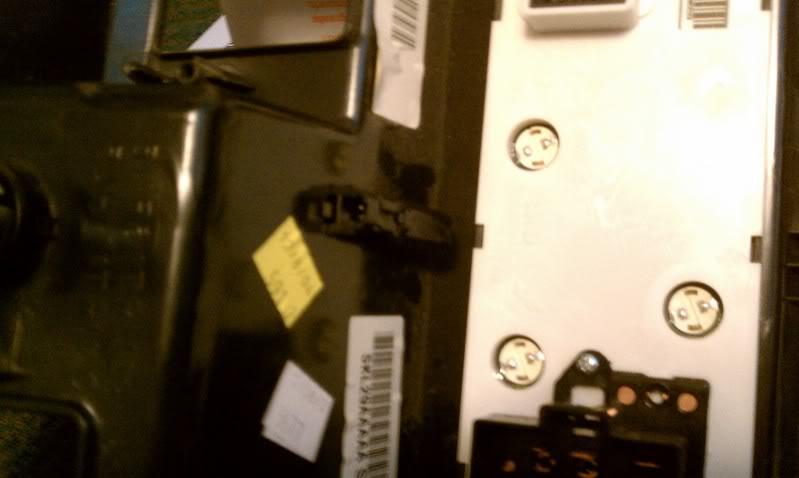
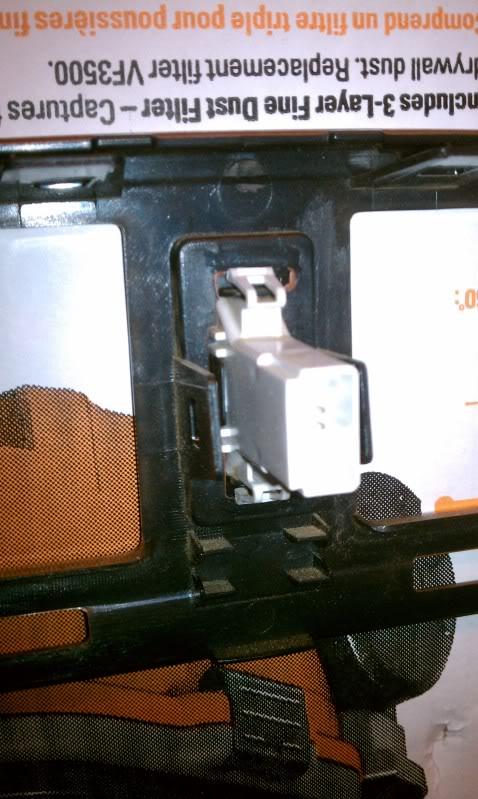
Step nine: Disconnect led light connector. Small connector on top.
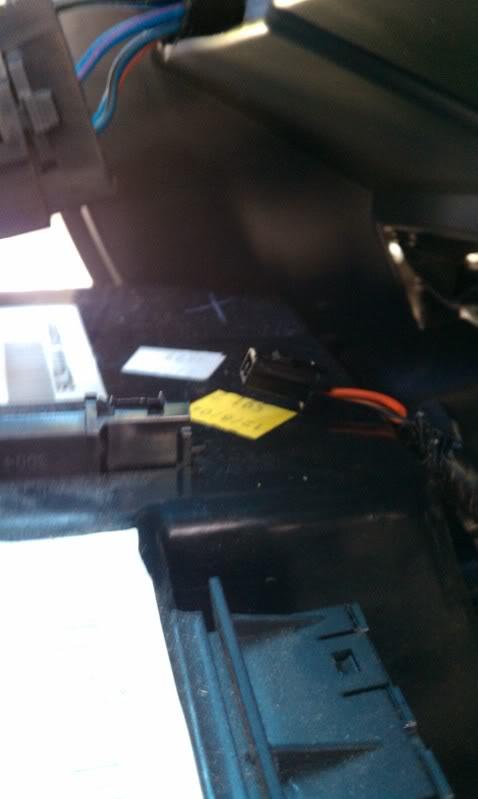
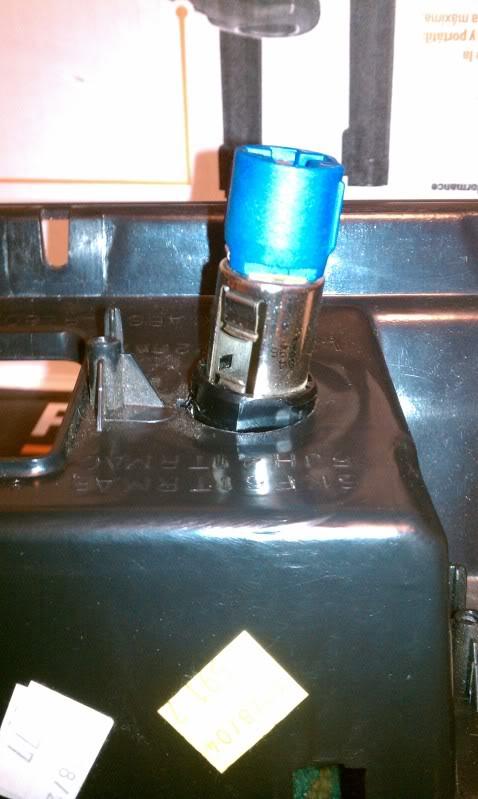
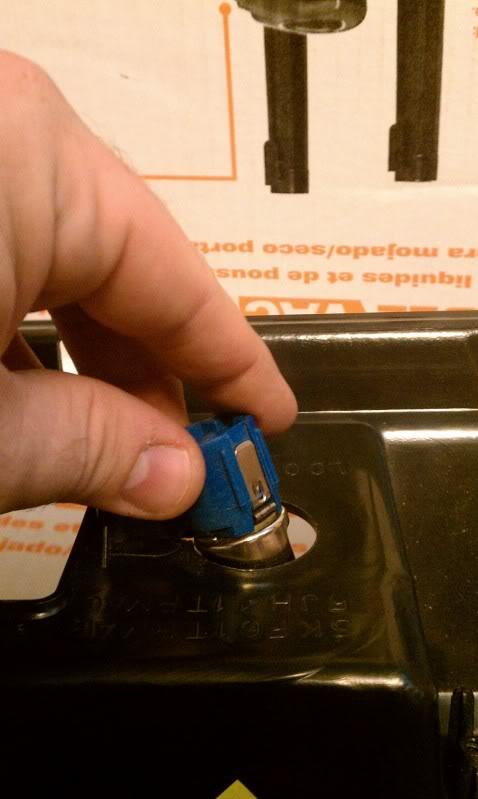
Step ten: Disconnect power outlet connector. (small screw driver might be needed for this step). Push in small clear between the blue.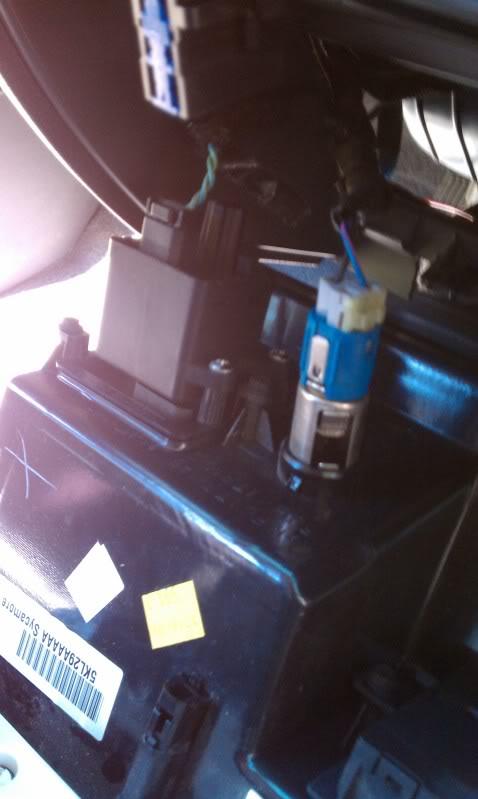
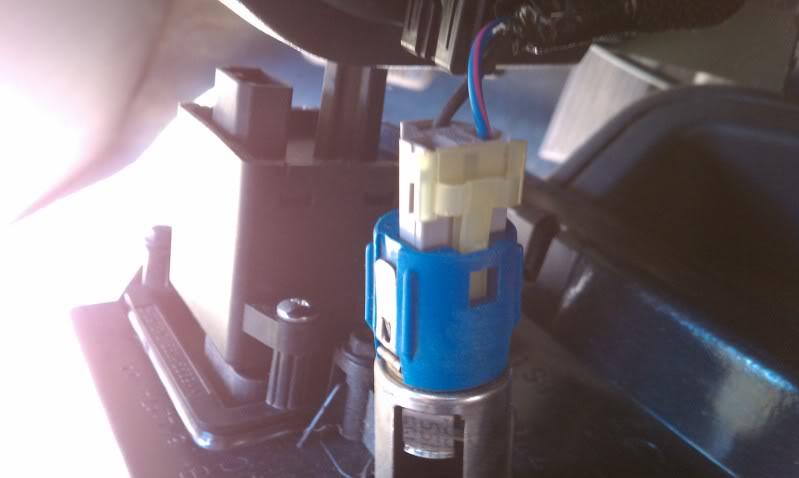
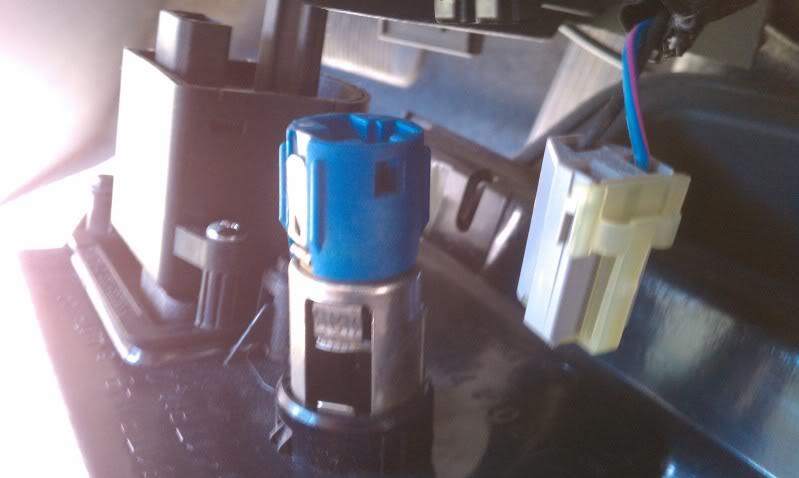
Step eleven: Disconnect air bag override connector. Push in small tap on top. (This photo is missing from my collection but its the one right next to the power outlet).
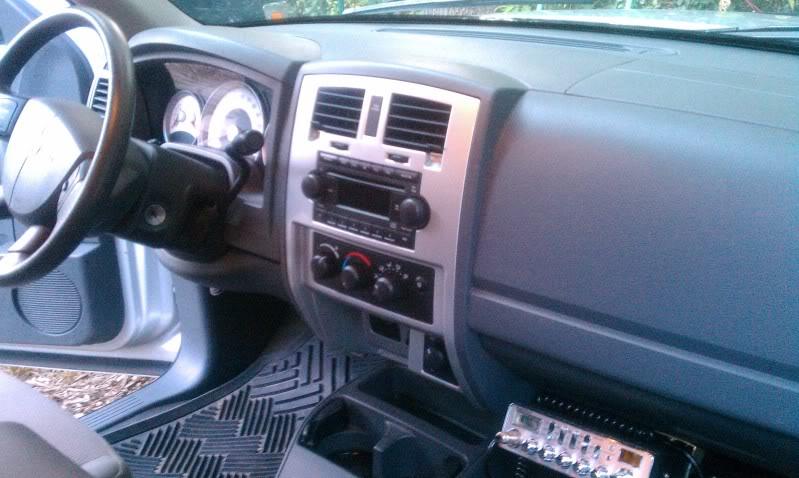
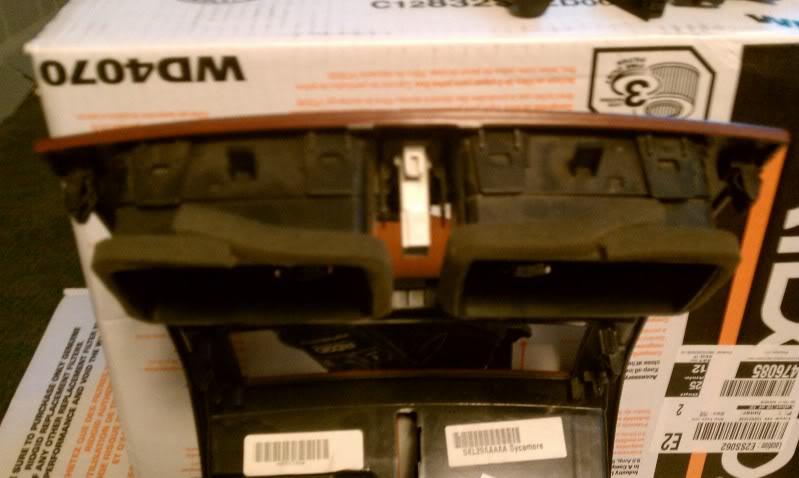
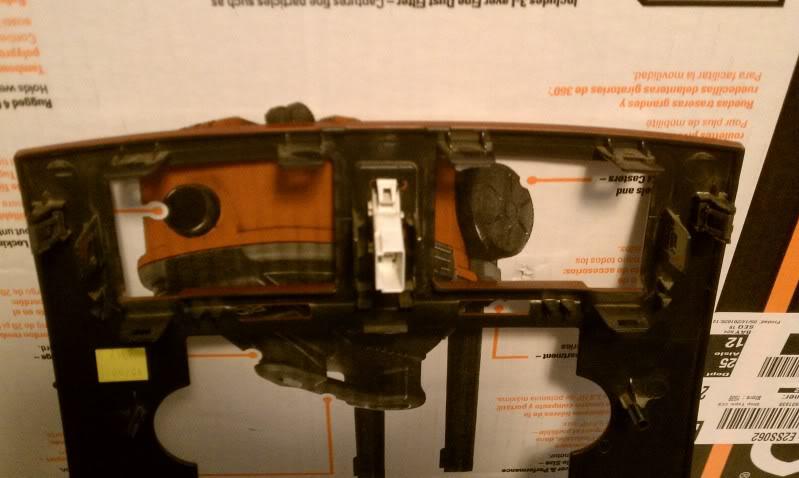
Finished with removal
8-16-2010
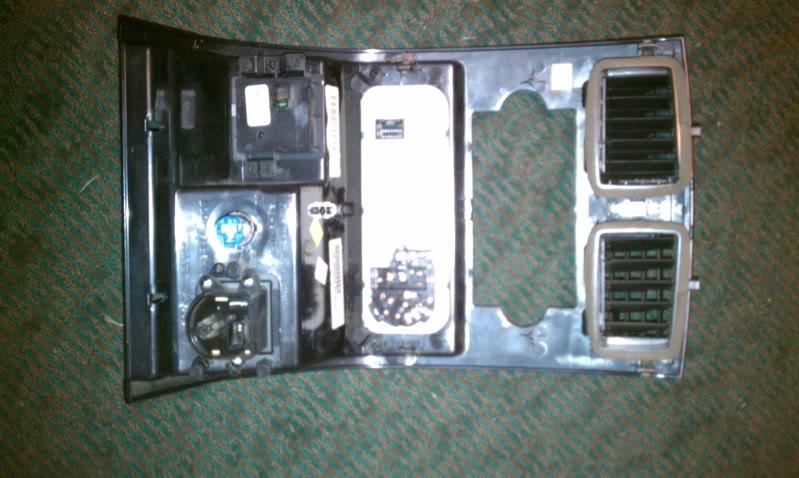
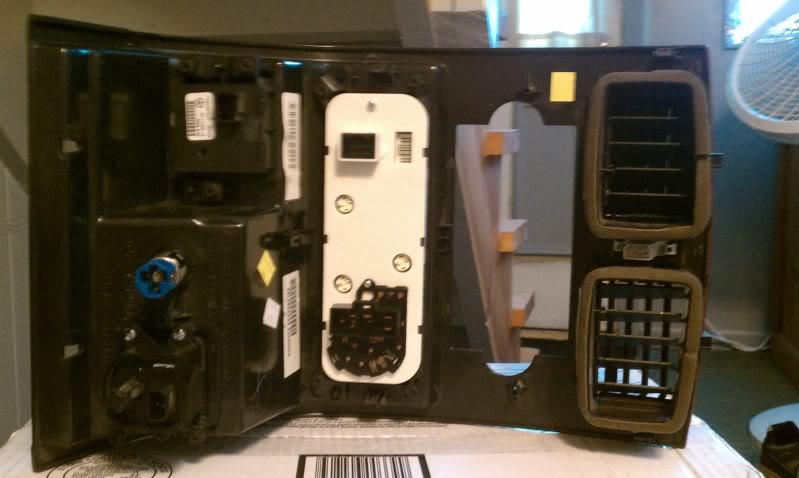
Removal of components on bezel
Tools needed
- #2 Phillips Screw Driver
- Small Flat Head Screw Driver for vent removal
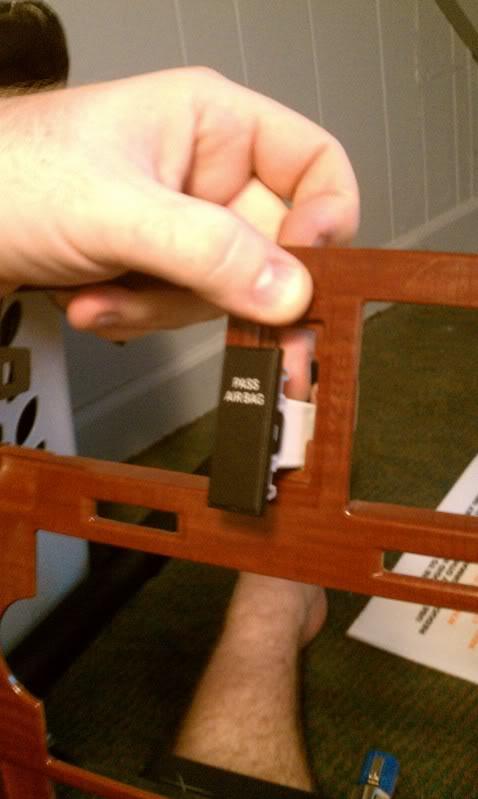
Step one: Remove the three black screws holding the air bag override in place (leave the silver ones in place).
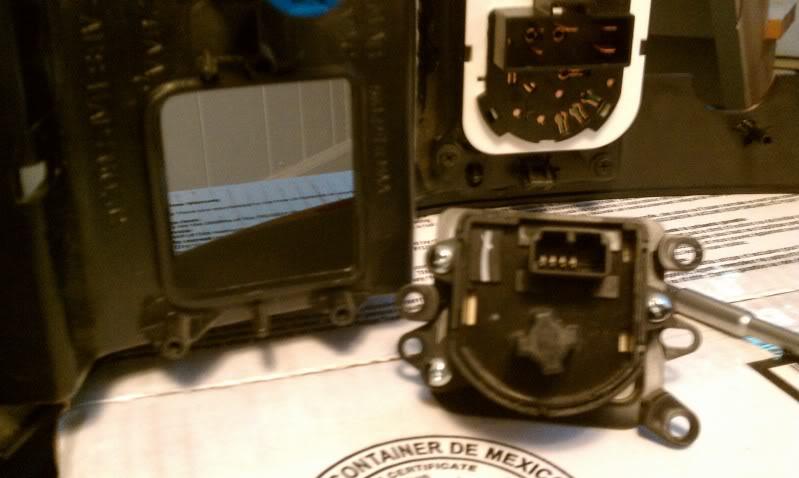
Step two: Remove three black screws holding the 4 wheel drive selector in place.

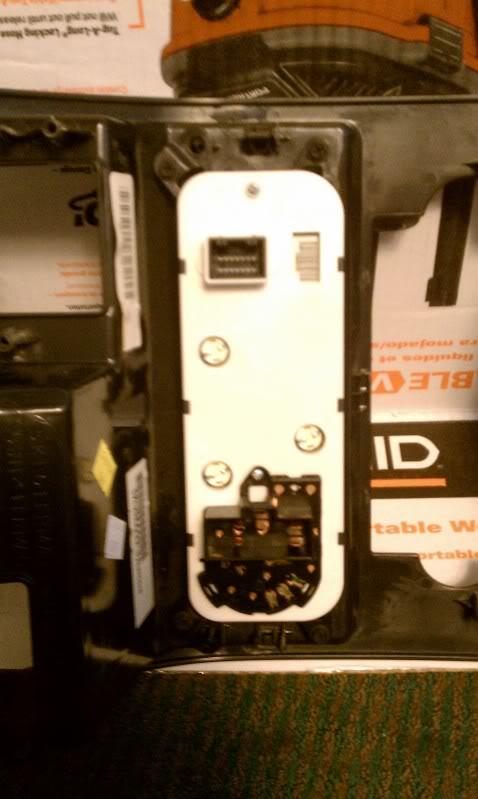
Step three: On the front side of the bezel where the LED is located there is a small little tab. The led is removed from the front.

Step four: Remove four black screws holding the heat control cluster in place.
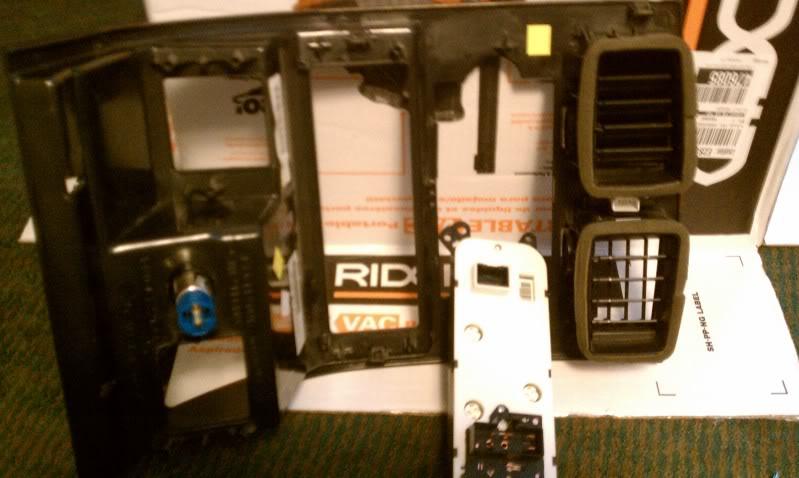
Step five: Remove the 2 air vents by pressing all 5 tabs at once. lol just kidding I know we are not monkeys. To do this step you need to start with getting one tab free and work your way around until it slides out.


Step six: Press two white tabs on passenger air bag light and pull out from the front of the bezel.
Step Seven: Removal of the power outlet. I found it easiest to twist the power outlet until one of the black plastic tabs is in line with a small notch in the plastic and then tilting it halfway out. Then I spun the outlet 180 degrees and tilted out the other half and removed from the front.
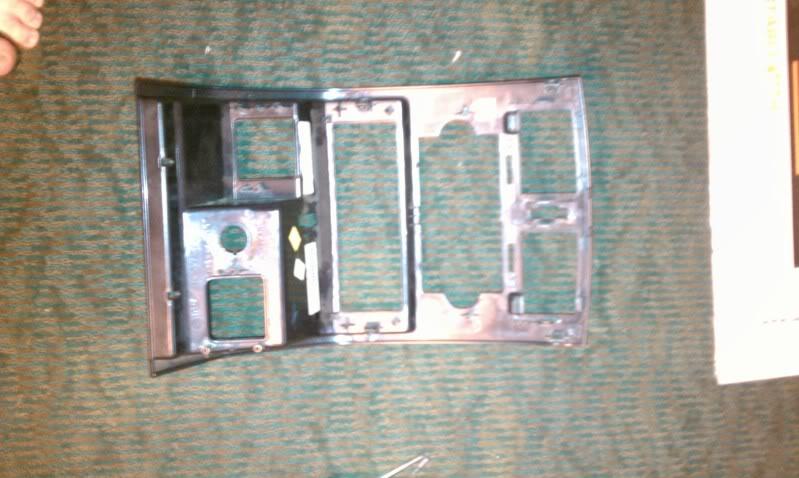
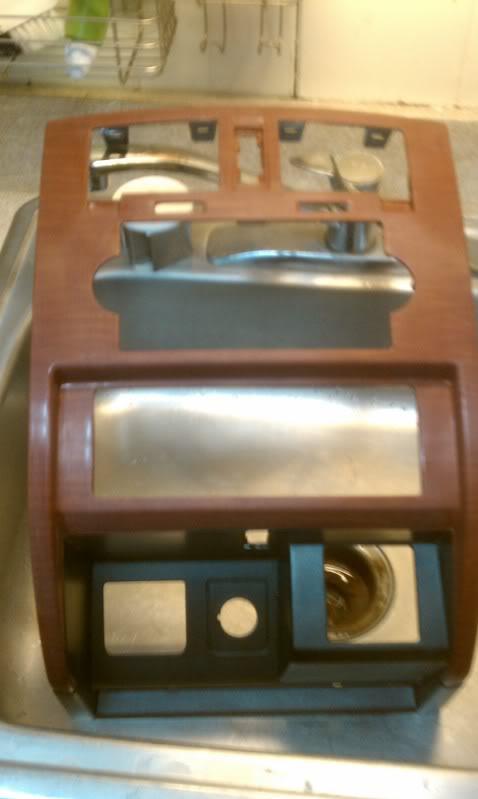
You have now removed all the components.
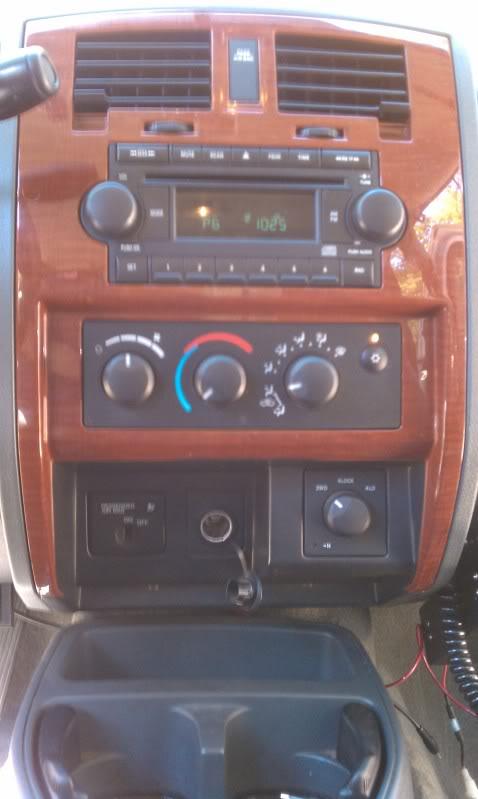
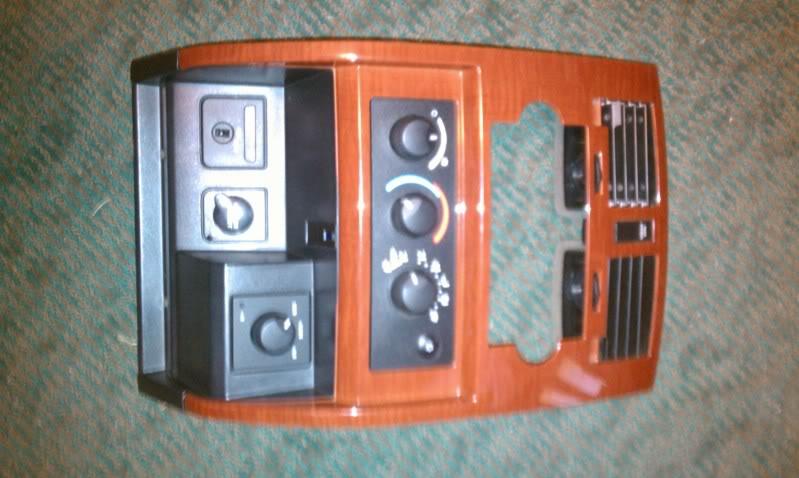
Finishing the bezel of color of choice
Items needed.
- Color of choice
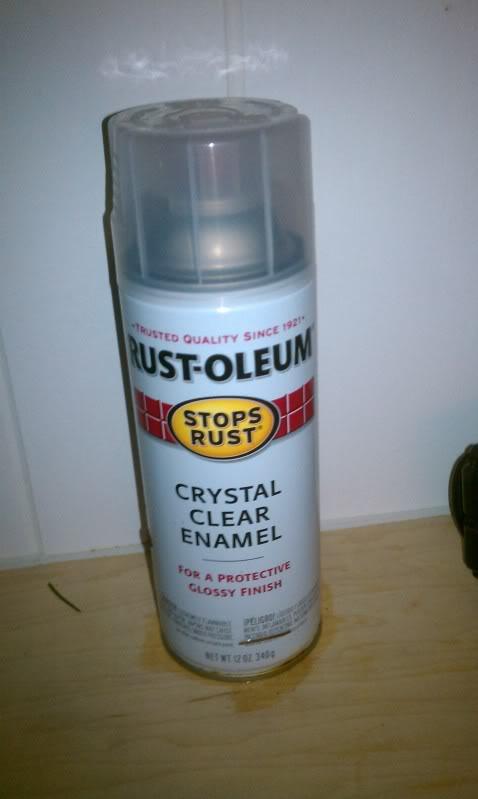
- Clear Enamel Gloss
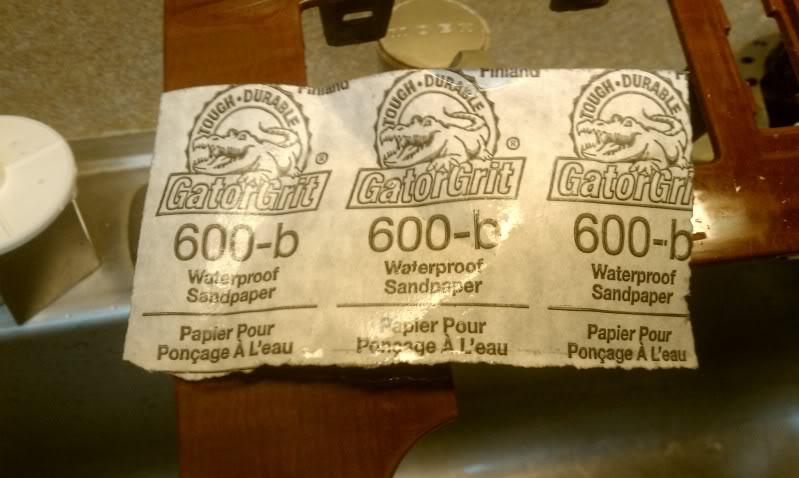
- 600 grit wet sand paper
- 2000 grit wet sand paper
- Dawn soap for wet sanding
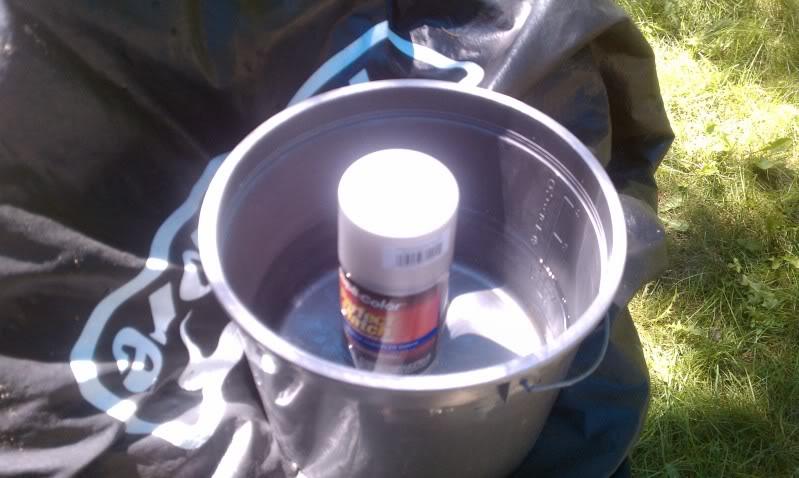
- Bucket for warm water
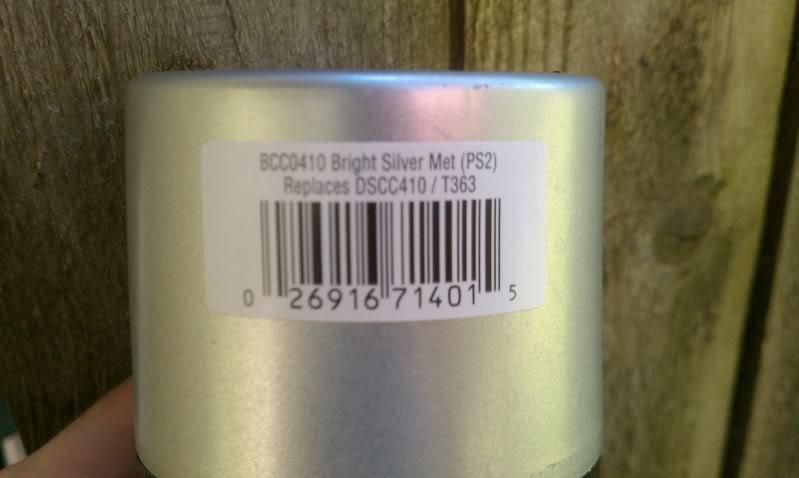
Paint that I used:
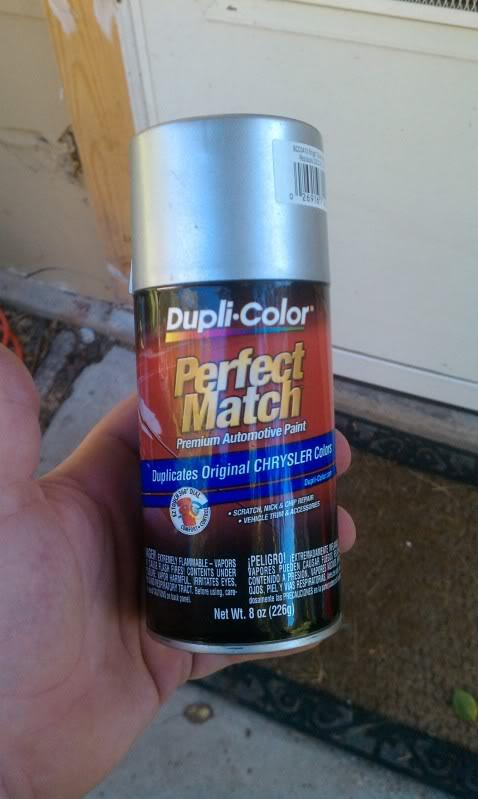
Step one: Fill bucket with hot water and place spray cans in the water. This step will help the cans spray better. Reason why I can not remember it just does.
Step two: Wet sand the entire bezel so no shine is left. The more prep you do now the more it will pay off in the end.
Step three: Clean the entire bezel of water and other contaminants. I used rubbing alcohol.
Step four: Find a nice shady area or spray booth. Spray light coats. I did three coats and wanted to spray everything silver.
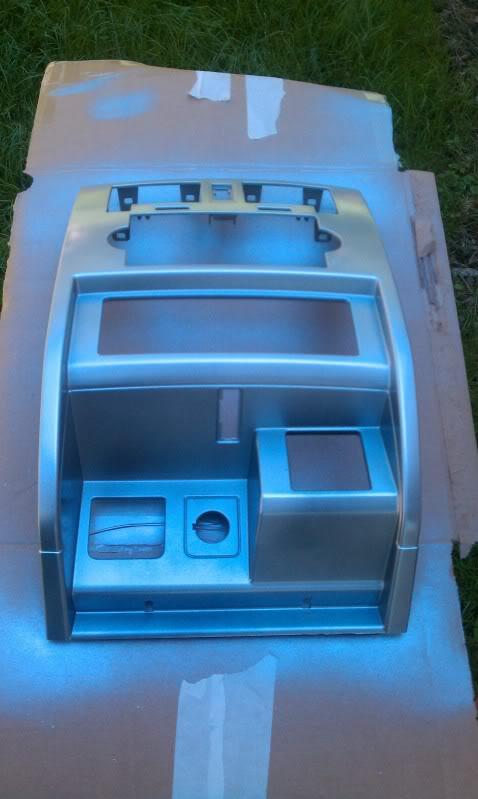
Once you have sprayed everything silver make sure you have no imperfections before heading the the next step. If you find a hair or splatter simply sand that area and re-coat that area with silver.
Step five: Spray clear coat. I did 4 coats due to all the angles
Step six: Sand the entire bezel with 2000 grit until perfectly flat. It you hit your color STOP and re-coat that area several times with clear coat. The flatter you get the surface the easier it will be to polish.
Step seven: Hand polish the entire bezel with scratch and swirl removal until its nice and glossy.
Step eight: Re-assemble the bezel and plug everything back in.