- 1. Pitman arm puller (to remove old stabilizer)
- 2. Deepwell socket set
- 3. Torque wrench
- 4. 3rd hand or C-clamp.
You must be logged in to rate content!
3 minute read

DIY - Dual Steering Stabilizer
Compliments of torp74 @ dodgeforums.com
2-7-2010
Well, I finally got around to installing the dual stabilizers on my truck. I originally ordered the Rough Country kit bought off Ebay for $99. Turns out it wouldn't work on my 2002 2500, only works on 2003 and up. Sent it back and got the SkyJacker #7270 set. The 7270 is for 2500 models with a 3.75" axle tube. Thanks to VEETEN for helping me identify the axle, since I was out of town and unable to measure it. Skyjacker has the #7218 for the 1500s with a 3" axle tube.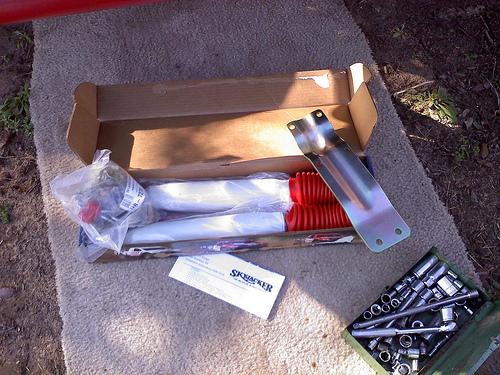
Anyway, on to the DIY. Skyjacker's instruction were.....ok. Problem is they sent me the instructions for the #7218 model. I got online and d/l'd the correct instructions and went to work.
Tools needed:
1. Pitman arm puller (to remove old stabilizer)
2. Deepwell socket set
3. Torque wrench
4. 3rd hand or C-clamp.
Step 1 - Remove the old stabilizer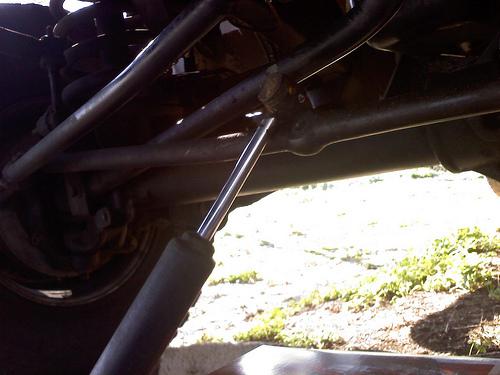
Got to use the pitman arm puller here...$9.95 at Harbor Freight Tools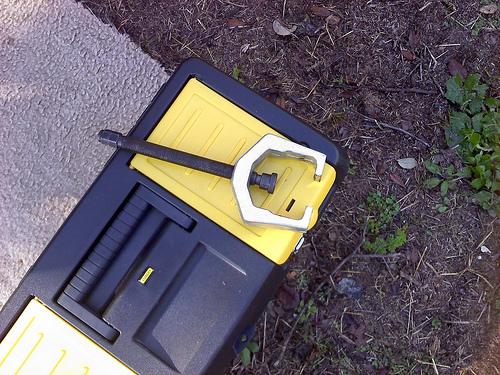
Step 2 - Attach axle bracket to axle on left side of differential using 3.75" u-bolts. Torque to 24 ft. lbs.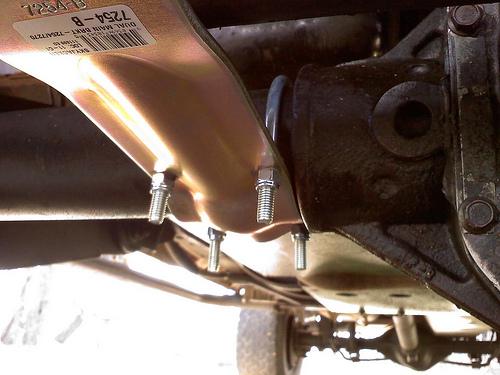
Step 3 - Attach one stud and stabilizer to the axle bracket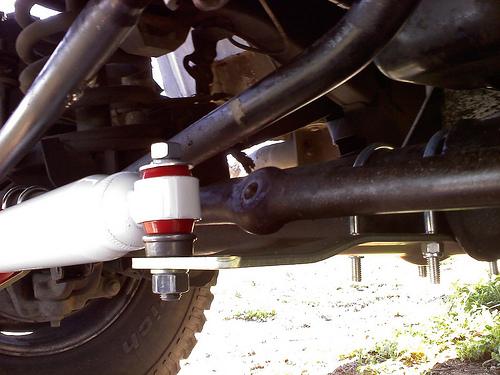
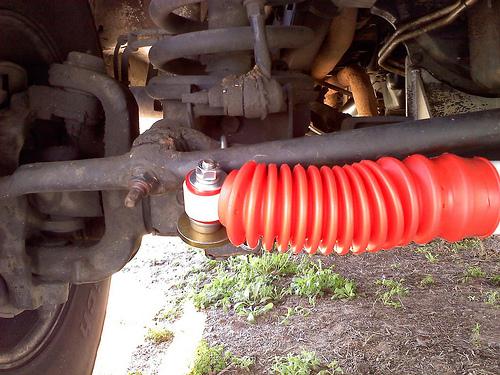
Step 4 - Attach the other stud and stabilizer to the axle bracket
Step 5 - Pull out the shafts of the stabilizers so that the length is 19" from center-eye to center-eye on each side
Step 6 - Attach brackets to tie rod ends using supplied hardware. Torque to 19 ft. lbs.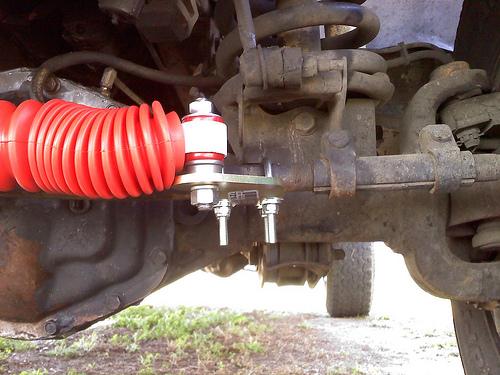
Step 7 - Turn steering wheel from left to right to ensure there is no binding or contact.
Step 8 - Clean up, you are done.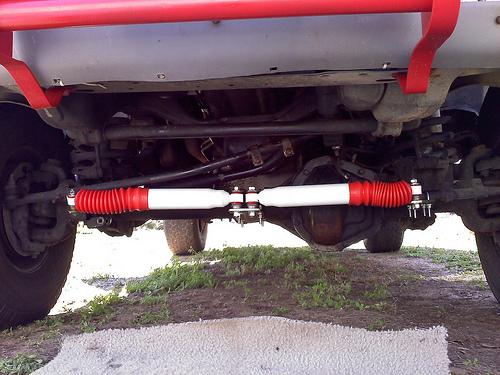
The Skyjacker kit was perfect. It was well packaged and very easy to install. The road test revealed a big difference in the way the beast handled, especially when traveling over rough terrain at high speed.