You must be logged in to rate content!
4 minute read

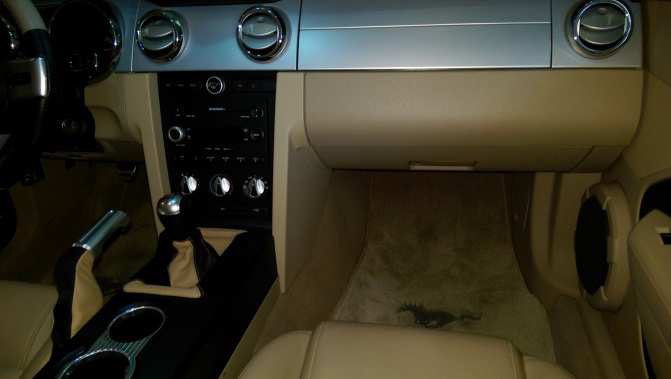
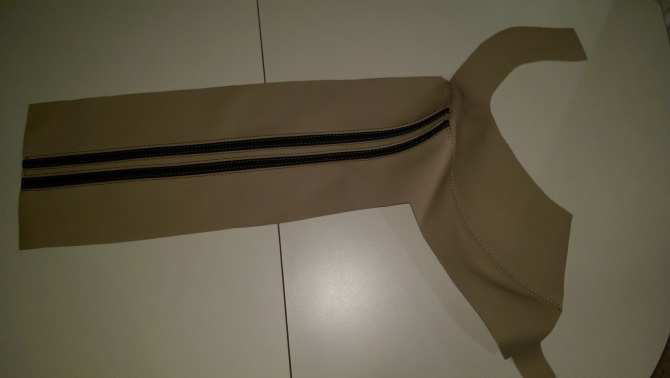
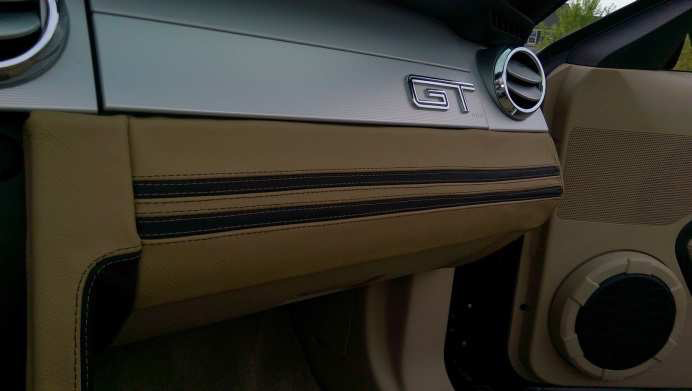
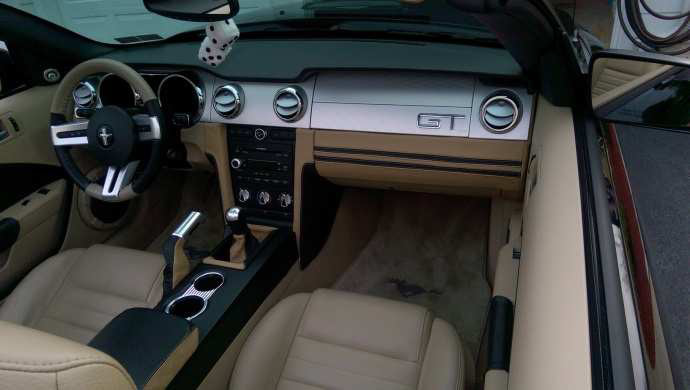
Installation Instructions: 2005 – 2009 Mustang DASH PAD COVER:
A cover for dash pad above the glovebox, covering also the right side of the dash that meets the door. [Comes with a leather to cover left side of the dash as well].
You will need a good quality glue that is suitable for both leather and plastic. A glue that dries clear is recommended (e.g. Elmer’s Glue All). Follow label directions. A small foam paint brush works well for application.
Block the wheels of the car so that it does not roll when you move the shifter or release the e-brake.
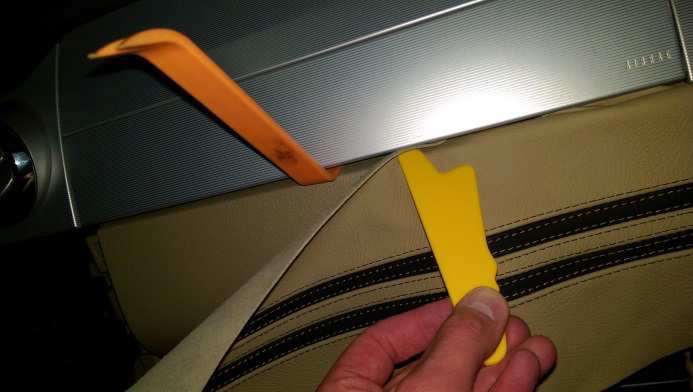
You will need plastic automotive trim tools. If you don’t have them, get them before you begin (very cheap on e-Bay). Do not use metal tools!
Ensure that all surfaces to be covered are clean and dry.
The leather cover will be installed without removing the dash panels to be covered. Check all pieces of the leather cover for proper fit before applying glue.
It is preferable to remove the trim piece from the right side of the HVAC/Radio area for easier installation, and to avoid getting glue on the adjoining trim (see HVAC/Radio Side Trim Cover installation instructions for removal instructions).
Cover the floor, center console, etc. with a drop cloth or towel to avoid getting glue on other surfaces.
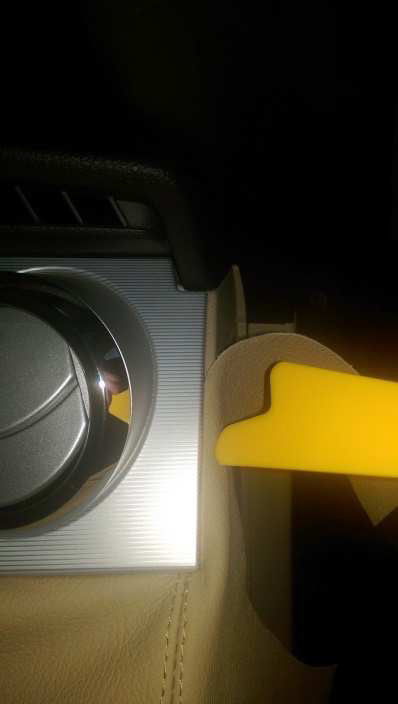
Before applying any glue, tuck the top edge of the leather between the area to be covered and the silver airbag cover (you may want to disconnect the battery just in case). Use plastic trim tools to work the leather into the gap. Also tuck the leather into the gap under the AC vent and up the right side of the AC vent. Not only does this for a clean installation, but it will hold the leather in place when you begin to apply the glue.

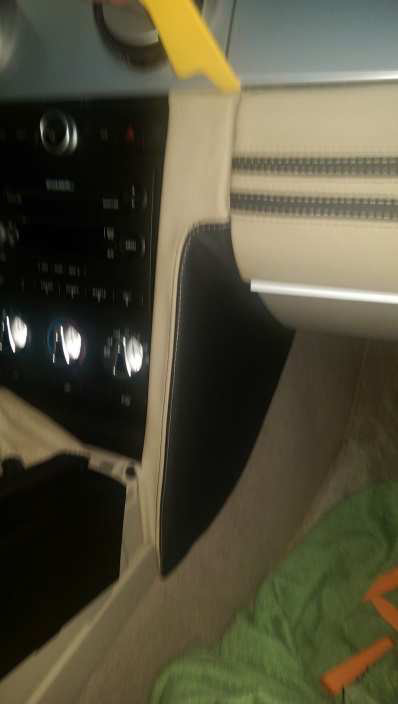
Check for proper alignment and adjust as necessary. Once you have it perfectly aligned, starting at the top and working down, carefully begin applying glue to one section at a time (It is preferable to apply the glue to the plastic and not to the leather). Smooth out the cover as you go, and ensure the glue extends all the way to the edges. Immediately wipe away any excess glue.
You may need to do some creative clamping along the bottom edge. Try wedging a piece of plastic between the glovebox door and the leather to hold in place while the glue dries.
Allow the glue to dry fully.
Reinstall the HVAC trim, the center console and the shifter trim.
Now get in and drive it like you stole it!