You must be logged in to rate content!
3 minute read

RedlineGoods Integra 94-01 Door Insert Installation
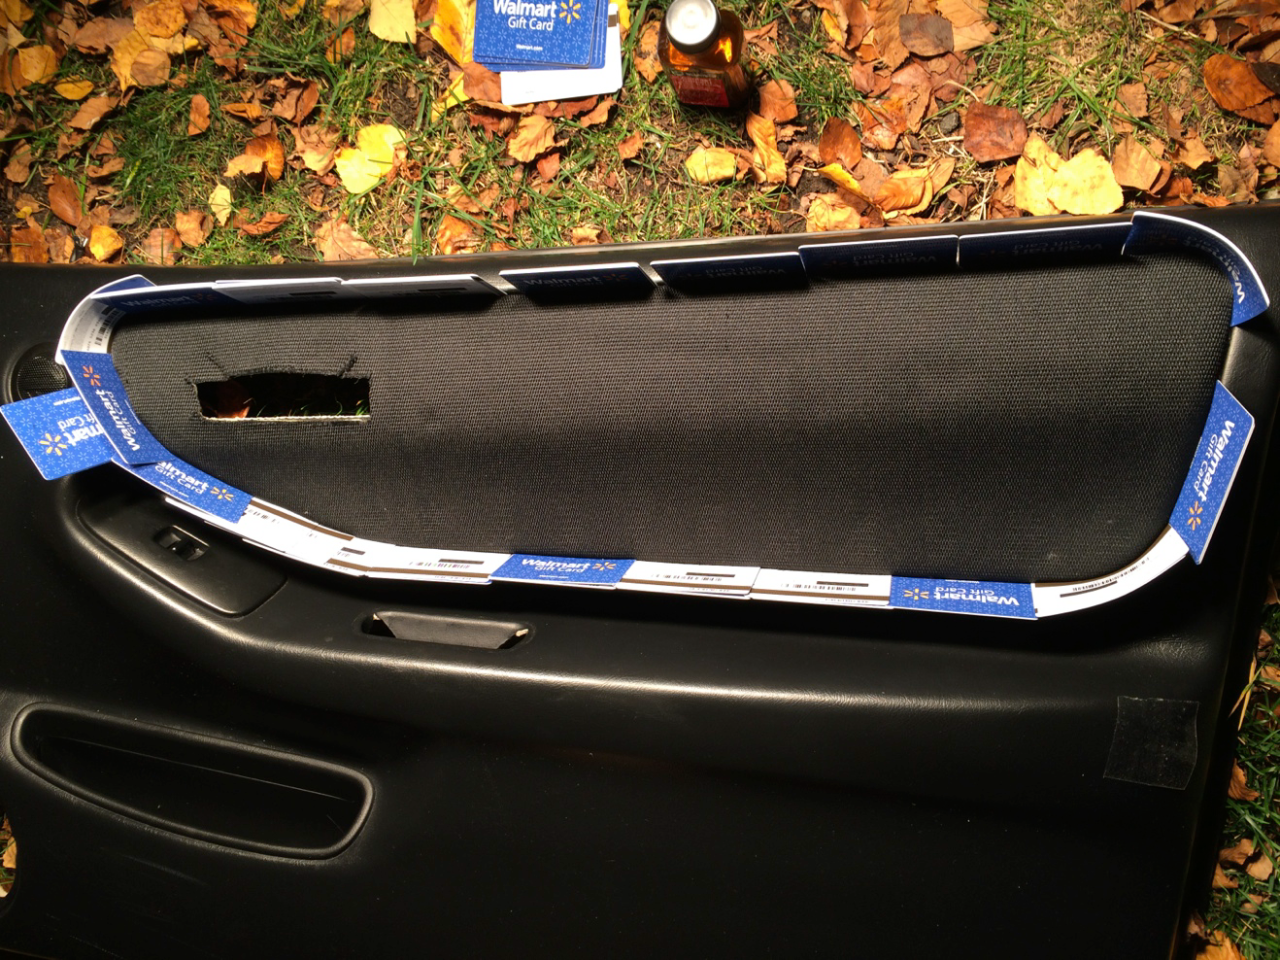
Step 1: You will need to remove the original door insert. This is done simply by picking any corner and slowly pulling in any direction. You will probably have to scrape off the rest of the remains of the old panel. I just used an old gift card to scrape it off.
Step 2: Remove the entire door panel (not necessary but makes it easier to apply the adhesive and line up the new material.)
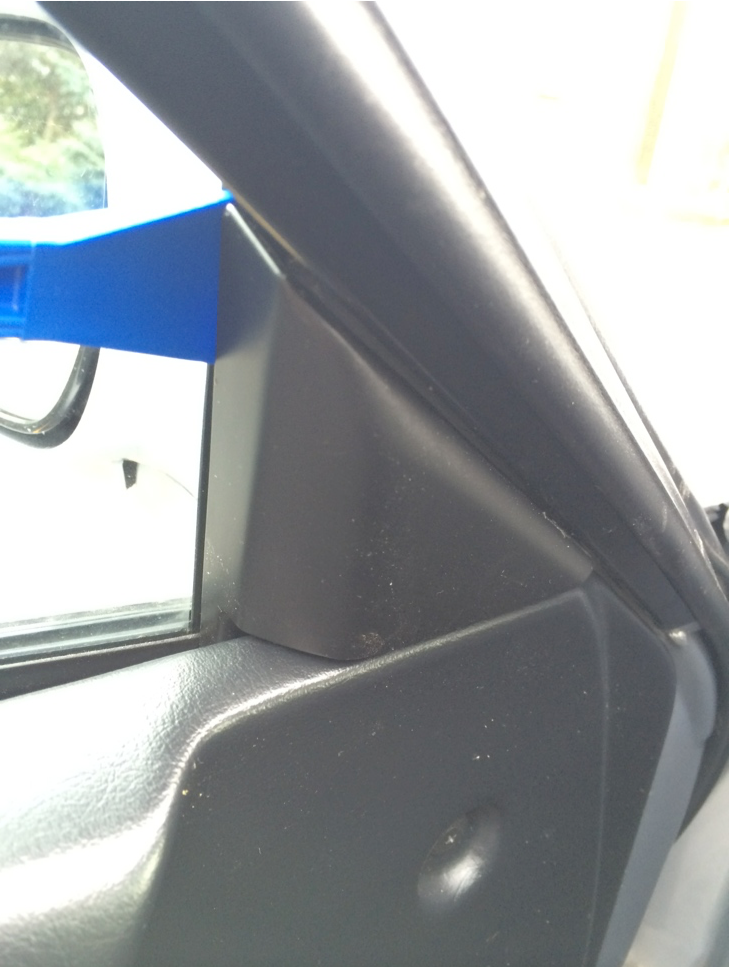
A: Remove the corner pillar on the door.
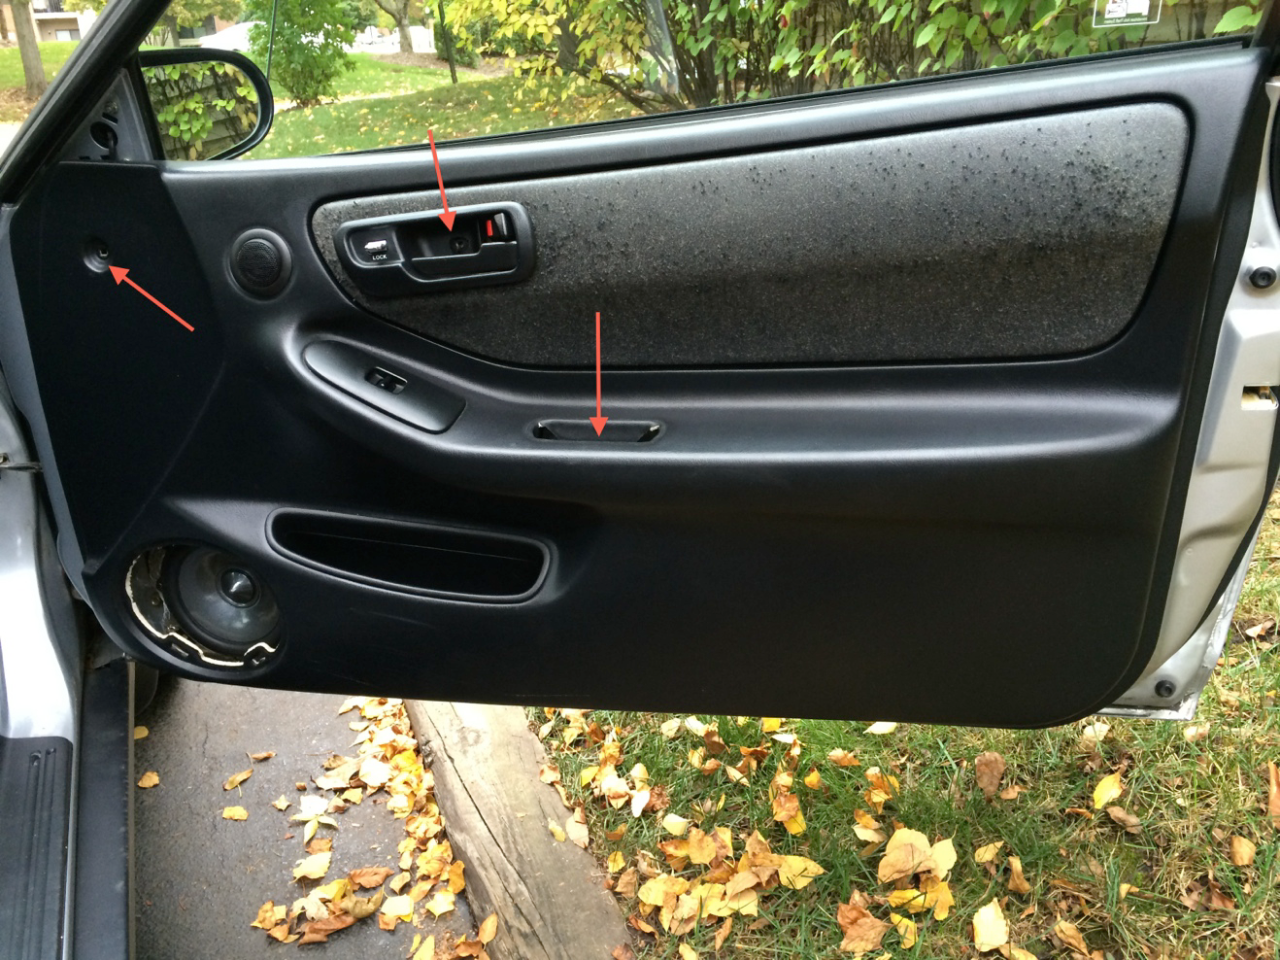
B: Remove the following 3 screws
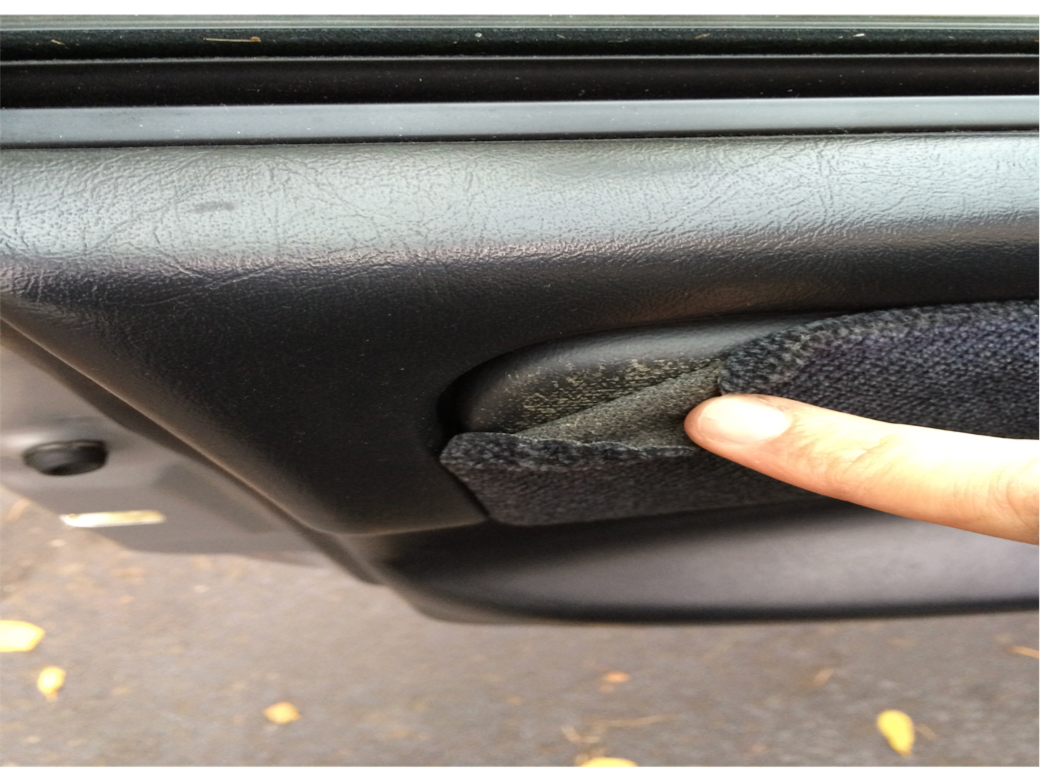
C: Remove door handle by prying from the side
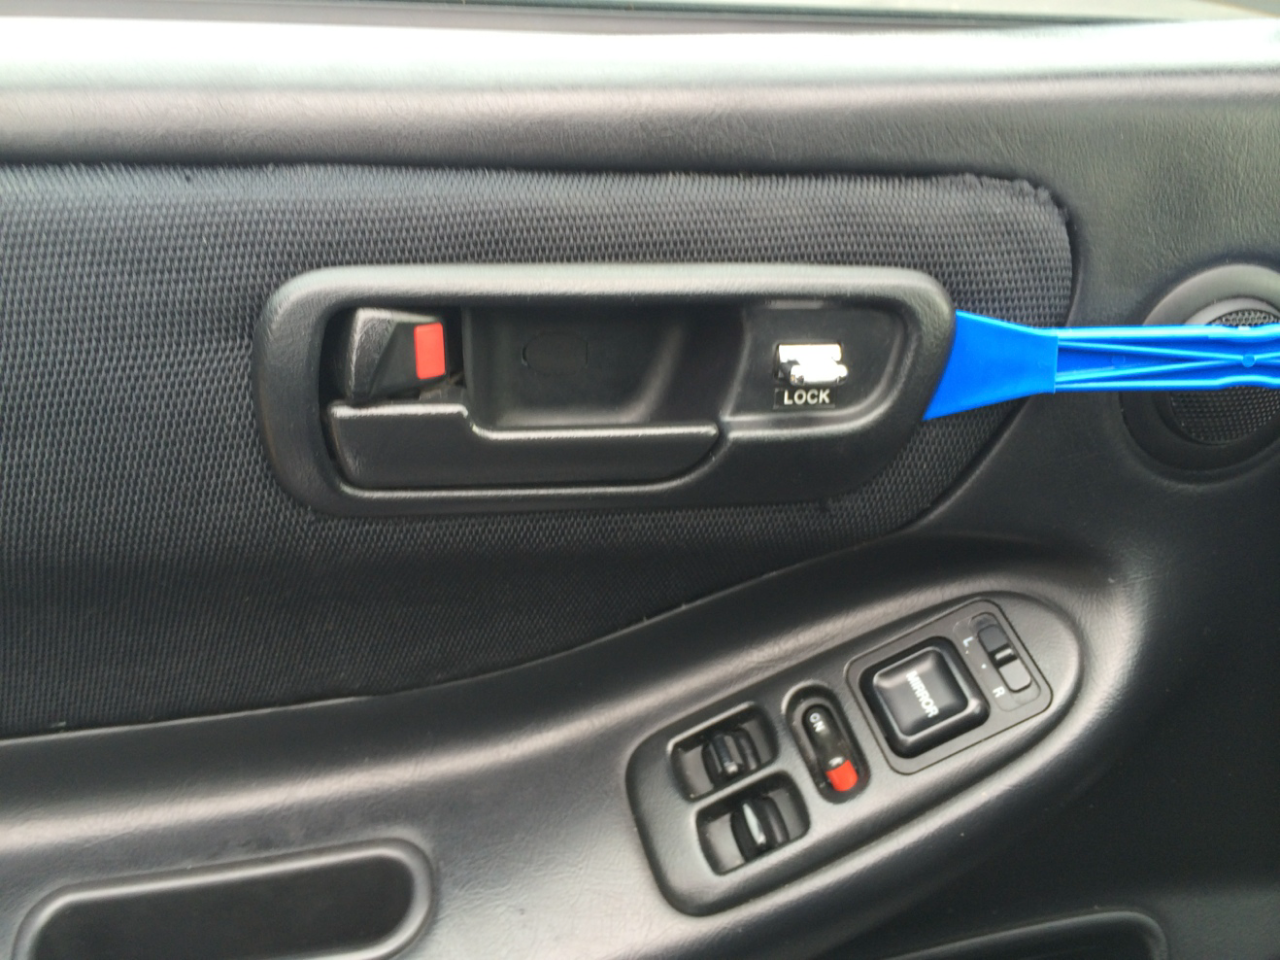
D: Make sure to disconnect the harness attached to the lock switch
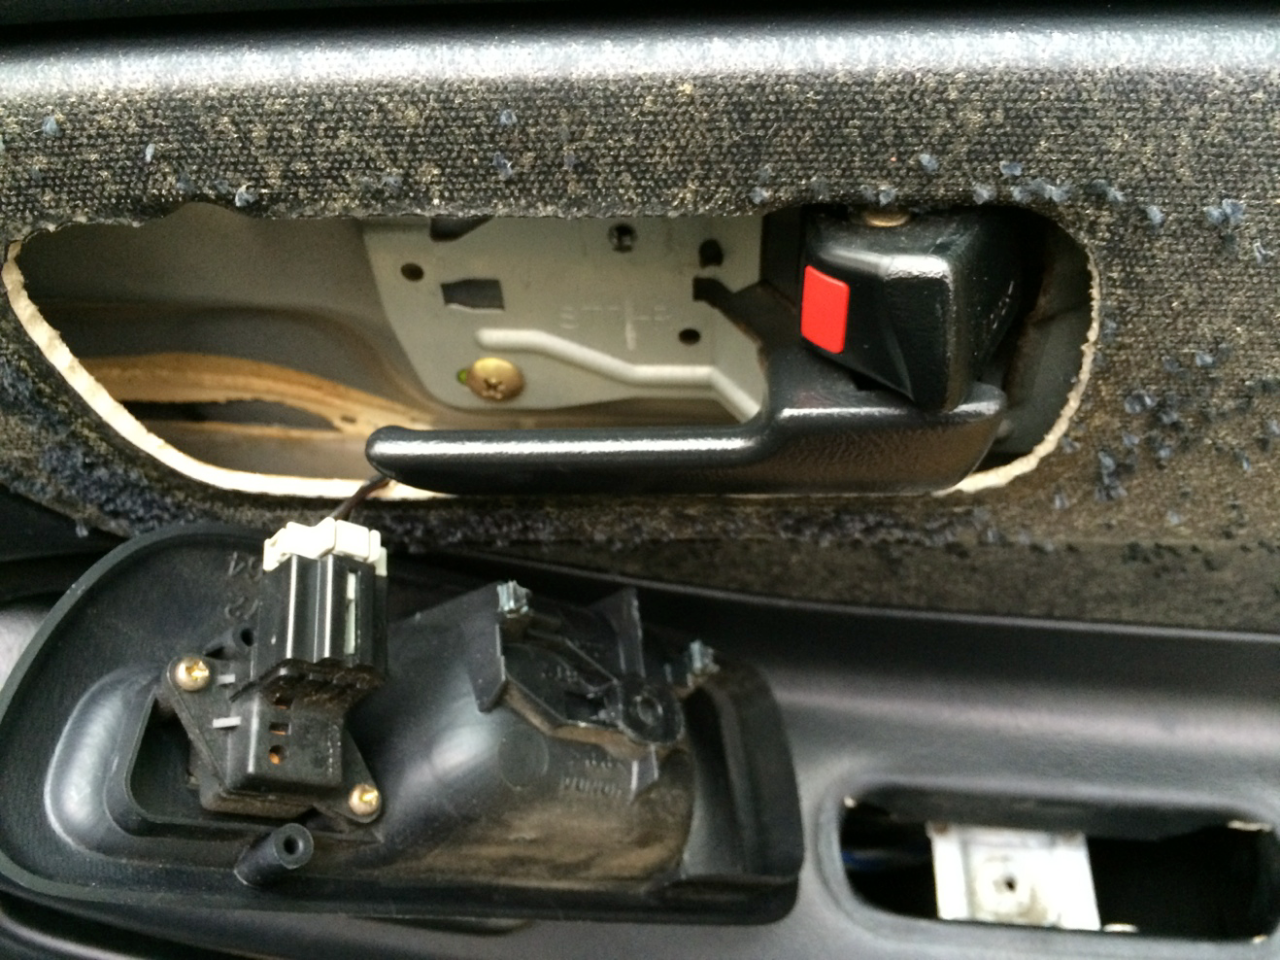
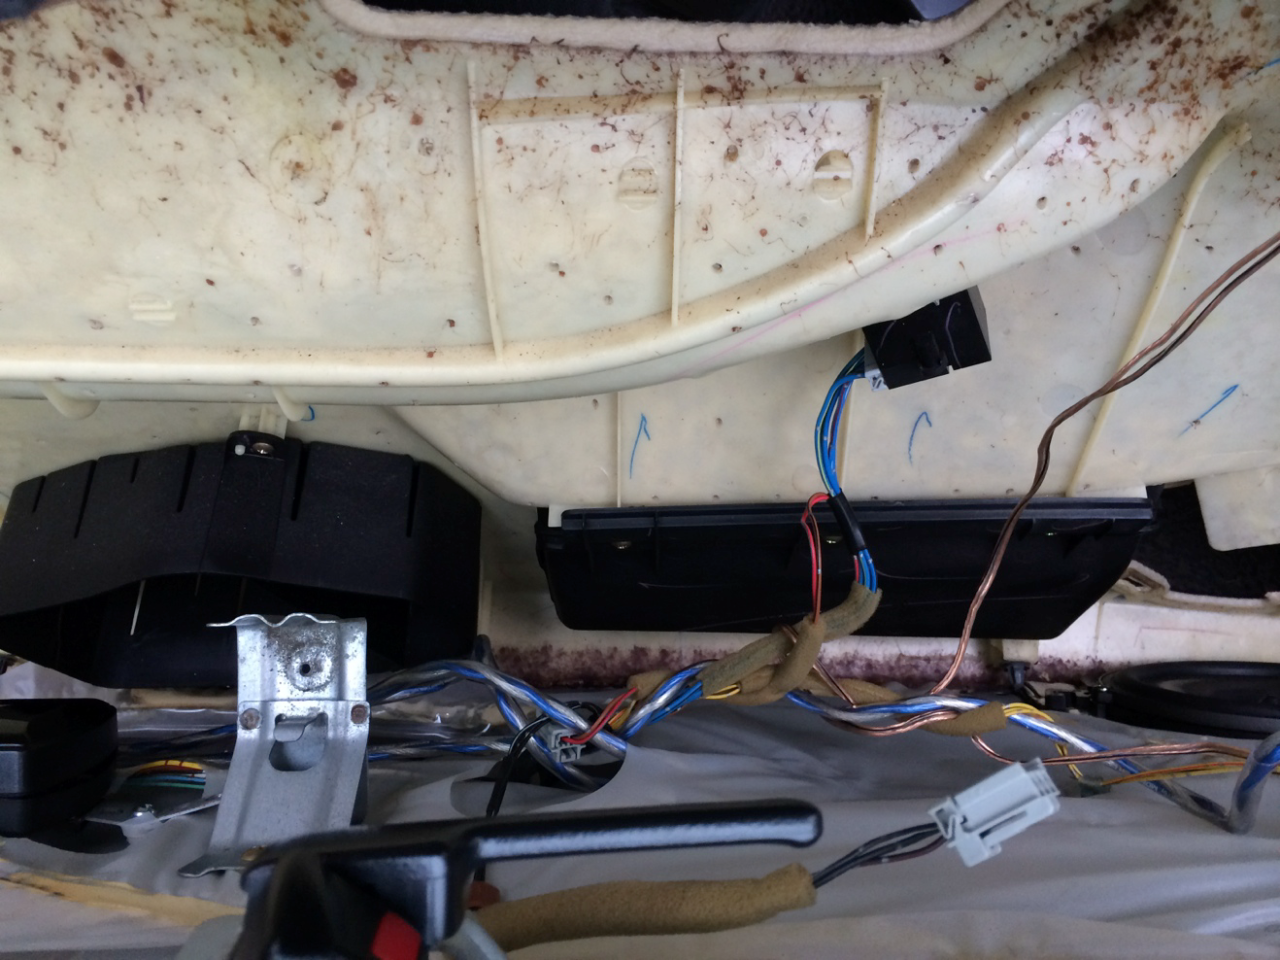
E: Begin prying off the door panel starting from the bottom. Once you break free all the clips from the bottom to the sides, slide the panel up and out. Make sure you unplug all harnesses before pulling the panel completely off
Step 3: Apply contact cement to the door panel and the fabric itself. Make sure to get around the edges since the door card insert portion is not removable. Then take the material and line it up to the door so it fits properly. To get a good appliction around the perimiter, I used gift cards, but you can of course use anything.
Step 4: Allow time to dry and reverse installation steps.