You must be logged in to rate content!
7 minute read
Rear Caliper Rebuild - S2000
Compliments of SpitfireS @ s2ki.com
Here are some pics and some tips on how to rebuild the rear caliper.
OEM Rebuild Kit Contains: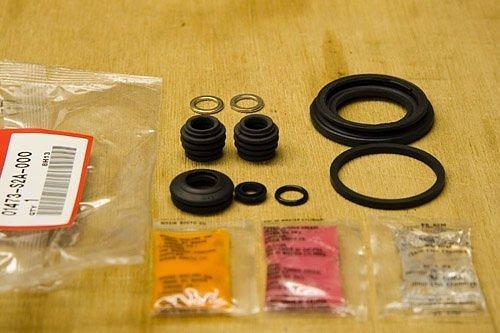
3 types of grease:
orange for the sliding pins
pink for the dust boot
silicone for the other boots.
On the right the "piston" seal and the dust boot.
I say "piston" because the seal seats in the caliper.
In the middle from top to bottom: 2 aluminum washers for the banjo bolt (brake line), sliding pin boots, e-brake system seals.
This is a tool you must have to replace the e-brake seals.
The circlip that sits at the bottom of the caliper is hard to reach with any other tool.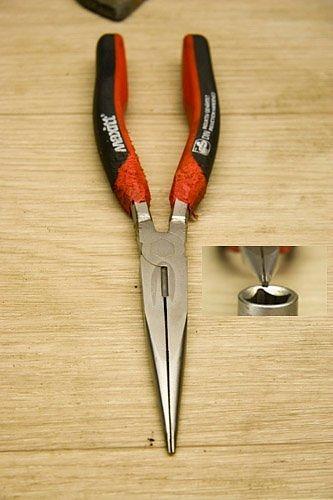
This is a tool I made to make it a bit easier to turn the rear piston.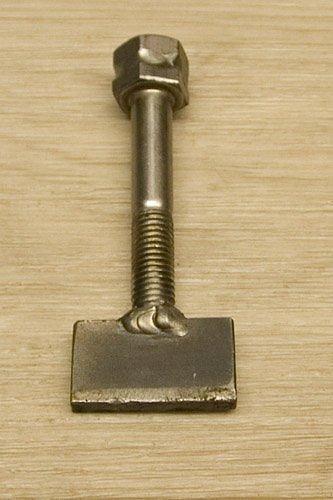
This is what it looks like after 9 years of rain & salt.
The e-brake cable bracket is allready removed.
Now is a good time to remove the e-brake spring.
It pops right off with a screwdriver.
No need to remove the nut (if you do: it has loctite on the thread)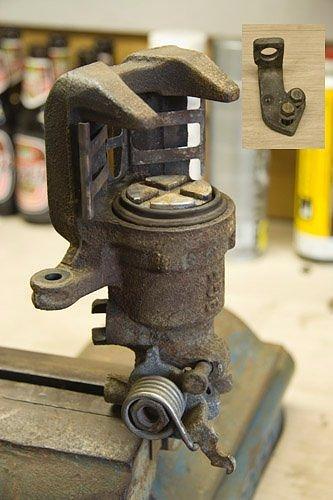
Turn the piston out (anti clockwise).
Now it shows why it got stuck every now and then.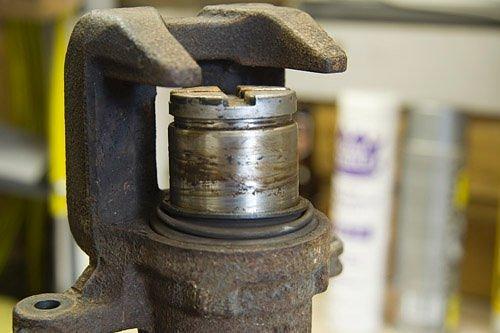
The piston is pitted and I was a bit worried it would not seal again but it did.
I guess I will replace it if it ever gets stuck again.
Or starts to leak.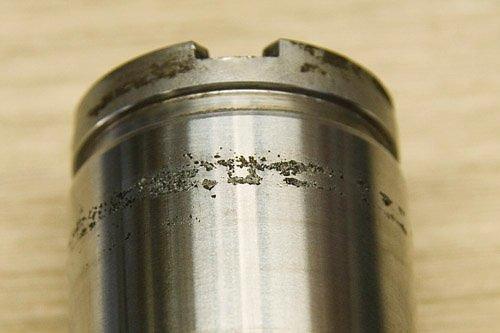
The piston internals.
NO need to remove it if it is clean.
There is a strong spring in there.
I found the circlip to be partly out of its groove (must have been so from new) so I did remove it but I needed a "trick" to get it back in.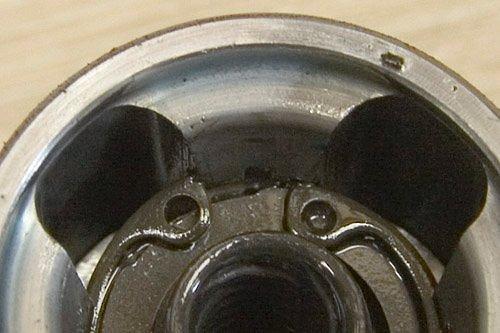
Here's that trick: find something in the right diameter (just a little smaller than the circlip) and press the circlip back in.
Now it sits allright (look at inserted picture)
The other piston was ok.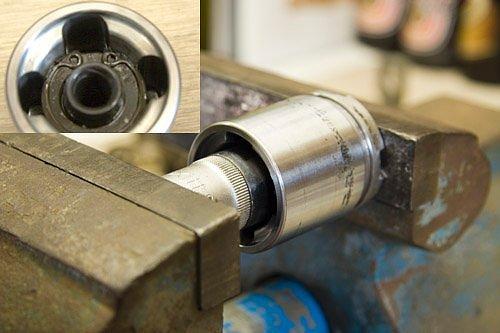
Rebuild Time!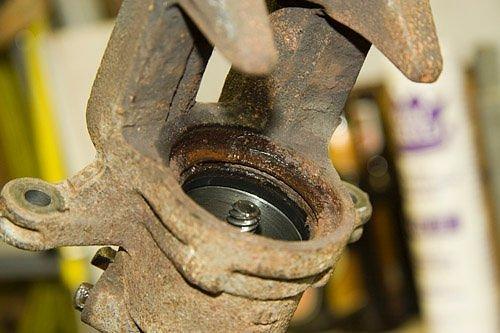
If you're not doing the e-brake seals you HAVE TO COVER THIS UP before removing the rust.
I doubt a wash will get everything out if you don't.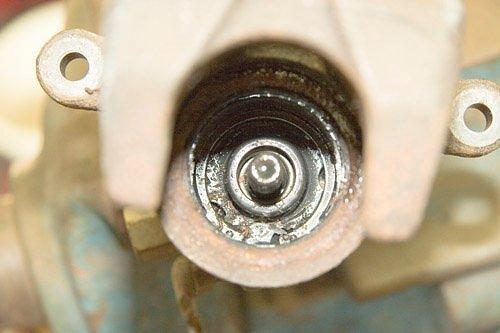
E-brake parts top to bottom:
Circlip, some sort of cover, spindle with spring and bearing and small seal, piston with pins and o-ring, pushrod, e-brake actuator.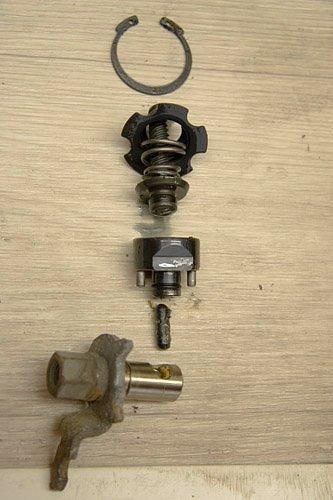
Now remove the actuator seal and you will see it's running in a needle bearing with a couple of needles missing - that is where the pushrod goes through.
I used alu-complex-based grease in there (is water proof).
I guess you could use the orange sliding pin grease there too.
Replace the actuator seal.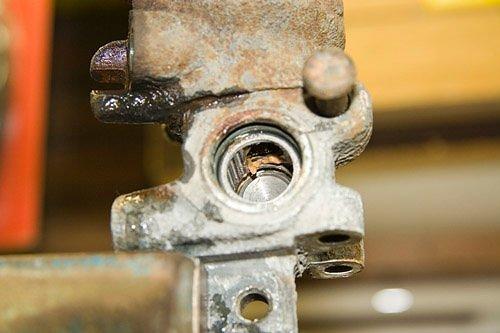
All cleaned up and ready to install.
Its clear the rust did some damage.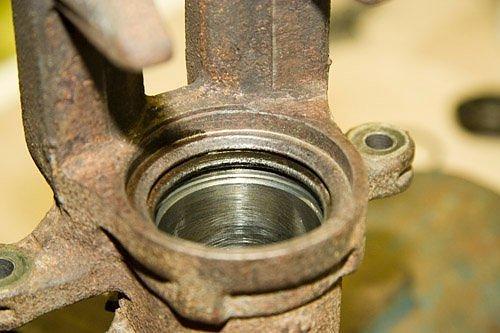
The pins on the piston need to go into the holes at the bottom of the caliper (duh)
I used the needle nose pliers to put it in and turn it a bit.
Don't forget to replace the o-ring and put the e-brake actuator (and spring) and pushrod back in first.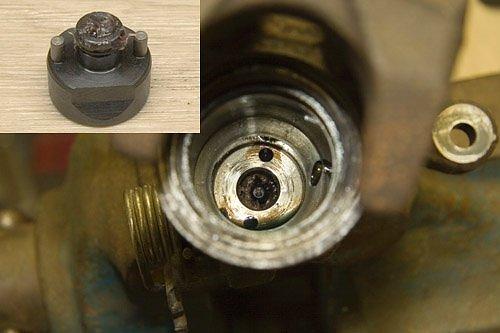
E-brake spindle.
From left to right: spindle with bearing, with thin washer, with spring, with cover.
On the bottom of the spindle is a seal to replace.
The picture showing how it goes is in a later post.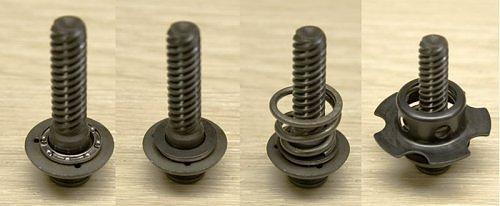
This is how I put the piston back in: first slide the boot in its groove then push it out towards the bottom of the piston, that will stretch it a bit to get the part of the boot (lip) that sits in the caliper lower than the piston.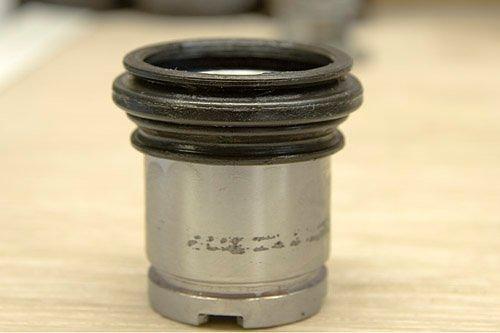
Now wiggle that lip into its groove and pull gently to confirm its in.
The first time I pulled it out again to feel how tight it should be, to feel how much force it should be able to take when its properly in.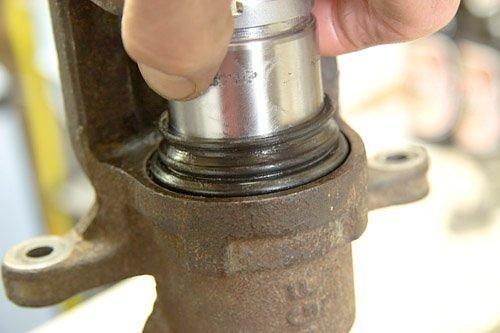
Now push the piston past the seal and onto the spindle.
Then turn the piston back in (clockwise) until it doesn't go any further.
The boot should nicely fold into place.
If there is some air stuck underneath you will need a small (not sharp!) screwdriver to let the air (or too much grease) out.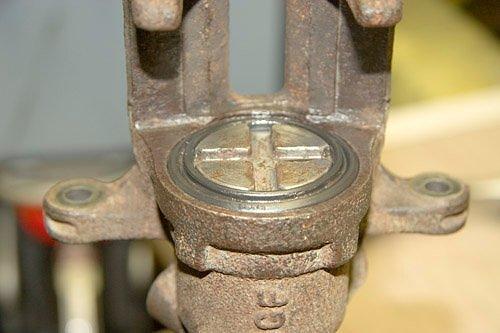
If you're doing the sliding pins as well: don't forget they are not the same.
One is not round but has flat spots on it.
Just do one at a time so you can't go wrong.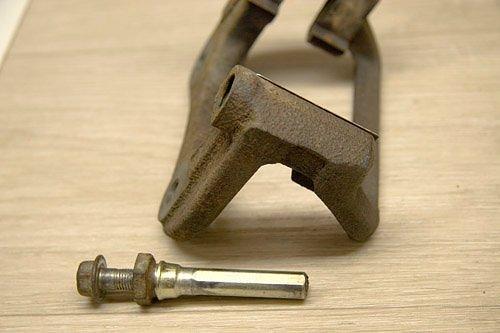
Have fun.