You must be logged in to rate content!
5 minute read

INFINITI G35 SHIFT BOOT/E-BRAKE INSTALLATION INSTRUCTIONS
1. Remove dash console around shift boot by reaching in and under edge of hole around the shift boot and pulling up. This picture shows the shift knob off, but DO NOT REMOVE IT yet when you do the install - it is covered in part #2.
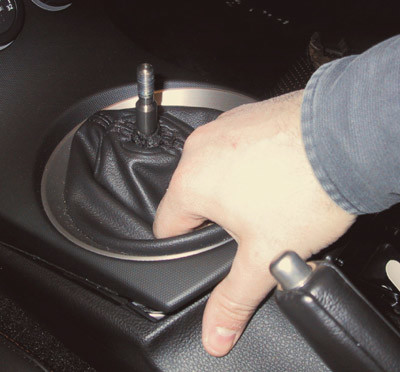
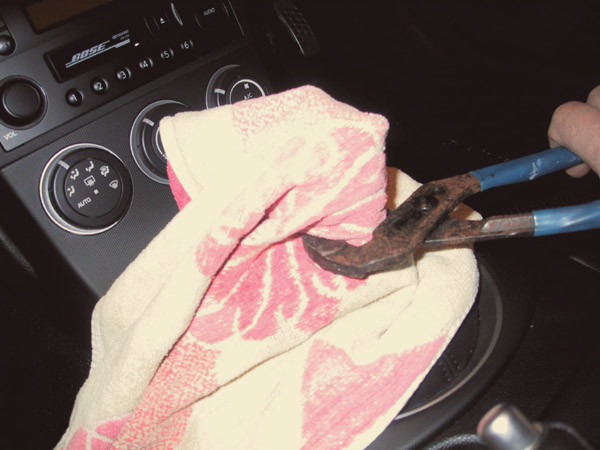
2. Remove shift knob by wrapping a towel/cloth around stem of shift knob and using a wrench to loosen. Unscrew and remove.
DO NOT REMOVE IT WITHOUT MAKING SURE THAT THE SHIFT LEVER WILL NOT BE TWISTED. YOU HAVE TO HOLD IT WITH ANOTHER WRENCH UNDER THE DASH CONSOLE YOU HAVE LOOSENED IN STEP 1. OTHERWISE YOU MAY DAMAGE YOUR TRANSMISSION!
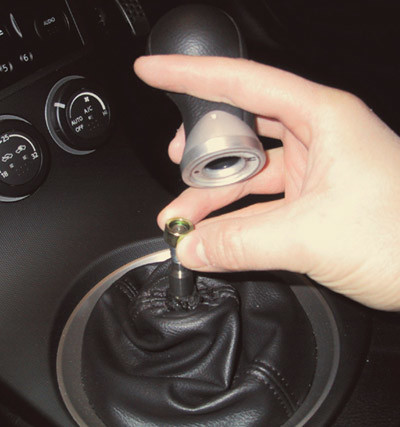
3. Under the shift knob there is a collet. Don't lose this.
4. Lift the console up and gently turn over. Be careful of the white ribbon cable. This is reasonably delicate and you don't want to twist or break it.

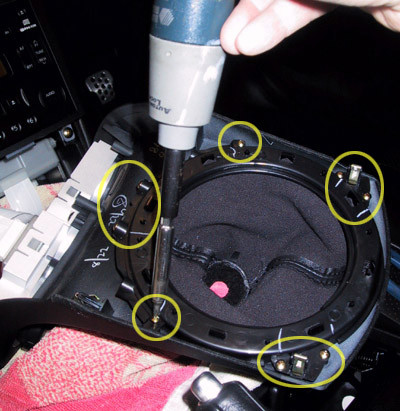
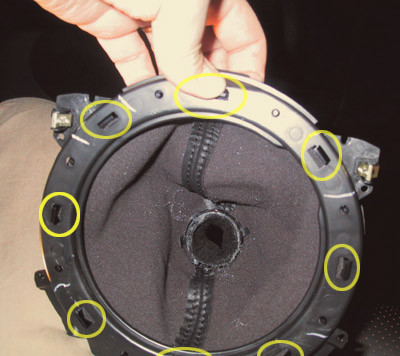
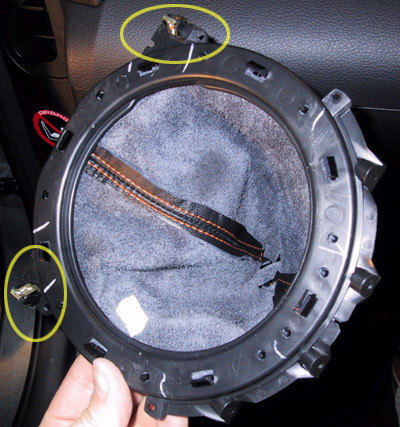
5. The shift boot is attached to a plastic ring and the aluminum trim. All of this is attached to the console by screws. So next we remove the screws.
6. The edge of the shift boot is sandwiched between the aluminium trim ring and the plastic ring. The plastic ring is attached by a number of clips. Push on the clips to pop them out working around the ring.
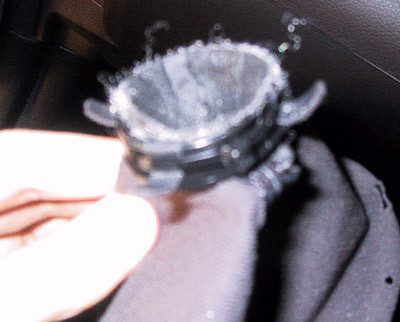
7. With the ring removed, you can just lift the old shift boot off the locating pins it sits on. Before you throw it away, retrieve the plastic collar which is attached to the boot with a cable tie. Sorry for the poor pic on this one.
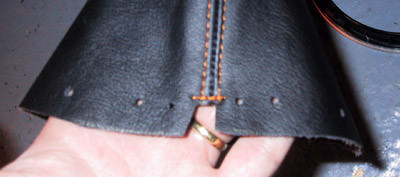
8. Time to attach the new shift boot to the ring. The Redline boot is a custom fit so it already has holes punched. If you look at the holes, you can see that on one of the sides near the stitching, there are 4 holes (on the opposite side there are only 2). These 4 holes guide you which way round to put the boot on because there are 4 pins on the underside of the aluminum trim ring.
9. Boot attached to underneath of aluminium trim ring.
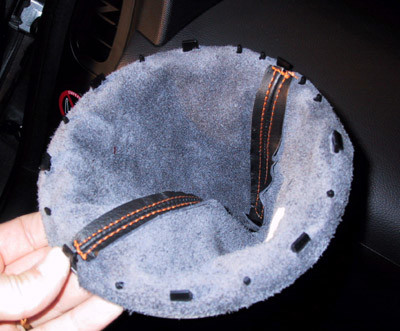
10. Now reassemble the plastic ring by pushing it back of the clips. Note that the platic ring will go on the wrong way round as well. You can tell if its the right way up because the metal clips should be underneath (see pic).
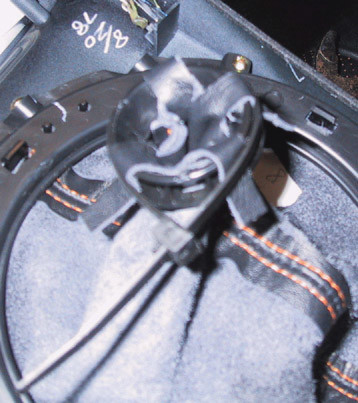
11. Here's where you use the collar you retrieved earlier. This is probably the most fiddle bit of the whole job. With the boot inside out, slide the collar over the 4 leather tabs, fold them over and use a new cable tie around the collar to hold them in place.
The collar needs to be the right way up and its difficult to describe how this should be. The inside of the collar is conical. The base of the cone (wide part) should be at the up (up as in the attached picture). Another way to say it is that the inside of the collar is tapered and the widest opening should be at the top (up) as it appears in this picture.
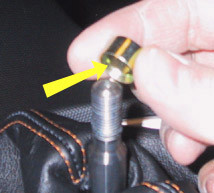
12. Refit console and then put collet back over shift lever. Note that the tapered end of the collet faces down (see picture)
INSTALLATION OF THE BRAKE BOOT
This one is easy. Just slide the ebrake boot over the ebrake lever. Use a blunt tool (chopsticks work great) to push the leather into the rubber ebrake opening.
ENJOY YOUR NEW LEATHER BOOTS!
Useful tip
You have installed a product made out of genuine leather. As you know, to maintain a leather product in good condition, you should take care of it. We suggest occasionally (every 4-6 week for example) applying some leather conditioner/UV protector to keep your leather from drying up in the sun and cracking.
Redline Automotive Accessories Corp. will not be held liable for any labor, incidental or consequential damages of any kind. Proceed at your own risk.