You must be logged in to rate content!
7 minute read

Lockable CJ tailgate for hardtop and duster owners
Compliments of cgmrdc @ jeepforum.com
4-7-2010
So I just finished this up and thought id post a little write up showing another way to do the cj tailgate thing. I did a lot of searching and couldn’t find a LOCKABLE solution, which is asked about a lot by hard top owners. I run a duster so I needed a similar soln. So I set out in search of some latches that might fit the bill. I found the perfect set on McMaster. They are some work-load rated draw latches that were all metal and lockable. The part number is 6694A62.
First off, this install was done with corner armor so some parts will be diff but ill point those out as I go.
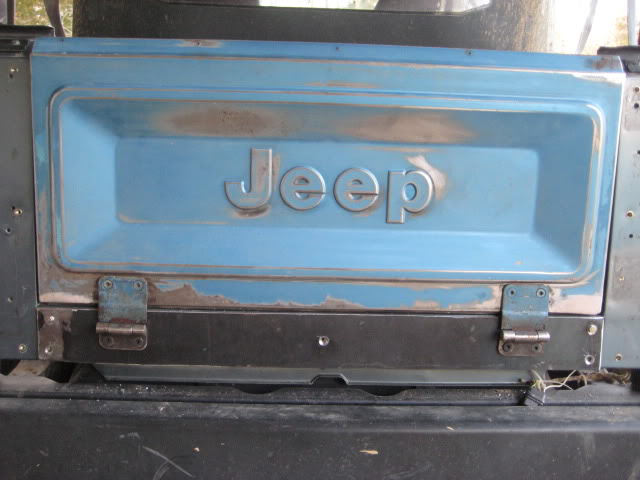
I started off by picking up a used gate off CL with hinges and cables.
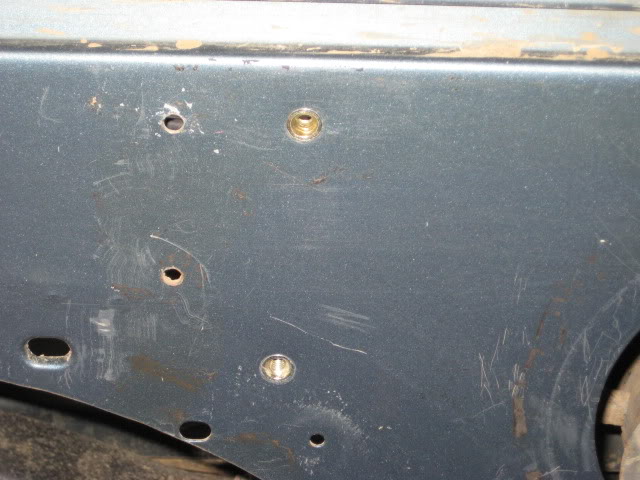
IMO the sheet metal needs to be beefed up if you plan on putting any heavy loads on the gate so the first thing is to make a plate for the tailgate to mount to. Since I was doing corner armor at the same time I chose to put it on the outside to fill the gap between but if you wanted to drop the gas tank you could install it on the back. I welded two 5/16-18 nuts to the backside for the lower hinge bolts. There are 5, 1/4-20 SS flat head bolts that are bolted to the sheet metal using rivnuts.
Got the rivnuts from oreileys, made by poprivet, make them look it up in their book
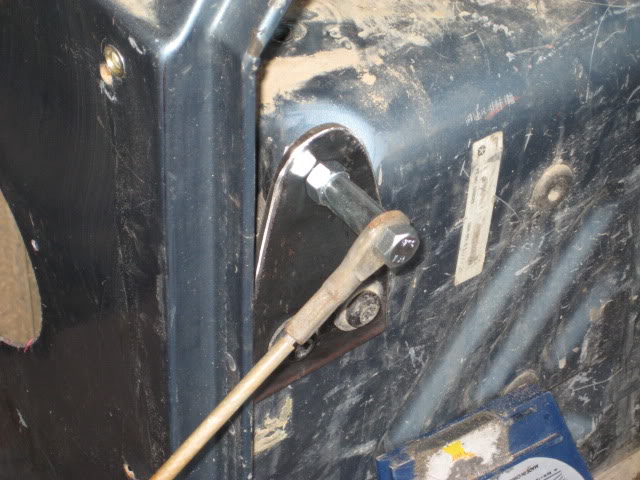
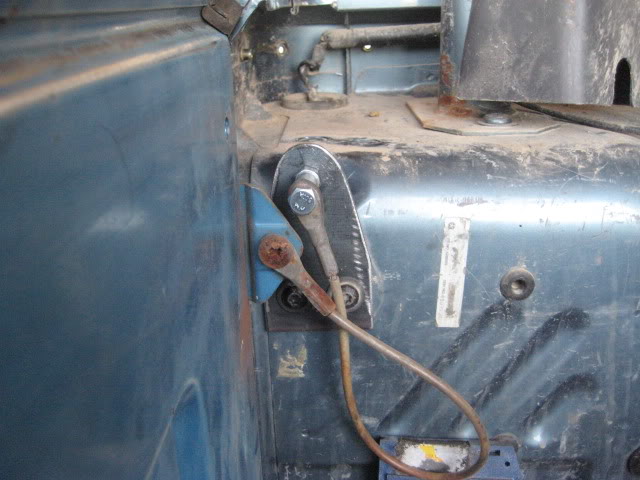
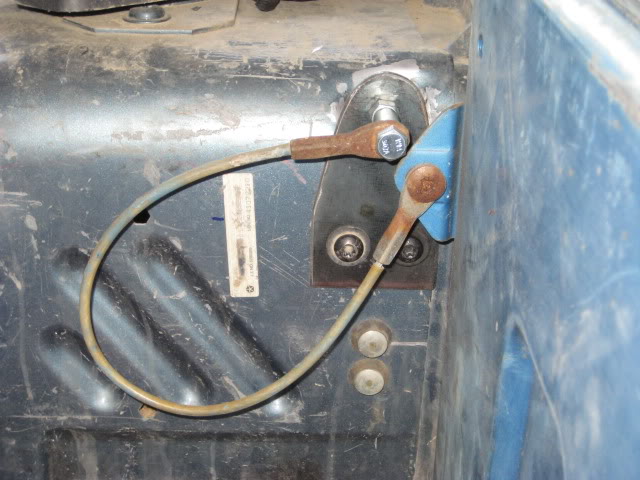
Next I made the brackets to attach the cables. As it turns out, two of the bolt holes from the old tailgate striker were in the perfect place. And that left two extra bolts to use on the other side. I simply supported the tailgate at 90 deg and measured where the upper hole needed to be.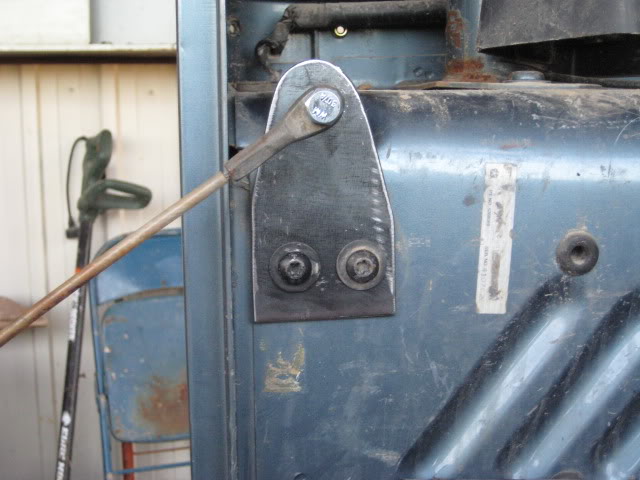
I made two matching brackets and mirrored it to the other side. For the pass side you need to go pick up two washers and two nuts. These are metric, 8 mm x 1.25 IIRC but id take your bolts w/ you to verify.
The upper bolt is a 2" 5/16-18 with a 1" metal sleeve and two nuts. Tighten the nuts together to keep some clearance between the cable end and the spacer so it can rotate.
Here is the clearance when closed, like a glove!
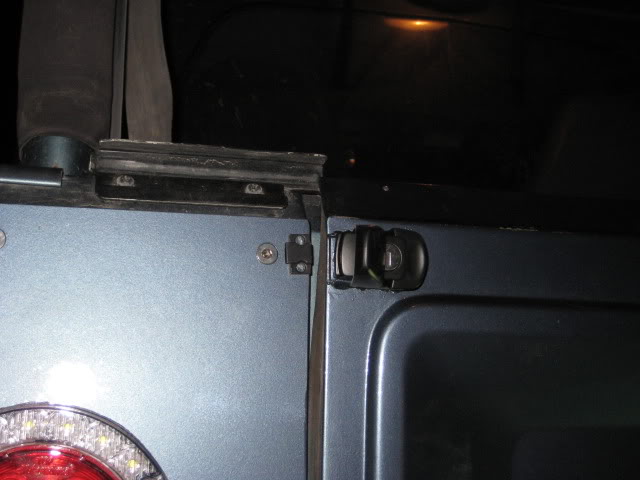
For the latch, this is where things are going to differ most if you don’t do corners at the same time.
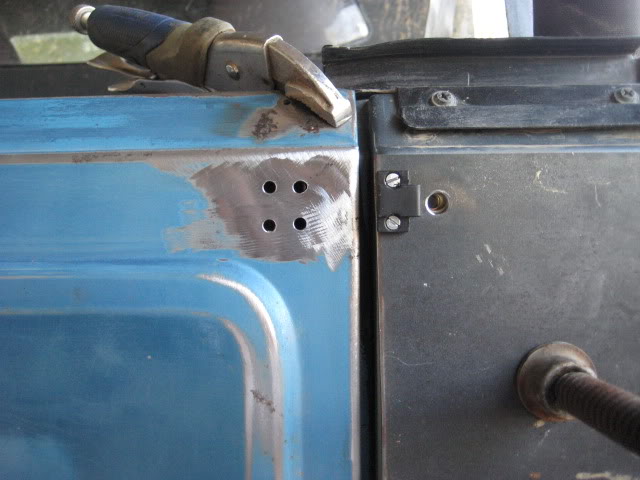
First, mount the hook on the corner. These are 4-40 machine screws. With the corners you can tap them directly into the 3/16. W/o them you would need to drill through the tub and nut and washer it.
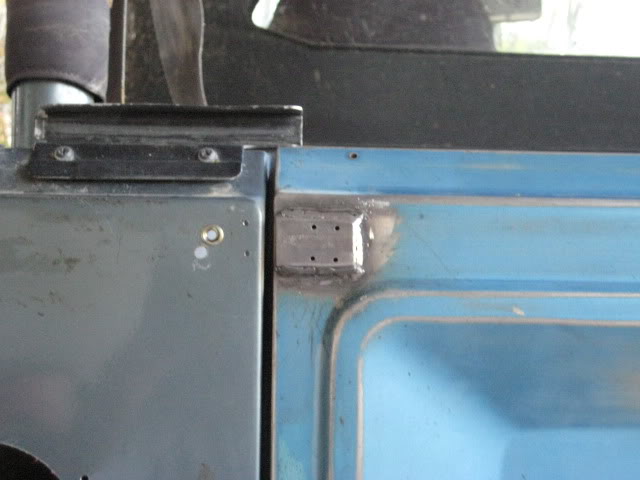
Next, the latch needs to be mounted. It helps to have a helper for this to hold the latch open bc the spring is pretty strong. Again if you don’t have corners, drill through and nut and washer it. If not, some sort of spacer is needed. I cut a small piece of 3/16th and welded it to the gate so I could again DnT into the 3/16th.
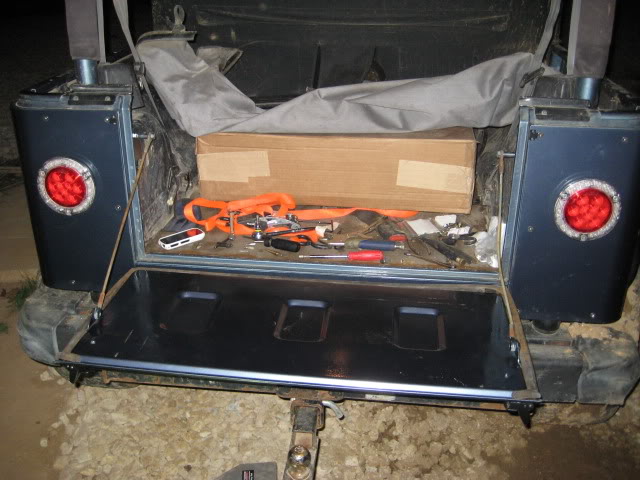
It's really not too difficult and the finished product looks awesome. I hadn’t even finished the install and I was already using it for a work bench.
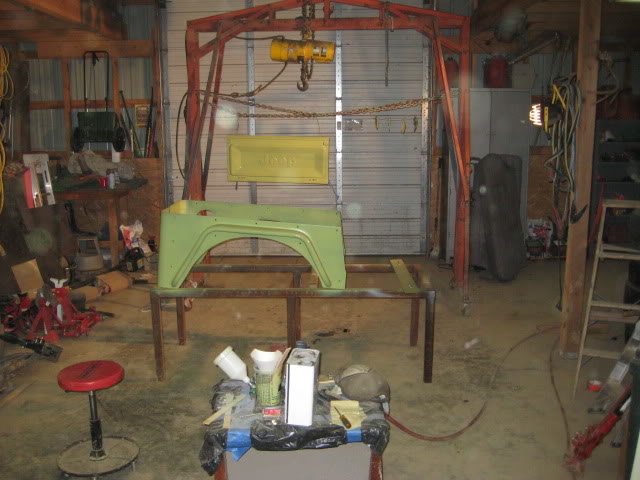
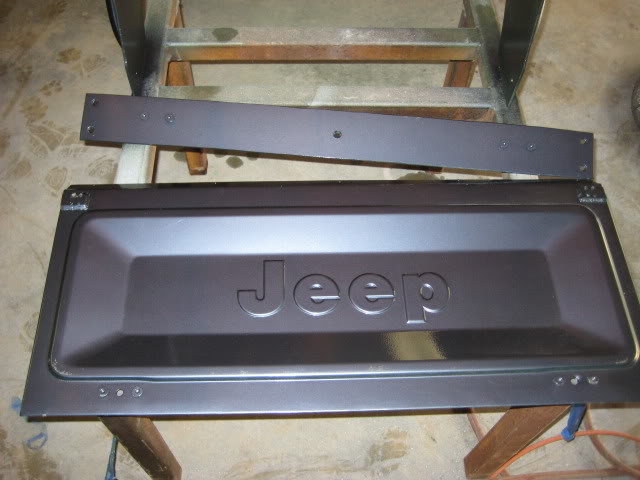
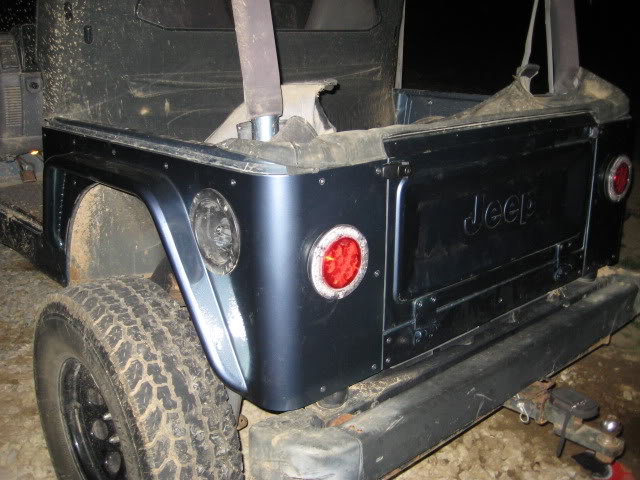
Here is the paint process and the outcome.
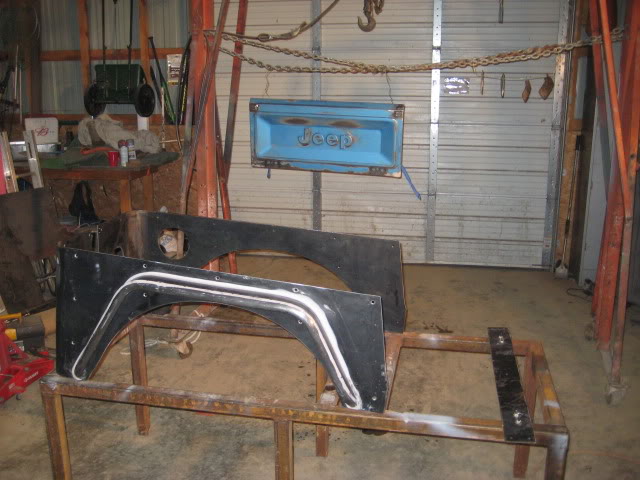

Tailgate w/ lower tub support
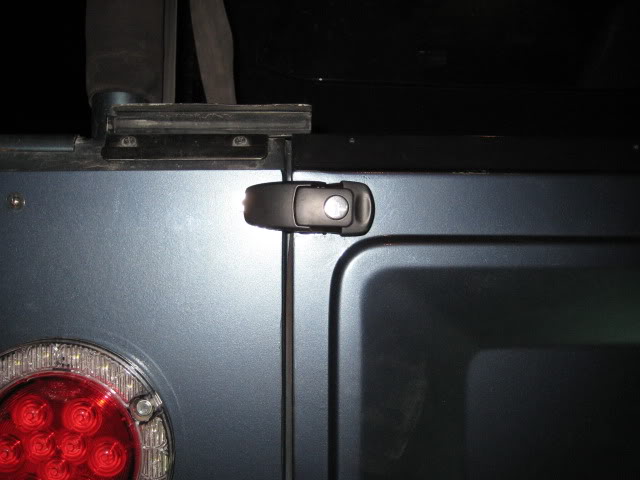
Close up of latch
Starting to open latch
Open
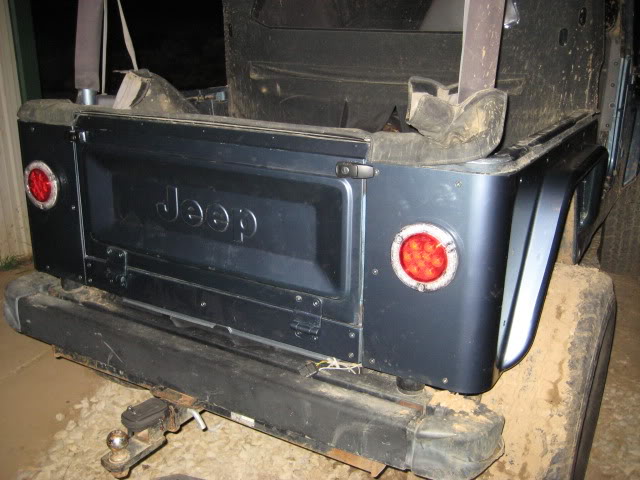
Closed w/ duster weather strip on

Some more
And some load testing, this is my 100#, 2 y/o Lab named Sid... she’s my baby...
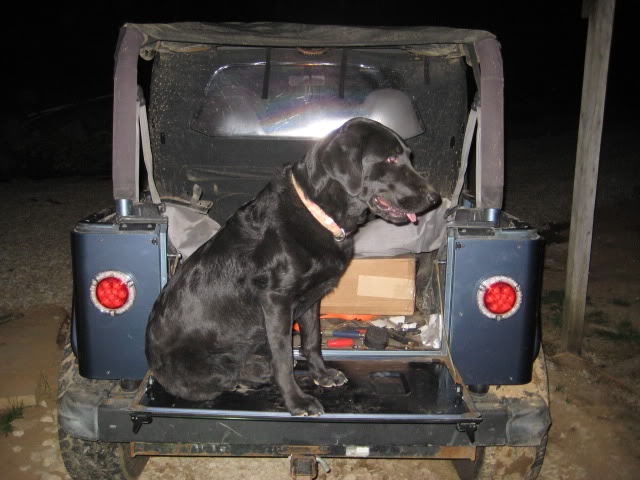
I sat on it with her for a combined 270#s. The cable brackets twist about a deg, but I knew that was going to happen when I made them. Not enough to worry about in my opinion but a stiffening rib could be added if one felt like being overkill.
For those who are thinking, "draw latches"? Those aren’t designed for holding like that... I thought the same thing and I was a little concerned when I decided to try them. But I can stand on the bumper, with the latches UNLOCKED and lean all the way out while pulling on the gate and neither let go. These things really hold tight!
Hopefully this helps someone while searching, I know I had trouble finding a soln I liked. If anything needs to be clarified or someone wants more pics just ask!
Cory