You must be logged in to rate content!
5 minute read

2010+ LOTUS EVORA INSTALLATION INSTRUCTIONS
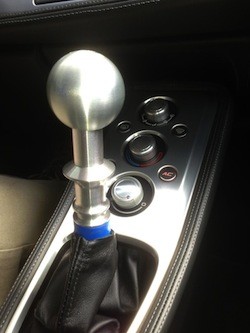
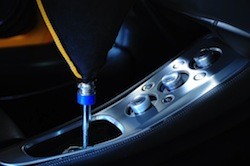
1. Remove the Shift Knob by unscrewing. Some OEM knobs require removal of screw on top of the knob.
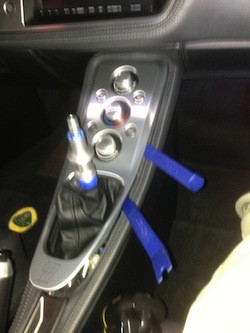
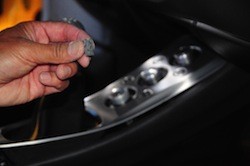
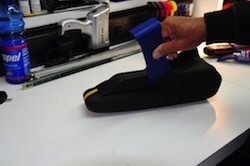
2. Use pry tools to gently lift the aluminum console cover. Work from the rear and lift just half of the console lid. No need to remove the entire cover. There are 3 spring friction clips that attach the console to the central tunnel. Take care not to drop the clips down into the shift gear well. If you do, use a magnetic wand to retrieve them.
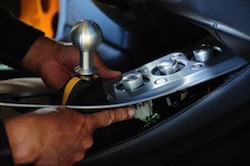
3. The OEM leather shift boot is simply glued to the inner rim of the shift gear box. Peel the leather off the aluminum by hand.
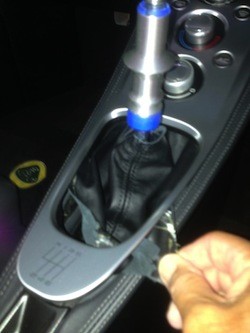
4. Lift the leather shift boot and turn inside-out to reveal the zip tie that anchors the neck of the boot to the shift lever. Cut the Zip Tie to release leather boot.

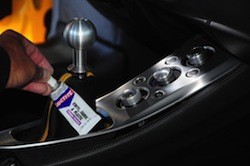
5. Carefully glue the edge of the shift boot to the inside rim of the console lid. Start at the section next to the Fan Control Knob by adding a 1 inch spot of glue onto the leather and firmly press and hold to the aluminum rim. Hold for a few seconds until the glue sticks.
Then slowly move around the rim and repeat gluing section by section of leather to rim until the entire boot is secured by glue. Let dry for an hour.
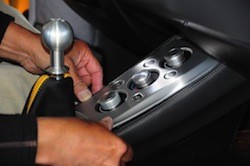
6. Position the boot upside-down and slide the new boot down and over the Shift lever. Maneuver the neck of the boot over the Reverse ring. Align neck of leather shift boot to the bottom of the Reverse ring and secure using a Zip Tie.
7. Reset the aluminum console lid by re-securing the 3 clips
8. If you want to be extra sure, test all functions of the center console before you complete the installation.
9. When all 3 clips are in position, press firmly down on the lid and the clips will click into place.
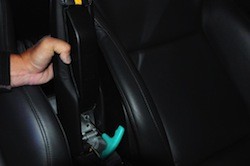
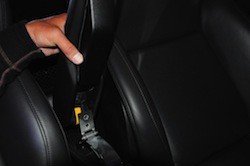
10. Remove two 5/32 bolts at the hinge of the armrest.
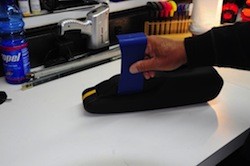
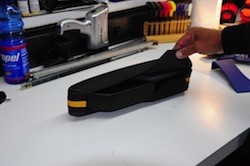
11. The Redline armrest is a cover/jacket that fits over the OEM leather. It provides more padding and makes the armrest slightly fuller. Get the armrest to a working table.
12. Use an interior trim tool to tuck the excess leather into the crease between the plastic and the original leather.
13. Glue the final loose flaps of leather into the mounting pad.
14. Double-check the fitment and reinstall into the center console.
CONGRATULATIONS - YOU HAVE SUCCESSFULLY INSTALLED YOUR NEW LEATHER BOOTS!
Useful tip
You have installed a product made out of genuine leather. As you know, to maintain a leather product in good condition, you should take care of it. We suggest occasionally (every 4-6 week for example) applying some leather conditioner/UV protector to keep your leather from drying up in the sun and cracking.
Redline Automotive Accessories Corp. will not be held liable for any labor, incidental or consequential damages of any kind. Proceed at your own risk.
